AmigaONE X1000 Quick Start Guide
10
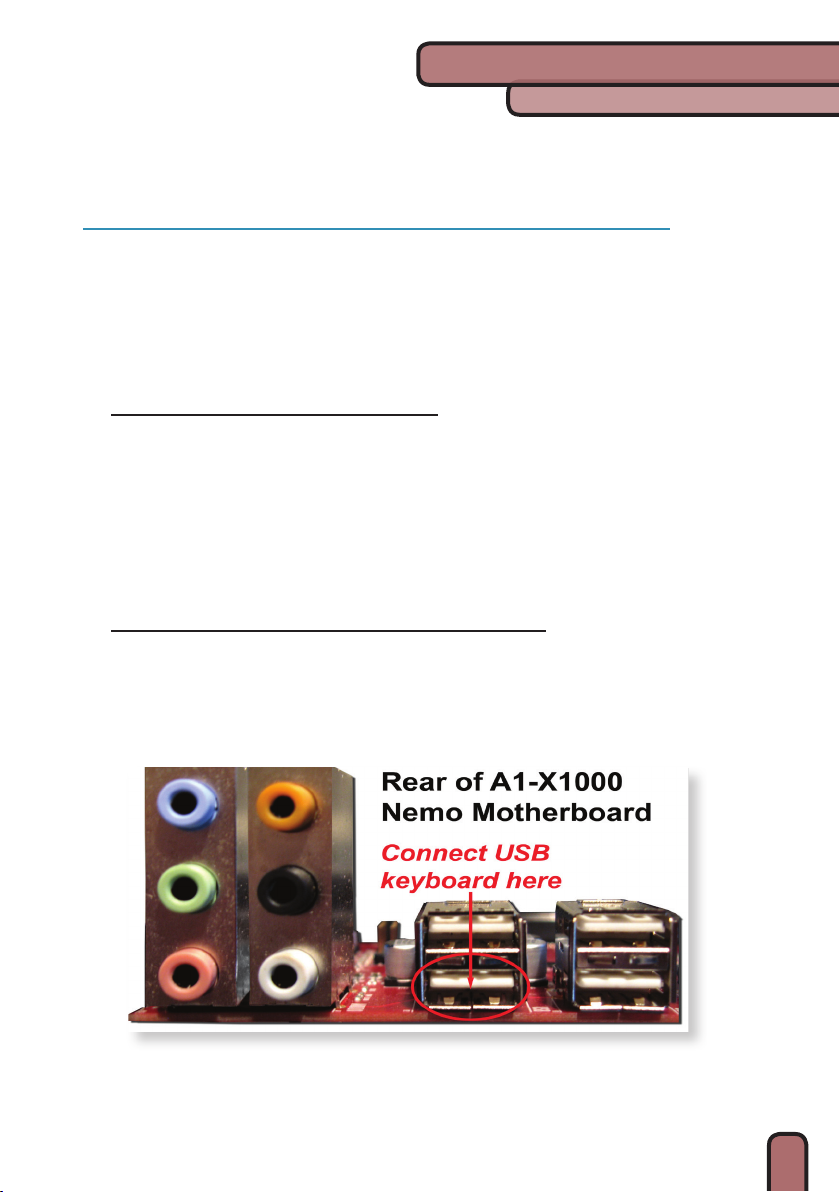
It is not recommended to use 3rd party USB hubs, switch boxes, or extension ca-
bles. The X1000 system has enough USB ports to ensure all your devices can directly
connect to the system.
connecting SpeakerS and netWork
Connect your speaker cable to the green audio-in jack on the rear of the PCI sound
card. Remember that you should connect the speaker cable to the green audio jack of
the PCI sound card and not the back of the X1000 motherboard. Connect your Network
cable to the RJ45 connector to the PCI network card - not to the back of the X1000
motherboard. At a later date, when the motherboard sound and network drivers are
ready, you will be able to move the cables to the motherboard ports.
connecting the poWer cable
Connect the included power cable to the back of the X1000 power supply.
After you have plugged in all cables and veried all connections you are ready to
power-on the AmigaONE X1000!
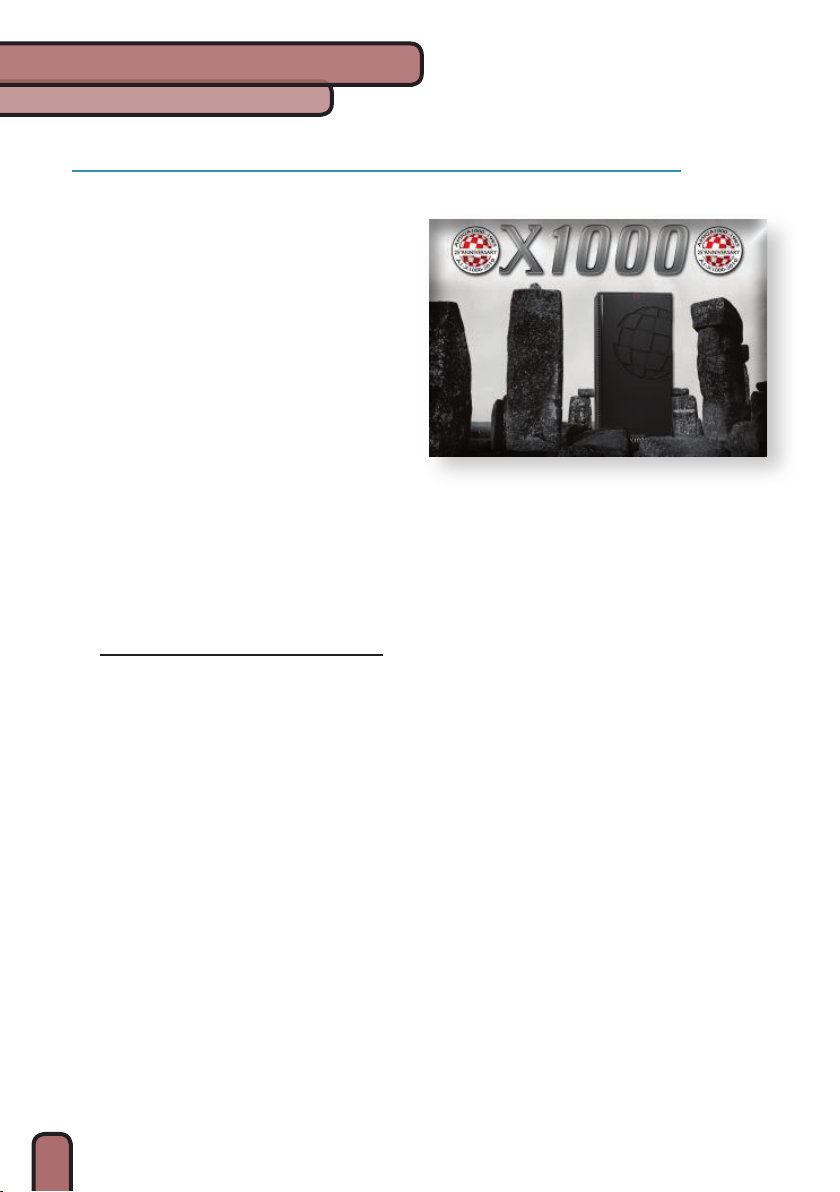
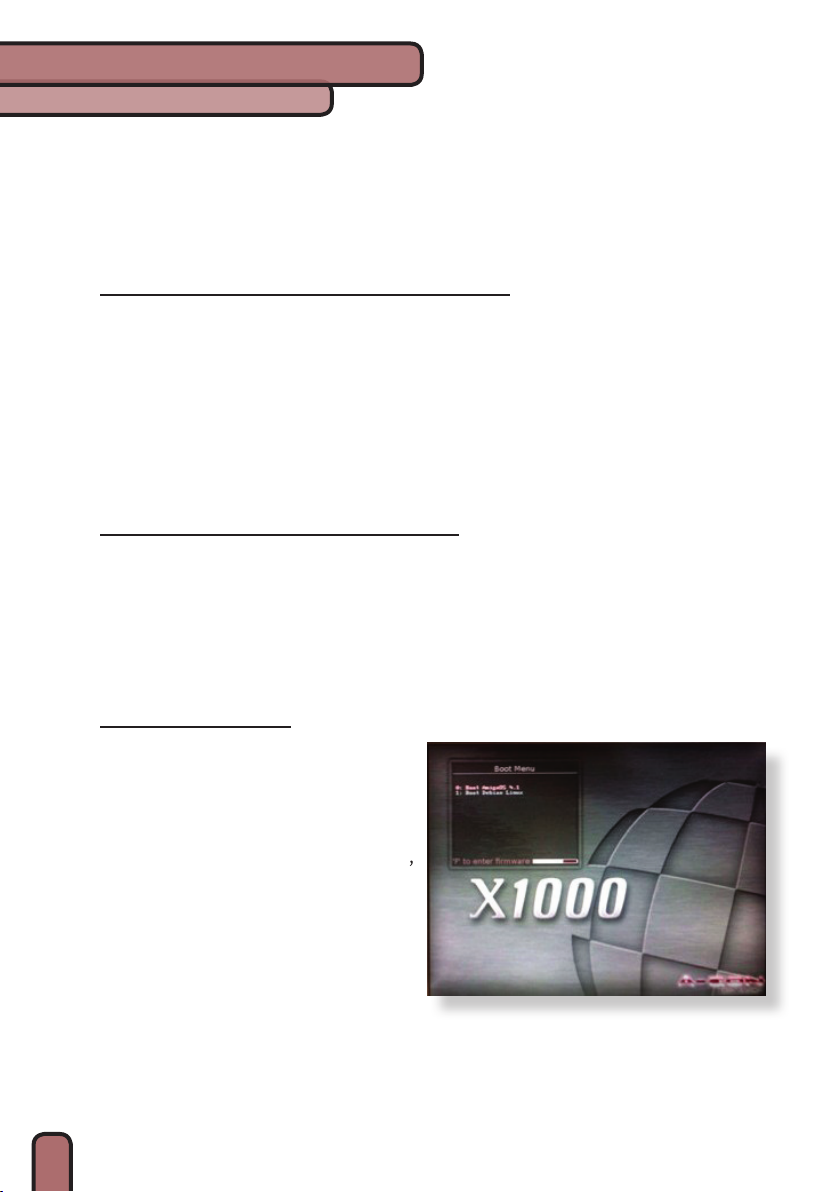
boot menu
When you rst turn on your AmigaONE
X1000 you will be presented with a boot
menu and the X1000 logo. Simply use
the cursor keys on your keyboard to select
which entry you want and press Enter. Or,
type the number of the Operating system
you wish to start. In the example shown
AmigaOS 4.1 is option 0, and Debian Linux
is option 1. Please note that Debian Linux
is an option that you would have chosen
when you purchased your First Contact
system.
If you press “F” you can exit the Boot Menu to the rmware prompt. Note that
there should be no reason why you need to enter the Firmware. Refer to the “Firm-
ware and Booting Guide” document on the CD for more information.
Getting ready for first start