manuals.online logo
Brands
  1. Home
  2. •
  3. Brands
  4. •
  5. HP
  6. •
  7. Desktop
  8. •
  9. HP 260 G2 DM Assembly instructions

HP 260 G2 DM Assembly instructions

EL-MF877-00 Page 1
Template Revision B
PSG instructions for this template are available at EL-MF877-01
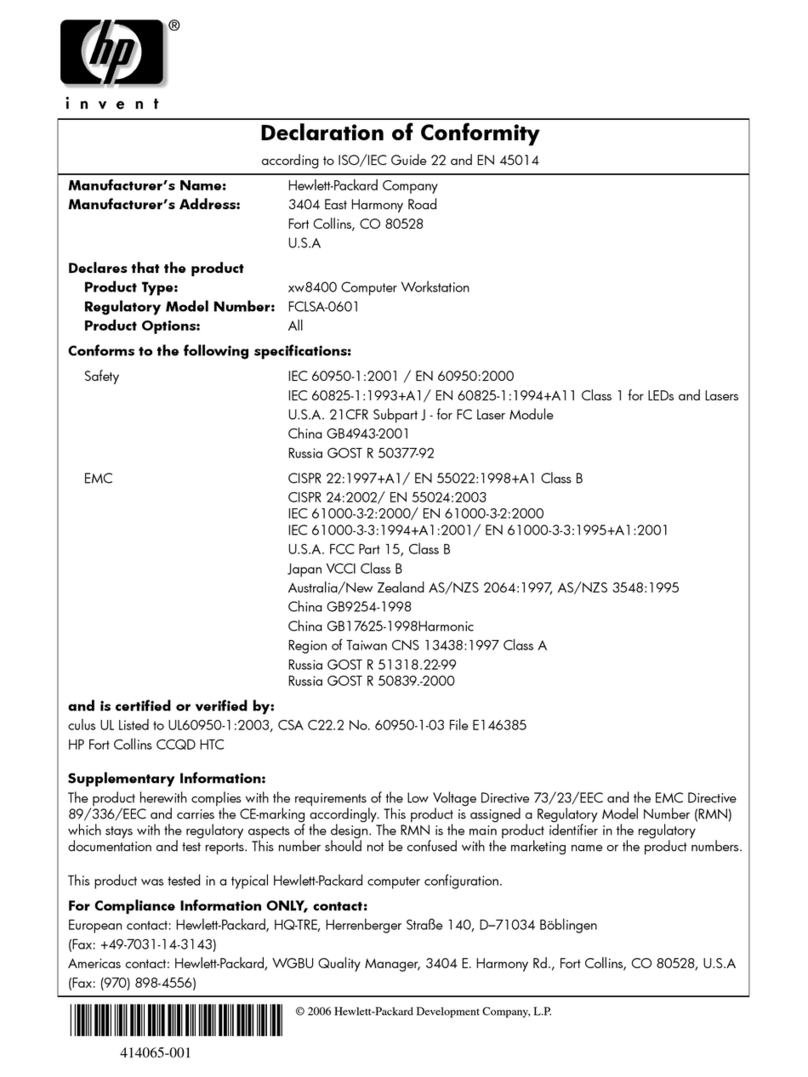
Product End-of-Life Disassembly Instructions
Product Category: Personal Computers
Marketing Name / Model
[List multiple models if applicable.]
HP 260 G2 DM Business PC
Purpose: The document is intended for use by end-of-life recyclers or treatment facilities. It provides the basic instructions
for the disassembly of HP products to remove components and materials requiring selective treatment, as defined by EU
directive 2002/96/EC, Waste Electrical and Electronic Equipment (WEEE).
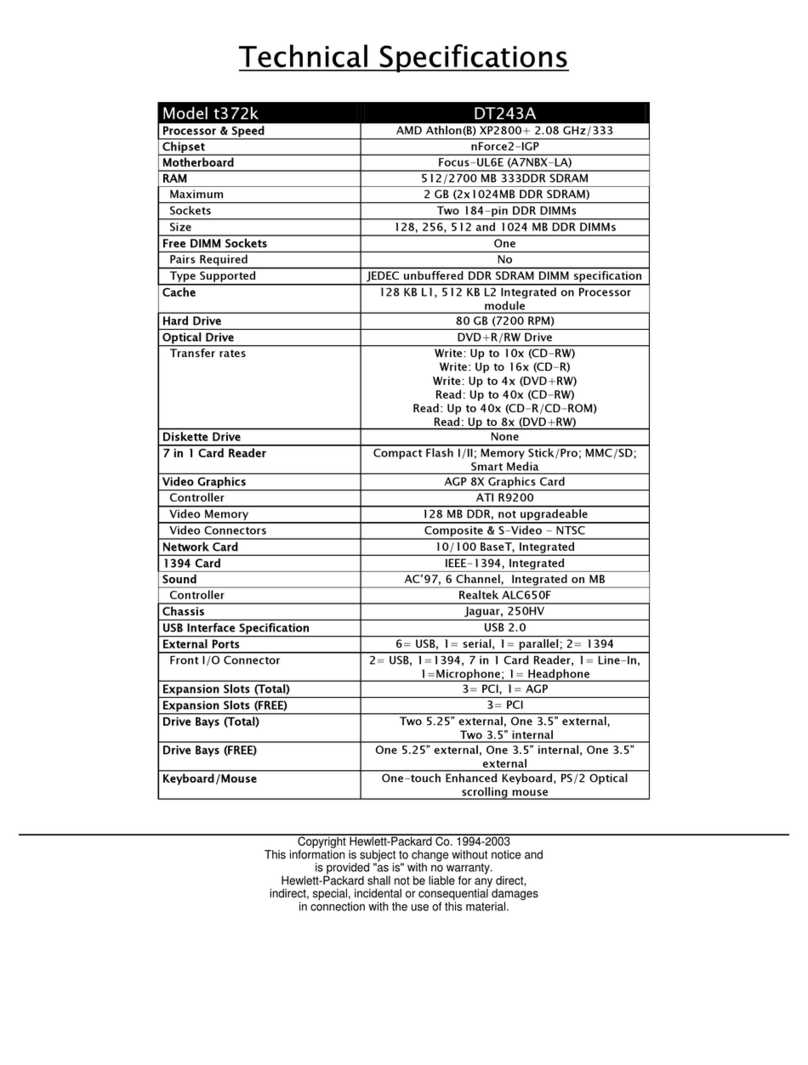
1.0 Items Requiring Selective Treatment
1.1 Items listed below are classified as requiring selective treatment.
1.2 Enter the quantity of items contained within the product which require selective treatment in the right column, as
applicable.
Item Description Notes
Quantity
of items
included
in product
Printed Circuit Boards (PCB) or Printed Circuit
Assemblies (PCA)
With a surface greater than 10 sq cm
1
Batteries
All types including standard alkaline and lithium coin
or button style batteries
1
Mercury-containing components
For example, mercury in lamps, display backlights,
scanner lamps, switches, batteries
0
Liquid Crystal Displays (LCD) with a surface greater
than 100 sq cm
Includes background illuminated displays with gas
discharge lamps
0
Cathode Ray Tubes (CRT)
0
Capacitors / condensers (Containing PCB/PCT)
0
Electrolytic Capacitors / Condensers measuring
greater than 2.5 cm in diameter or height
0
External electrical cables and cords
0
Gas Discharge Lamps
0
Plastics containing Brominated Flame Retardants
weighing > 25 grams (not including PCBs or PCAs
already listed as a separate item above)
0
Components and parts containing toner and ink,
including liquids, semi-liquids (gel/paste) and toner
Include the cartridges, print heads, tubes, vent
chambers, and service stations.

0
EL-MF877-00 Page 2
Template Revision B
PSG instructions for this template are available at EL-MF877-01
Components and waste containing asbestos
0
Components, parts and materials containing
refractory ceramic fibers
0
Components, parts and materials containing
radioactive substances
0
2.0 Tools Required
List the type and size of the tools that would typically be used to disassemble the product to a point where components
and materials requiring selective treatment can be removed.
Tool Description
Tool Size (if
applicable)
T15 Electric Screwdriver
T8 Electric Screwdriver
3.0 Product Disassembly Process
3.1 List the basic steps that should typically be followed to remove components and materials requiring selective treatment:
1. Follow steps described in Disassembly instruction (file attached)
2. If parts can be removed without using a tool, remove it first
3. Use correct screwdriver and torque value before unlock the screw.
4. Disconnect RTC battery cable and remove battery from M/B.
5. Dispose of all removed components according to regulation requirements.
6.
7.
8.
9.
3.2 Optional Graphic. If the disassembly process is complex, insert a graphic illustration below to identify the items
contained in the product that require selective treatment (with descriptions and arrows identifying locations).
MANUFACTURING PROCESS INSTRUCTIONS
MECHANICAL ASSEMBLY
MODEL : Pippin 2
Auditor :Alicia Chien
Tabulator:
A. Current station version list
B. Version Modify list
Revision Date Station Content Ver. Design
0.1 2016/02/23 ALL FIRST VERSION 0.1 Stanley
Chen
Sub-assembly name: FA DIS ASS‘Y
Document No.: Pippin 2 FA DIS ASS'Y SOP
Written by: Stanley Chen Revision: 0.1
Date: 2016/02/23 Page: 1
Station Ver. Station Ver. Station Ver. Station Ver.
10.1 10 0.1
20.1 11 0.1
30.1 12 0.1
40.1
50.1
60.1
70.1
80.1
90.1
Stanley Chen
Standard Operation Procedure
Document No. Pippin 2 FA DIS ASS’Y SOP Station :
Name : Ver. : Date :
Step:
Notes : If finding anything uncommon, notice foreman or assistant at once.
Holding fixture list (holding fixture standard) Qty Holding fixture list (holding fixture standard) Qty
Tabulator:Issue department:
Alicia Chien NPSU-PPE
Auditor :Stanley Chen
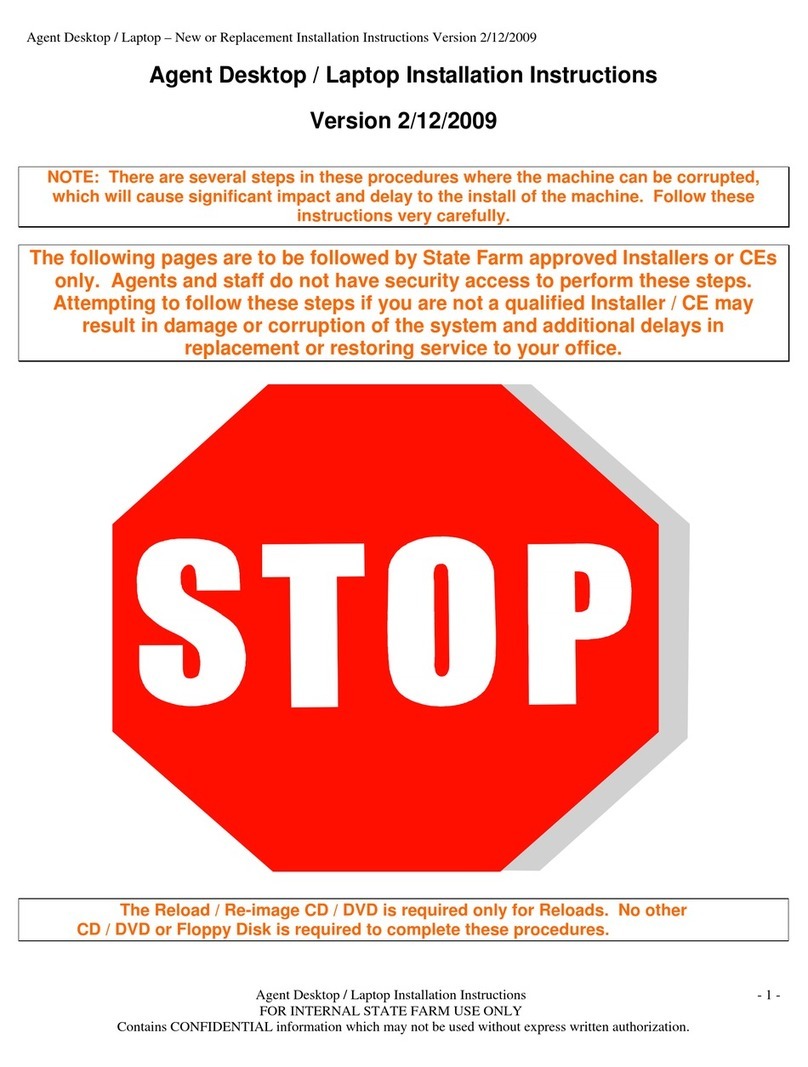
Loosen Screw / Remove Top Case
1. Put the machine on support fixture, then
loosen screw. (6052B0313401 ,T15,
M3x6 ). (Fig.1)
Fig.3 is Screwdriver picture
2. Slide the top case to remove it. (Fig.2)
T15 Electric screwdriver 1
Support fixture 1
Fig.1
1(1/1)
0.1 2016/02/23
Fig.2
Loosen screw
Fig.3
Standard Operation Procedure
Document No. Pippin 2 FA DIS ASS’Y SOP Station :
Name : Ver. : Date :
Step:
Notes : If finding anything uncommon, notice foreman or assistant at once.
Holding fixture list (holding fixture standard) Qty Holding fixture list (holding fixture standard) Qty
Tabulator:Issue department:
Alicia Chien NPSU-PPE
Auditor :Stanley Chen
Disassemble DRAM
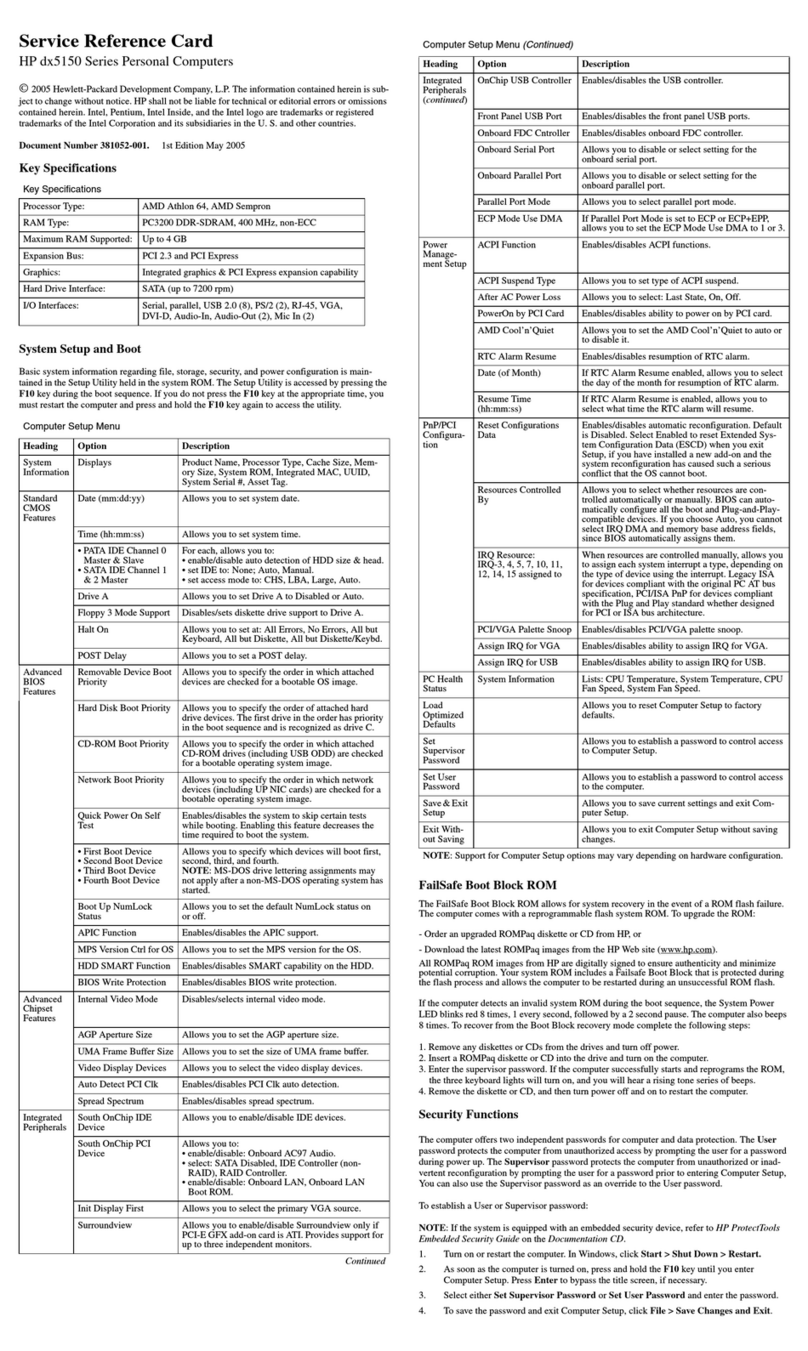
1. Disassemble DRAM. (Fig.1)
Fig.1
2(1/1)
0.1 2016/02/23
Standard Operation Procedure
Document No. Pippin 2 FA DIS ASS’Y SOP Station :
Name : Ver. : Date :
Step:
Notes : If finding anything uncommon, notice foreman or assistant at once.
Holding fixture list (holding fixture standard) Qty Holding fixture list (holding fixture standard) Qty
Tabulator:Issue department:
Alicia Chien NPSU-PPE
Auditor :Stanley Chen
1. Disassemble fan (6033B0042101) cable
connector. (Fig.1)
Fig.3 is Screwdriver picture
2. Loosen fan screw * 2. (Fig.2)
Disassemble Fan
Fig.1
T15 Electric screwdriver 1
1
2
Fig.2
Fan connector
3(1/1)
0.1 2016/02/23
Fig.3
Standard Operation Procedure
Document No. Pippin 2 FA DIS ASS’Y SOP Station :
Name : Ver. : Date :
Step:
Notes : If finding anything uncommon, notice foreman or assistant at once.
Holding fixture list (holding fixture standard) Qty Holding fixture list (holding fixture standard) Qty
Tabulator:Issue department:
Alicia Chien NPSU-PPE
Auditor :Stanley Chen
1. Loosen thermal module set screw * 4. (Fig.1)
Fig.2 is Screwdriver picture
2. Disassemble thermal module (6043B0201901
/6043B0202001) from MB.
Disassemble Thermal Module
T15 Electric screwdriver 1
Fig.1
2
3
4
1
4(1/1)
0.1 2016/02/23
Fig.2
Standard Operation Procedure
Document No. Pippin 2 FA DIS ASS’Y SOP Station :
Name : Ver. : Date :
Step:
Notes : If finding anything uncommon, notice foreman or assistant at once.
Holding fixture list (holding fixture standard) Qty Holding fixture list (holding fixture standard) Qty
Tabulator:Issue department:
Alicia Chien NPSU-PPE
Auditor :Stanley Chen
1. Unlock HDD cage lock, slide the HDD to the
left to remove the HDD from cage. (Fig.1/
Fig.2)
2. Disassemble HDD FFC from HDD/SSD.
(Fig.3)
Disassemble HDD/SSD
Fig.1
Slide the HDD
HDD FFC assemble with HDD
Fig.2 Fig.3
HDD Cage lock
5(1/1)
0.1 2016/02/23
Standard Operation Procedure
Document No. Pippin 2 FA DIS ASS’Y SOP Station :
Name : Ver. : Date :
Step:
Notes : If finding anything uncommon, notice foreman or assistant at once.
Holding fixture list (holding fixture standard) Qty Holding fixture list (holding fixture standard) Qty
Tabulator:Issue department:
Alicia Chien NPSU-PPE
Auditor :Stanley Chen
1. Put the HDD / SSD on support fixture, loosen
guide pin screw (6054B1522101) * 4.
(Fig.1 / Fig.2)
Fig.3 is Screwdriver picture
Loosen HDD / SSD Screws
Fig.
1
Fig.2
T15 Electric screwdriver 1
HDD Support fixture 1
HDD CNTR
6(1/1)
0.1 2016/02/23
Fig.3
Standard Operation Procedure
Document No. Pippin 2 FA DIS ASS’Y SOP Station :
Name : Ver. : Date :
Step:
Notes : If finding anything uncommon, notice foreman or assistant at once.
Holding fixture list (holding fixture standard) Qty Holding fixture list (holding fixture standard) Qty
Tabulator:Issue department:
Alicia Chien NPSU-PPE
Auditor :Stanley Chen
1. Loosen HDD Tray screw (6052B0348301
T15, #6-32 ) * 3. (Fig.1)
2. Disassemble HDD/SSD FFC from MB CNTR
and disassemble HDD tray. (Fig.2 / Fig.3)
Fig.4 is Screwdriver picture
Loosen Screws / Disassemble FFC
T15 Electric screwdriver 1
Fig.1
7(1/1)
HDD FFC
HDD TRAY
Fig.2
0.1 2016/02/23
Fig.3
Fig.4
Standard Operation Procedure
Document No. Pippin 2 FA DIS ASS’Y SOP Station :
Name : Ver. : Date :
Step:
Notes : If finding anything uncommon, notice foreman or assistant at once.
Holding fixture list (holding fixture standard) Qty Holding fixture list (holding fixture standard) Qty
Tabulator:Issue department:
Alicia Chien NPSU-PPE
Auditor :Stanley Chen
Disassemble Speaker
1. Disassemble white speaker PIN
(6051B1070601). (Fig.1)
2. Disassemble speaker (6039B0080201/
6039B0080301). (Fig.2)
3. Disconnect speaker cable from M/B. (Fig.2)
Fig.2
Fig.1
Speaker CNTR位置
Speaker
Speaker PIN
8(1/1)
0.1 2016/02/23
Standard Operation Procedure
Document No. Pippin 2 FA DIS ASS’Y SOP Station :
Name : Ver. : Date :
Step:
Notes : If finding anything uncommon, notice foreman or assistant at once.
Holding fixture list (holding fixture standard) Qty Holding fixture list (holding fixture standard) Qty
Tabulator:Issue department:
Alicia Chien NPSU-PPE
Auditor :Stanley Chen
Disassemble WLAN Card
1. Disassemble antenna plug. (Fig.1)
2. Loosen screw (6052B0228001,T8
M2,0*3.0) * 1. (Fig.2)
Fig.3 is Screwdriver picture
3. Disassemble WLAN card.
Fig.1
9(1/1)
WLAN
Fig.2
0.1 2016/02/23
T8 Electric screwdriver 1
Fig.3
Standard Operation Procedure
Document No. Pippin 2 FA DIS ASS’Y SOP Station :
Name : Ver. : Date :
Step:
Notes : If finding anything uncommon, notice foreman or assistant at once.
Holding fixture list (holding fixture standard) Qty Holding fixture list (holding fixture standard) Qty
Tabulator:Issue department:
Alicia Chien NPSU-PPE
Auditor :Stanley Chen
1. Loosen M/B screw (6052B0310201 ,T15, #6-
32x6 ) * 4. (Fig.1)
Fig.3 is Screwdriver picture
2. Disassemble M/B. (Fig.2)
Disassemble MB
Fig.2
T15 Electric screwdriver 1
Fig.1
1
43
2
10(1/1)
0.1 2016/02/23
Fig.3
Standard Operation Procedure
Document No. Pippin 2 FA DIS ASS’Y SOP Station :
Name : Ver. : Date :
Step:
Notes : If finding anything uncommon, notice foreman or assistant at once.
Holding fixture list (holding fixture standard) Qty Holding fixture list (holding fixture standard) Qty
Tabulator:Issue department:
Alicia Chien NPSU-PPE
Auditor :Stanley Chen
Disassemble Antenna Cover, Antenna (AUX)
1. Disassemble antenna cover (6051B1068701).
(Fig.1)
2. Rip the gaskets, disassemble antenna from
hooks. (Fig.2)
3. Disassemble antenna (AUX). (Fig.3)
Fig.
1
Antenna Cover
Fig.1
Fig.3
11(1/1)
天线AUX
Antenna (AUX)
Fig.2
0.1 2016/02/23
Standard Operation Procedure
Document No. Pippin 2 FA DIS ASS’Y SOP Station :
Name : Ver. : Date :
Step:
Notes : If finding anything uncommon, notice foreman or assistant at once.
Holding fixture list (holding fixture standard) Qty Holding fixture list (holding fixture standard) Qty
Tabulator:Issue department:
Alicia Chien NPSU-PPE
Auditor :Stanley Chen
1. Rip the gaskets, disassemble antenna from
hooks. (Fig.1)
2. Disassemble antenna (Main). (Fig.2)
Disassemble Antenna (Main)
Fig.1
Fig.2
12(1/1)
Antenna(Main)
0.1 2016/02/23

Other manuals for 260 G2 DM

2

Other HP Desktop manuals

HP TouchSmart 520-1200 User manual

HP

HP TouchSmart 520-1200 User manual

HP Z600 - Workstation - 6 GB RAM User manual

HP

HP Z600 - Workstation - 6 GB RAM User manual

HP 300-1020 - TouchSmart - Desktop PC Guide

HP

HP 300-1020 - TouchSmart - Desktop PC Guide

HP Pavilion 20-b000 User manual

HP

HP Pavilion 20-b000 User manual

HP Compaq 4000 Pro series User instructions

HP

HP Compaq 4000 Pro series User instructions

HP FM064UT#ABA Manual

HP

HP FM064UT#ABA Manual

HP Brio BA300 User manual

HP

HP Brio BA300 User manual

HP Presario CQ3200 - Desktop PC User manual

HP

HP Presario CQ3200 - Desktop PC User manual

HP Compaq Presario Specification sheet

HP

HP Compaq Presario Specification sheet

HP TouchSmart IQ700 - Desktop PC Installation instructions

HP

HP TouchSmart IQ700 - Desktop PC Installation instructions

HP 280 G2 MT Business Assembly instructions

HP

HP 280 G2 MT Business Assembly instructions

HP Pavilion Elite d5100 - ATX Desktop PC Use and maintenance manual

HP

HP Pavilion Elite d5100 - ATX Desktop PC Use and maintenance manual

HP Compaq Pro 6305 Manual

HP

HP Compaq Pro 6305 Manual

HP Pavilion Elite E-500 User manual

HP

HP Pavilion Elite E-500 User manual

HP Sprout Pro G2 Assembly instructions

HP

HP Sprout Pro G2 Assembly instructions

HP Compaq Presario Manual

HP

HP Compaq Presario Manual

HP RP9 G1 9018 Installation instructions

HP

HP RP9 G1 9018 Installation instructions

HP Z1 Manual

HP

HP Z1 Manual

HP Compaq Elite 8300 All-in-One Setup guide

HP

HP Compaq Elite 8300 All-in-One Setup guide

HP i2000 Manual

HP

HP i2000 Manual

HP Xw6600 - Workstation - 2 GB RAM User instructions

HP

HP Xw6600 - Workstation - 2 GB RAM User instructions

HP Pavilion Slimline s7200 - Desktop PC User manual

HP

HP Pavilion Slimline s7200 - Desktop PC User manual

HP Compaq dx2040 Assembly instructions

HP

HP Compaq dx2040 Assembly instructions

HP Media Center m1100 - Desktop PC Specification sheet

HP

HP Media Center m1100 - Desktop PC Specification sheet

Popular Desktop manuals by other brands

Lenovo x3650 M4 BD 5466 Installation and service guide

Lenovo

Lenovo x3650 M4 BD 5466 Installation and service guide

Lenovo 3656 Hardware Maintenance Manual

Lenovo

Lenovo 3656 Hardware Maintenance Manual

Dell Precision T3500 Service manual

Dell

Dell Precision T3500 Service manual

Dell Precision Workstation 650 System information guide

Dell

Dell Precision Workstation 650 System information guide

Zymark TurboVap 96 User'smanual

Zymark

Zymark TurboVap 96 User'smanual

VAIO Digital Studio Upgrading and Maintaining

VAIO

VAIO Digital Studio Upgrading and Maintaining

Lenovo ThinkCentre E50 Guia do usuário

Lenovo

Lenovo ThinkCentre E50 Guia do usuário

Northern Micro Spirit P8Q77-AS user guide

Northern Micro

Northern Micro Spirit P8Q77-AS user guide

Dell XPS Gen 5 Service manual

Dell

Dell XPS Gen 5 Service manual

FabiaTech FX5612 user manual

FabiaTech

FabiaTech FX5612 user manual

Sony PCV-L620 - Vaio Slimtop Computer Specifications

Sony

Sony PCV-L620 - Vaio Slimtop Computer Specifications

IEI Technology ECN-581A-QM57 user manual

IEI Technology

IEI Technology ECN-581A-QM57 user manual

Alienware Alpha quick start guide

Alienware

Alienware Alpha quick start guide

CyberResearch STE 1xGTx Series user manual

CyberResearch

CyberResearch STE 1xGTx Series user manual

Asus AS-M5100 user manual

Asus

Asus AS-M5100 user manual

Gateway E SERIES E-6000 user guide

Gateway

Gateway E SERIES E-6000 user guide

Enlight EN-7180 Series user manual

Enlight

Enlight EN-7180 Series user manual

Dell Latitude 7000 Series quick start guide

Dell

Dell Latitude 7000 Series quick start guide

manuals.online logo
manuals.online logoBrands
  • About & Mission
  • Contact us
  • Privacy Policy
  • Terms and Conditions

Copyright 2025 Manuals.Online. All Rights Reserved.