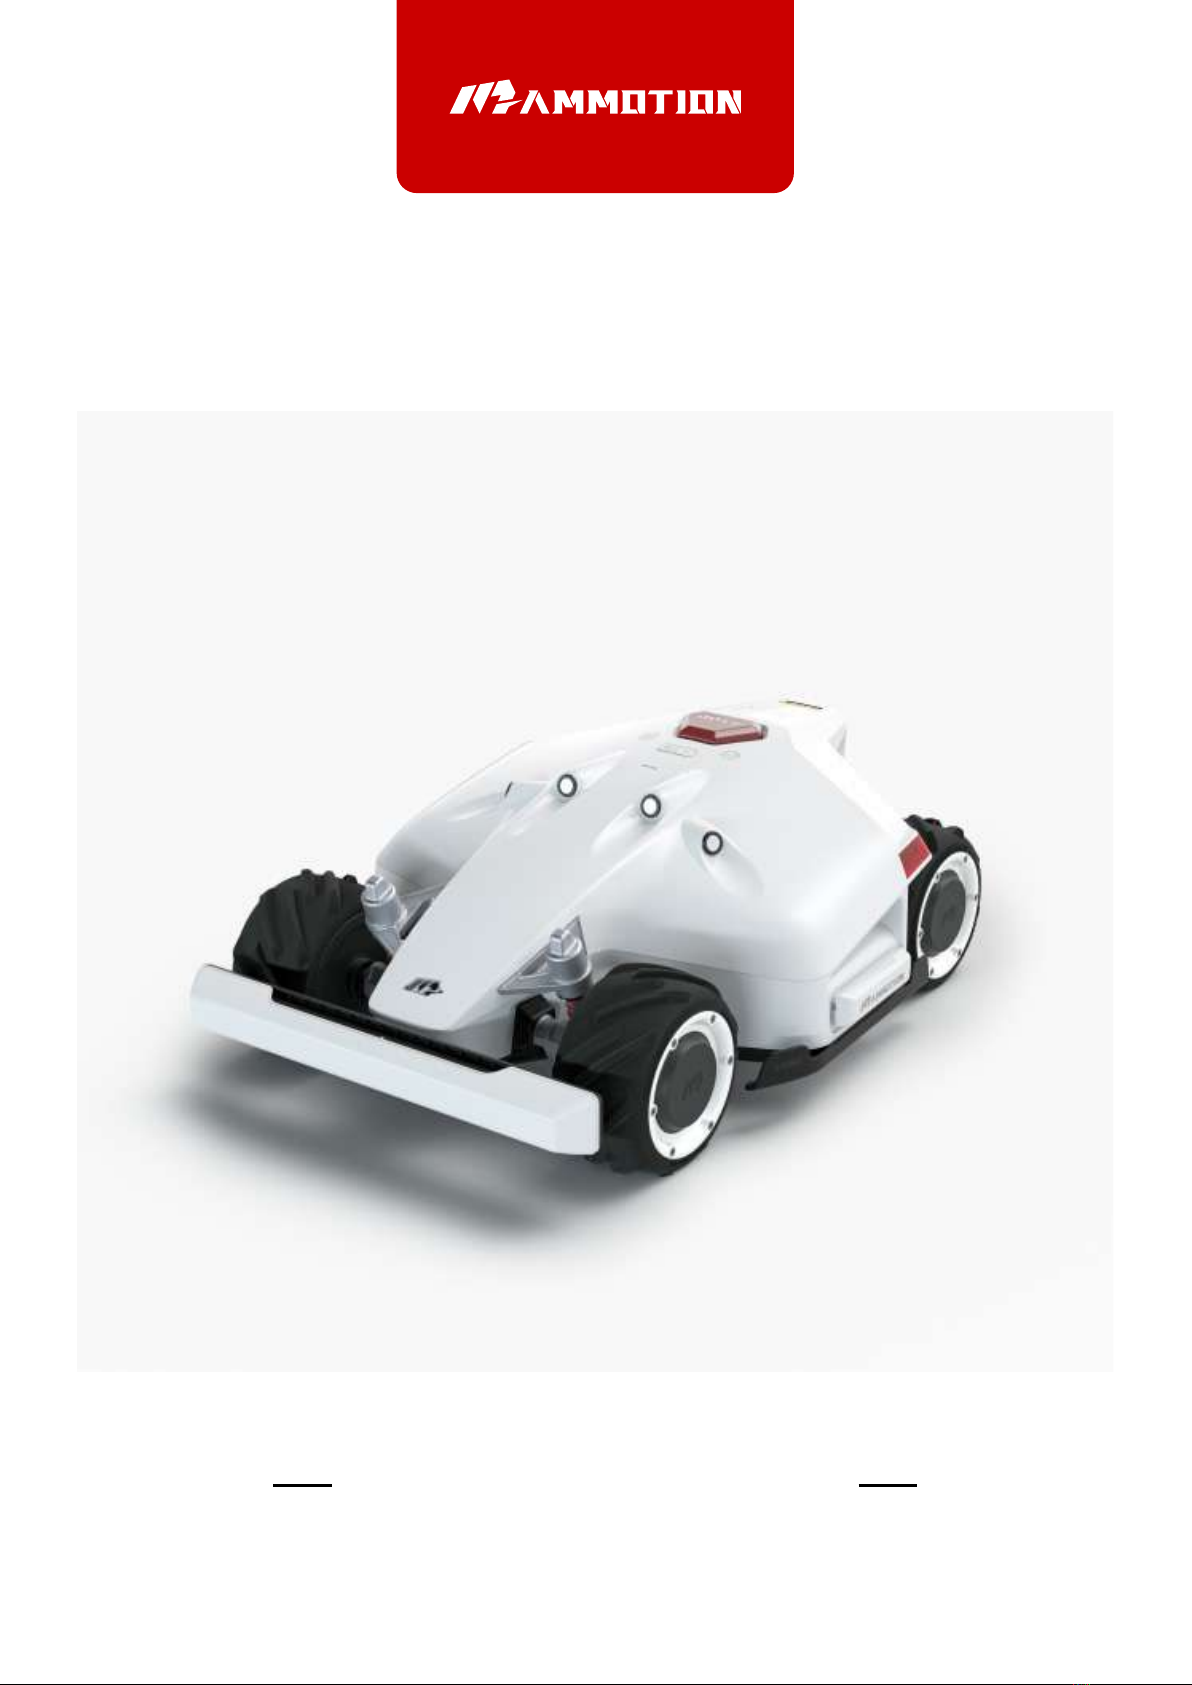
1. Safety and Regulations
Operating MAMMOTION LUBA requests training and practice. Please read through this document before
operating it in your garden.
Do NOT charge the LUBA with third-party charger.
Do NOT flip over the mower when it’s running.
Do NOT put your feet / hands under the mower when it’s running.
Do NOT push/pull the mower when it’s running.
Do NOT disassemble any parts when it’s powered.
Do NOT use hands to touch or replace the running blades.
Do NOT use hands to touch the charging ports.
Do NOT run mower through flooded areas on lawn.
Do NOT run mower on ground or lawn with stones or stick like debris.
Please clear the lawn of any debris, toys and animal litter before operation on lawn.
Keep the charging port clear, clean, and dry.
EN
02