EN
7
- Disengage blades and lower attachments.
- Shift to neutral and apply the parking brake.
- Stop the engine and remove the ignition key.
11. Disengage the blades, stop the engine and remove the ignition key:
- Before clearing blockages or unclogging the collecting channel.
- Before cleaning, checking or repairing the machine.
- After hitting a foreign object (inspect machine for damage and make repairs
before restarting and operating machine).
- If the machine starts to vibrate abnormally (check the causes immediately).
12. Unhook the blades for transport or when not in use.
13. Stop the engine and disengage the blades:
- Before refueling.
- Before making the height adjustment, unless the adjustment can be made from
the operator's position.
14. Reduce throttle while engine is running. If the engine is equipped with a shut-off valve,
shut off the fuel when you have finished mowing.
15. Watch out for traffic when crossing or near highways.
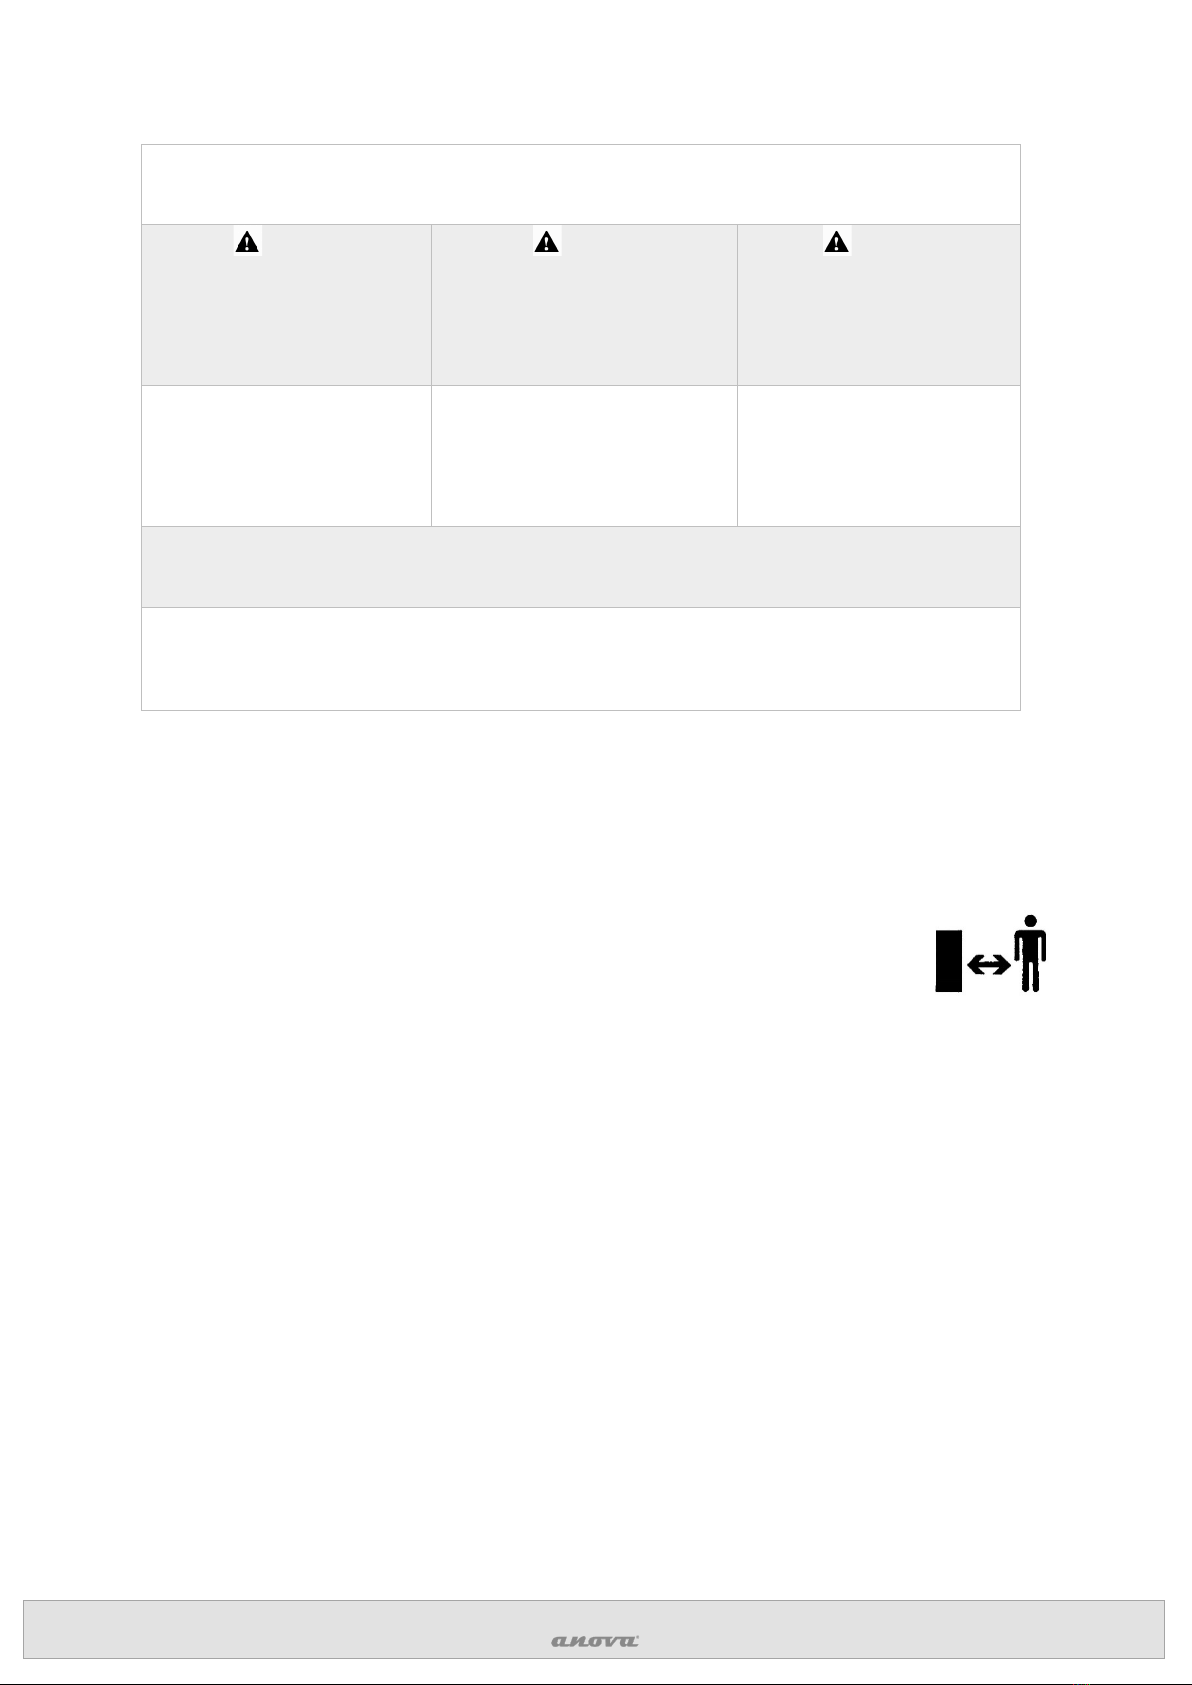
16. Never direct material discharge towards bystanders or allow anyone to come near the
machine while it is in operation.
1.3.4. Maintenance and storage
1. Keep all nuts, bolts, and screws tight to ensure equipment is in safe operating condition.
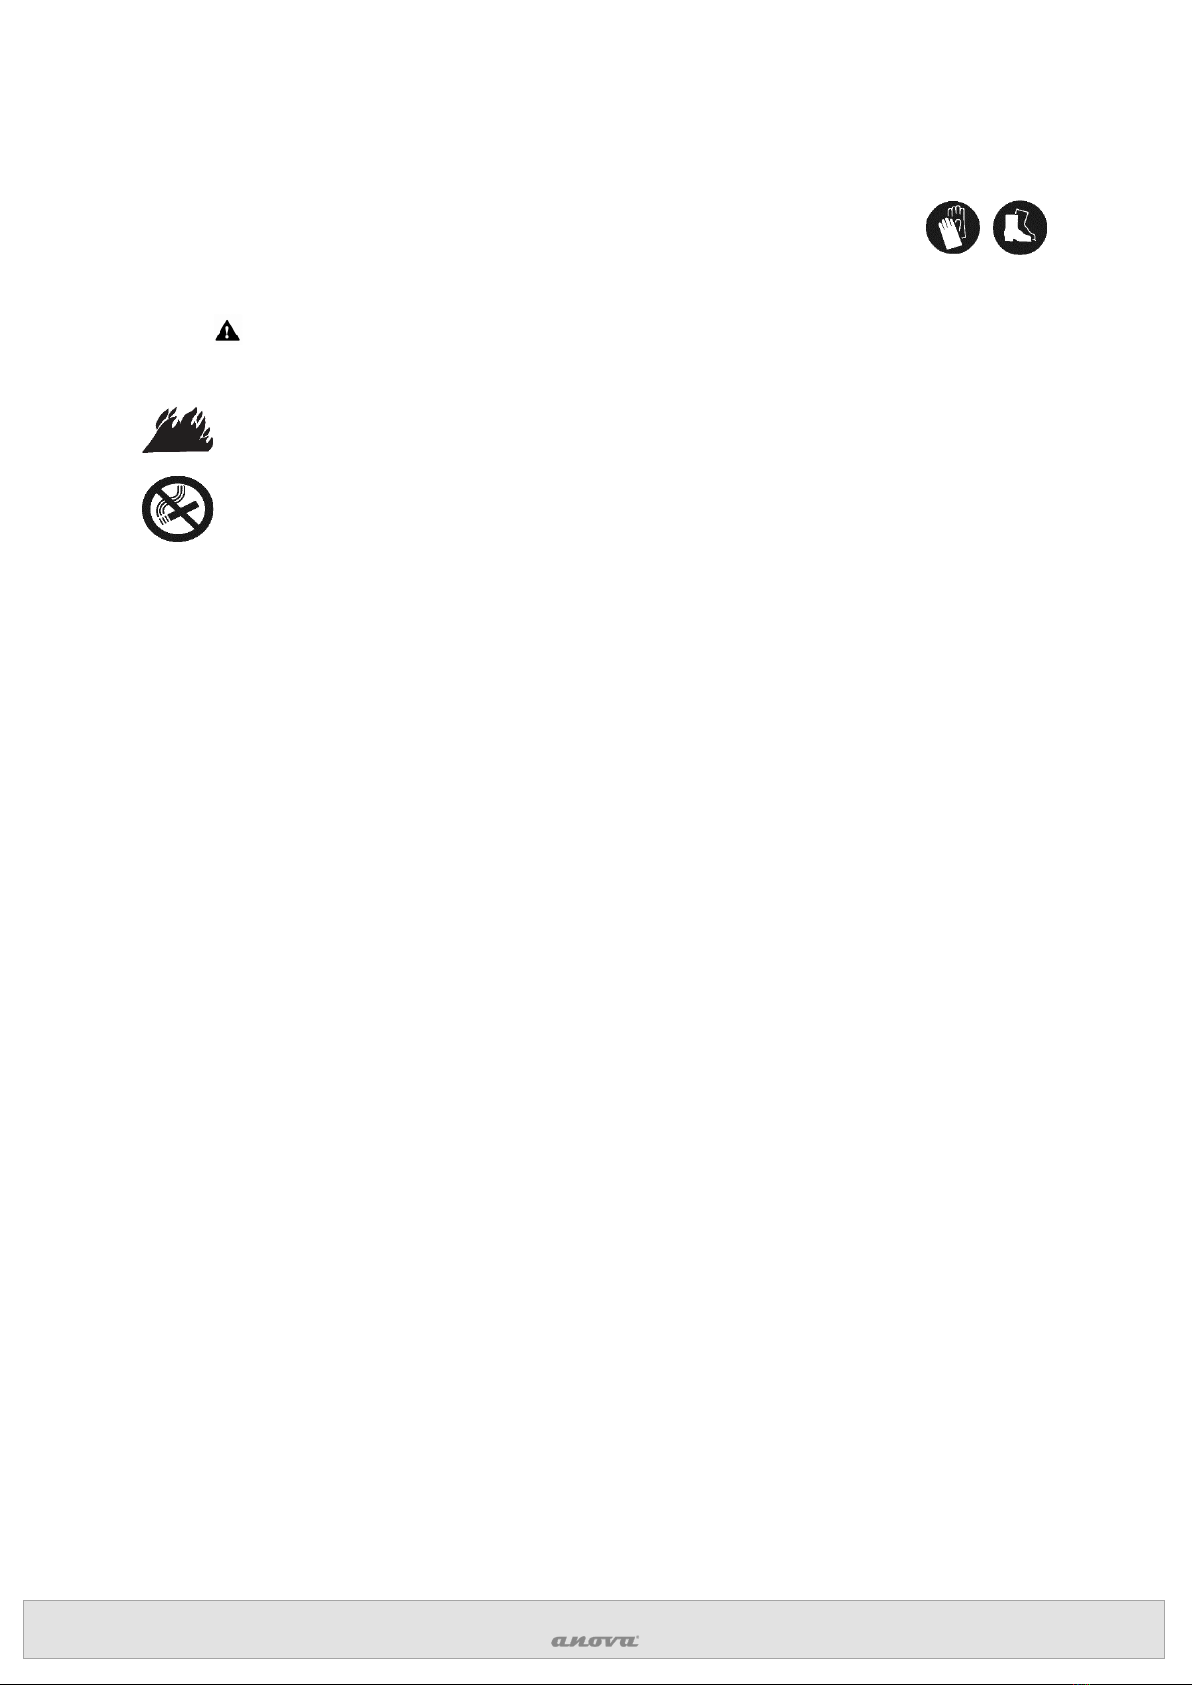
2. Never store equipment with gasoline in the tank inside a building where vapors can
reach an open flame or spark.
3. Let the motor cool down before storing it in any enclosure.
4. To reduce the risk of fire, keep the engine, exhaust, battery compartment, and gasoline
storage area free of grass, blades, or excessive grease.
5. Check the grass catcher frequently to see if it is worn or damaged.
6. Replace worn or damaged parts for safety reasons.
7. If it is necessary to empty the fuel tank, it should be done outdoors.
8. When the machine must be parked, stored, or left unattended, lower the cutting means
unless a positive mechanical lock is used.
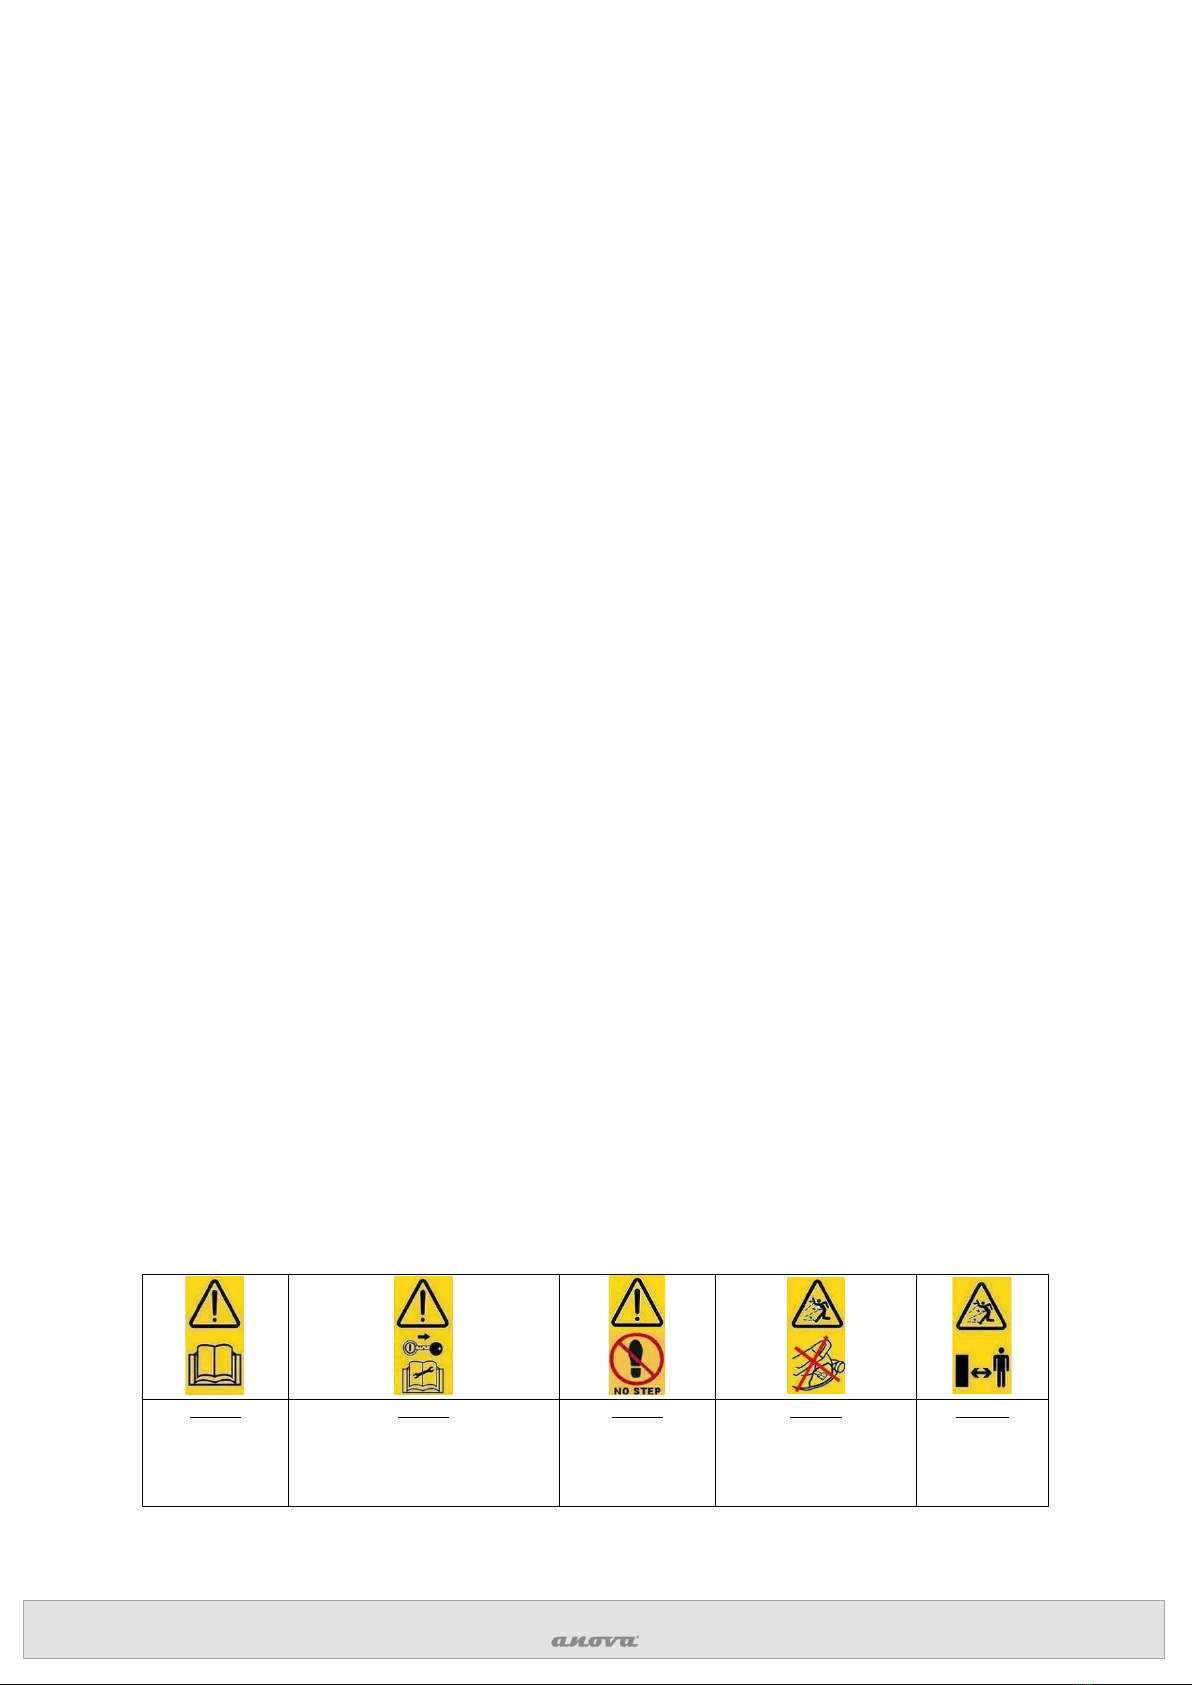
1.4. Security labels
Your machine must be used with care. That is why illustrated labels have been placed on the
machine, to remind you of the main precautions to take during use. These labels must be
considered an integral part of the machine.
If a label comes off or becomes illegible, it must be replaced. Its meaning is explained below.
Please read the
instructions
before using this
machine.
Turn off the ignition key and read
the instructions before carrying out
any repair or maintenance work.
No step on cover
or discharge
protection.
ejected objects:
Do not use without
discharge guard or grass
catcher in place.
Ejected
Objects - Keep
Bystanders
Away