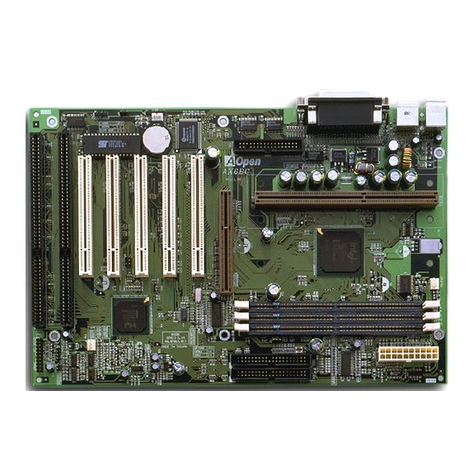
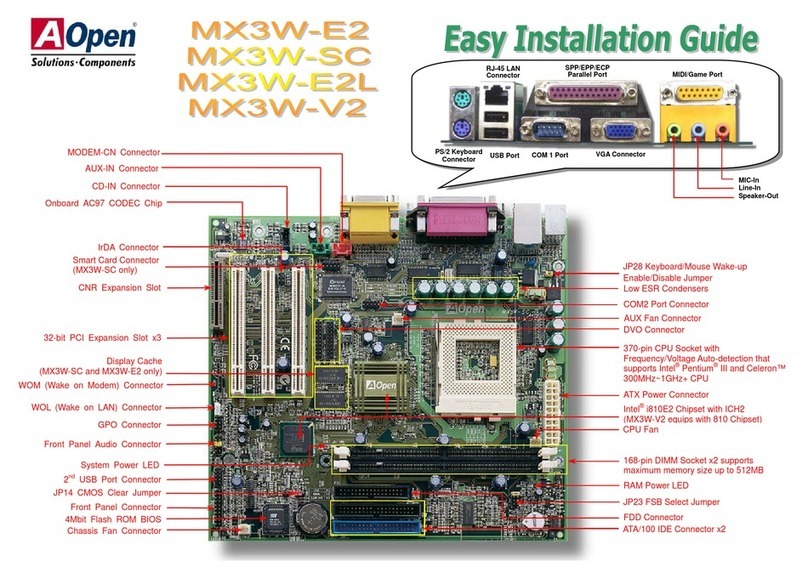
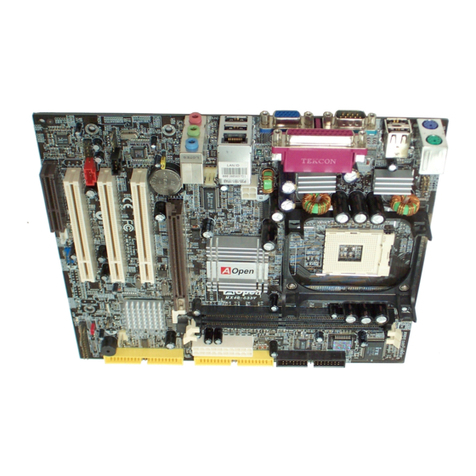
AOpen AX6BC PROII User manual

Quick Installation Guide
~1~
Thanks for purchasing AOpen's AX6BC motherboard. This Guide will help you installing the
system. Following figure shows the location of the jumpers and connectors on this motherboard:
AX6BC implements many special features as following:
Jumper-less Design Pentium II VID signal and SMbus clock generator provide CPU voltage
auto-detection and allows user to set CPU frequency through CMOS setup, no jumper or switch is
needed.
Battery-less Motherboard AX6BC implements EEPROM and special circuit (patent applied) that
allows you to save your current CPU and CMOS Setup configurations without the need of battery.
The RTC (real time clock) can also keep running as long as power cord is plugged.
Suspend to Hard Drive This function saves your work to HDD and resumes within a short time.
Zero Voltage Modem Wake Up Through this feature, it is possible to have system totally power
off and wakeup to automatically answer a phone call, such as answering machine or to
send/receive fax.
RTC Wake Up Timer Program the date/time to wake up your system.
Over-current Protection CPU over-current protection to prevent any accident short circuit.
CPU Thermal Protection Warning when CPU temperature is higher than a predefined value.
Fan Monitoring Two fan connectors, warning when CPU or housing fan is malfunction.
System Voltage Monitoring This design will monitor your system working voltage continuously.
Switching Regulator High efficient switching regulator for future CPU.
Sound Blaster Link If you have a Creative-compatible PCI sound card, it is necessary to link the
card to this connector for compatibility issue under DOS environment.
FCC DoC certificate AX6BC has passed FCC DoC test. The radiation is very low, you can use
any kind of housing.
Note: This Quick Installation Guide is only for quick reference. For more information,
please see the User's manual.
Setting CPU Core Voltage
This motherboard supports Pentium II VID function, the CPU core voltage is automatically
detected, the range is from 1.3V to 3.5V.
JP14:ClearCMOS
Panel
LAN-WKUP: LAN Wake Upconnector
CPU FAN
CPU SLOT 1
IDE1 connector
IDE2 connector
FAN
USB connector
PS/2 MS andKB2 connector
COM1,COM2 andPRINTER
IrDAconnector
FDC connector
SB-Linkconnector
WKUP:Wake Upconnector

Quick Installation Guide
~2~
2
Setting CPU Frequency
The CPU frequency selection is set by going into:
BOIS Setup àChipset Features Setup àCPU Clock Frequency
BOIS Setup àChipset Features Setup àCPU Clock Ratio
Core frequency = Ratio * External bus clock
INTEL Pentium II CPU Core Frequency Ratio External Bus Clock
Pentium II 233 (Klamath) 233MHz = 3.5x 66MHz
Pentium II 266 (Klamath) 266MHz = 4x 66MHz
Pentium II 300 (Klamath) 300MHz = 4.5x 66MHz
Pentium II 333 (Deschutes) 333MHz = 5x 66MHz
Pentium II 350 (Deschutes) 350MHz = 3.5x 100MHz
Pentium II 400 (Deschutes) 400MHz = 4x 100MHz
Pentium II 450 (Deschutes) 450MHz = 4.5x 100MHz
Celeron 266 266MHz= 4x 66MHz
Celeron 300 300MHz= 4.5x 66MHz
Mendocino 300 300MHz= 4.5x 66MHz
Mendocino 333 333MHz= 5x 66MHz
Use <Home> Key to Clear CPU Frequency Setting
If your system hangs or fails to boot because of over-clocking, simply use <Home> key to
restore to the default setting (233MHz). By this smart design, it would be more convenient to
clear CPU frequency setting. For using this function, you just need to press <Home> key first
and then press Power button at the same time. Note that do not release <Home> key until
POST screen appearing .
Connecting CPU Fan
Plug in the fan cable to the 3-pin CPU FAN or FAN
connector. Both of these two fan connectors support
hardware monitoring function, however, you can only
use the CPU FAN connector to control the fan power
ON/OFF.
Battery-less Motherboard
To preserve the earth, AOpen AX6BC implements the world first battery-less motherboard
design. There is no need to have battery for RTC (real time clock) and CMOS Setup as long
as ATX power cable is plugged. In case of the AC power is shutdown or power cord is
removed by accident, the CMOS Setup and system configuration can be restored from
EEPROM, only the system clock needed to be re-set to current date/time.
AGP Ratio
To improve system performance, AX6BC has implemented
this jumper for AGP to synchronize the CPU 100Mhz (or
above) external frequency. We recommend choosing a
better AGP card for overclocking. Some AGP cards can
not take 100MHz bus frequency and may cause
overclocking failure.

Quick Installation Guide
~3~
Connecting Front Panel Cable
Attach the power LED, keylock, speaker,
and reset switch connectors to the
corresponding pins.
1
Speaker
ACPI LED
Keylock
Reset
11
10
20
+
+
+
+
Load BIOS Setup Default
To enter the BIOS Setup, press during POST (Power-On Self Test). Choose "Load
Setup Defaults" for recommended optimal performance. Please avoid of using "Load Turbo
Defaults", unless you are sure your system components (CPU, DRAM, HDD, etc.) are good
enough for turbo setting. For detailed information, please refer to "AWARD BIOS" section in
the User's Manual.
Eliminate "?" marks in Win95
Intel has introduced 430TX/440LX/440BX chipset with latest feature of "ACPI", "USB" & "Ultra
DMA/33". Since these devices are so new that Win95 did not anticipate to support them on
Aug. of '95 which Win'95 initially is being released. To solve this problem, AOpen software
team spends few weeks to develop an utility -- AOchip.exe. You can find this utility in the
bundled CD title or from our web site. It is very user friendly and can be used on any TX/LX/BX
motherboard, not limited to AOpen's motherboard. For using this utility, simply run aochip.exe.
Installing Ultra DMA/33 Driver
You need the bus master IDE driver and the bus master IDE HDD to support bus master IDE
mode. This driver is available in the bundled CD or our web. You may run setup.exe directly to
install this program.
Warning: Installing this driver may cause Suspend to Hard Drive failure.
CPU Thermal Protection
When CPU temperature is higher than a predefined value, the CPU speed will automatically
slow down and the PC speaker will beep. To work with this feature, AOpen software team
develop an Hardware Monitor Utility, which can help you monitor the CPU temperature and
voltage. This program is available in the bundled CD title or our homepage.
Sound Blaster Link
The SB-LINK connector can be used to link Creative-
compatible PCI sound card. If you have a Creative-
compatible PCI sound card, it is necessary to link the card to
this connector for compatibility issue under DOS
environment.

Quick Installation Guide
~4~
4
Zero Voltage Modem Wake Up
In conjunction with ATX soft power On/Off, it is possible to have system totally power off and
wakeup to automatically answer a phone call such as answering machine or to send/receive
fax. The most important break through is not only external box modem but also internal
modem card can be used to support Modem Wake Up. AX6BC and MP56 internal modem
card implement special circuit to make sure the modem card work properly without any power.
For more information about Modem Wake Up, please see the user's manual.
How to use Suspend to Hard Drive?
Option 1: Use /file switch (applied to FAT16 file system):
Please use following command to create a hidden file in the root directory of your hard disk for
Suspend to Hard Drive to save the system status and memory image.
C:>AOZVHDD /c /file
Please make sure that you have enough continuous HDD space for creating this hidden file.
For example, if you have 32MB of system memory and 4MB of VGA memory, you need at
least 36MB (32MB + 4MB) of continuous HDD space. If AOZVHDD failed to allocate the HDD
space, you may run "DEFRAG" Utility or "Disk Defragmenter" which come with MS-DOS or
Win'95 to free HDD space.
Option2: Use /partition switch (applied to FAT16/FAT32 file system):
To create a separate partition for Suspend to Hard Drive, please make sure you have reserved
a free partition. We suggest you reserve the free partition which space is appropriate for your
future memory expansion. For example, if you have 32MB of system memory and 4MB of VGA
memory currently, but you plan to upgrade system memory to 64MB in the near future, then
you may reserve a 68MB (64MB+4MB) space by using a disk utility (such as fdisk). Next, use
following command to create a suspend partition:
C:>AOZVHDD /c /partition
If there is no extra free partition and you don't want your data lost, please do not use this
partition method.
For more information, please see user's manual.
How to Upgrade BIOS?
To upgrade your BIOS, please follow the steps as below:
1. Get new BIOS binary file from AOpen's web site. For example, AX6BC110.BIN.
2. Bootup the system from floppy without loading any memory handler (such as EMM386) or
device driver.
3. Execute C:> AOFLASH AX6BC110.BIN
4. After loading the new BIOS code, the utility will prompt you to save original BIOS code into
your HDD or floppy. Please press "Y" to store it as "BIOS.OLD".
5. After the old BIOS has been successfully saved, press "Y" to replace BIOS.
6. DO NOT turn off the power during "FLASHING".
7. Reboot the system by turn off the power after "FLASHING".
8. Press "DEL" key to enter BIOS setup during POST.
9. Reload the "BIOS SETUP DEFAULT" and reconfigure other items as previous set.
10. Save & Exit. Done!
For more information, please refer to "BIOS Flash Utility" in the user's manual.
Other manuals for AX6BC PROII
3
Table of contents
Other AOpen Motherboard manuals

AOpen
AOpen AX4BR-U User manual

AOpen
AOpen AK77-600N User manual

AOpen
AOpen Fortress 1100 Datasheet

AOpen
AOpen s760GXm-US User manual

AOpen
AOpen AK73 Series Setup guide

AOpen
AOpen i915Ga-EFRII Datasheet

AOpen
AOpen AX4B-G2 User manual

AOpen
AOpen MX4SGI-4DL Datasheet

AOpen
AOpen AX64 Setup guide

AOpen
AOpen AX4BR-U User manual