Lab-Grade Instruments Designed Specifically For Growers Lab-Grade Instruments Designed Specifically For Growers
Trouble Reason How to fix
Cannot calibrate
Incorrect calibration order Power on the tester, calibrate pH 7 first, then pH 4. After pH 4 is calibrated, if you want to
calibrate pH 7 again, you need to reboot the tester.
Poor quality standard
solutions
Replace with fresh and clean standard calibration solutionsmade by legitimate scientific
instrument manufacturers.
Contaminated probe Clean the probe with Apera’s cleaning solution or detergent water.
Aged probe Replace the probe.
Dried-out probe Soak the probe in the 3M KCL soaking solution for at least 1 hour.
Probe is not fully submerged
in the solution Make sure the probe is fully immersed in the solution at least 1inch deep.
Air bubbles around the sensor Make a quick stir in the solution to remove air bubbles.
Reading is always
slowly changing,
won’t stabilize.
Contaminated probe Clean the probe with Apera’s cleaning solution or detergent water.
Clogged junction Clean the probe with Apera’s cleaning solution, then soak it in 3M KCL soaking solution
overnight.
Aged probe Replace the probe.
Testing pH of low iconic
strength solutions like tap
water, drinking water, RO
water
Be patient, wait for 2-5 minutes to reach afully stabilizedreading. If still not stabilizing, add
1ml of 3M KCL solution to 1000ml of test solution.
Display similar
readings in any
solutions or always
display 7.0 pH
Broken probe
Make sure the soil is wet. Testing in dry soil will damage the probe. If you don’t find any
visible damage of the probe and it’s within the 1-year probe warranty, contact your point
of purchase for warranty fulfillment;
If there is visible damage or the probe is more than 1-year old, replace the probe.
Reading keeps
jumping
Probe is not fully submerged
in the solution Make sure the probe is fully immersed in the solution at least 1inch deep.
Air bubbles around the sensor Make a quick stir in the solution to remove air bubbles.
Probe is not properly
connected or the pin
connector is broken.
Check the probe’s connector, make sure it’s not broken and is correctly connected. Align
the probe and instrument correctly before plugging in. Never force it.
Ensure that the probe connector is not exposed in the air too long.
Calibration is
successful, but
reading is not
accurate or
consistent
Contaminated probe
After each measurement, make sure to use asoft brush with water to clean off all the dirt
on the probe, especially the white PTFE junction ring. Avoid wiping or rubbing the blue
spear tip.
Soil difference
Soil in different locations and different depth will have slightly different pH values. Even
when the angle at which you stick in the probe is different, the measurement can also be
affected. Therefore, selecting multiple locations and sticking in the probe at the same
depth and angle, then calculating the average is the best way to maximizeaccuracy.
Aged probe Replace the probe.
Air bubbles around the sensor Make a quick stir in the solution to remove air bubbles.
Clogged junction Clean the probe with cleaning solution, then soak it in 3M KCL soaking solution overnight
Comparison with other
testers, test strips, or drop
tests
To compare with other testers, make sure to perform a 2-point calibration for all testers in
the same standards, then test a 3rd point. Whichever gives more accurate reading in the 3rd
point standard is the most accurate one.
Test strips or drop tests’ accuracy is not comparable to pH meters’.
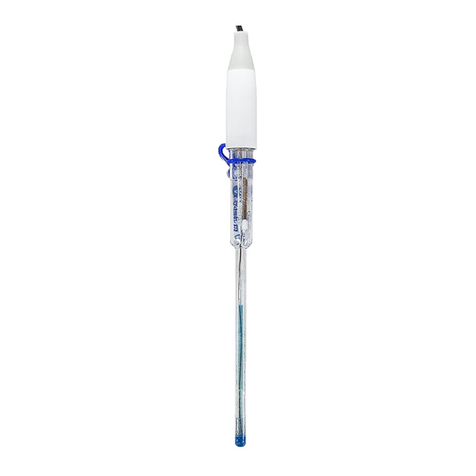
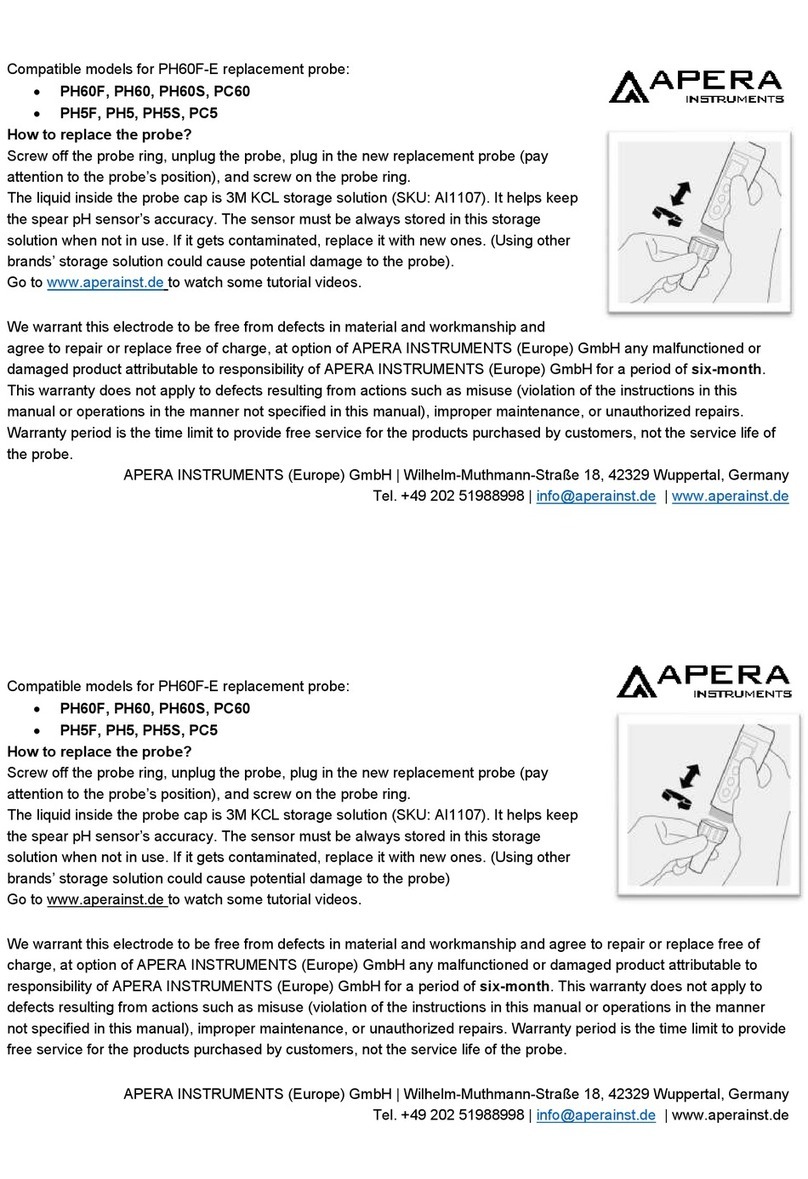
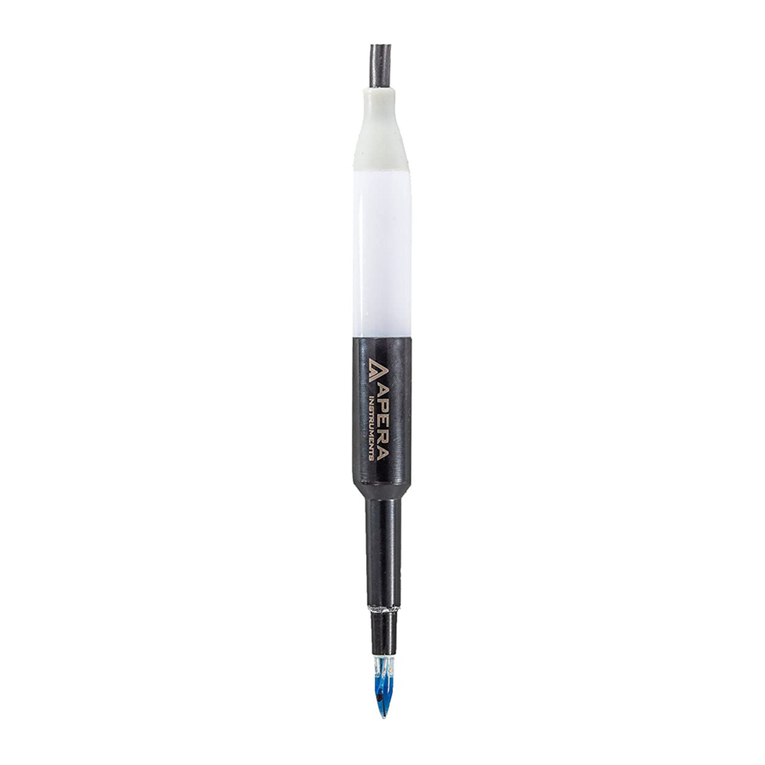
Screw off the probe ring, unplug the
old probe; plug in the new probe (make
sure to align the connector's position
properly), and screw on the probe ring.
pH probes don’t last forever. Every pH probe will
eventually age and fail even if you don't use it that
often. The typical service life of GroStar pH probes is
18-24 months depending on the frequency of usage
and how well you keep it clean and properly stored.
We recommend replacing your probe at least every
18 months to ensure the best accuracy.
The nice thing about GroStar pens is that you can
just buy a replacement probe instead of a whole new
tester.
12.1 Never store the probe in pure water such as tap water, RO water, distilled water, deionized water, etc.
12.2 Never use your finger to touch the glass membrane or use other material to wipe it.
12.3 Avoid testing in high (>113°F) or low temperature (<41°C) solutions as it will cause greater measurement
error and cause damage to the probe. Test your samples and perform calibration close to room
temperature as much as possible.
12.4 Never test oily liquids.
12.5 Make sure the battery cap is completely closed with the O-ring. Otherwise, the waterproof rating could be
compromised.
10
11
12
13
08 09
Battery Replacement
Probe Replacement
Notes
Troubleshooting Guide
① Pull up the battery cap (might take some force).
② Slide the battery cover along the OPEN arrow to open the cover.
③ Open the battery cover.
④ Insert the batteries (ALL POSITIVE SIDES FACING UP).
⑤ Press down the battery cover and hold it.
⑥ Slide the battery cover along the LOCK arrow to lock the cover.
⑦ Close the battery cap. Make sure to push it all the way down.
The tester’s waterproof rating may be compromised if the battery cap is not tightly closed.

