AQUADUCT
3. Be careful when removing existing conventional cooling devices.
3. Be careful when removing existing conventional cooling devices.3. Be careful when removing existing conventional cooling devices.
3. Be careful when removing existing conventional cooling devices.
Especially when removing cooling devices that are glued on, there is
Especially when removing cooling devices that are glued on, there isEspecially when removing cooling devices that are glued on, there is
Especially when removing cooling devices that are glued on, there is
a risk of damaging the hardware!
a risk of damaging the hardware!a risk of damaging the hardware!
a risk of damaging the hardware!
4. To connect the waterblocks for the PC hardware, it is normally
4. To connect the waterblocks for the PC hardware, it is normally4. To connect the waterblocks for the PC hardware, it is normally
4. To connect the waterblocks for the PC hardware, it is normally
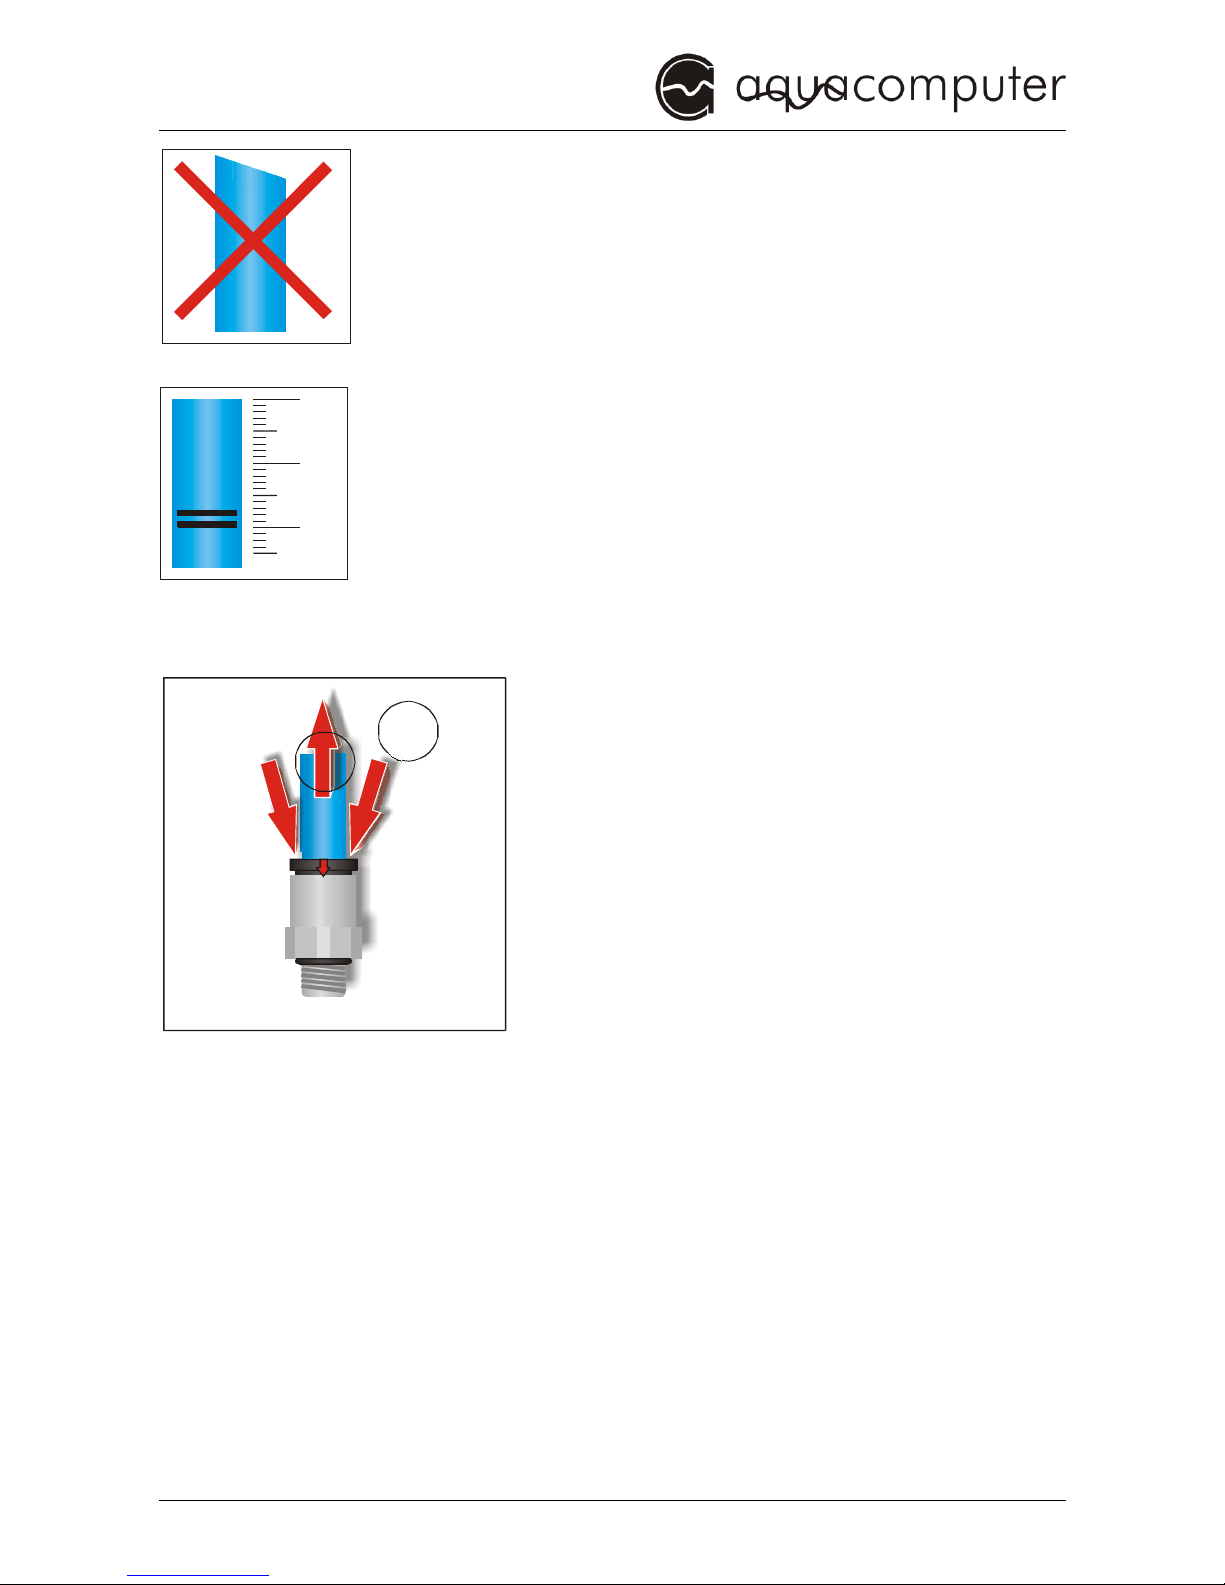
necessary to pass hoses inside the case. The holes in the bracket of
necessary to pass hoses inside the case. The holes in the bracket ofnecessary to pass hoses inside the case. The holes in the bracket of
necessary to pass hoses inside the case. The holes in the bracket of
the pc interface board feature suitable holes, equipped with rubber
the pc interface board feature suitable holes, equipped with rubberthe pc interface board feature suitable holes, equipped with rubber
the pc interface board feature suitable holes, equipped with rubber
protectors to prevent damaging the hoses. If using hoses with bigger
protectors to prevent damaging the hoses. If using hoses with biggerprotectors to prevent damaging the hoses. If using hoses with bigger
protectors to prevent damaging the hoses. If using hoses with bigger
outer diameters, suitable protective lead-throughs must be used!
outer diameters, suitable protective lead-throughs must be used!outer diameters, suitable protective lead-throughs must be used!
outer diameters, suitable protective lead-throughs must be used!
5. Do not start your computer before you are absolutely sure that no
5. Do not start your computer before you are absolutely sure that no5. Do not start your computer before you are absolutely sure that no
5. Do not start your computer before you are absolutely sure that no
water leaks from the system!
water leaks from the system! water leaks from the system!
water leaks from the system!
6. Pay attention to the
6. Pay attention to the 6. Pay attention to the
6. Pay attention to the care instructions
care instructionscare instructions
care instructions at the end of this manual.
at the end of this manual. at the end of this manual.
at the end of this manual.
Specially avoid any contact of the Plexiglas components with
Specially avoid any contact of the Plexiglas components withSpecially avoid any contact of the Plexiglas components with
Specially avoid any contact of the Plexiglas components with
solvents!
solvents!solvents!
solvents!
7
77
7. Make sure that your wall socket is protected by an FI-fuse!
Make sure that your wall socket is protected by an FI-fuse!Make sure that your wall socket is protected by an FI-fuse!
Make sure that your wall socket is protected by an FI-fuse!
8. Maintain a minimum distance of 0.5 m between the aquaduct and
8. Maintain a minimum distance of 0.5 m between the aquaduct and8. Maintain a minimum distance of 0.5 m between the aquaduct and
8. Maintain a minimum distance of 0.5 m between the aquaduct and
devices that could react in a sensible way to magnetic or
devices that could react in a sensible way to magnetic ordevices that could react in a sensible way to magnetic or
devices that could react in a sensible way to magnetic or
electromagnetic fields!
electromagnetic fields!electromagnetic fields!
electromagnetic fields!
9. Make sure that the computer can not be operated when the
9. Make sure that the computer can not be operated when the9. Make sure that the computer can not be operated when the
9. Make sure that the computer can not be operated when the
aquaduct is switched off. Use a multiple socket with a switch for
aquaduct is switched off. Use a multiple socket with a switch foraquaduct is switched off. Use a multiple socket with a switch for
aquaduct is switched off. Use a multiple socket with a switch for
example, via which you connect the aquaduct AND the computer to
example, via which you connect the aquaduct AND the computer toexample, via which you connect the aquaduct AND the computer to
example, via which you connect the aquaduct AND the computer to
the power outlet! (230 V and 115 V versions)
the power outlet! (230 V and 115 V versions)the power outlet! (230 V and 115 V versions)
the power outlet! (230 V and 115 V versions)
10. During operation of the computer constantly observe the
10. During operation of the computer constantly observe the10. During operation of the computer constantly observe the
10. During operation of the computer constantly observe the
temperature of the processor. Use software or hardware with a
temperature of the processor. Use software or hardware with atemperature of the processor. Use software or hardware with a
temperature of the processor. Use software or hardware with a
warning- or switch-off-feature for this purpose, since a failure of the
warning- or switch-off-feature for this purpose, since a failure of thewarning- or switch-off-feature for this purpose, since a failure of the
warning- or switch-off-feature for this purpose, since a failure of the
cooling system is not audible. Should the temperature of the processor
cooling system is not audible. Should the temperature of the processorcooling system is not audible. Should the temperature of the processor
cooling system is not audible. Should the temperature of the processor
exceed 65°C (149°F) turn off the computer immediately!
exceed 65°C (149°F) turn off the computer immediately! exceed 65°C (149°F) turn off the computer immediately!
exceed 65°C (149°F) turn off the computer immediately!
- 6 - Aqua Computer GmbH & Co. KG © 2007-2012
Gelliehäuser Str. 1, 37130 Gleichen