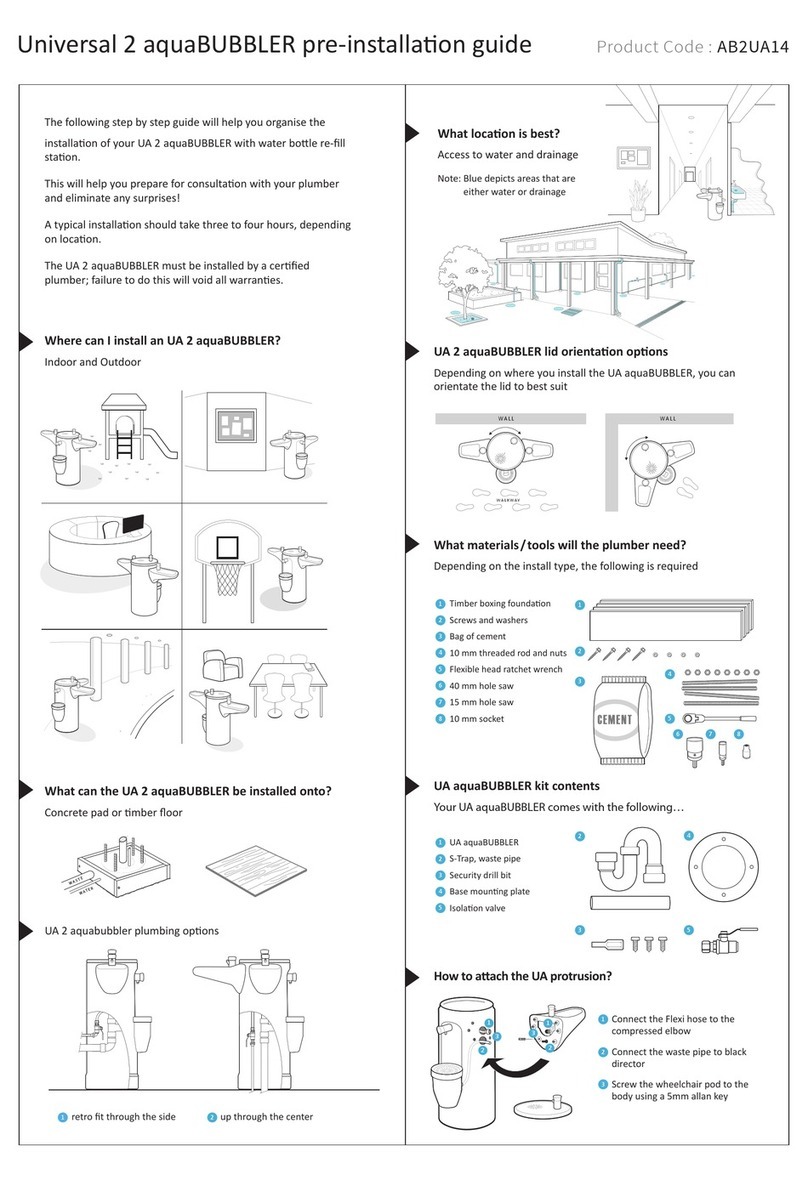
aquaBUBBLER AB12 User manual
Other aquaBUBBLER Water System manuals
Popular Water System manuals by other brands

Accu-Tab
Accu-Tab PowerBase 3070AT Installation and operating instructions

Energy Plus
Energy Plus VTS30HP Manual of installation and use

Spirotech
Spirotech SPIROVENT SUPERIOR S250 user manual

Culligan
Culligan Aqua-Cleer Aqua-Cleer Advanced Drinking Water... owner's guide

A.O. Smith
A.O. Smith Dura-Max AJH - 1000A - P instruction manual

Microline
Microline T.F.C.-4 Installation, operation & service manual

Eureka Forbes
Eureka Forbes Aquaguard Select user manual

Cetetherm
Cetetherm AquaEfficiency Quick installation guide

CB Tech
CB Tech CB-VOC installation guide

Vaillant
Vaillant auroFLOW plus VPM 15 D Installation and maintenance instructions

resideo
resideo Braukmann HS10S installation instructions

Gude
Gude INOX 100/24 manual

Mono
Mono Eco 1-60 Installation, operation and maintenance instructions

SpectraPure
SpectraPure Drinking Water Kit instructions

HydroCare
HydroCare Dual Action Installation, use & care guide

Alpha
Alpha SolarSmart 150 Installation and servicing instructions

TA
TA FRISTAR3 operating manual

GÜDE
GÜDE HWA 800 K manual


