10
ARISTON DISHWASHER - Instructions for installation and use
DISHWASHER
Safety within your home
Your dishwasher was built in accordance with the strictest international safety regulations. They protect
you and your family. Read the instructions and information contained in this manual: they will provide
you with useful hints as to installation, use and maintenance safety. To avoid nasty surprises.
1. Dispose of the packaging
materialcarefully (follow the
instructionson how to divide
your rubbish up provided by
yourlocalCouncil)
2. Afterremoving thepackaging,
check to make sure your
applianceis intact. If in doubt,
contact a qualified
professional.
3. Yourdishwashermustonlybe
usedbyadultsandforwashing
householddishes,accordingto
the instructions included in
thismanual. Do not touch the
appliance with wet hands or
feet or barefoot.
4. We discourage the use of
extension leads and multiple
plugs.If the electricity supply
wire is not long enough, then
have it replaced with one of
the correct length and
remember that it should be
free of bends or dangerous
kinks.
5. If the appliance is not operating
properly or if maintenance
operations are necessary,
disconnect the dishwasher
fromthemainspowersupply
(unplugit!).
6. Keep children away from the
dishwasherwhenitisopenand
keep detergents out of their
reach.
7. Your dishwasher is not to be
installedoutdoors, not even if
the area is covered by a roof:
it is extremely dangerous to
leave it exposed to rain and
thunderstorms.
8. Do not touch the heating
elementduringorstraightafter
a wash cycle.
9. Do not lean or sit on the door
when it is open, as this could
overturnthe dishwasher.
10. If the appliancemalfunctions,
turnoff thewaterinlet tap and
disconnect the plug from the
wall socket. Then try
consultingthe sectionentitled
"I you have a problem, read
this".If you cannotresolvethe
problem,thencalltheservice
centre.
If you have a problem, read this
Your dishwasher may not work or not function properly. In many cases, these are problems which can be
solved without having to call for a technician. Before calling the service centre, always check the points
below.
The dishwasher won't
start
■Is the water supply tap turned
on?
■Is the water supply tap
connectedtothehose properly?
■Has the water in your home
been cut off?
■Is the pressure of the water
supplysufficient?
■Is the hose bent?
■Isthe filter on the water supply
hoseblocked?
■Isthe dishwasher dooropen?
The dishes are not
clean.
■Have you put the right amount
ofdetergent intothedispenser?
■Is the wash cycle suitable for
the dishes you have placed
insidetheappliance?
■Are the filter and microfilter
clean?
■Can the sprayer arms turn
freely?
The dishwasher won't
drain.
■Isthe drain hose bent?
Limescale deposits or
a white film form on
the dishes.
■Is the lid on the salt container
closedproperly?
■Isthe rinse aid dosage correct?
Error messages
Your dishwasher is equippedwith
a safety system which is able to
detect any operating anomalies.
These anomalies are reported by
one or two cycle phase indicator
lights "G" flashing rapidly. Take a
note of which lights are flashing,
turn the appliance off and call for
technicalassistance.
Tap off alarm
If you have forgotten to turn the
water tap on, your appliance will
remind you of this by sounding a
fewshortbeepsforafew minutes.
Turn the tap onandyour appliance
will start up again after a few
minutes. Were you to be absent
whenthesebeepsaresounded,the
appliance will be blocked
automatically and indicator lights
2 and 3 (wash and rinse) will flash
rapidly. Turn the appliance off at
the ON-OFF button, turn on the
watertap and wait approximately
20 seconds before turning the
appliancebackon,thewashcycle
will start up again.
Troubleshooting
You have checked
everything, but the
dishwasher still doesn't
work and the problem
persists?
Call an authorised service centre
nearyouandremembertomention:
thetype of malfunction
themodelmark (Mod.)andthe
serialnumber(S/N.)indicatedon
theratingplatelocated ontheinner
door,toone side.
11. Once taken out of use,
appliances must be made
inoperable: cut the power
supply wire and damage the
doorlock.
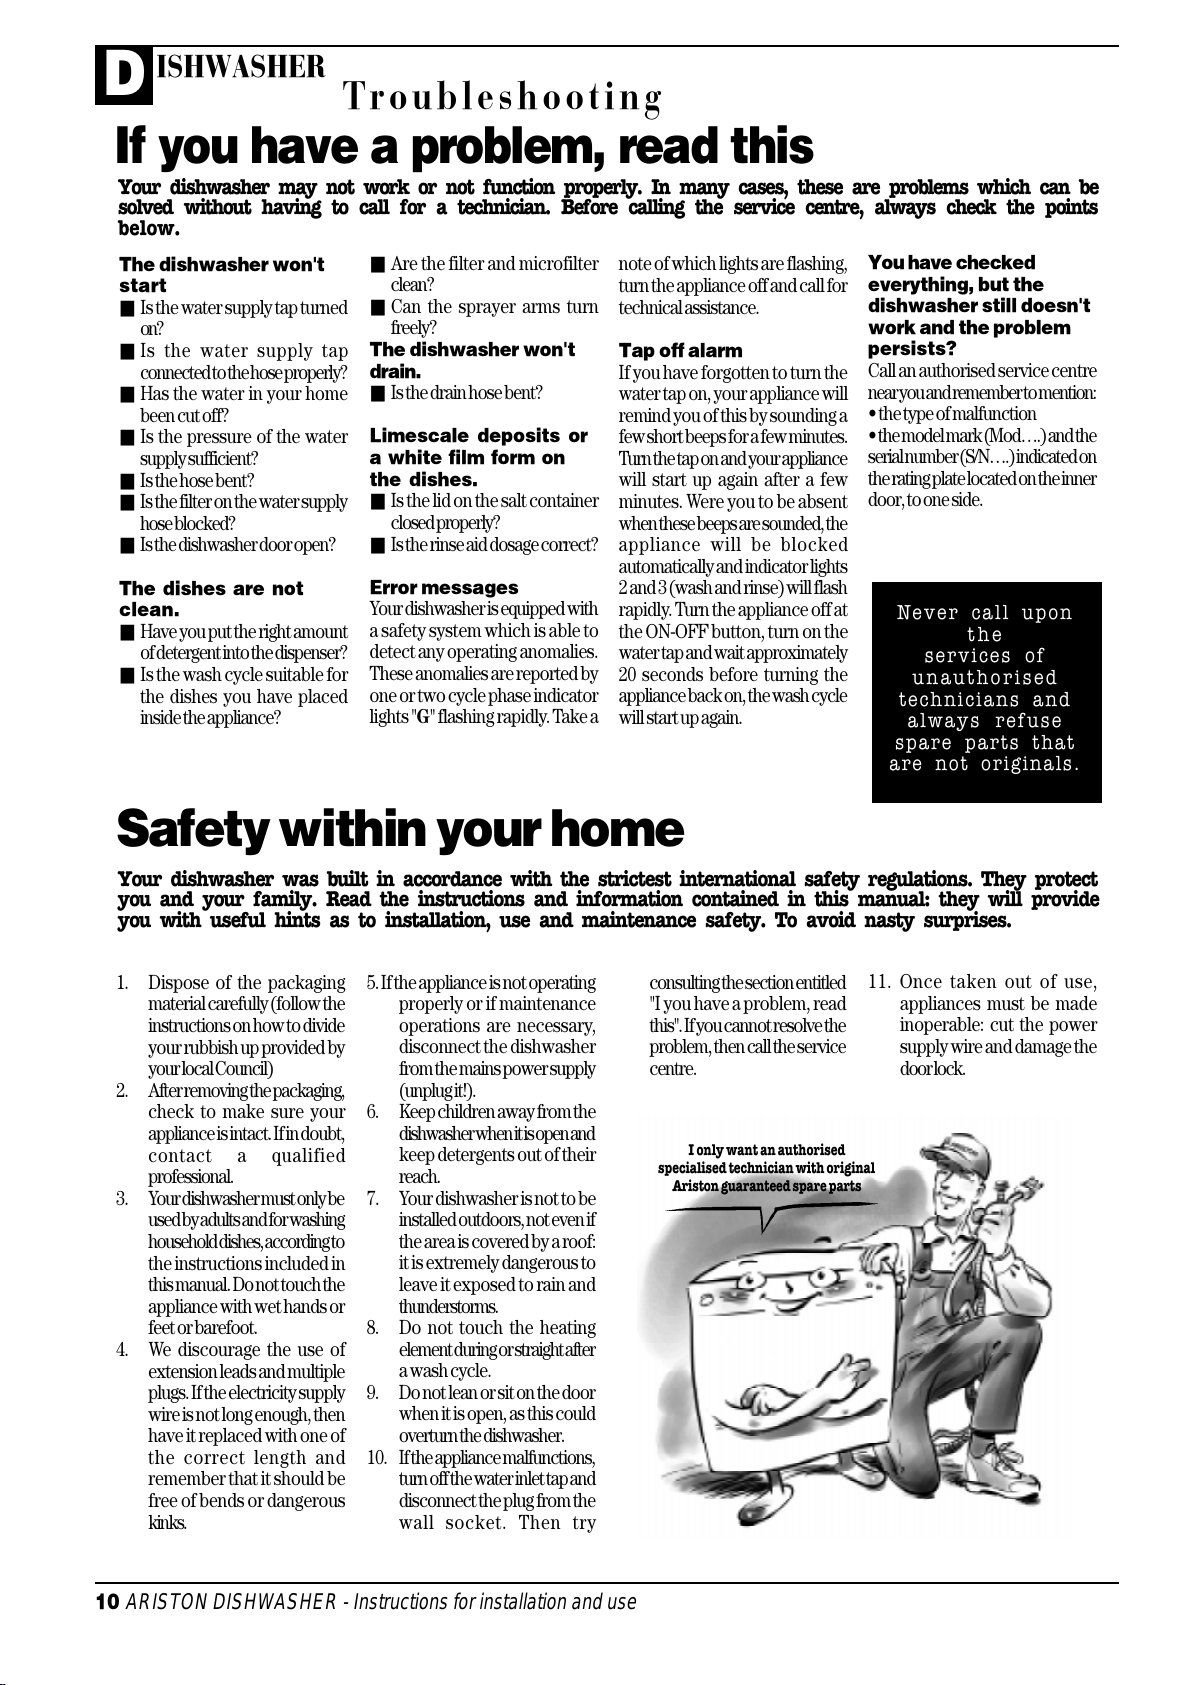
I only want an authorised
specialised technician with original
Ariston guaranteed spare parts
Never call upon
the
services of
unauthorised
technicians and
always refuse
spare parts that
are not originals.