Due to ontinuous produ t resear h and development, the information ontained herein is subje t to hange without noti e
Page 2
INSTALLATION, OPERATION & MAINTENANCE
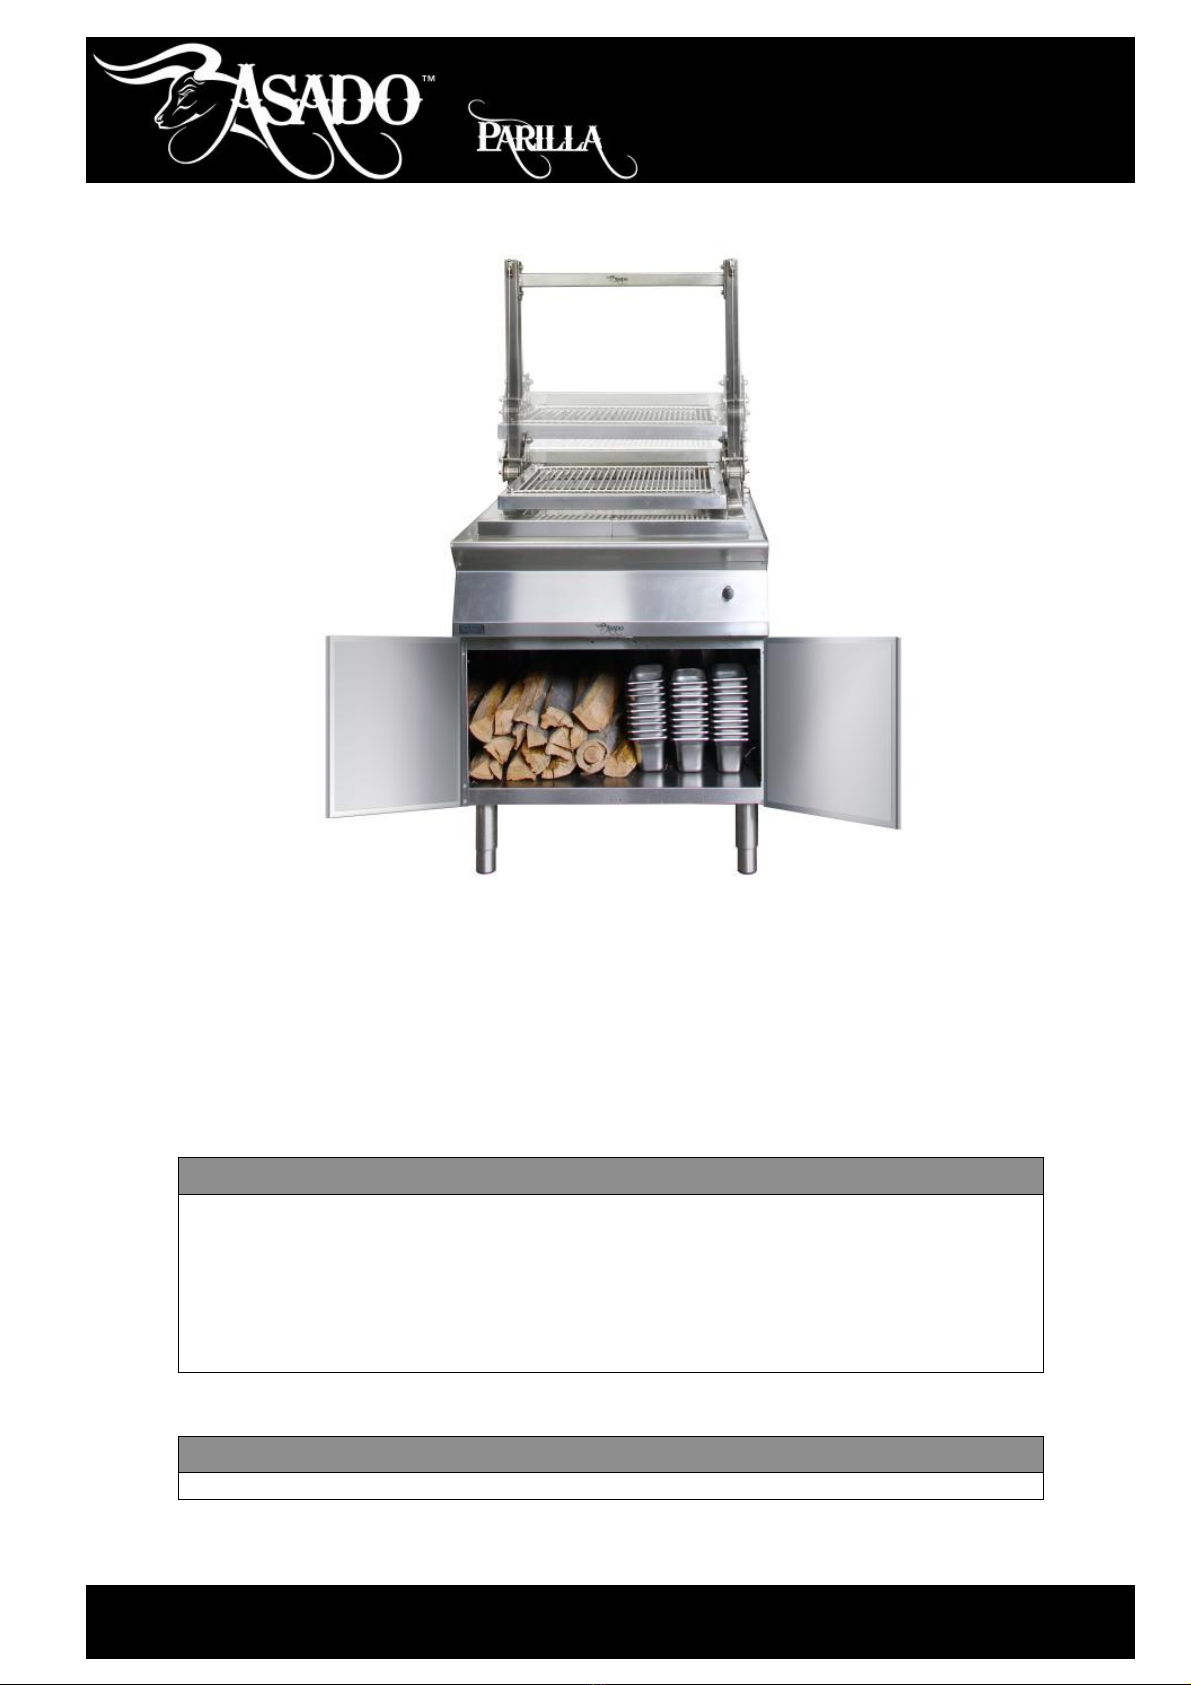
Asado Parilla Grill SPAS.PGA.EL9.x
Revision Date: 24/06/2015 Tel: 1300 79 1954 Email: fse@stoddart. om.au
Version 1 Page 2 of 28 Web: www.stoddart. om.au
Table of Contents
General Re ommendations ................................................................................. 4
Important Information ....................................................................................................... 4
General Safety ................................................................................................................... 4
Servi e .................................................................................................................. 4
Sharp Edges .......................................................................................................... 4
Power Cables ......................................................................................................... 4
Spe ifi ations ..................................................................................................... 5
Introdu tion....................................................................................................................... 5
Produ t Overview ................................................................................................... 5
Te hni al .......................................................................................................................... 5
Code Explanation ................................................................................................... 6
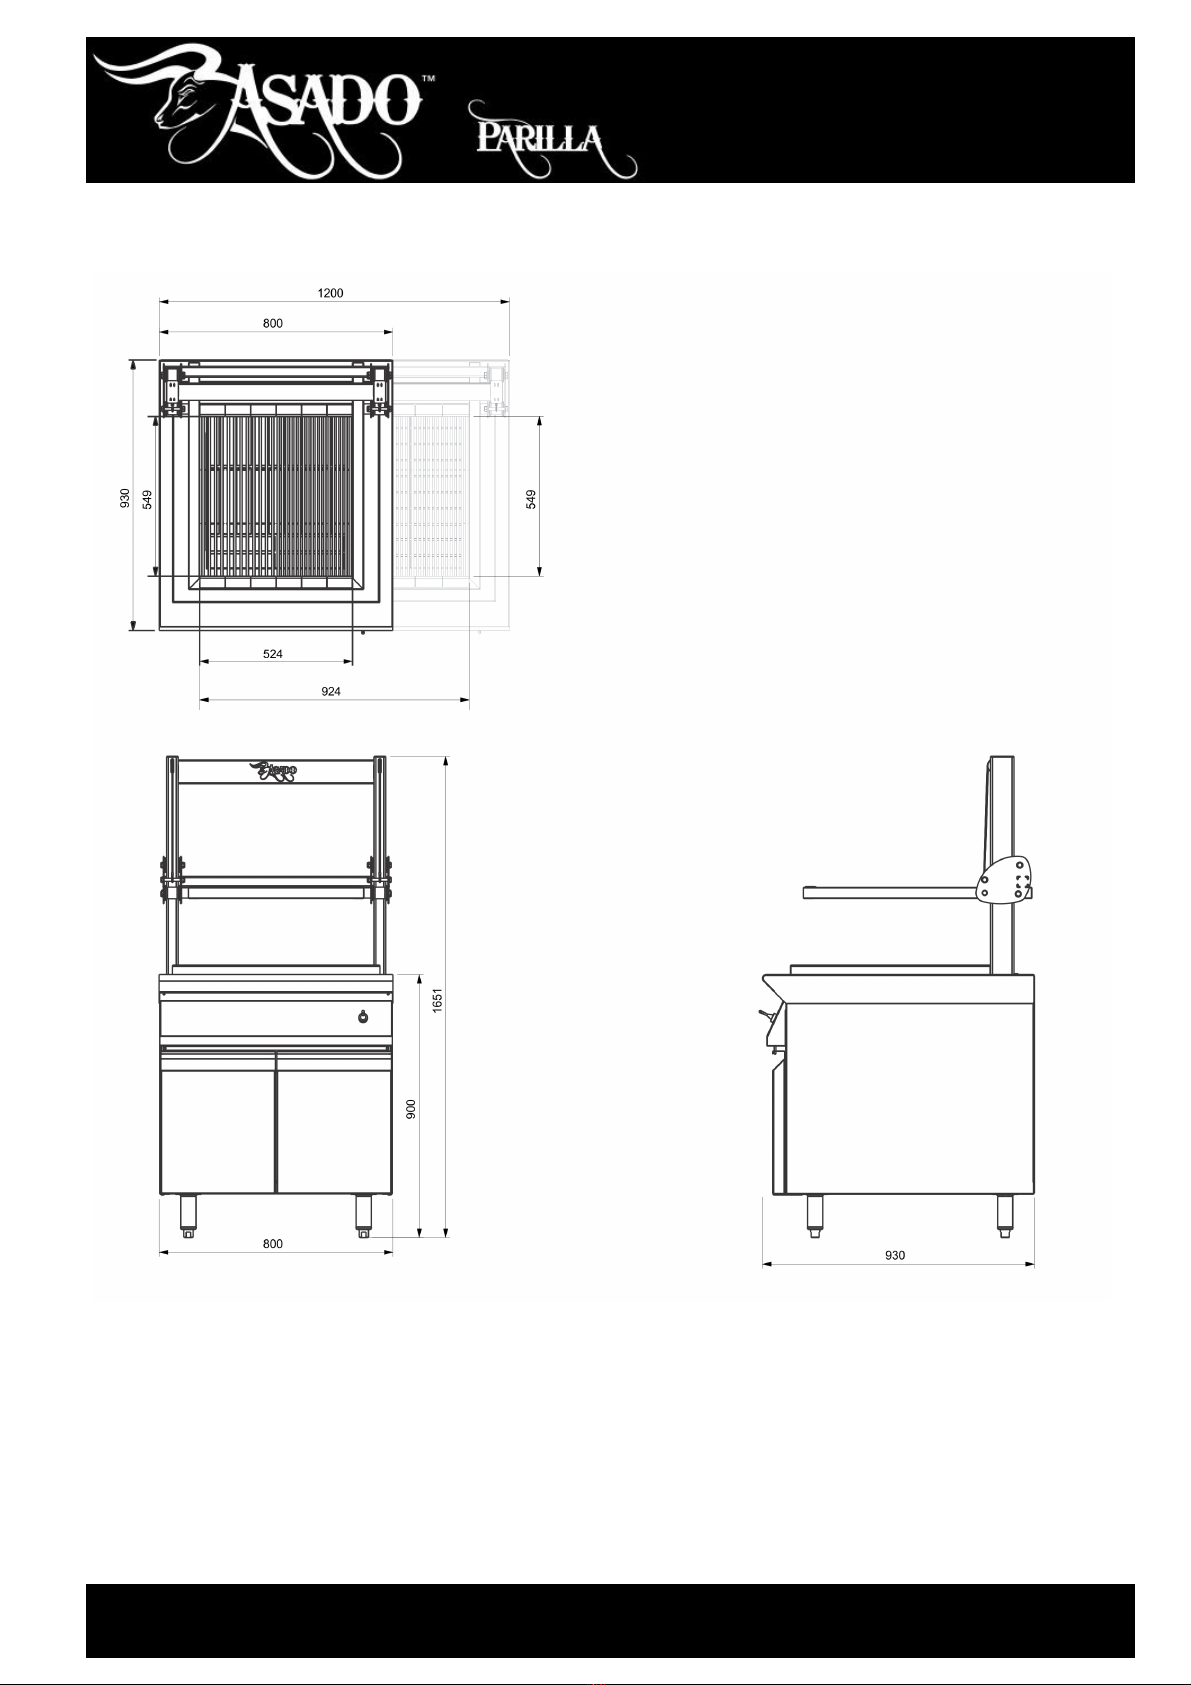
Te hni al Spe ifi ations .......................................................................................... 6
Te hni al/Conne tion Diagram ................................................................................ 7
Rating Plate ........................................................................................................... 8
Installation ........................................................................................................ 9
General Pre autions ........................................................................................................... 9
Setting Up ....................................................................................................................... 10
Handling .............................................................................................................. 10
Site Preparation ................................................................................................... 10
Unpa king ........................................................................................................... 10
Positioning ........................................................................................................... 10
Ele tri al ......................................................................................................................... 11
Power Supply ....................................................................................................... 11
Grounding ........................................................................................................... 11
Operation ........................................................................................................ 12
General Re ommendations ............................................................................................... 12
Unit Operation ................................................................................................................. 13
Moving the Grill ................................................................................................... 13
Fire ..................................................................................................................... 14
After Hours ...................................................................................................................... 15
Information ......................................................................................................... 15
Cleaning .......................................................................................................................... 15
S hedules ............................................................................................................ 15
Information ......................................................................................................... 15
External Surfa es ................................................................................................. 16
Grills ................................................................................................................... 16
Fire Pit ................................................................................................................ 16
Maintenan e .................................................................................................... 17
Routines .......................................................................................................................... 17
S hedules ............................................................................................................ 17
Log Books ........................................................................................................... 17
Inspe tion ........................................................................................................... 17
Faults .................................................................................................................. 17
Lift Me hanism................................................................................................................. 17
Information ......................................................................................................... 17
Stainless Steel Prote tion .................................................................................................. 18
Cleaning .............................................................................................................. 18
Corrosion Prote tion ............................................................................................. 18
Surfa e Finish ...................................................................................................... 18
Water Damage ................................................................................................................ 19