11
OFF
ON
OFF
ON
OFF
ON
OFF
ON
OFF
ON
OFF
ON
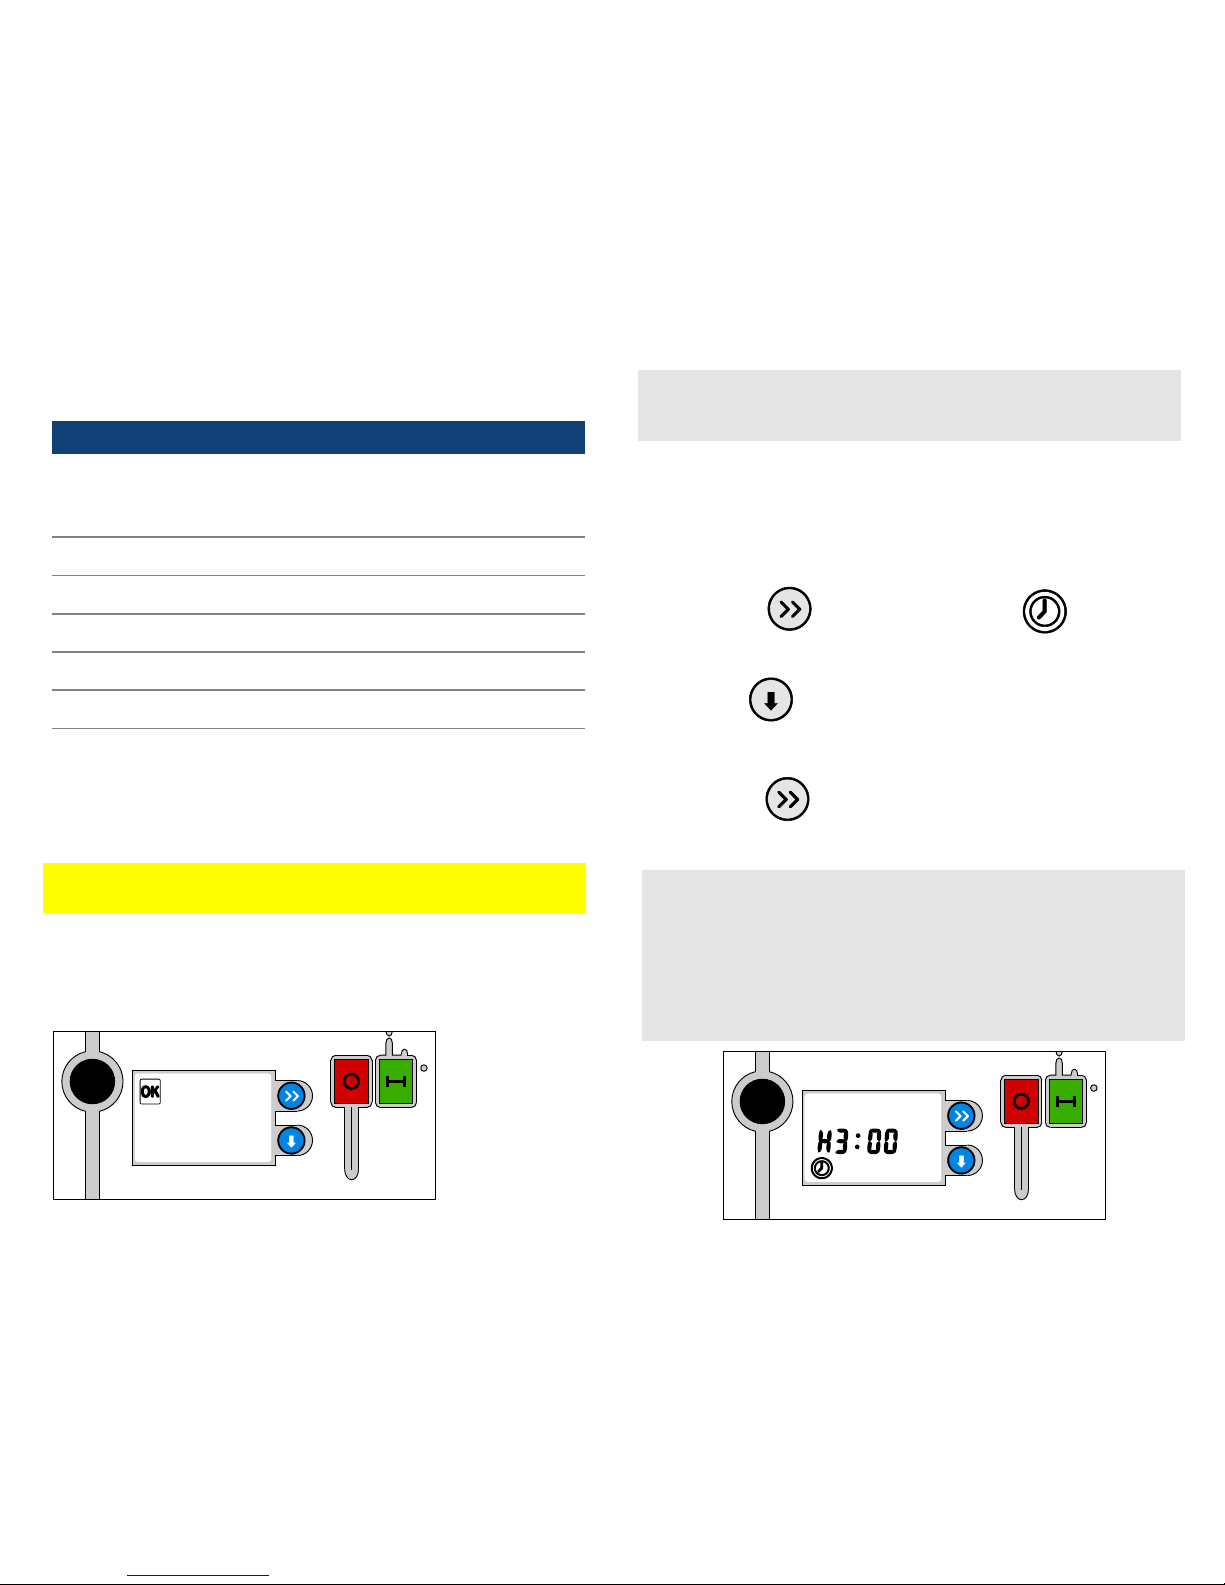
d) After programing the cleaning cycle time, the current total cleaning
time appears on the power supply display. The total time is displayed
until the end of the current cleaning cycle.
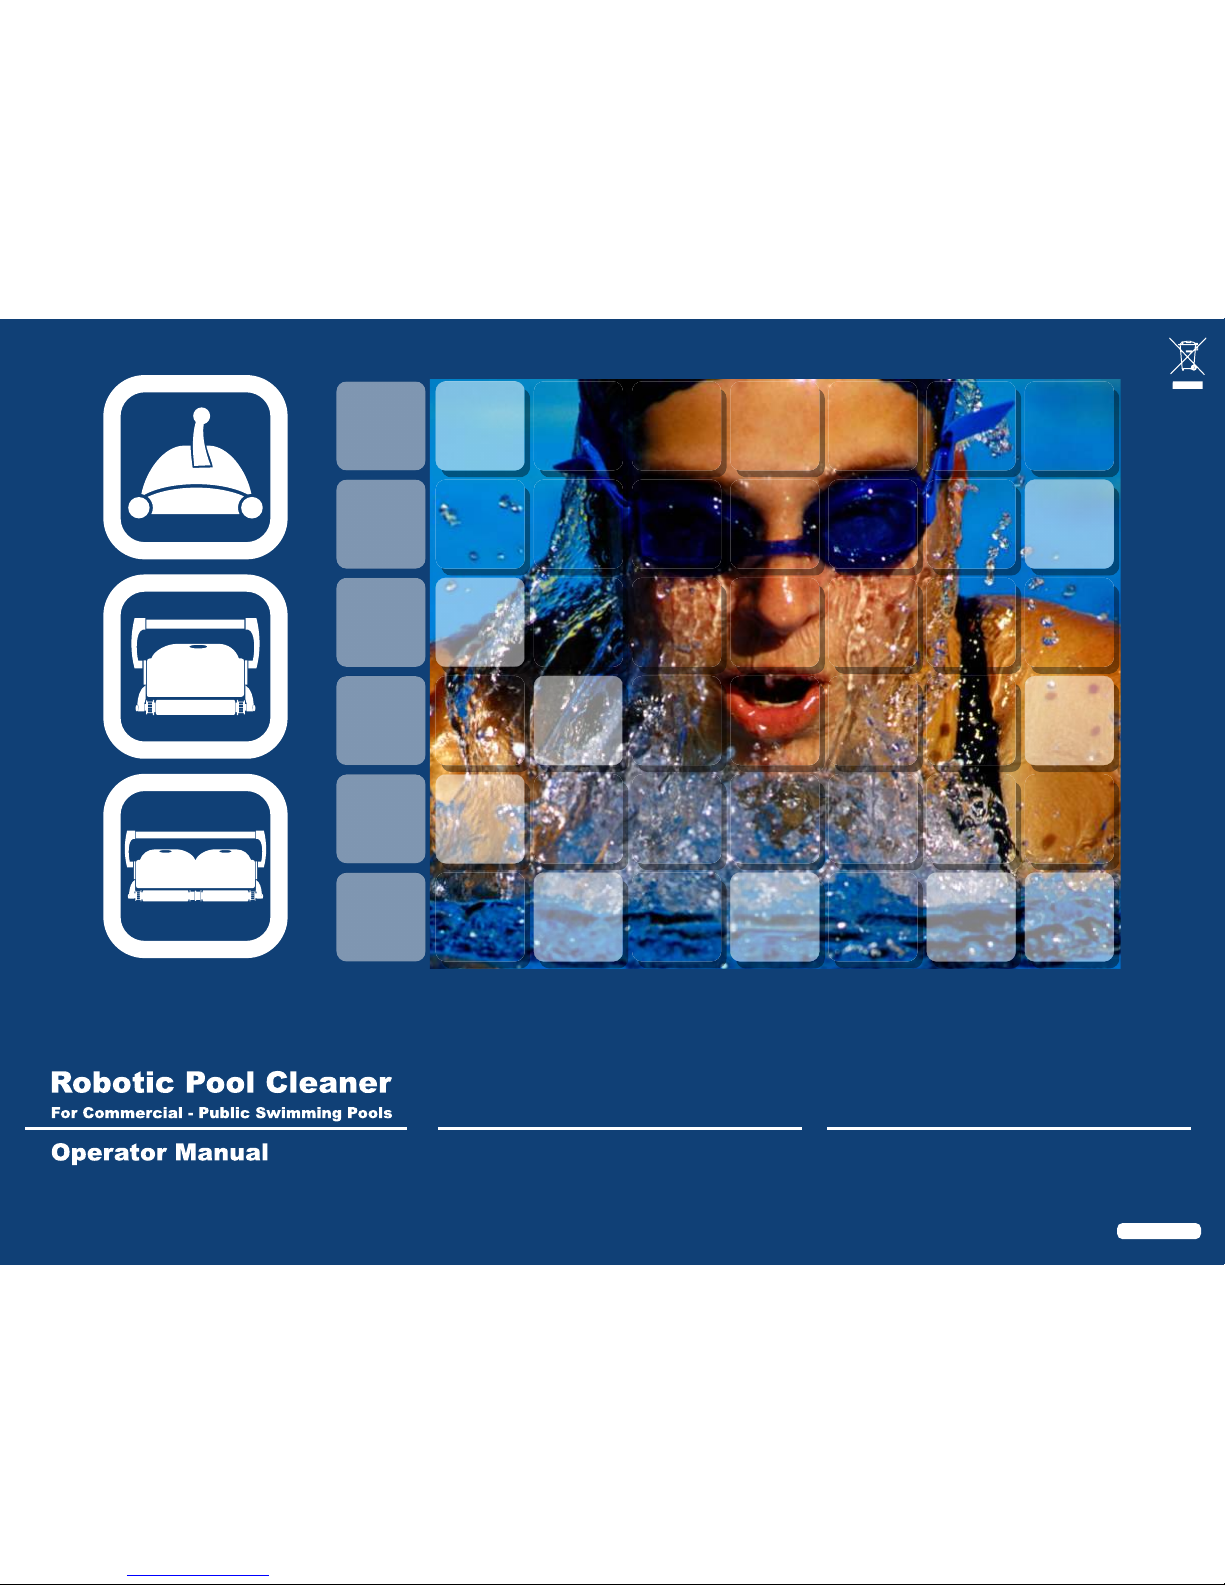
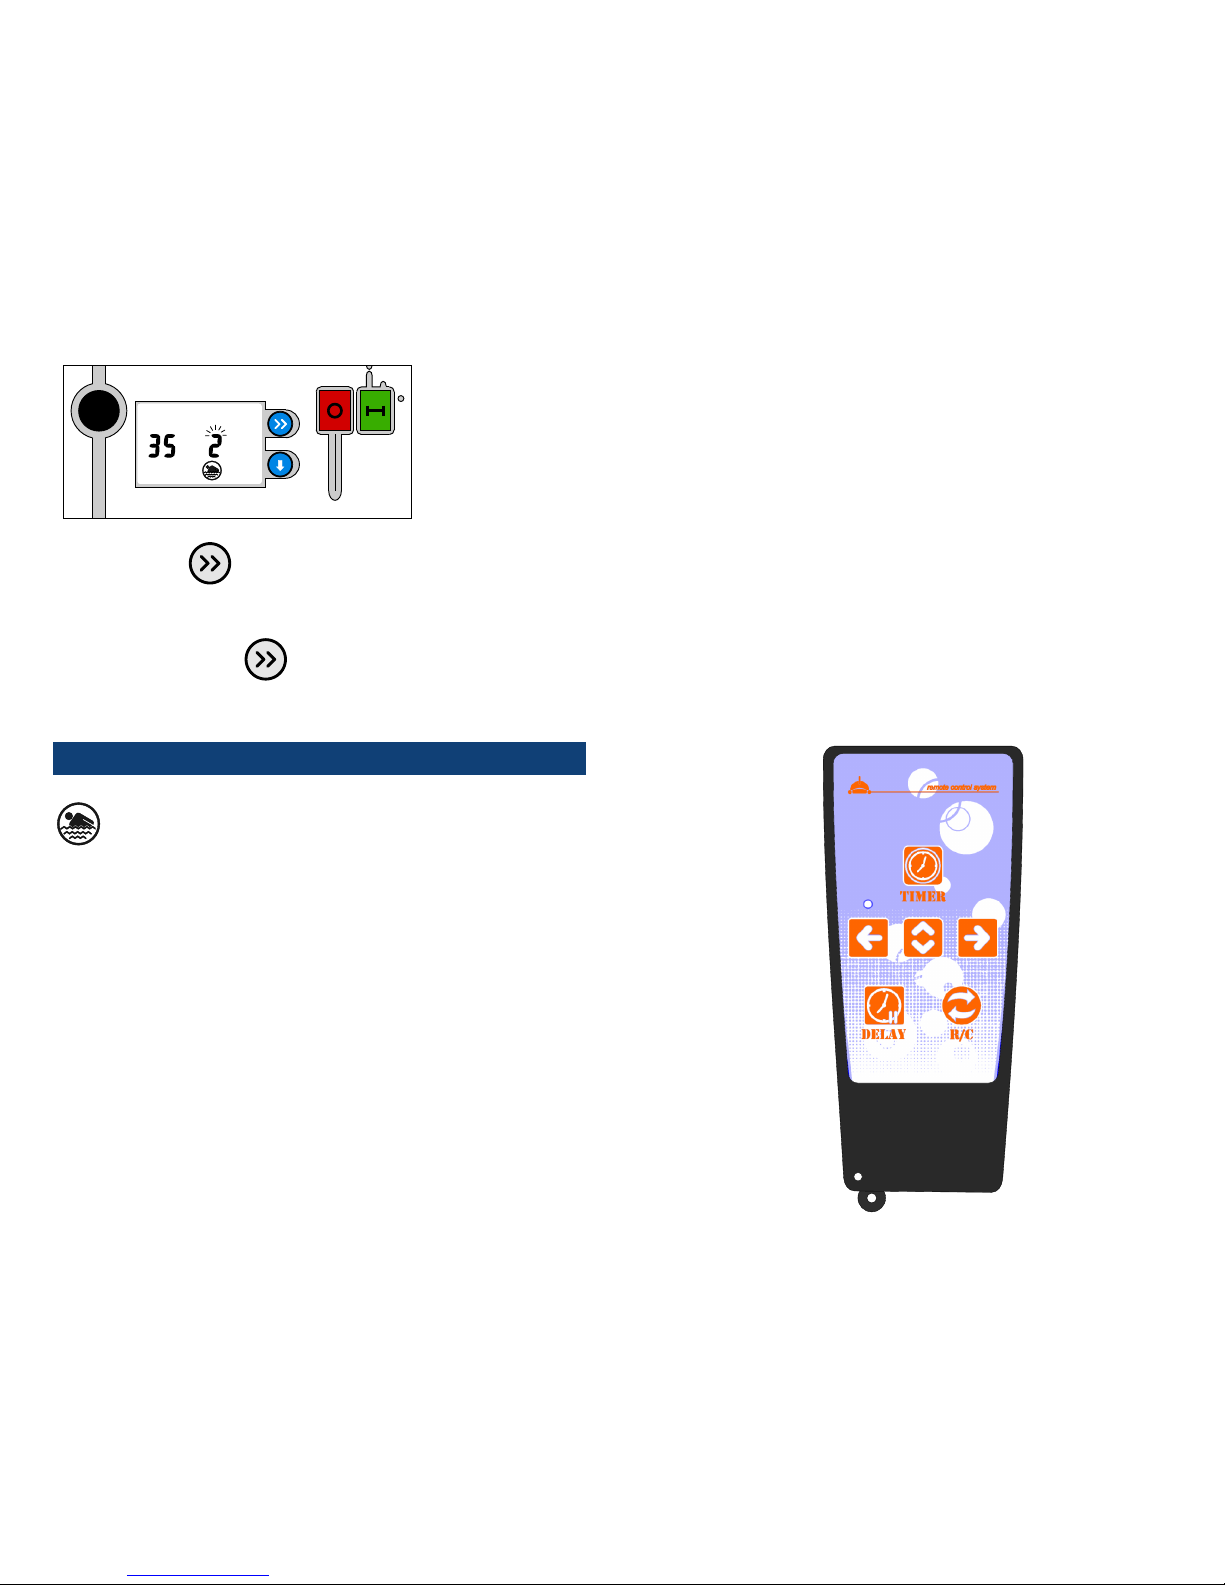
Programming Indicators - Active set up parameters
Select Cleaning cycle
LARGE UNITS: 3, 5, 7 & 9 hours.
SMALL UNITS: 3, 5 & 7 hours.
4. To set the delay time
Delaying Operation of the Robotic Cleaner allows:
• Debris to sink to the bottom of the pool.
• Timing the cleaning cycle to end with the opening of the pool.
The pool will be clean and ready for swimmers.
a) Press Select until the Delay Time indicator appears
and flashes.
b) Press Set the clock flashes 0 (no delay).
c) Press Set until the desired Delay Time is displayed. For
example, press twice to display a Delay Time of 3 hours.
d) Press Select
• the Time Display stops flashing and the Delay Time is set.
• the next programming mode appears on the display.
• the Delayed Time indicator is activated and the clock
counts down the remaining time (if a Delay Time of 3 hours was
set, cleaning is now delayed by 3 hours).
Programming Indicators - Active set up parameters
Select Delay Time
LARGE UNITS: 0 (default), 2,3,4 & 5
SMALL UNITS: 0 (default), 2 & 3
5. To select cleaning level type
RECOMMENDATION:
• Before using the Robotic Cleaner for the first time, set the
Cleaning Level values according to the Cleaning Level, Pool
Length and Surface Material of the pool to be cleaned.
• When using the Robotic Cleaner to clean a different pool, set
the Cleaning Level values accordingly.