9
VIRON™ QT 1000 robotic cleaner owner’s Manual
8
VIRON™ QT 1000 robotic cleaner owner’s Manual
Section 4. General Cleaner Operation
CAUTION
To prevent damage to the cleaner, be sure to adhere to
the following guidelines:
• Remove the cleaner from the pool after each
cleaning cycle is completed.
• Store on the caddy out of direct sunlight or
inclement weather.
• Never remove the cleaner from the pool by the
oating cable. Always use the Elevate System to
remove cleaner from the pool.
• Take additional care when lifting the cleaner out of
the pool. It becomes heavier when lled with water.
• Always remove the cleaner from pool when super
chlorinating or adding acid.
• Do not handle cleaner while it is in operation
IMPORTANT
• Always make sure the cleaner head is fully
submerged before you begin operation.
• Clean the lter canister after each cleaning cycle.
• Do not leave your cleaner in the pool on a
permanent basis.
• At the end of each cleaning cycle, remove the
cleaner from the pool.
• Start at the cleaner head and untangle any coils in
the cable before storing the cleaner.
The VIRON QT1000 robotic cleaner includes a safety
feature that automatically stops the cleaner if it is
powered on but not submerged in water. For pools
equipped with a beach area, this safety feature is
programmed to drive the cleaner in reverse and back
into the pool when the impeller is out of the water.
AstralPool recommends not exceeding 3 cleaning
cycles per week.
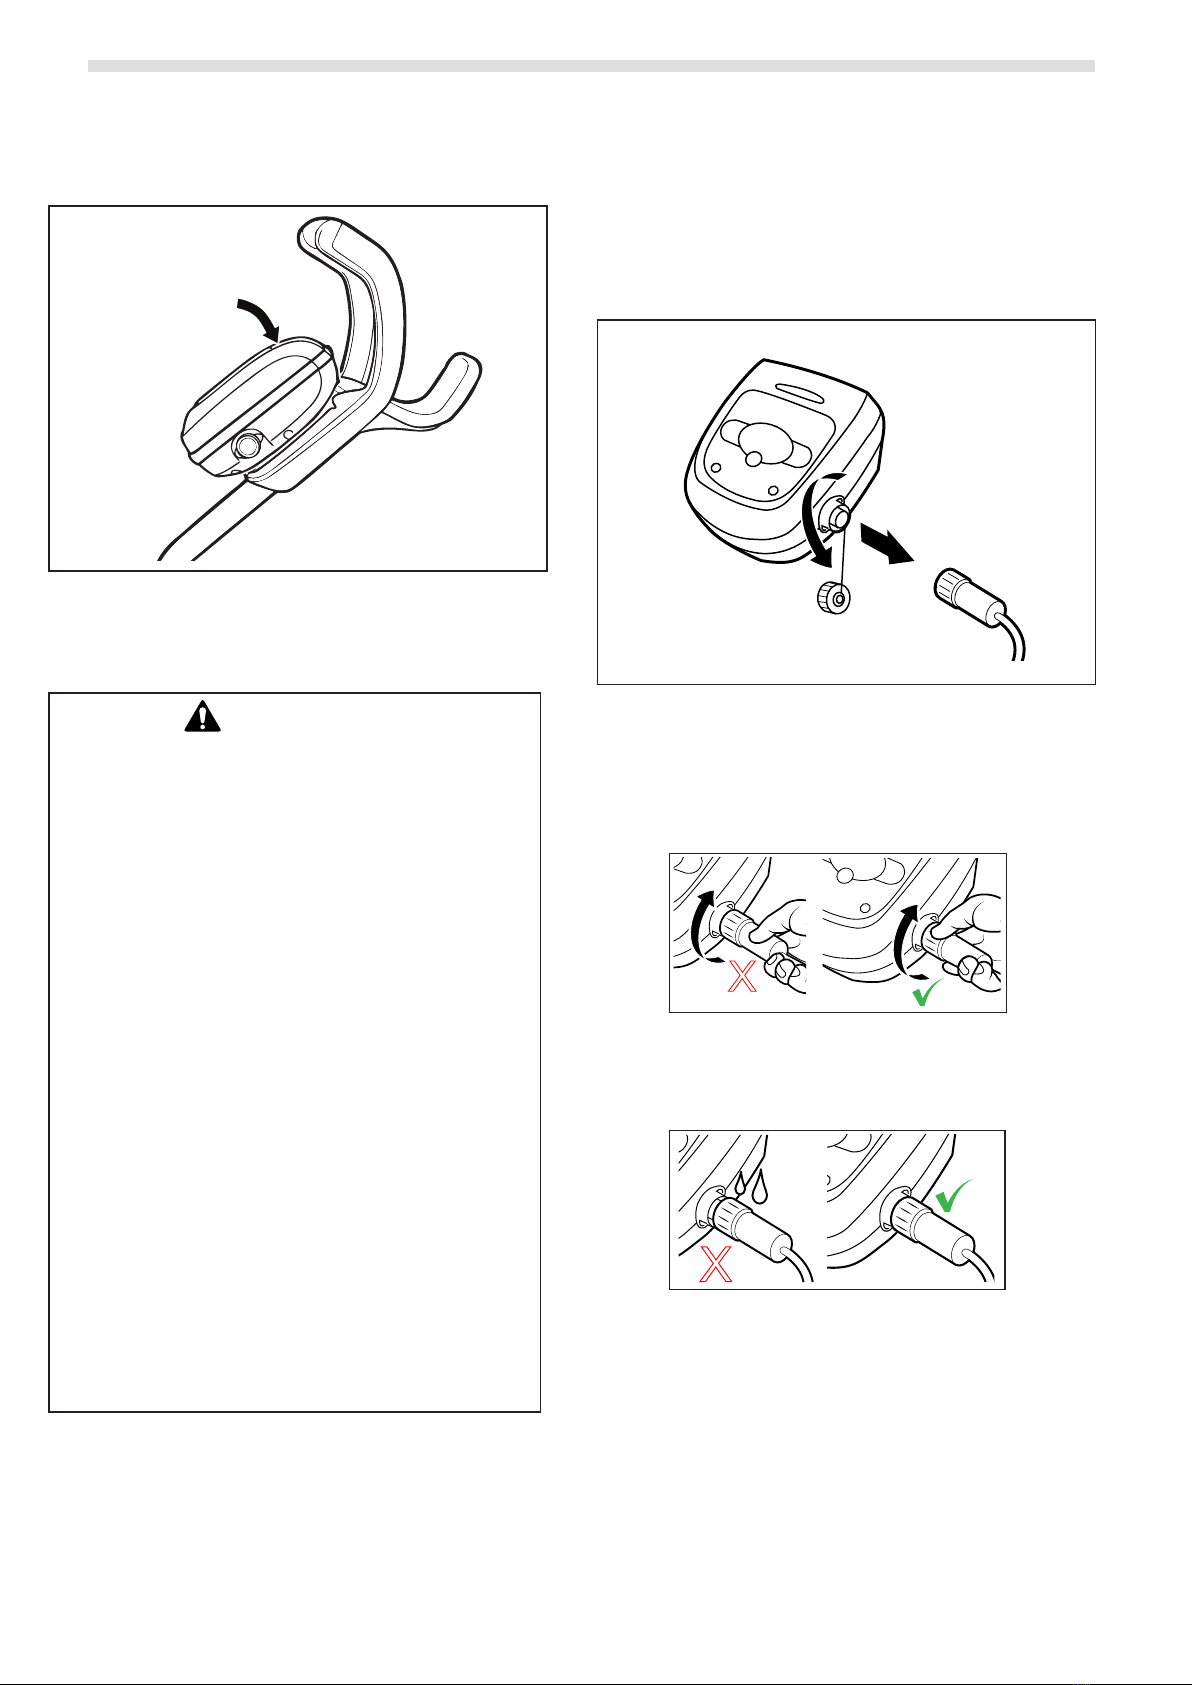
4.1 Install and Submerge the Cleaner
1. With the control box plugged into a power outlet,
spread the oating cable across the pool deck until
you reach the middle of the pool length.
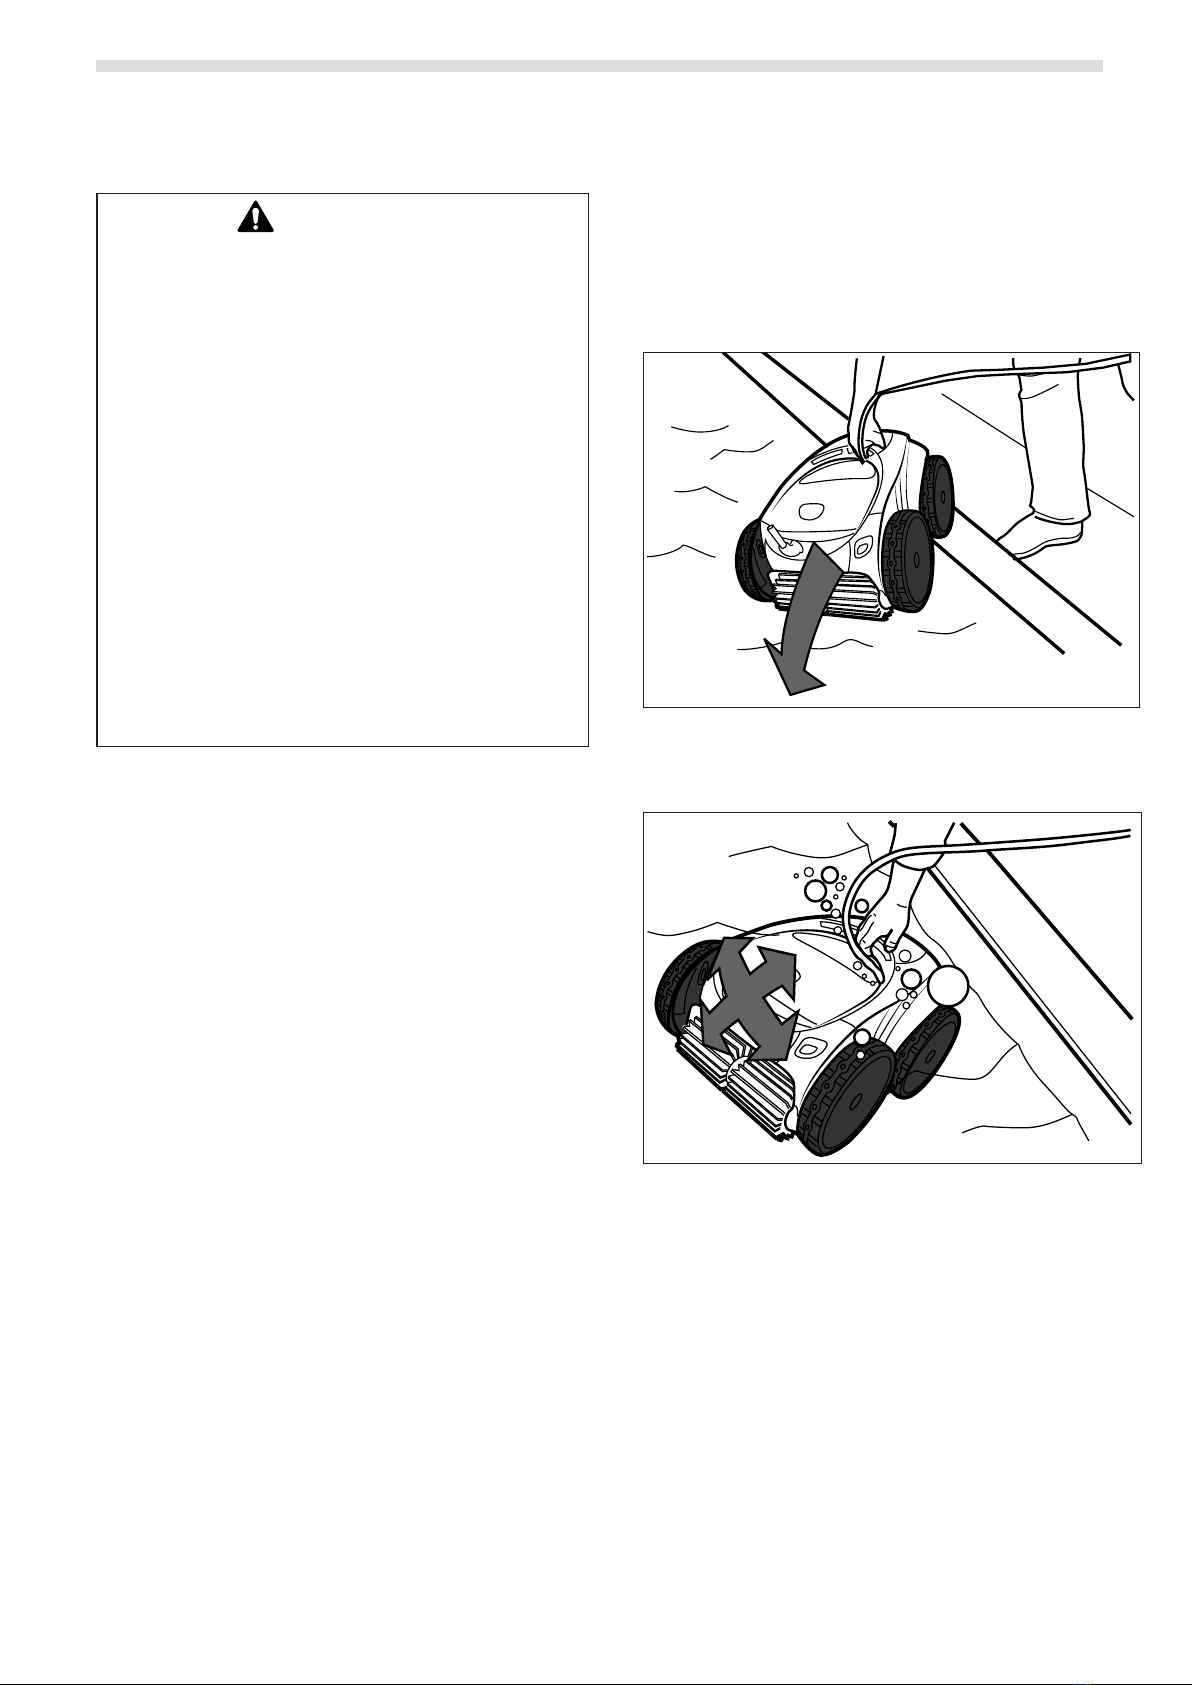
2. At the center point, submerge the cleaner in the pool
and hold in the vertical position to release any air
trapped inside.
1
Figure 11. Submerge Cleaner Vertically
3. Ensure the unit sinks to the bottom of the pool and
does not oat.
2
Figure 12. Sink Cleaner to the Bottom of the Pool
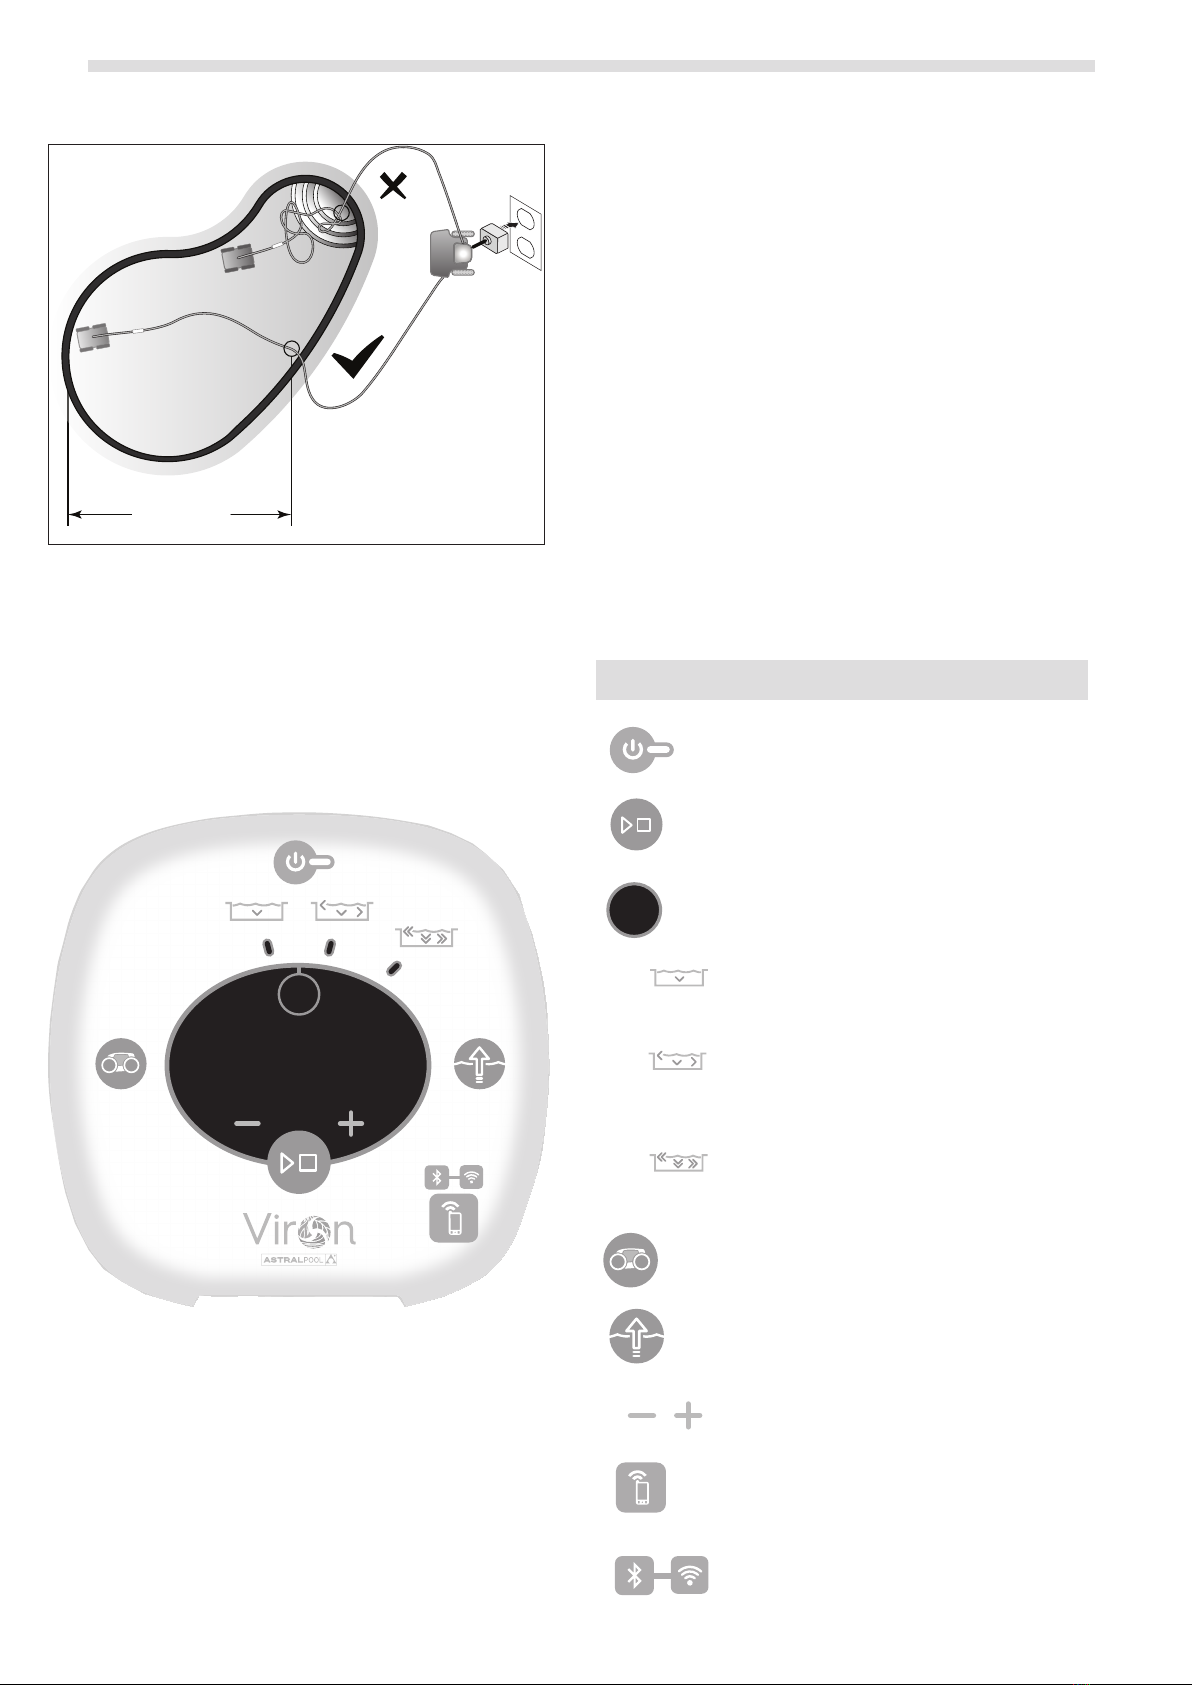
4. Place only enough oating cable in the water to reach
the farthest end of your pool from the central point.
Spread out the oating cable ensuring there are no
kinks or coils in the cable.