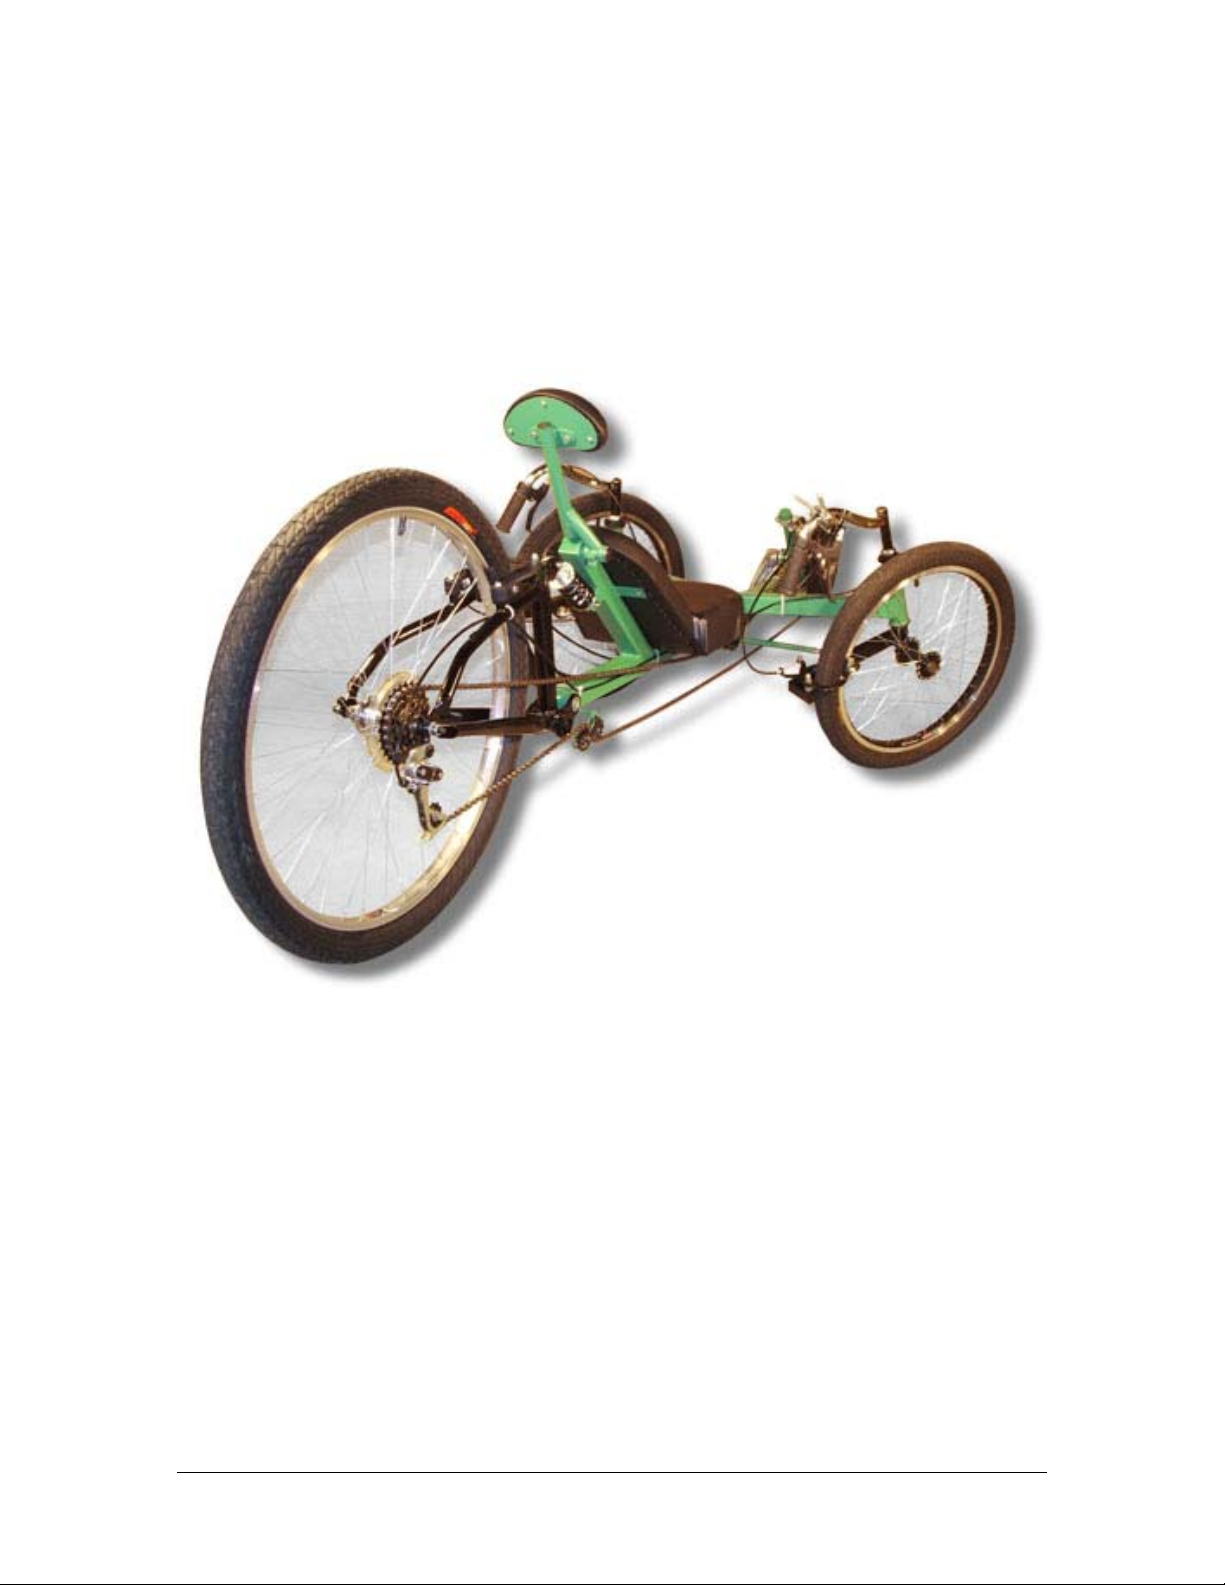
StreetFox Tadpole Trike Front Hardware
When I say identical, I am not referring to color or brand, but the overall
length and width of the head tube so that both front wheels will be at the
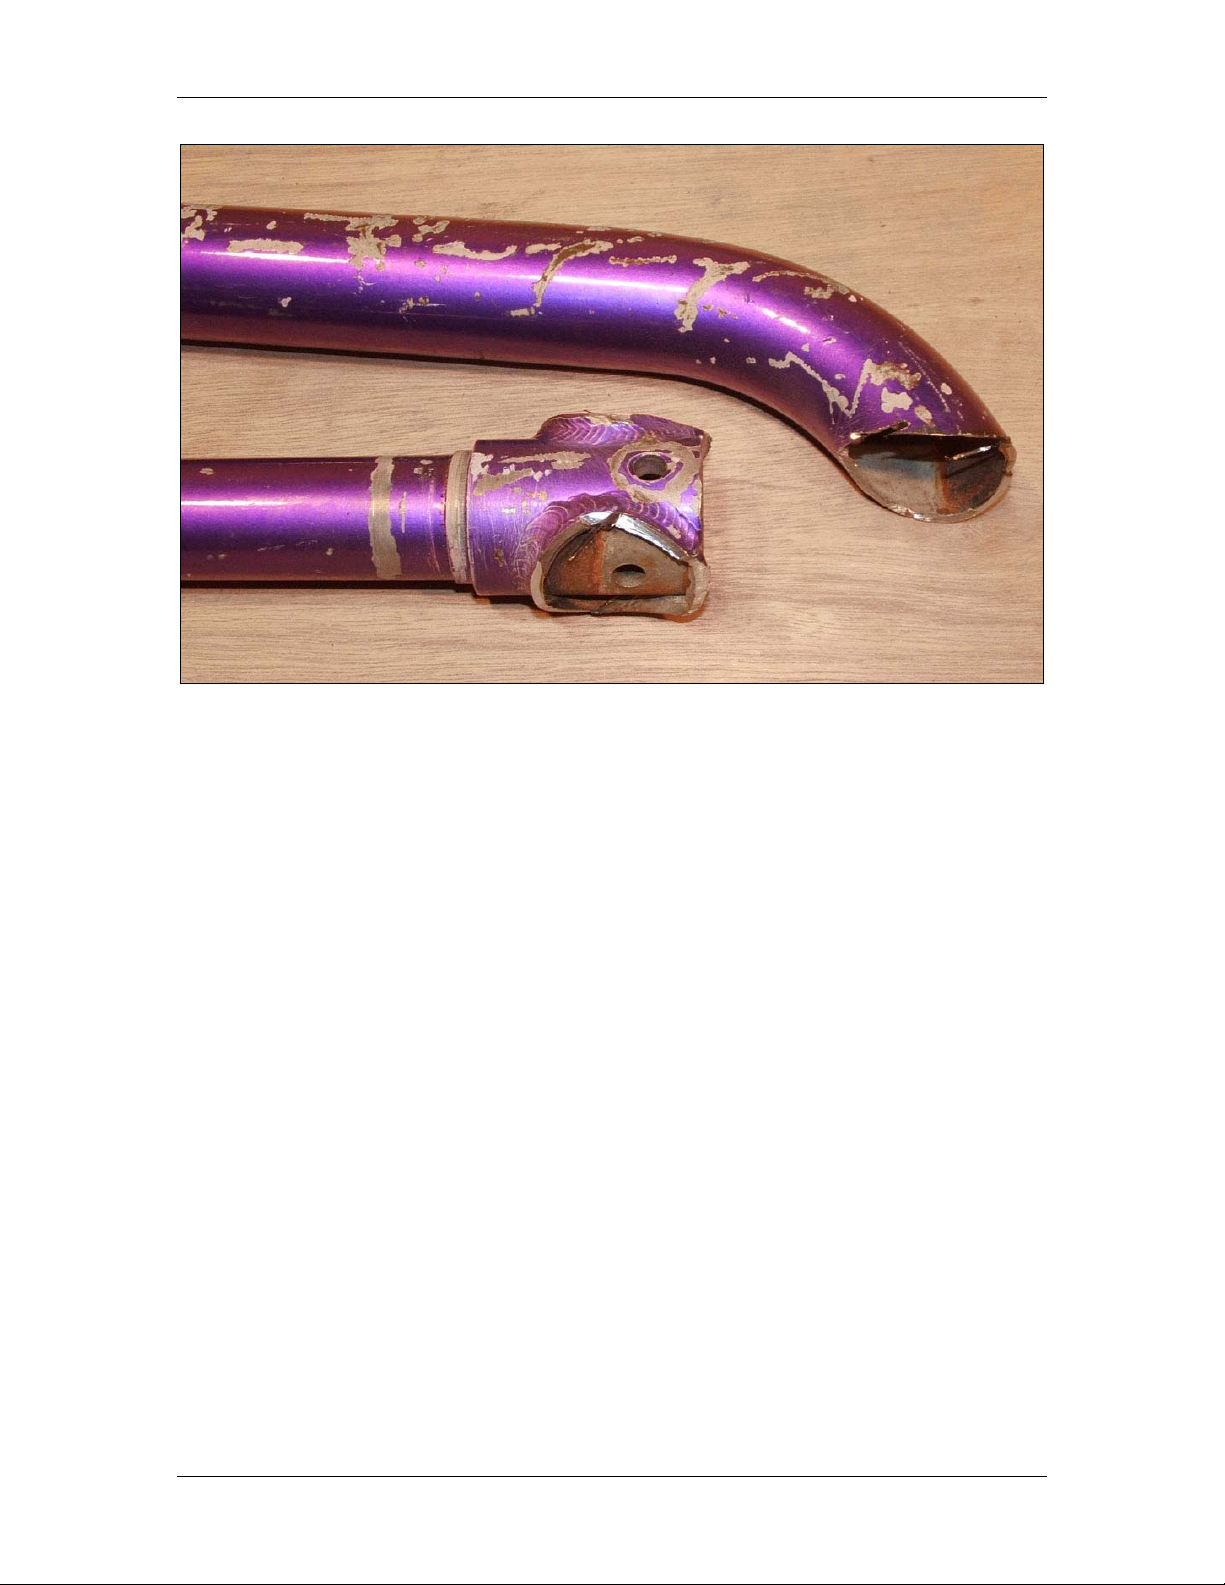
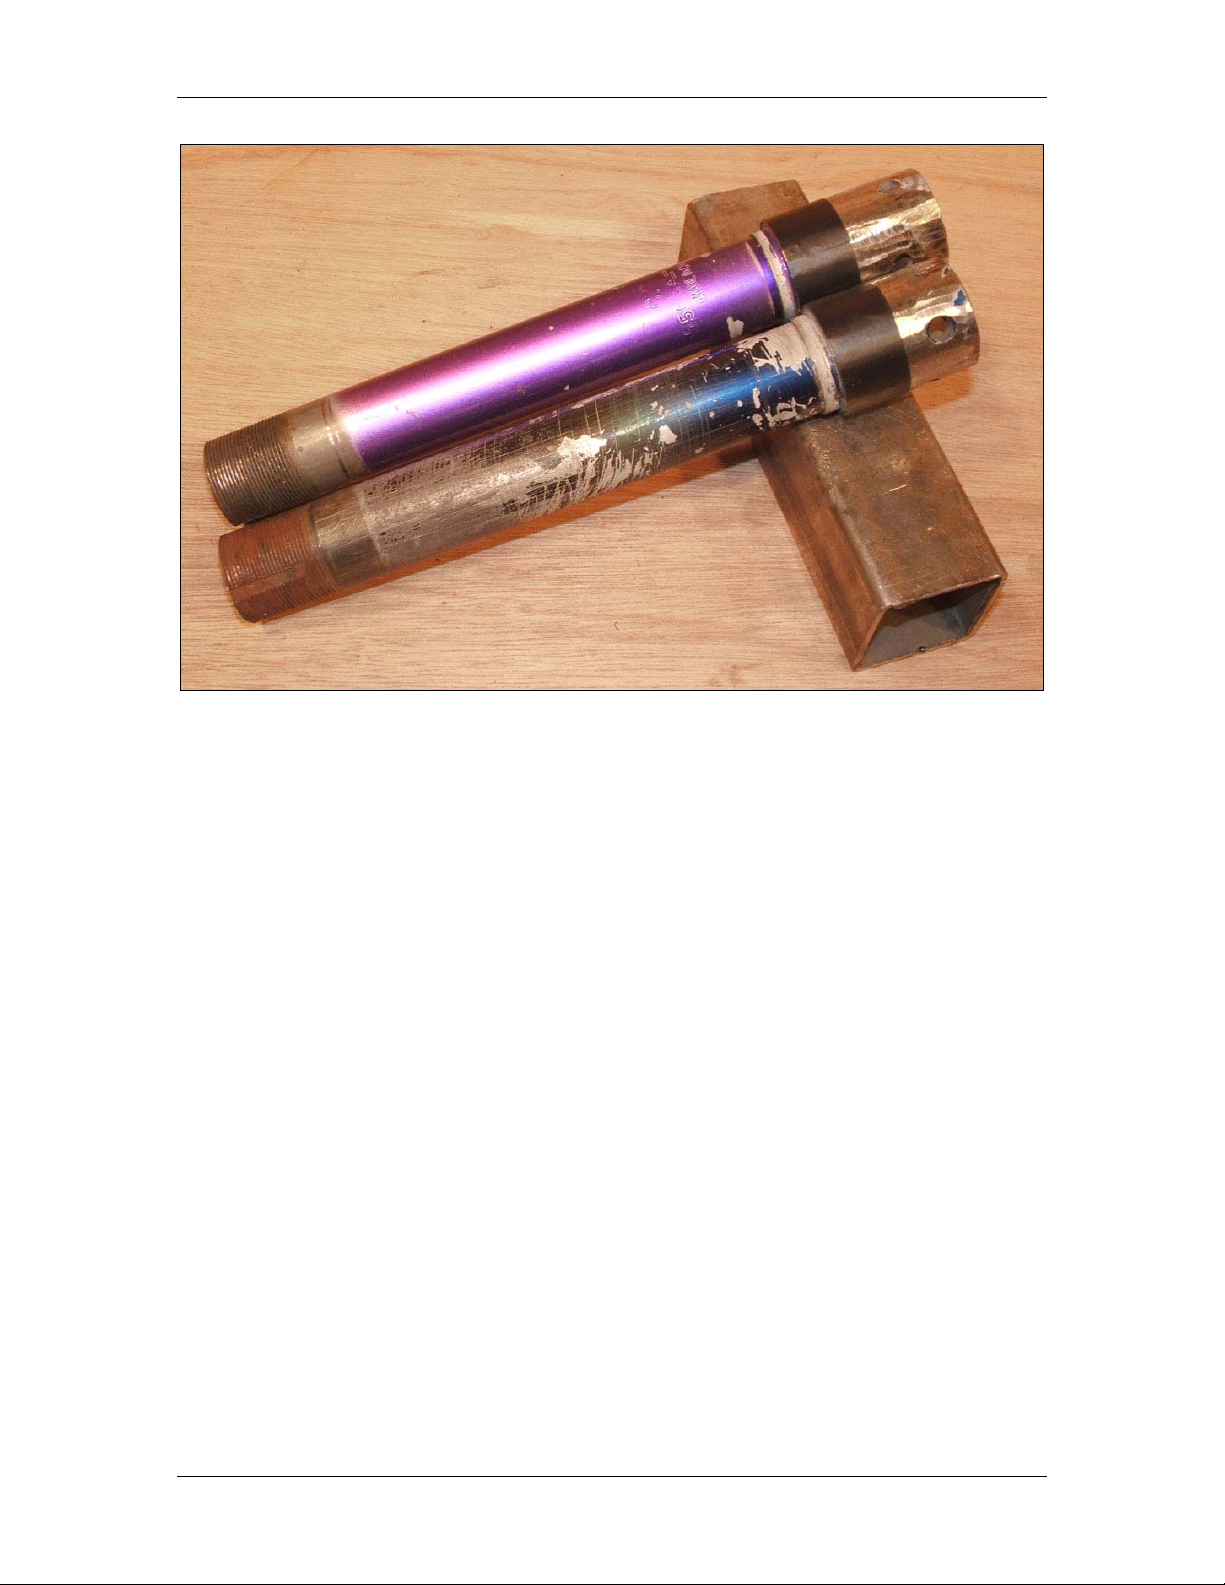
same height when the parts are installed. As shown in Figure 4, I have two
identical head tubes and two matching fork stems that fit into the head tubes.
All of my parts are from at least three different bicycles, but they are
all the same size, and that is all that really matters. If you don't have access
to a large bicycle scrap pile, then you could trim a head tube down an inch or
two to match the other one, but keep in mind that you will also need to cut
the fork threads, and could end up with not enough thread to install the fork
hardware by cutting away too much of the threaded tubing. Also, do not
worry about the condition or size of the fork legs, as they are not being used.
Just make sure that the fork stem is not bent.
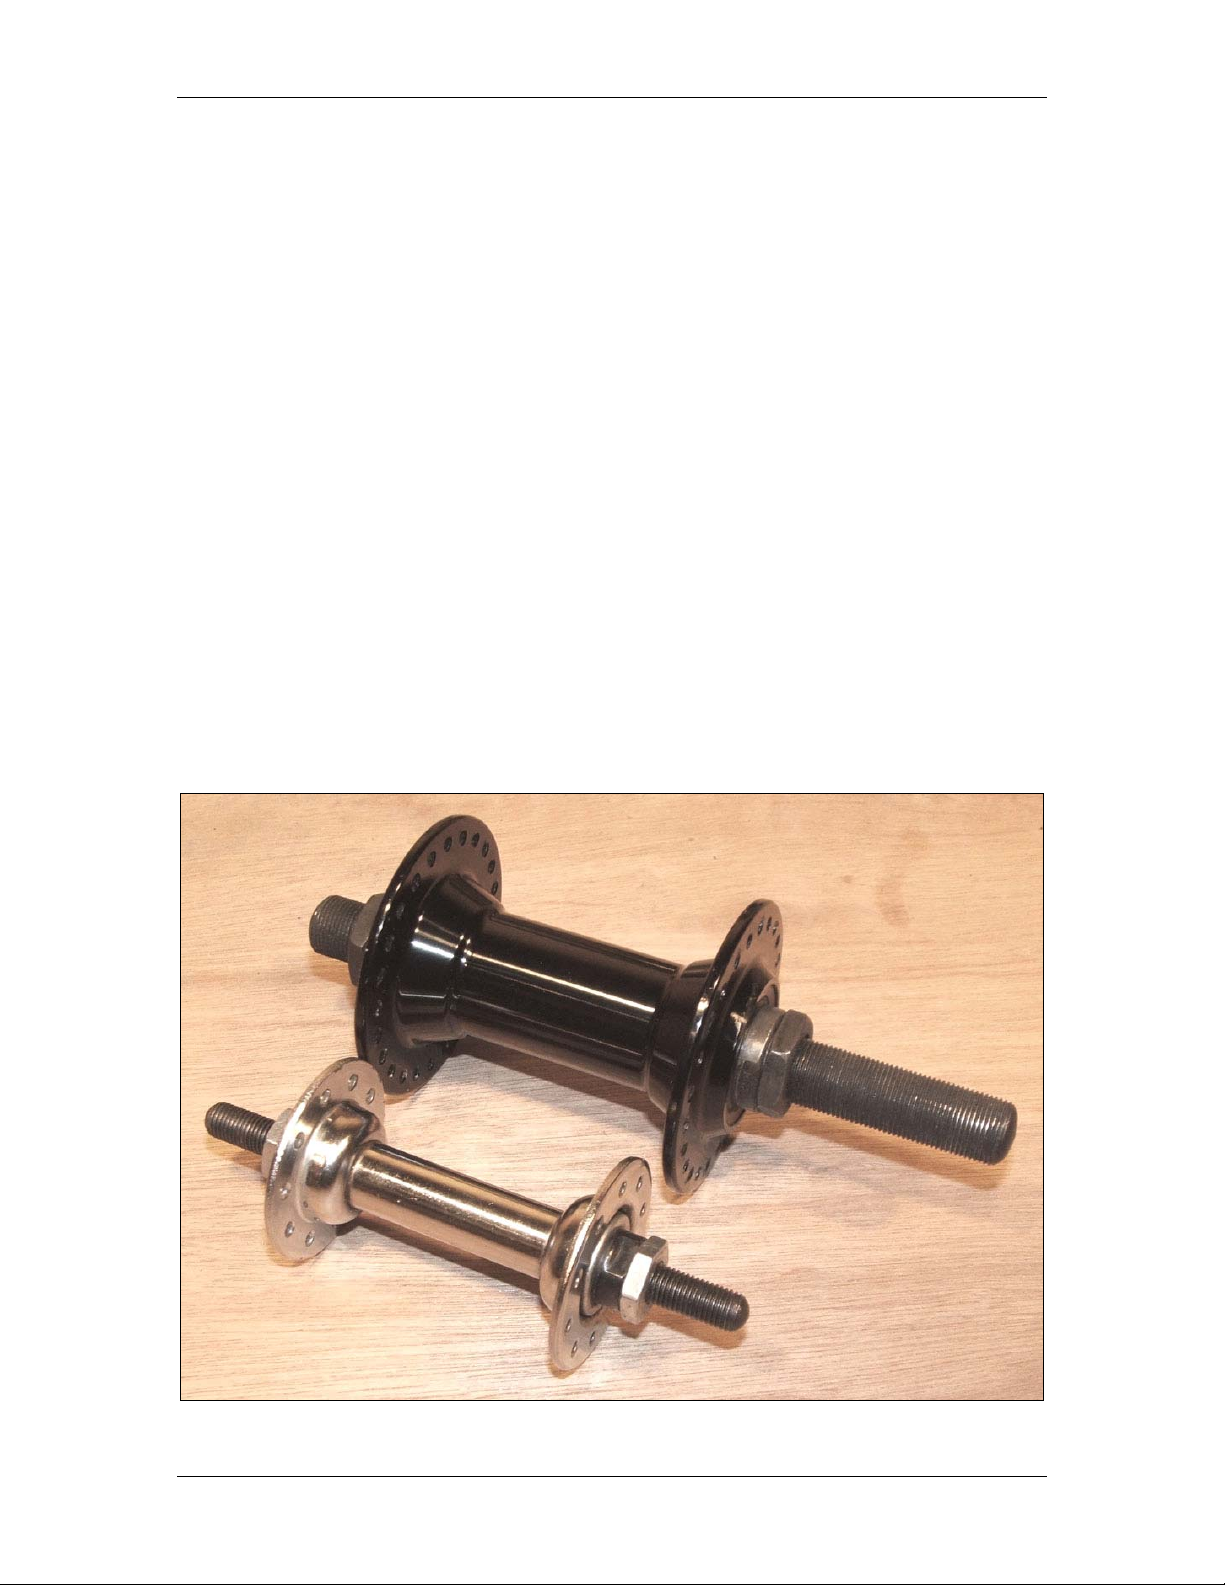
Figure 5 - Checking the fork hardware
It doesn't matter if the head tube is from a 1960’s beach cruiser and
the forks are from a competition BMX bike as long as the hardware fits
together properly and the forks spin around without friction. I ended up
using a 20 inch and a 26 inch fork, but again, this doesn't matter, as the fork
legs are soon to be cut from the fork stem. As shown in Figure 5, fork
hardware consists of two bearing cups, a pair of bearings, and at least two
locking nuts. Bearings are inserted into the cups "balls first", and the fork
All content copyright Atomic Zombie Extreme Machines. All rights reserved. 7
www.ATOMICZOMBIE.com