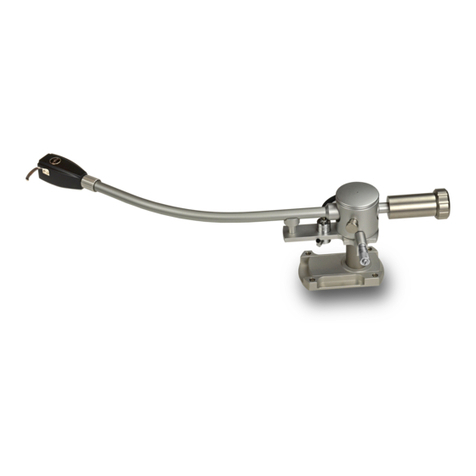
Audio Creative GrooveMaster II User manual

1
Audio Creative GrooveMaster II
User manual

2
Dear Audio Creative customer, !
Thank you for purchasing the GrooveMaster II tonearm. The innovative GrooveMaster II
tonearm features high quality ceramic bearing technology, a micrometer-style adjustable
anti skating and an azimuth adjustable tonearm connector and headshell, which is
especially designed to allow easy and accurate alignment of the phono cartridge.
Audio Creative recommends the GrooveMaster II tonearm in combination with the Audio
Creative Ebony headshell for best performance or any of the Ortofon SPU cartridges. Made
in The Netherlands by true expert craftsmen, the latest GrooveMaster II technology
combining a timeless, classic design ensure the best possible sound enjoyment. Please read
this instruction manual carefully, to avoid any damage or loss of warranty. This manual will
help you achieve an easy setup and guarantees the highest pleasure for a long time. We
wish you a lot of listening pleasure with your new GrooveMaster II tonearm.
The Audio Creative team

3
Content:
1. General tonearm data ……………………………………………………………………………….…………..……. 4
2. Mounting your GrooveMaster II …..……………………………………………………………………..…… 5
3. Mounting the GrooveMaster on new record players………………………………….….…… 6
4. Mounting the GrooveMaster on existing record players…………………………………… 7
5. Connection of the arm cable……………………………………………………………………………………… 8
6. Setting the Tracking force……………………………………………………………………………………….… 9
7. Adjustment the tonearm height (Vertical-Tracking-Angle / VTA)………………..10
8. Alignment of cartridge and tonearm…………………………………………………………………..… 11
9. Setting Azimuth on the Ebony headshell………………………………………………………….… 12
10. Setting Azimuth on the tonearm…………………………………………………………………………… 13
11. Arm lift (cueing device) …………………………………………………………………………………………….14
12. Anti Skating ………………………………………………………………………………………………………………….15
13. Maintenance, transportation, service………………………………………………………………..… 16

4
1. General tonearm data
Construction details:
High quality ceramic bearing
technology tonearm, micrometer style
adjustable magnetic antiskating,
adjustable counterweight. Available
with Titanium or alumimium arm tube
Cartridge balance range
2,5 - 40 gram
Tonearm length
12 “ (304,75 mm.)
Tonearm wiring
99.999% silver wire, 38AWG terminated
with Teflon 5 pin DIN connector
Length Pivot to Spindle
304.75 mm.
Offset angle
17,11 °
Overhang (mm.)
12.82
Eeffective length
317.57 mm.
Bearwald Null points
66, 120.9 mm.
Effective Mass Aluminium armtube
approx. 22.0 gram
Effective Mass Titanium armtube
approx. 29.0 gram
Cartridge compliance range Aluminium tonearm
5 - 20 µm/mN
Cartridge compliance range Titanium tonearm
5 - 15 µm/mN
Tonearm connector
DIN 5P connector
Headshell connector
EIA standards 4 Pin connector

5
2. Mounting your GrooveMaster II
In the box you will find an accurate mounting sjablone.
Please prepare your turntable with the correct positions of the mounting holes for the
arm base and/or sliding base. You find the dimensions in the picture below and on the
sjablone.
B
A
C
Record player spindle
Needle point
A= pivot to spindle = 304.75 mm.
C= distance spindle to needle = 240 mm. (+/- 10 mm.)
317.57 mm
304.75mm.
pivot
B= eective length = 317.57 mm.
Overhang= 12.82 mm.
Oset angle= 17.11 degrees
GrooveMaster-II
audio creative
Ω
304.75mm
Mounting template pivot to spindle
sliding base template
D= 30 mm.
mounting collar template
60 mm.
41 mm.

6
3. Mounting the GrooveMaster on new record players
Use the supplied mounting template for the GrooveMaster II. Drill a 30mm diameter
hole on the arm board of the turntable 304,75 mm away from the turntable spindle
center. Check if the distance needle-turntable spindle is 240 mm (+/- 10 mm.). See
mounting sjablone for details. Once found mark this position with a sharp point
through the three arm-base mounting holes. Drill these holes as appropriate for the
supplied screws or bolts and fix the base to the turntable.

7
4. Mounting the GrooveMaster on existing record players
The sliding base will fit exactly on the SME sliding base position. Just replace the SME
sliding base for the GrooveMaster sliding base. The GrooveMaster-II bearing house also
will fit in the SME sliding base itself.
The mounting collar is fully compatible with Jelco configuration and can be used on any
record player with Jelco mounting configuration.

8
5. Connection of the arm cable
The tonearm connector is designed to the highest specification, with a teflon base
and high quality gold pins. This giving the best possible transmission of the signal.
Carefully insert the 5-pin plug of the tonearm cable into the output connector of the
tonearm and connect the RCA plugs of the tonearm cable to the input of the phono
stage or the pre-amplifier.

9
6. Setting the Tracking force
Loosen the screw on the counterweight and slide up forth or back until the correct
tracking force is achieved. When using more heavy cartridges or a heavy headshell, you
can use the stainless counterweight or the extensions to increase counterweight mass.

10
7. Adjustment the tonearm height (Vertical-Tracking-Angle / VTA)
You can change the height of your tonearm by loosening the locking screws on the side
of the mounting collar or sliding base.
Always set the VTF for your cartridge first, or you might damage your cartridges needle/
cantilever! !
For the adjustment please put a record on your turntable. After loosing the screw, move
the arm up or down to adjust the tonearm tube so that it is parallel to the record! Tighten
the screw when finished. Please remember to re-check tracking force after adjusting
VTA

11
8. Alignment of cartridge and tonearm
For the further setup of the tonearm, you need the supplied Arc protractor. Slide the
protractor over the spindle of the turntable platter and turn the platter into the position
as shown on the picture. Lower the cartridge and place the diamond stylus of the
cartridge on the reference point of the alignment gauge, making sure that the edges of
the tonearm tube are absolutely parallel to the marked lines printed on the cartridge
alignment gauge.
If the configuration is correct, the needle will follow the printed Arc. If not, then you will
have to change the position of the stylus. You can loosen the screws on the top of the
tonearm`s headshell and move the cartridge into the corresponding position. When you
have a sliding base, slide the sliding base back or forth till the correct configuration is
achieved.

12
9. Setting Azimuth on the Ebony headshell
We strongly advise to use the Azimuth setting on the Ebony headshell instead of the
tonearm. It is easier and safer to set. When you do not have the possibility to set the
Azimuth on your headshell, please follow the steps on the next page.

13
10. Setting Azimuth on the tonearm.
The azimuth indicates the angle of the
stylus relative to the record, viewed from
the front. It should be 90°. The Azimuth
is already preset at factory. If you need
to change the azimuth, please loosen the
screw on the under side of the tonearm
near the headshell using the 1.5 mm hex
key screw driver or a 1.5 hex key.
(Attention: Do not loosen the screw
completely!)
Now you can change the azimuth by
rotating the cartridge. Once the
adjustment is set, lock the screw on the
under side of the arm tube near the
headshell.
During these settings, you should view
the tonearm and the cartridge always
from above to avoid parallax errors.
After finding the correct position gently
tighten the screw without changing the
selected position.
Be careful not to tighten the screw to much!
It will damage the thread of the little screw. No warranty can be given when the
screw/thread is damaged.

14
11. Arm lift (cueing device)
A silicone oil dampened tonearm lift is provided. The lift can be adjusted in height by
loosening the hex screw on the side. Slide the lift up and down until the correct height is
achieved. Then tighten the hex screw.
To lower the stylus onto the record. Position the tonearm so that the stylus is over the record
groove and lower the arm lift lever carefully. To lift the stylus from the record raise the arm
lift lever carefully.

15
12. Anti Skating
The anti skating setting of the GrooveMaster is a frictionless, magnetic micrometer
setting. Buy turning the micrometer up and down you can increase or decrease the
anti skating force.
Note: normally the anti skating on 12 “ tonearms is less important. The higher the
VTF, the less important the anti skating.
NOTE: The dial can be operated while playing the record. A tabel of advised anti-
skating setting is on the mounting sjablone.

16
13. Maintenance, transportation, service
Maintenance
If you don`t use your GrooveMaster II tonearm for a longer time, please move the
tonearm lifter in regular intervals. This avoid that the tonearm hang in a position when
you listen to the music again.
Transportation
Should further transportation of the GrooveMaster tonearm be necessary, please alway
use the original packing material. Otherwise serious damage could occur.
Service
If any servicing or repair of a Audio Creative product is necessary, please first contact
us first. PLEASE RETAIN ALL ORIGINAL PACKAGING. You will need it if this product has
to be transported and/or shipped. Any further questions you may have about this
product, please contact us.
Contact information:
Audio-Creative
Rutenberg 9
8301RE Raalte
NL: +31 (0)6 423 73 473
www.audio-creative.nl
Other manuals for GrooveMaster II
1
Table of contents
Other Audio Creative Turntable manuals
Popular Turntable manuals by other brands
Dual
Dual DT 250 USB operating manual
Acoustic Signature
Acoustic Signature Typhoon NEO instruction manual
Technics
Technics SL-1300MK2 operating instructions

Philips
Philips GoGear Digital Audio Player quick start guide
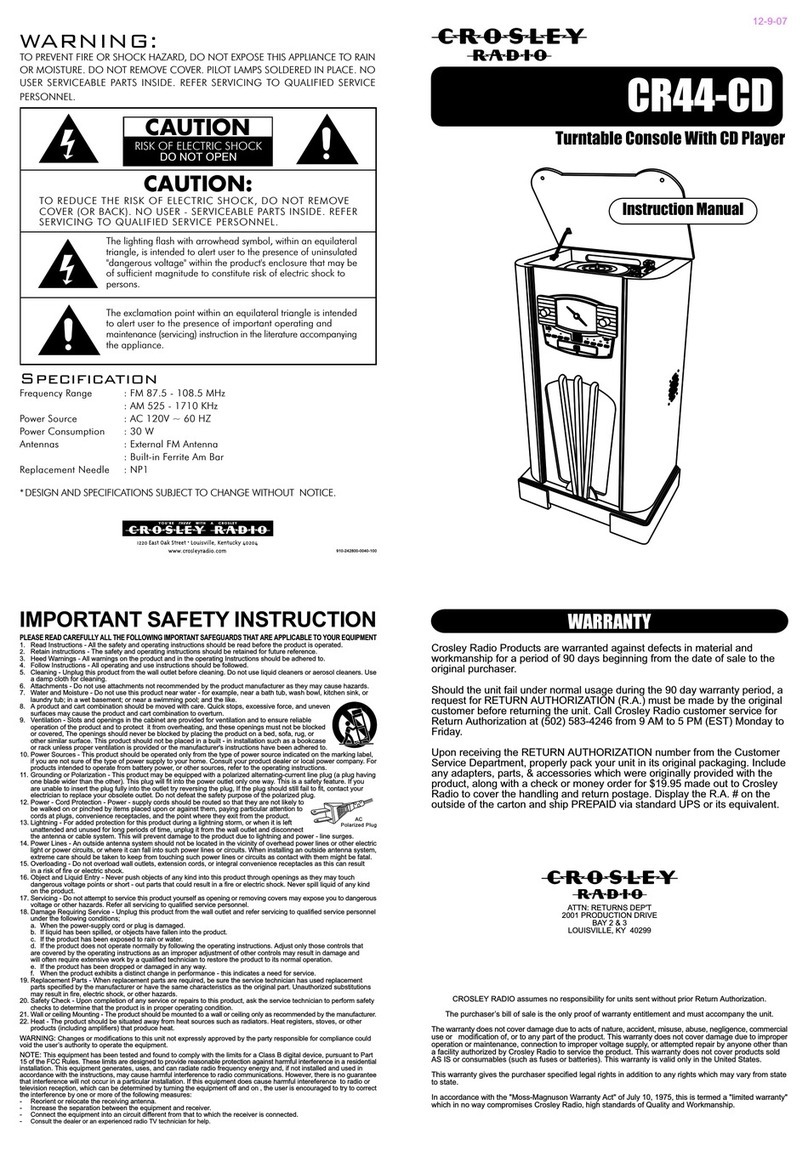
Crosley
Crosley Crosley CD Console CR44CD instruction manual
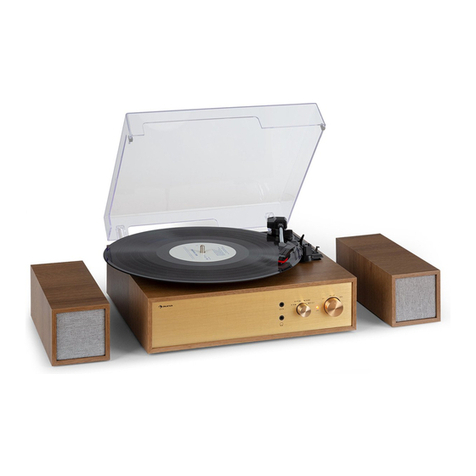
auna
auna Berklee TT Play manual
