Audioaccess MA-361 Service User manual

AUDIOACCESS
MA-361/MA-361CP
TWELVE CHANNEL DIGITAL AMPLIFIER
PRELIMINARY SERVICE MANUAL
Harman Consumer Group
250 Crossways Park Dr.
Woodbury, New York 11797

MA-361
Audioaccess®Twelve Channel Digital
Amplifier
www.audioaccess.com
The Audioaccess MA-361 Twelve Channel
Digital Amplifier—designed, engineered
and manufactured by Madrigal in
Middletown, CT—will no doubt be recog-
nized as the finest amplifier available for
use in any dedicated multi-room system
application. The product of over two years
of development and research, the goals of
the MA-361 were clear: high power, low
distortion, quiet, cool operation, outstand-
ing sonics and ease of installation not only
with associated Audioaccess components,
but also with other home and commercial
audio distribution systems. The trend
towards use of higher quality and larger
speaker systems for custom installed appli-
cations has created a need for power
amplification offering both true higher
power levels with low distortion. The
MA-361 is a category leading product that
finally addresses the evolution of high
quality custom audio systems.
Main Features
Some of the main features of the MA-361
include a conservative power rating of
100 Watts per channel into 8 Ohms from
20Hz-20kHz with all channels driven,
7-band graphic equalization programma-
ble on a per-zone basis, signal sensing,
and voltage triggers to activate main
power in each stereo zone of amplifica-
tion. In normal use, the MA-361 runs
amazingly cool, thanks to its highly efficient
digital design. A modular layout permits
the installing dealer to easily replace indi-
vidual amplifier modules, should service
ever be required. The MA-361 can be
configured for use in either mono or
stereo operation by means of dip-switch-
es on the rear panel of the amplifier. A
simple bussing scheme allows audio
signals to be routed to a single zone,
selected zones, or all areas. To aid in both
the pre-wiring phase of the project and in
final installation, a speaker termination
board—available separately—allows the
dealer to complete the speaker wiring to
the termination board during the prelimi-
nary phase of the project. Later, upon final
installation, the termination board is then
plugged directly into a slot on the back of
the amplifier, minimizing the chances of
wiring errors within the system.
7-Band Graphic Equalization
The MA-361’s 7-band graphic equalization
capabilities allows the installing dealer to
custom tailor the sound in each zone to
compensate for the different room acoustics
throughout a residence, maximizing the
performance of each pair of speakers.
Signal Sensing and Voltage Triggers
The signal sensing capabilities of the
MA-361 ensure that the amplifiers for a
given zone are only powered on when a
particular area is active, saving on energy
consumption. Voltage triggers allow the
MA-361 to automatically turn on accessory
items such as a fan, or a separate device
when either the amplifier or a designated
zone is activated.
Simply Ingenious

A Harman International Company
Audioaccess®
Madrigal Audio Laboratories, Inc.
P.O.Box 781
Middletown, CT 06457-0781
Internet: www.madrigal.com
Fax: 860.346.1540 ©2002 Madrigal Audio Laboratories, Inc.
20201AA – SS/MA-361
Volume/Tone Control Modules
Optional Volume/Tone Control Modules,
which plug into available slots inside the
amplifier, provide the dealer with the
ability to supply high power at very low
distortion levels to expansion rooms
within the multi-room system. A total of
6 Volume/Tone Control Modules may be
installed in the MA-361.
Flexible Installation Capabilities
The MA-361 is designed for use not only
with Audioaccess systems, but also with
other Multi-room or RS-232 based systems.
The unit is programmed with the propri-
etary Installation Manager application
when it is used with other Audioaccess
Multi-Room components. Configuration
settings are downloaded from a Windows
PC or laptop via the RS-485 communica-
tion port on the MA-361. When used with
other RS-232 based systems, a separate
application is available, which downloads
amplifier configuration settings via the
RS-232 port on the MA-361CP version.
Summary
The combination of the MA-361’s power
capabilities, sonic quality, features, program-
ming ease, installation flexibility and
serviceability clearly sets the new standard
for amplifiers within the multi-room category.
Features
Specifications
Number of Channels:
▲12, configured as 6 left/right mono or
stereo pairs (zones)
Power Output:
▲100 Watts @ 8 Ω, from 20Hz – 20kHz,
all channels driven
130 Watts @ 4 Ω, from 20Hz – 20kHz,
all channels driven
200 Watts @ 4 Ω, from 20Hz – 20kHz,
single channels driven
Efficiency:
▲93% @ 100 Watts/8Ω
THD & Noise:
▲< 0.3%, 0.1 Watt – 200 Watts, 4Ω
IMD:
▲0.26% @ 4Ω, 200 Watts
Frequency response:
▲± 0.3 dB at rated power, 8Ωload
Bandwidth:
▲60kHz at rated power, 8Ωload
Signal/Noise:
▲97dB unweighted (ref: rated power) into 8 Ω
Crosstalk:
▲-84 dB between any two channels
(no audible crosstalk)
Protection:
▲Short Circuit, Over Current, DC, Thermal
and Undervoltage
Muting:
▲Turn-on, Turn-off, Signal Sensing and
Triggered per zone
Input Impedance:
▲20K Ω
Input Sensitivity:
▲1.3 Volt for full output 4 or 8Ω
Gain:
▲27dB
Dimensions:
▲171⁄4"W x 51⁄8"H x 175⁄8"D
(438 mm x 130 mm x 448 mm)
(with connectors & feet)
Weight:
▲110 Volt Amplifier: 48 lb (21.8 kg)
230 Volt Amplifier: 51 lb (23.2 kg)
Features, specifications and dimensions are subject to change.
▲6 built-in 7-Band Graphic EQ, one per zone
▲Signal sensing
▲Voltage trigger for each zone set with remov-
able screw terminal
▲Available in two versions: MA-361 with RS-485
port and MA-361CP with RS-232 port
▲Optional modules configured by Audioaccess
Installation Manager application or stand-alone
PC program
▲Dual-color LED status indicator on front panel
illuminates Green for normal operation, Red for
standby and a flashing Red for DC and/or ther-
mal protection
▲AC mains switch on front panel
Easy installation
▲Simple built-in input bussing scheme, no con-
figuration switches required
▲Plug-in TI-501 Speaker Termination Board, a
snap for advance installations (available sepa-
rately, not included with amplifier)
Modular construction
▲Amplifier modules may be replaced quickly
and easily
▲Permits installation of optional modules
Upgradeable
▲Firmware upgradeable
▲Optional EM-401 Volume/Tone Control mod-
ule for all six zones (available separately)
▲Download project settings via serial port using
Installation Manager application or dedicated
stand-alone software
Robust design
▲Low voltage standby (brown out protection)
▲Short circuit protection
▲Thermal cutoff protection
▲Soft clipping
▲Quiet, convection cooling (when properly
installed according to factory recommenda-
tions)
▲UL/CSA/CE approved

FEATURES
The Audioaccess MA-361 Twelve Channel Digital Amplifier – designed, engineered and manufactured by Madrigal in
Middletown, CT – represents the product of over two years of research and development.
As the inventor of the 12 channel amplifier category, Audioaccess has reinvented this category with the introduction of the
MA-361. The goals for the MA-361 were clear: high power, low distortion, quiet, cool operation, outstanding sonics and
ease of installation, when used not only in Audioaccess systems, but also with other home and commercial audio
distribution systems. The trend towards higher quality and larger speakers for custom installed applications has created a
need for this amp. We believe you will agree that the MA-361 is the first in an entirely new class of twelve channel
amplifiers.
Unique features
The main features of the MA-361 include a conservative power rating of 100 Watts per channel into 8 Ohms from 20Hz-
20kHz with all channels driven at 93% efficiency. This amazing efficiency not only minimizes power consumption, it also
runs surprisingly cool. Other unique features include programmable 7-band graphic EQ (set by the installer via PC) for
each zone and optional plug-in stereo Volume/Tone Control Modules, which pro-vide volume control in Expansion
rooms/sub zones within an Audioaccess system or another RS-232 based control system. The modular layout permits the
dealer to easily replace individual amplifier modules should service ever be required. An external speaker termination
board can be ordered in advance to allow termination of loudspeakers before the amplifier is delivered for final installation.
At final, simply plug the speaker termination board onto the rear panel of the amplifier.
Other features
To make the amplifier specifically attractive for use in whole-house audio distribution, we have included specific features
to ensure reliable and easy installation. Signal sensing and voltage triggers activate the main power in each stereo zone
of amplification. Dip switches on the rear-panel configure the MA-361 for use in either mono or stereo operation. A simple
bussing scheme allows audio signals to be routed into a single zone, selected zones, or all areas.
7-Band Graphic Equalization
The MA-361’s 7-band graphic equalization capabilities allows the installing dealer to custom tailor the sound in each zone
to compensate for the different room acoustics throughout a residence, maximizing the performance of each pair of
speakers. This is accomplished by using the Audioaccess Installation Manager Software application (or stand-alone
application) running on the dealer’s PC or laptop.
Signal Sensing and Voltage Triggers
The signal sensing capabilities of the MA-361 ensure that the amplifiers for a given zone are only powered on when a
particular area is active, saving on energy consumption. Voltage triggers allow the MA-361 to automatically turn on
accessory items such as a fan, or a separate device when either the amplifier or a designated zone is activated.
Volume/Tone Control Modules
Optional Volume/Tone Control Modules, which plug into available slots inside the amplifier, provide the ability to supply
high power at very low distortion levels to expansion rooms within the multi-room system. The user may control the
volume in rooms with Audioaccess keypads and touchscreens, or by using ANY other touch screen/control systems. A
total of 6 Volume/Tone Control Modules may be installed in the MA-361.
Flexible Installation Capabilities
The MA-361 is designed for use with Audioaccess systems, as well as other Multi-room or RS-232 based systems. The
unit is programmed with the proprietary Installation Manager application when it is used with other Audioaccess Multi-
Room components. Configuration settings are downloaded from a Windows PC or laptop via the RS-485 communication
port on the MA-361. When used with other RS-232 based systems, a separate application is available, which downloads
amplifier configuration settings via the RS-232 port on the MA-361CP version.
Summary
The MA-361’s combination of power capabilities, sonic quality, features, programming ease, installation flexibility and
serviceability clearly sets the new standard for amplifiers within the multi-room category.

Specifications:
• Number of Channels: 12, configured as 6 left/right mono or stereo pairs (zones)
• Power Output: 100 Watts @ 8 ohms, from 20Hz — 20kHz, all channels driven
• 130 Watts @ 4 ohms, from 20Hz — 20kHz, all channels driven
• 200 Watts @ 4 ohms, from 20Hz — 20kHz, two channels driven
• Efficiency: 93% @ 100 Watts/8 ohms
• THD & Noise:< 0.3%, 0.1 Watt — 200 Watts, 4 ohms IMD:-0.26% @ 4 ohms 200 Watts
• Frequency response: ± 0.3 dB at rated power, 81Ú2 load
• Bandwidth: 60kHz at rated power, 81Ú2 load
• Signal/Noise: 97dB unweighted (ref: rated power) into 8 1Ú2
• Crosstalk: -84 dB between any two channels (no audible crosstalk)
• Protection:Short Circuit, Over Current, DC, Thermal and Undervoltage
• Muting: Turn-on, Turn-off, Signal Sensing and Triggered per zone
• Input Impedance: 20K
• Input Sensitivity: 1.3 Volt for full output 4 or 81Ú2
• Gain: 27dB
• Dimensions: 17 1/4"W x 5 1/8"H x 17 5/8"D (438 mm x 130 mm x 448 mm) (with connectors & feet)
• Weight:110 Volt Amplifier: 48 lb (21.8 kg), 230 Volt Amplifier: 51 lb (23.2 kg)
Features, specifications and dimensions are subject to change.

Madrigal Audio Laboratories
P.O. Box 781
Middletown, CT 06457-0781
(860) 346-0896 FAX (860) 347-6251 # A041102
MA-361AUDIOBOARDREMOVALANDASSEMBLYINSTRUCTIONS

Audioaccess AUDIO BOARD DISASSEMBLY INSTRUCTIONS
APRIL 15, 2002 A041102
MA-361 Disassembly Instructions Page 2
Table of Contents
Overview..................................................................................................................................................3
Affected Units ..........................................................................................................................................3
Cautions before Beginnning ...................................................................................................................3
Tools Required.........................................................................................................................................3
Disassembly/Reassembly Steps..............................................................................................................4
Removal/Assembly Sheets......................................................................."A" Process Description Sheets
Step 1 Remove Top Cover......................................................................................................... A000010P265
Step 2 Remove Larger PCP Clamp Assembly ............................................................................ A000010P245
Step 3 Remove First Graphic EQ PCB....................................................................................... A000010P210
Step 4 Remove Second Graphic EQ PCB .................................................................................. A000010P205
Step 5 Remove Screws Holding RS-232/485 PCB ...................................................................... A000010P200
Step 6 Remove RS-232 PCB (CP Model Specific)....................................................................... A000010P190
Step 7 Remove RS-485 PCB (Standard MA 361 Specific)............................................................ A000010P185
Step 8 Remove Amp Module Clamp Assembly........................................................................... A000010P180
Step 9 Remove Outer Ribbon to Audio Output PCB .................................................................... A000010P170
Step 10 Remove Inner Ribbon to Audio Output PCB.................................................................... A000010P165
Step 11 Remove Screws on Audio Output PCB ........................................................................A000010P160A
Step 12 Remove Audio Output PCB .......................................................................................... A000010P155
Step 13 Remove Audio Modules................................................................................................ A000010P150
Step 14Remove Audio Module Signal Cables ............................................................................ A000010P135
Step 15Remove Audio Module Power Cables ............................................................................ A000010P130
Step 16 Remove Volume Bypass Jumpers................................................................................. A000010P125
Step 17 Remove 20 Pin Ribbon Cable......................................................................................A000010P120A
Step 18 Remove 40 Pin Ribbon Cable......................................................................................A000010P115A
Step 19 Disconnect Connector on Audio Board P1..................................................................... A000010P110
Step 20 Disconnect Cable on Audio Board to RCA Input Board.................................................... A000010P105
Step 21 Remove Screws on Audio Board1 ................................................................................. A000010P095
Step 22 Remove Back Panel Screws......................................................................................... A000010P092

Audioaccess AUDIO BOARD DISASSEMBLY INSTRUCTIONS
APRIL 15, 2002 A041102
MA-361 Disassembly Instructions Page 3
Overview
The following procedure will allow a qualified Audioaccess Distributor to successfully remove and
reinstall the MA-361 Audio Board. New replacement audio boards shipped April 2002 eliminatea
problem where keypad messages may be heard as pops in Zones 1, 2 , 3 and 4 in affected units. In
addition, the signal sensing sensitivity was lowered to avoid audio from shutting off during low passages
of music if the amplifier is configured to turn on with Signal Sensing.
Affected Units
MA-361’s manufactured before the serial numbers listed below should receive an updated Audio Board.
Starting Serial Numbers
Updated Audio Boards
Domestic Units 361u1073
Export Units 361e1018
Cautions! Before Beginning
CAUTION!
Hazardous voltages available inside unit. Before proceeding, remove AC cable from
AC outlet.
CAUTION!
Static sensitive parts and subassemblies inside unit. A static protection wrist strap
must be worn when touching static sensitive components. Please follow wrist strap
manufacturers’ instructions for proper use.
Tools Required
o#2 Phillips Screwdriver
o3/32” Hex Driver
oNeedle Nose Pliers

Audioaccess AUDIO BOARD DISASSEMBLY INSTRUCTIONS
APRIL 15, 2002 A041102
MA-361 Disassembly Instructions Page 4
Disassembly/Reassembly Steps
The Disassembly steps are depicted in the process sheets and are identified below in Steps1 through 22.
Instructions on each step are included in the process sheet for each step. In addition, some notes are provided below
to clarify a step for either Assembly or Reassembly.
Once the Audio Board has been extracted, repeat each step below in a backwards order from Step 22 through Step 1
when installing the replacement Audio Board.
Step Number Description Process Sheet Number
Step 1 Remove Top Cover..........................................................................................A000010P265
Step 2 Remove Larger PCP Clamp Assembly .............................................................A000010P245
Step 3 Remove First Graphic EQ PCB........................................................................A000010P210
Step 4 Remove Second Graphic EQ PCB ...................................................................A000010P205
Step 5 Remove Screws Holding RS-232/485 PCB .......................................................A000010P200
Step 6 Remove RS-232 PCB (CP Model Specific)........................................................A000010P190
This step is used for MA-361CP units only.
Step 7 Remove RS-485 PCB (Standard MA 361 Specific).............................................A000010P185
This step is used for the standard MA-361.
Step 8 Remove Amp Module Clamp Assembly............................................................A000010P180
Note the “Dimples” or “Notches” on each end of the amp Clamp Assembly. When re-
installing this clamp, assure that these “dimples” are reinstalled in the same direction as
when removed.
Step 9 Remove Outer Ribbon to Audio Output PCB .....................................................A000010P170
Step 10 Remove Inner Ribbon to Audio Output PCB.......................................................A000010P165
Step 11 Remove Screws on Audio Output PCB ...........................................................A000010P160A
When reassembling, these screws must be tight for grounding purposes before AC
power is applied.
Step 12 Remove Audio Output PCB .............................................................................A000010P155
Step 13 Remove Audio Modules...................................................................................A000010P150
Step 14 Remove Audio Module Signal Cables ...............................................................A000010P135
Step 15 Remove Audio Module Power Cables ...............................................................A000010P130
Step 16 Remove Volume Bypass Jumpers....................................................................A000010P125
These Jumpers are present whenever the Volume Tone Modules, EM401, are not used.
Remove these jumpers and install in the replacement Audio Board.
Step 17 Remove 20 Pin Ribbon Cable.........................................................................A000010P120A
Step 18 Remove 40 Pin Ribbon Cable.........................................................................A000010P115A
Step 19 Disconnect Connector on Audio Board P1........................................................A000010P110
Disconnect only the connector on the Audio Board PCB. Do not disconnect connector on
Power Supply or Controller PCB.
Step 20 Disconnect Cable on Audio Board to RCA Input Board.......................................A000010P105
Step 21 Remove Screws on Audio Board......................................................................A000010P095
Step 22 Remove Back Panel Screws............................................................................A000010P092


This manual suits for next models
1
Table of contents
Other Audioaccess Amplifier manuals
Audioaccess
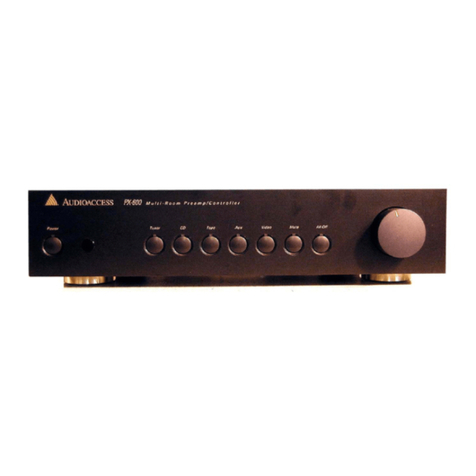
Audioaccess PX-600 User manual
Audioaccess
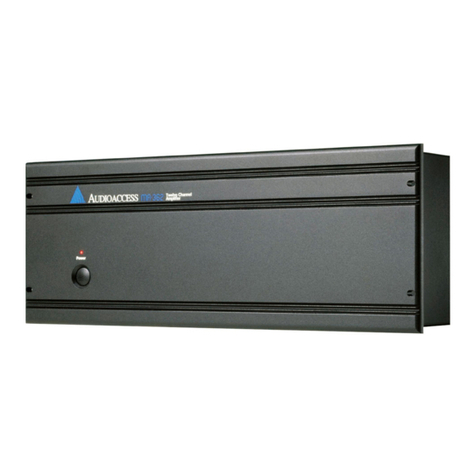
Audioaccess MA-362 Service User manual
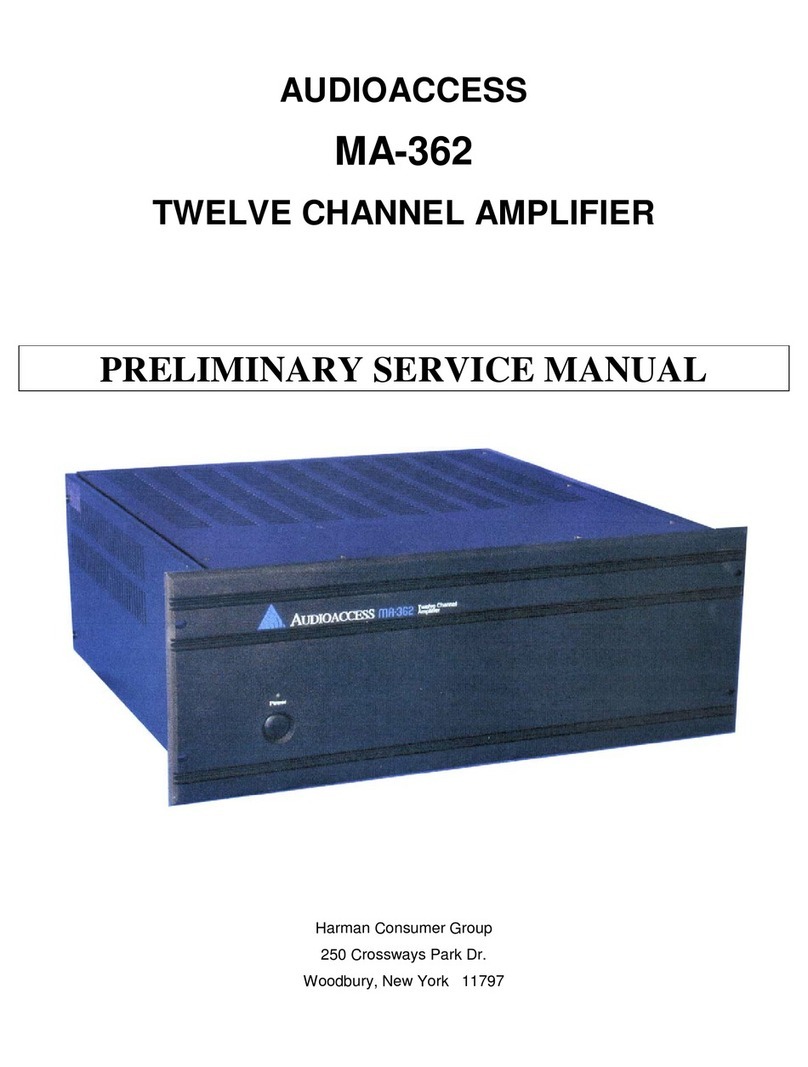
Audioaccess
Audioaccess MA-362 Service User manual
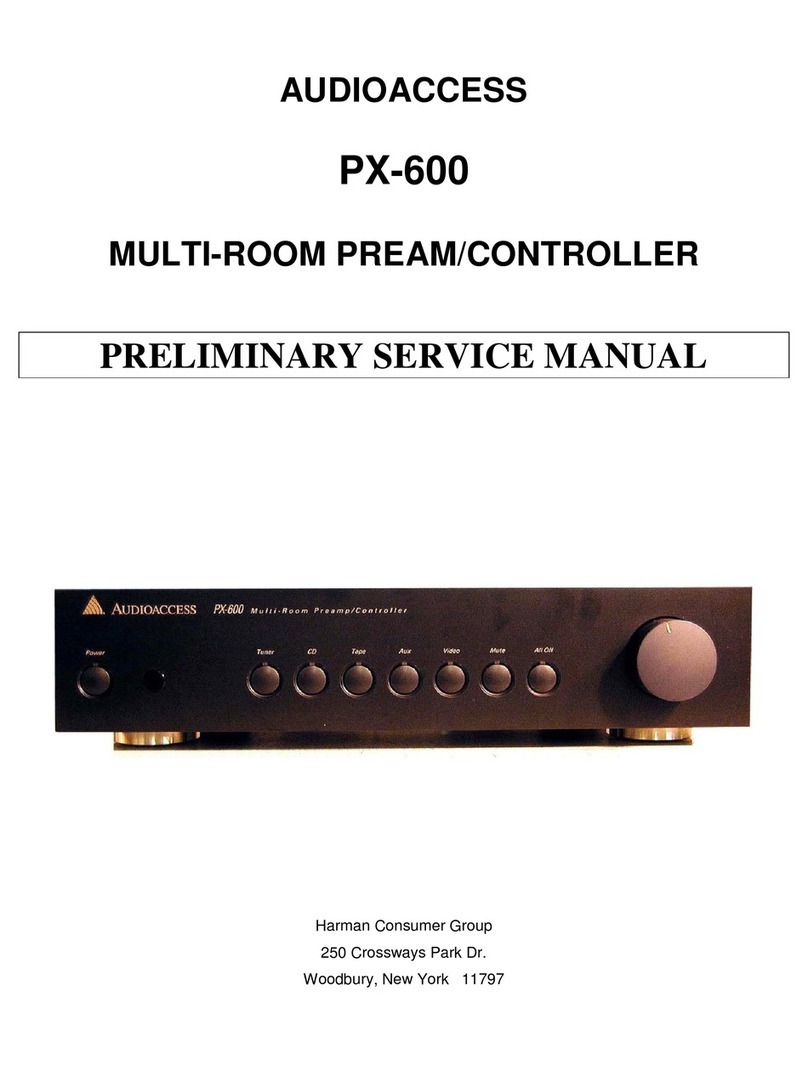
Audioaccess
Audioaccess PX-600 Installation and operating instructions
Audioaccess
Audioaccess PX-600 User manual
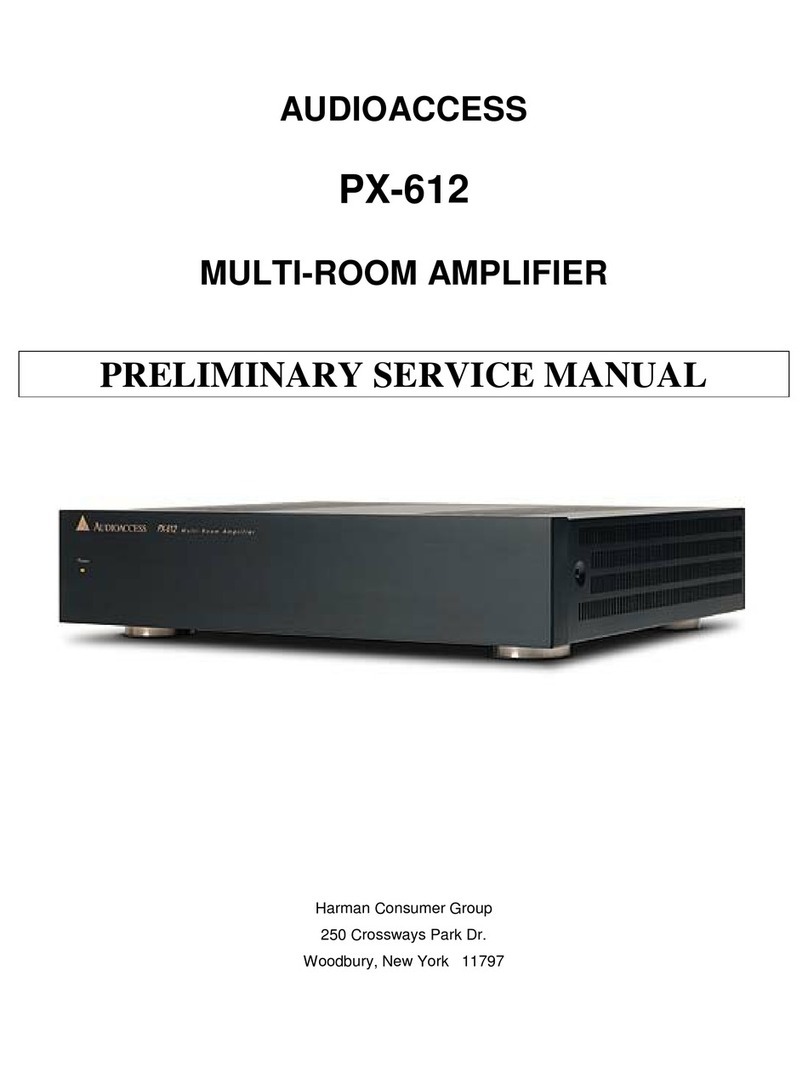
Audioaccess
Audioaccess PX-612 User manual
Audioaccess
Audioaccess PX-612 User manual

Audioaccess
Audioaccess MA-362 Service Manual
