manuals.online logo
Brands
  1. Home
  2. •
  3. Brands
  4. •
  5. Audipack
  6. •
  7. Rack & Stand
  8. •
  9. Audipack FSMO HBV Series User manual

Audipack FSMO HBV Series User manual

©Audipack
Flat panel housings
Installation manual
FSMO-XXHBV / FSMO-XXHBVP
Before installing the housing to the wall, please read the manual first in full.
This manual is applicable for the high brightness FSMO versions.
2.
In the middle of the wall mount is a mounting point with an M6 bolt;
remove this and keep it at a safe place. It is needed in a later stadium to lock
the housing.
1.
Install the wall mount to the wall using all available mounting holes.
The centre bolt of the wall mount is equal to the centre of the flat panel.
Install level and use correct mounting materials.
Always use the Audipack mount for wall installation because with this mount it is
not possible to unlock the mounting bolts to the wall in completed installation.
M6 bolt
2015-07 ©Audipack
2015-07 ©Audipack
3.
When the wall mount is installed, it is possible to install the housing to the wall
mount. Be sure the monitor cables are covered by the wall mount and ready to
insert them in the cable glands
4.
Insert the M8 cams, bolt and the nylon ring
in the back of the housing.
(separately packed in a plastic bag)
Install the housing by inserting the 4 cams in the keyholes.
Ones installed insert the M6 bolt to secure the housing and prevent it from lifting
out.
Cable glands
2015-07 ©Audipack
5.
Before installing the monitor and bracket assembly, retract the back plate and
secure it with two M6 bolts on both sides.
Back plate
5.1
The monitor is adjustable in height. Retract back plate when the monitor is
installed.
2015-07 ©Audipack
5.2
The housing is equipped with thermostatic controlled heating, ventilation
inclusive a HEPA filter kit and an ventilation unit for the monitor.
Advise:
Set the ventilation thermostat at aprox. 25 degrees.
Set the heating thermostat at aprox. 15 degrees.
Change the settings to your application.
Air out
Air inAir in
Air out
Temperature
controller Ventilation unit
Heating unit
2015-07 ©Audipack
6.
The HEPA filter (part no. 230060) needs to be checked periodically.
Replacing the filter is simply done by removing the filter cover.
HEPA-filter (part no. 230060)
5.3
Install the monitor by inserting the cams in the key holes. Be sure all connection
are made and allow enough length of cable to remove the monitor without
pulling the connectors. There are holes provided to secure the cables with
tyraps.
2015-07 ©Audipack
8.
To cover the housing simply lift the front cover over the top cams of the housing
and hinge it vertical. Be sure the locks are “out”.
Press the locks “in” to secure the front.
7.
Before installing the front cover don’t forget to connect the
grounding wire.
©Audipack
Audipack's general conditions of sales and delivery apply to all of
Audipack's deliveries. These conditions can be downloaded from Audipack's
website, www.audipack.com, or will be sent by post on request.
Audipack liefert ausschließlich unter die allgemeine Verkauf- und
Lieferungsbedingungen von Audipack. Diese Bedingungen sind zum
downloaden verfügbar auf die Webseite von Audipack, www.audipack.com,
oder werden Ihnen auf Anfrage per Post gesendet.
Alle leveringen geschieden uitsluitend volgens de Algemene Verkoop- en
Leveringsvoorwaarden van Audipack. Een afschrift hiervan kunt u
downloaden van de website van Audipack, www.audipack.com, of wordt u
op aanvraag gestuurd per post.
Les conditions de vente et de livraison de Audipack s'appliquent à tous les
livraisons de Audipack. Cette conditions sont disponible sur le site internet
de Audipack, www.audipack.com, où seront envoyé par poste sur demande.
Audipack reserves the right to make changes in specifications and other information contained in this document without prior written notice.
The information provided herein is subject to change without notice. In no event shall Audipack be liable for any incidental, special, indirect, or
consequential damages whatsoever, including but not limited to lost profits, arising out of or related to this manual or the information
contained herein, even if Audipack has been advised of, known, or should have known, the possibility of such damages.
AUDIPACK
Industriestraat 2-4
2751 GT Moerkapelle
The Netherlands
Tel: +31(0)795931671
Fax: +31(0)795933115
Email: audipack@audipack.com
www.audipack.com

This manual suits for next models

1

Other Audipack Rack & Stand manuals

Audipack POH-CM TILT User manual

Audipack

Audipack POH-CM TILT User manual

Audipack FFCL S Series User manual

Audipack

Audipack FFCL S Series User manual

Audipack P3674 User manual

Audipack

Audipack P3674 User manual

Audipack LST-SBWM Guide

Audipack

Audipack LST-SBWM Guide

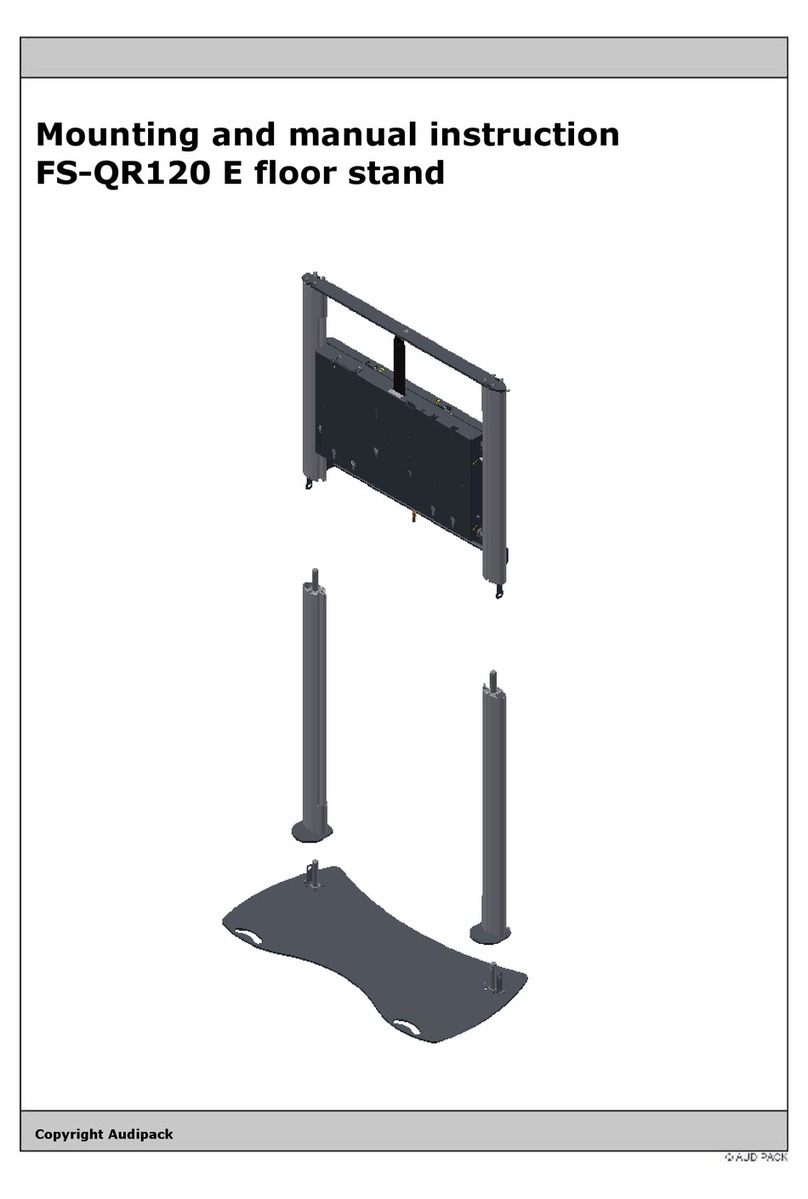
Audipack FS-QR120E Guide

Audipack

Audipack FS-QR120E Guide

Audipack 390720 User manual

Audipack

Audipack 390720 User manual

Audipack 390660 User manual

Audipack

Audipack 390660 User manual

Audipack FS-QR120 E Guide

Audipack

Audipack FS-QR120 E Guide

Audipack ET-2000 User manual

Audipack

Audipack ET-2000 User manual

Audipack FSW-VW-2X2 User manual

Audipack

Audipack FSW-VW-2X2 User manual

Popular Rack & Stand manuals by other brands

Elived EV009 Installation instruction

Elived

Elived EV009 Installation instruction

Velleman WB025 user manual

Velleman

Velleman WB025 user manual

GCX MP5 Installation guides

GCX

GCX MP5 Installation guides

AVteq UM-2 Easy setup guide

AVteq

AVteq UM-2 Easy setup guide

Speaka Professional 2251870 Important information

Speaka Professional

Speaka Professional 2251870 Important information

peerless-AV SR860 manual

peerless-AV

peerless-AV SR860 manual

Mounting Dream MD2380 Installation instruction

Mounting Dream

Mounting Dream MD2380 Installation instruction

Sequenz STA-L Assembly guide

Sequenz

Sequenz STA-L Assembly guide

Meganex T0651 instruction manual

Meganex

Meganex T0651 instruction manual

Bosch GTA 60 W Professional Original instructions

Bosch

Bosch GTA 60 W Professional Original instructions

Elipson 20111201 quick start guide

Elipson

Elipson 20111201 quick start guide

Commend OD5 SH Mounting instructions

Commend

Commend OD5 SH Mounting instructions

VESA T0011L user manual

VESA

VESA T0011L user manual

Soma Fabrications PortFolder instructions

Soma Fabrications

Soma Fabrications PortFolder instructions

Siemens FDM275-O manual

Siemens

Siemens FDM275-O manual

Luxor WPSMS51 instructions

Luxor

Luxor WPSMS51 instructions

Future Automation VWM quick start guide

Future Automation

Future Automation VWM quick start guide

Vidao VXA980T installation guide

Vidao

Vidao VXA980T installation guide

manuals.online logo
manuals.online logoBrands
  • About & Mission
  • Contact us
  • Privacy Policy
  • Terms and Conditions

Copyright 2025 Manuals.Online. All Rights Reserved.