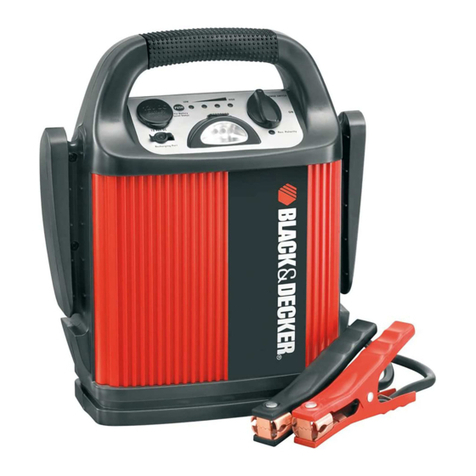
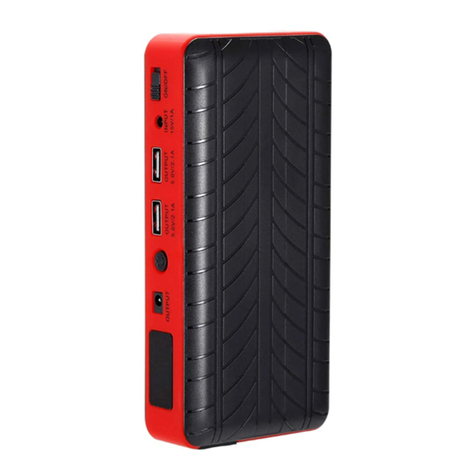
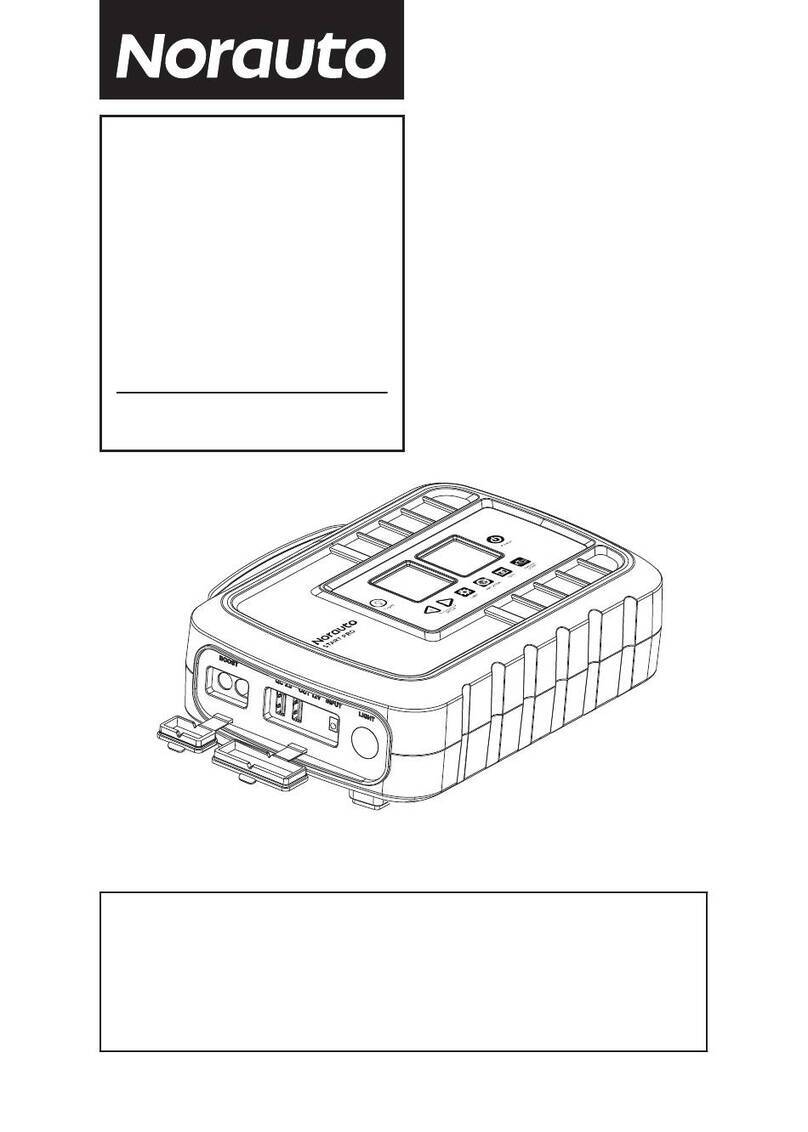
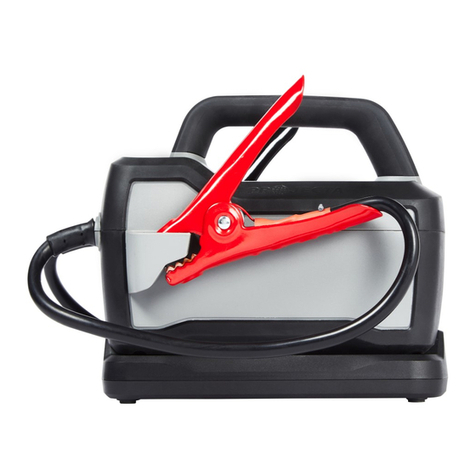
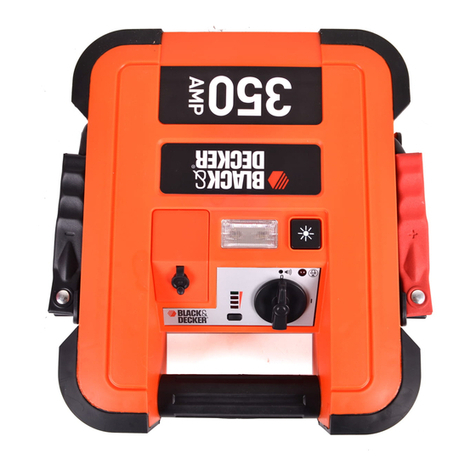
AutoJoe AJS8000 User manual

© 2021 by Snow Joe®, LLC
All rights reserved. Original instructions. SAVE THESE INSTRUCTIONS
1
A Division of Snow Joe®, LLC
OPERATOR’S MANUAL
Model AJS8000 Form No. SJ-AJS8000-880E-M
CORDLESS JUMP STARTER
12V D.C. | MULTI-PURPOSE
EN
IMPORTANT!
All Operators Must Read These
Instructions Before Use
Before using this unit, read and understand all instructions
included in this manual as well as those published by your
vehicle’s battery manufacturer and those of any other device
intended to be used with this unit. Failure to follow all listed
instructions may result in electric shock, re, and/or serious
personal injury.
Notice the personal safety alert symbol m used in this manual
to draw your attention to a WARNING given along with the
particular operating instruction. This means that the operation
requires special ATTENTION, CAUTION, and AWARENESS.
General Safety Instructions
mCHARGE BEFORE USE!
CHARGE BEFORE FIRST TIME USE for about 2 hours. To
prevent battery damage recharge every 3 months.
mWARNING! Risk of impact, re and
explosion!
During operation of the product, the built-in batteries will
undergo a certain chemical reaction. Mishandling of the
product may damage the unit or create hazardous conditions
for users. Follow all warning statements in the manual.
mWARNING! Risk of explosive gases.
Working in vicinity of a lead acid battery is dangerous.
Batteries generate explosive gases during normal operation.
Therefore it is of the utmost importance that you follow the
instructions each time you use the appliance to jump start a
vehicle.
To reduce risk of battery explosion, follow these instructions
of the appliance and any equipment you intend to use in
vicinity of this appliance. Review cautionary marking on these
products.
1. This appliance is NOT intended for use by persons with
reduced physical, sensory, or mental capabilities.
2. Children or persons lacking in experience and knowledge
also should NOT operate this appliance unless he/she
has been given supervision or instruction concerning the
proper usage and warnings of this appliance by a person
responsible for their safety.
3. For proper and safe operation of any receptacle, do not
place anything in it except the plug of the device to be
used.
4. Use only the charging cables and jumper cable provided
in this package. Unauthorized parts may cause serious
damage or injury.
5. Wear both eye and clothing protection when jump starting
a vehicle. Do not touch eyes while working with battery.
6. Remove metal jewelery, such as rings, bracelets,
necklaces, and watches while working with a vehicle
battery. These items can produce a short-circuit that may
cause severe burns.
7. Do not operate this unit in or around water. Exposure to
excessive moisture will damage the unit.
8. Dropping, hitting, or otherwise applying excessive
amounts of force to the appliance may damage the unit.
This could result in loss of operation, electrical re, or
other undesired outcome.
Electric Safety
1. Prevent unintentional starting. Ensure the switch is in the
o-position before picking up or carrying the appliance.
Carrying the appliance with your nger on the switch
or energizing appliance that have the switch on invites
accidents.
2. Under abusive conditions, liquid may be ejected from the
battery; avoid contact. If contact accidentally occurs, ush
with water. If liquid contacts eyes, seek additional medical
help. Liquid ejected from the battery may cause irritation
or burns.
3. Do not use a battery or appliance that is damaged or
modied. Damaged or modied batteries may exhibit
unpredictable behavior resulting in re, explosion or risk of
injury.
4. Do not expose a battery or appliance to re or excessive
temperature. Exposure to re or temperature above
265ºF (130ºC) may cause explosion.
5. Follow all charging instructions and do not charge the
battery or appliance outside of the temperature range
specied in the instructions. Charging improperly or at
temperatures outside of the specied range may damage
the battery and increase the risk of re.

2
6. Have servicing performed by a qualied repair person
using only identical replacement parts. This will ensure
that the safety of the product is maintained.
7. Do not modify or attempt to repair the appliance or the
battery except as indicated in the instructions for use and
care.
Additional Safety Instructions for
Jump Starter
mWARNING! Use the jump starter only with the supplied
jumper cable. NEVER use an alternate cable when jump
starting.
1. Always have someone nearby to assistant when working
near a lead-acid battery.
2. Have plenty of fresh water and soap nearby in case
battery acid contacts skin, clothing, or eyes.
3. Wear complete eye protection and clothing protection.
Avoid touching eyes while working near battery.
4. If battery acid contacts skin or clothing, wash immediately
with soap and water. If acid enters eye, immediately ood
eye with running cold water for at least 10 minutes and get
medical attention immediately.
5. NEVER smoke or allow a spark or ame in vicinity of
battery or engine.
6. Be extra cautious to reduce the risk of dropping a metal
tool onto battery. This may cause a spark or short-
circuit of the battery or other electrical systems that may
potentially lead to an explosion.
7. Remove personal metal items such as rings, bracelets,
necklaces, and watches when working with with a lead-
acid battery. A lead-acid battery can produce a short-
circuit current high enough to weld a ring or the like to
metal, causing a severe burn.
8. Use the jump starter for jump starting lead-acid batteries
only. Do not use for charging dry-cell batteries that are
commonly used with home appliances. These batteries
may burst and cause injury to persons and damage to
property.
9. NEVER charge or jump start a frozen battery.
10. NEVER allow the clamps to touch each other or to contact
the same piece of metal.
11. Do not disassemble, bump, squeeze, puncture or
penetrate the product.
12. Keep jump starter dry, clean and oil-free. Be sure to use
a clean cloth when cleaning and do not use any corrosive
solvent.
Additional Safety Instructions For
Power Bank
1. Read all the instructions before using the product.
2. To reduce the risk of injury, close supervision is necessary
when the product is used near children.
3. Do not put ngers or other foreign objects into the
receptacles of the product.
4. Use of an attachment is not recommended by the
manufacturer and may result in a risk of re, electric
shock, or injury to persons.
5. To reduce risk of damage to the electric plug and cord,
pull the plug rather than the cord when disconnecting the
product.
6. Do not use a battery pack or appliance that is damaged
or modied. Damaged or modied batteries may exhibit
unpredictable behavior resulting in re, explosion or risk of
injury.
7. Do not operate the appliance with a damaged cord or
plug, or a damaged output cable.
8. Do not disassemble the appliance, take it to a qualied
service person when service or repair is required. Incorrect
reassembly may result in a risk of re or electric shock.
9. To reduce the risk of electric shock, unplug all devices
from the receptacles before attempting any instructed
servicing on this product.
10. mWARNING! RISK OF EXPLOSIVE GASES. To reduce
risk of battery explosion, follow these instructions
and those published by battery manufacturer and
manufacturer of any equipment you intend to use in
vicinity of the battery. Review cautionary marking on these
products.
11. Under abusive conditions, liquid may be ejected from
the battery; avoid contact. If contact accidentally occurs,
ush with water. If liquid contacts eyes, additionally seek
medical help. Liquid ejected from the battery may cause
irritation or burns.
12. Do not expose the product to re or excessive
temperature. Exposure to re or temperature above 265ºF
(130 ºC) may cause explosion.
13. Have servicing performed by a qualied repair person
using only identical replacement parts. This will ensure
that the safety of the product is maintained.

3
Additional Safety Instructions For
Worklight and Flashlight
mWARNING! When using ashlight or worklight,
additional precautions should always be followed including the
following:
1. To reduce the risk of injury, close supervision is necessary
when this product is used near children.
2. Do not contact hot parts.
3. Only use attachments recommended or sold by the
manufacturer.
4. Do not use the unit for jobs other than those for which it is
designed.
5. Keep the product out of the reach of children.
6. Do not use in the rain or wet environment.
7. mWARNING! To reduce the risk of injury, do not stare at
the light. Serious eye injury could occur.
8. Do not use magnet for horizontal overhead mounting.
9. mWARNING! The lens get very hot during use. To reduce
the risk of burns, do not touch hot lens.
10. To reduce the risk of re, keep away from combustible
materials while in operation.
11. When using the light, ensure that the product is in a well-
ventilated area and away from inammable materials.

4
Safety Symbols
The following table depicts and describes safety symbols that may appear on this product. Read, understand, and follow all
instructions on the machine before attempting to assemble and operate.
READ THE OPERATOR'S
MANUAL(S) – Read, understand,
and follow all instructions in the
user manual(s) before attempting
to assemble and operate.
SAFETY ALERT – Indicates a
precaution, a warning, or a danger.
WARNING! Do not expose the
unit to rain or wet conditions.
Keep dry.
Symbols SymbolsDescriptions Descriptions
HOT SURFACE – To reduce the risk
of injury or damage, avoid contact
with any hot surface.
Indoor use only. Only charge batteries
indoors.
Wear eye protection

5
Know Your Cordless Jump Starter
Read the owner’s manual and safety instructions carefully before operating this cordless jump starter. Compare the illustration
below to the jump starter in order to familiarize yourself with the location of the various controls and adjustments. Save this
manual for future reference.
1. USB charging cable
2. Car charging cable
3. Positive clamp (red)
4. Jumper cable LED
indicator
5. Jumper cable
6. Negative clamp (black)
7. Carrying bag
8. Flashlight
9. Magnetic base
10. Charge level indicator
11. Charging socket
12. USB 2 port
13. DC barrel jack
14. USB 1 port
15. Jumper cable jack
16. Port cover
17. Power button
18. Adjustable worklight
19. Retractable handle
1
2
3
4
6
7
BOTTOM
8
12
13
15
16
17
18
19
5
11
9
10
14

6
Technical Data
Battery Voltage Max* ........................................ 12V DC (3 x 4V)
Battery Capacity ........................................................ 3700 mAh
Battery Watt Hours ....................................................... 44.4 Wh
Power .............................................................................. 150 W
Current ......................................... Peak: 500 A | Starting: 400 A
Charge Input .................................. USB Charge: 5V DC | 2.0 A
Car Charge: 12V DC | 1.0 A
Charge Time Max .................................... USB Charge: 6 hours
Car Charge: 4 hours
USB 1 ....................................................................... 5V DC | 2 A
USB 2 ....................................................................... 5V DC | 1 A
DC Output Max ..................................................... 12V DC | 8 A
Jump Start Output ......................... 12V | 500 A 1ms / 100 A 5s
Jump Start Engine Rating ........................ Max Gas Engine: 5 L
Max Diesel Engine: 3 L
Lifetime ...................................................................1000 Cycles
Flashlight ............................................................................. 3 W
Spotlight mode + SOS warning mode
Worklight ............................................................................. 6 W
Floodlight mode + Red warning light mode + Red strobe light mode
Net Weight .......................................................... 1.8 lbs (0.8 kg)
*Generates 12V max with three 4V internal batteries. Initial no-load voltage, per
fully charged battery, peaks at 4V. Nominal voltage under typical load is 3.7V.
Unpacking
Carton Contents
• Cordless jump starter
• USB charging cable
• Car charging cable
• Jumper cable
• Carrying bag
• Manual with registration card
1. Carefully remove the jump starter and check to see that all
of the above items are supplied.
2. Inspect the product carefully to make sure no breakage or
damage occurred during shipping. If you nd damaged or
missing parts, DO NOT return the unit to the store. Please
call the Snow Joe®+ Sun Joe®customer service center at
1-866-SNOWJOE (1-866-766-9563).
NOTE: Do not discard the shipping carton and packaging
material until you are ready to use your new jump starter.
The packaging is made of recyclable materials. Properly
dispose of these materials in accordance with local
regulations.
IMPORTANT! The equipment and packaging material are not
toys. Do not let children play with plastic bags, foils or small
parts. These items can be swallowed and pose a suocation
risk!
Operation
mWARNING! Do not allow familiarity with this product
to make you careless. Remember that a careless fraction of a
second is sucient to inict serious injury.
mWARNING! Do not use any attachments or accessories
not recommended by the manufacturer of this product. The
use of attachments or accessories not recommended can
result in serious personal injury.
mWARNING! Do not modify or attempt to repair the jump
starter except indicated in the instructions for use and care.
mWARNING! The device shall be stored indoors. The unit
shall not be charged outdoors. When in use, cautions should
be taken to reduce the exposure to rain, sleet, and snow.
Intended Uses
This product is a multifunctional device. It can be used for
jump-starting of a vehicle battery, illumination, SOS warning,
charging mobile devices and powering 12V equipment.
Do not use the product for any purpose other than the ones
listed above. Any other unintended usage or modication
may cause personal injury and property damage, and will void
the warranty. This product is not designed for commercial or
industrial use.
Charging Operations
mWARNING! The internal battery is only partially
charged. Before rst use, the battery requires at least 2 hours
of charge time to be fully charged. When the batteries are
at low capacity, recharge for 6 hours again before resuming
operation.
NOTE: If charged by a vehicle's 12V DC outlet, it will require
about 4 hours for a full charge.
The jump starter is equipped with an LED battery level
indicator for checking the charge level. Simply press the power
button to read o the battery charge level from the LEDs:
• All 4 indicator LEDs are lit: Battery charge level
is high.
• 3 indicator LEDs are lit: 50-75% battery power is left.
Charge before jump starting a vehicle.
• 2 indicator LEDs are lit: 25-50% battery power is left. Stop
working and charge the jump starter.
• 1 indicator LED is lit: The battery is nearly at. Stop working
and charge the jump starter to prevent degrading the
internal battery.

7
The jump starter can be charged by:
• AC adapter with the equipped USB charging cable;
• Vehicle's cigarette lighter socket/12 V DC outlet with the
equipped car charging cable;
Follow the instruction below to charge the jump starter.
USB CHARGING
1. Check that the mains voltage is the same as that marked
on the rating plate of the AC adapter (not included). Then,
plug a USB charger into an AC power outlet.
2. Turn o the jump starter and remove all loads connected
with the jump starter. Using the provided USB charging
cable, connect the jump starter with the USB charger
(Fig. 1).
3. It will take approximately 6 hours to charge the jump
starter. The battery level indicator LEDs will cycle on one
by one during the charging process. Unplug the charger
when all 4 LEDs are all illuminated.
NOTE: The jump starter is equipped with overcharge
protection, the charging process will stop when the jump
starter is fully charged and the 4 LEDs are all illuminated.
For better performance of the internal batteries, do not
leave the appliance connected with the charging cable for
long after it's fully charged.
CAR CHARGING
1. Turn o the jump starter and remove all loads connected
with the jump starter.
USB charging cable
Charge socket
Fig. 1
Charging level
indicator
Car charging cable
Charge socket
Fig. 2
Charging level
indicator
2. While the car is running, use the equipped car charging
cable to connect the jump starter charge socket and the
car's 12V DC outlet (Fig. 2).
3. It will take approximately 4 hours to charge the jump
starter. The charge level indicator LEDs will cycle on
one by one during the charging process. Unplug the car
charging cable when all 4 LEDs are all illuminated.
NOTE: The jump starter is equipped with overcharge
protection, the charging process will stop when the jump
starter is fully charged and the 4 LEDs are all illuminated.
For better performance of the internal batteries, do not
leave the appliance connected with the charging cable for
long after it's fully charged.
Jump Start a Vehicle
When jump starting a vehicle with this device, make sure that
it is at least 50-75% charged (3 indicator LEDs are lit when the
power button is pressed). To achieve optimum performance,
do not store this device at temperatures below 50°F (10°C)
before using as a starting aid. Never charge or start a vehicle
with a frozen battery.
mCAUTION! Always use the equipped jumper cable with
this unit. NEVER use other cables and alternative solutions.
• Read the operating manual/safety manual provided by the
vehicle manufacturer before jump starting the vehicle.
• Jump start a vehicle only in a well-ventilated area.
• Always wear safety glasses when working with batteries.
Follow the instructions below to jump start an vehicle.
1. Insert the jumper cable into the jumper cable jack. Be
sure that the jumper cable connection is secure. Upon
connection, the LED indicator on the cable will ash in red
and green, indicating that the unit is in standby mode
(Fig. 3).
2. Switch o the ignition completely before connecting the
device to the vehicle.
Fig. 3
Jumper cable
Jumper cable
jacks
Jumper cable LED
indicator

8
3. Clamp the positive (red) clamp to the positive terminal on
the vehicle battery, and clamp the negative (black) clamp
to the negative terminal of the car battery, the vehicle
frame (ground) or other negative connection point as
recommended by the vehicle manufacturer (Fig. 4).
mCAUTION! Make sure the jumper cable is not within
range of moving engine parts (belts, fan, alternator, etc.). Both
the device and the cable must be placed on a nonammable
surface.
4. After connection, check the jumper cable to make sure
the connection is correct and the battery is in the normal
voltage range. The LED indicator on the jumper cable
should turn on solid green if the jump starter is in normal
status and ready for use.
NOTE: Check the table below for the jumper cable
behavior and the corresponding status. After the
connection is correctly made, you will have about 30
second to start the car. The device will return to standby
mode after 30 seconds.
NOTE: If the jumper cable LED indicator doesn't turn on,
make sure the connection is secured.
5. Start the vehicle (turn on the vehicle ignition).
Fig. 4
Connect positive clamp
(red) to positive terminal
+
-
1
Connect negative clamp
(black) to negative terminal
2
Order of Connecting
Jump Start Cable Behavior Corresponding Status
Red + green light ashing The jump starter is
connected and the inner
batteries are in the normal
voltage range.
LED light turns red + buzz
warning sound
Reverse battery terminal
connection or short-circuit.
LED light turns solid red The jump starter doesn't
have enough power.
LED light turns solid green The connection is
successful and the jump
starter is ready for starting
the car.
NOTE: If the vehicle doesn’t start within 6 seconds, let the
jump starter cool for 3 minutes before attempting to start
the vehicle again or you may damage the jump starter.
NOTE: During very cold conditions, the vehicle may not
start on the rst attempt. We suggest attempting to start
a second or third time, as the starting attempt will warm
the internal battery and improve your starting chances.
Do not attempt to start after four attempts. Either the unit
does not have sucient power to start the vehicle or there
is a more extensive problem with the vehicle than simply a
depleted battery.
6. To disconnect the jump starter cable, make sure to:
i. Disconnect the negative (black) clamp from the vehicle.
ii. Disconnect positive (red) clamp from positive battery
terminal.
iii. Disconnect the cable from the jump starter.
Charging Mobile Devices
mWARNING! Do not insert a nail, wire, etc. into any
receptacle. Otherwise a circuit short may cause smoke or re.
1. Plug a USB cable into either one of the two USB ports.
You can charge up to 2 devices at a time.
2. Connect the USB cable to the mobile device(s) and press
the power button to start charging (Fig. 5).
3. The jump starter can also power a 12V DC device such
as DC fans. Connect the device to the DC barrel jack of
the jump starter with a suitable DC cable (not included),
and press the power button to start charging (Fig. 6).
Power button
Fig. 5
Power button
Fig. 6
DC receptacle

9
4. To turn o the jump starter, press and hold the power
button for 3 seconds.
5. The appliance is equipped with short-circuit protection.
When used as a power bank and a short circuit occurs
on one of the ports or jacks, the appliance will shut down
automatically. If this happens, disconnect all connected
devices and charge the jump starter to restart.
Use of the Worklight and the Flashlight
The jump starter features several dierent light modes. To
switch between the light modes, simply keep pressing the
power button until it reaches the desired mode.
While in any of the work light modes, you can turn the unit OFF
by pressing and holding the power button for 3 seconds.
NOTE: If the worklight and the ashlight cannot be started,
double check if the jump starter needs to be charged.
Operation Light Mode
x2
Primary
worklight
mode: solid
white light from
the worklight
panel
x3
Warning light
mode: solid
red light from
the worklight
panel
x4
Intermittent
light mode:
ashing red
light from
the worklight
panel
x5
Flashlight
mode: solid
white light
from the
bottom
x6
SOS light
mode: SOS
in Morse
code from the
bottom
x7 OFF
• The worklight panel can be adjusted as shown below for
convenient illumination (Fig. 7). The unit is also equipped
with a retractable handle. Simply pull it out to hang or carry
the unit (Fig. 8).
• If needed, utilize the magnetic base of the jump starter to
mount the unit while using the worklight. To avoid possible
injury, do not hang the jump starter anywhere overhead.
Maintenance
mWARNING! Always switch the product o and
disconnect any devices plugged in before performing
inspection, maintenance, and cleaning work.
mWARNING! When servicing, use only identical
replacement parts. Use of any other parts could create a
hazard or cause product damage.
Cleaning
Avoid using solvents when cleaning plastic parts. Most plastics
are susceptible to damage from various types of commercial
solvents and may be damaged by their use.
mWARNING! Do not at any time let brake uids, gasoline,
petroleum-based products, penetrating oils, etc., come in
contact with plastic parts. Chemicals can damage, weaken or
destroy plastic, which could result in serious personal injury.
Work light
panel
Fig. 7
Retractable
handle
Fig. 8

10
• Always clean the product thoroughly after each use with a
dry cloth or brush.
• Avoid oil and grease contamination (especially to gripping
parts). If contamination occurs, wipe the product with a
damp cloth.
Storage
• Switch o the jump starter, disconnect all appliances/
cables. Thoroughly clean the housing with a soft, dry cloth.
• Store the device in the supplied bag. Put the device with
all accessories indoors in a safe location out of the reach
of children. Keep away from direct sunlight or humid
conditions. The ideal storage temperature is between 41°F
(5°C) and 86°F (30°C).
Disposal
Recycling the tool
• Do not dispose of electrical appliances as unsorted
municipal waste. Use separate collection facilities.
• Contact your local government agency for information
regarding the collection systems available.
• If electrical appliances are disposed of in landlls or dumps,
hazardous substances can leak into the groundwater and
get into the food chain, damaging your health and well-
being.
• When replacing old appliances with new ones, the retailer
is legally obligated to take back your old appliance for
disposal at least free of charge.
Recycling + Disposal
The product comes in a package that protects it against
damage during shipping. Keep the package until you are
sure that all parts have been delivered and the product is
functioning properly. Recycle the package afterwards or keep
it for long-term storage.
WEEE symbol. Waste electrical products should not
be disposed of with household waste. Please recycle
where facilities exist. Check with your local authority
or local store for recycling regulations.
Service + Support
If your Auto Joe cordless jump starter needs service or
maintenance, please call the Snow Joe®+ Sun Joe®customer
service center at 1-866-SNOWJOE (1-866-766-9563).
Model + Serial Numbers
When contacting the company or reordering parts, you will
need to provide the model and serial numbers of your product.
These are found on the decal axed to the housing of your
cordless jump starter. Copy these numbers into the space
provided below.
Record the following numbers from the housing or handle of your
new product: Model #:
A J S 8
0 0 0
Serial #:
Table of contents
