AV Now Sound System User manual

AVNOW.com • 800-491-6874
Sound System EZ Set-Up Guide
EZ SET-UP GUIDE

EZ Set-Up Guide
2
AV Now Sound System Setup
Thank You for purchasing an AV Now Sound System!
This instruction guide will help you set up your system easily and get the most from
your new equipment. It really is simple. The following information will give step by
step instructions on:
Please note that not all systems are the same. These instructions are for a typical
AV Now Premium Sound System. Notes have been made for most variations of
this system.
Receiving Your Order
When receiving your order, check to see that you’ve received the items on your
packing list before continuing. Please Note: Any discrepancies (either Damaged
or Missing items) must be reported to AV Now within 24 hours of receipt. Keep all
packaging materials and boxes in new condition in case there is a return issue.
Phillips head screwdriver.
avnow.com • 800-491-6874 avnow.com • 800-491-6874

EZ Set-Up Guide 3
Rack Mounting Your Components
Open your equipment rack. This will be one of the largest rectangular boxes.
The rack will house all of your components.
Remove the front and back panels from the rack. Lay your rack down on the floor.
sidered the ‘front’ of the rack. The bottom of the rack has either rubber feet or
wheels (depending on the model purchased).
If you purchased a rack with wheels, they ship inside the rack and are attached to
one of the rack rails. Remove the wheels and attach them to the bottom of the rack
using the screws located in the mounting holes on the bottom of the rack.
Locate the small pack of rack screws in a baggie (usually packed with the
speaker cables and some of the smaller accessories). Note: When you get to
the Rack Mounting section below, each component will require 4 rack screws to
install/’mount’ it into the rack. The rack screws will be screwed through the four
holes of each component into the rack rails located on the rack.
ing of each component.
Basic Rack Layout for AV Now Sound Systems
Unbox all the components and set them to one side of the rack in the approximate
order they will be installed, top to bottom. The suggested layout in is the
recommended standard for an AV Now Premium Sound System.
Looking down into what will be the ‘front’ of the rack, lay each component on the
internal rack rails. Each component is 19” wide and will fit perfectly onto the rack
rails. Gravity will hold the components in place as you do this initial layout.
While the following steps are based on Figure 1, you may vary the items’
positions per your actual equipment and specific needs.
• Start with your . This is the piece that you will plug all of your AC
power cords into. It’s also the master ‘on-off’
switch for the entire system. Install this compo-
nent in the top position of your rack.
• Next, place your into the rack. For the fol-
lowing examples we will use the AV Now Flexmix
Mixer and we’ll be referring to the rear panel for
installation procedures.
avnow.com • 800-491-6874

EZ Set-Up Guide
4
• Next, place your into the rack, if the receiver is
rack-mountable. Your AV Now system designer will have gone over wireless rack-
mount options with you during ordering. Refer to the Wireless Mic System’s own-
er’s manual for instructions about how to attach the wireless rack mount kit to the
Wireless Mic Receiver (usually snap-in or attached with screws, depending on the
manufacturer). Typically, you’ll rack mount your Wireless Receiver just below the
Power Module or Mixer, depending on the spread and extension of the antennae.
Some facilities prefer putting their Wireless Receiver on top of their rack for
improved reception, especially if the rack is located in a different room or closet.
If you choose this method of placement, your Wireless Mic Receiver will not be
mounted in your rack, it will be set on top of the rack after everything else is
secured and the rack is upright.
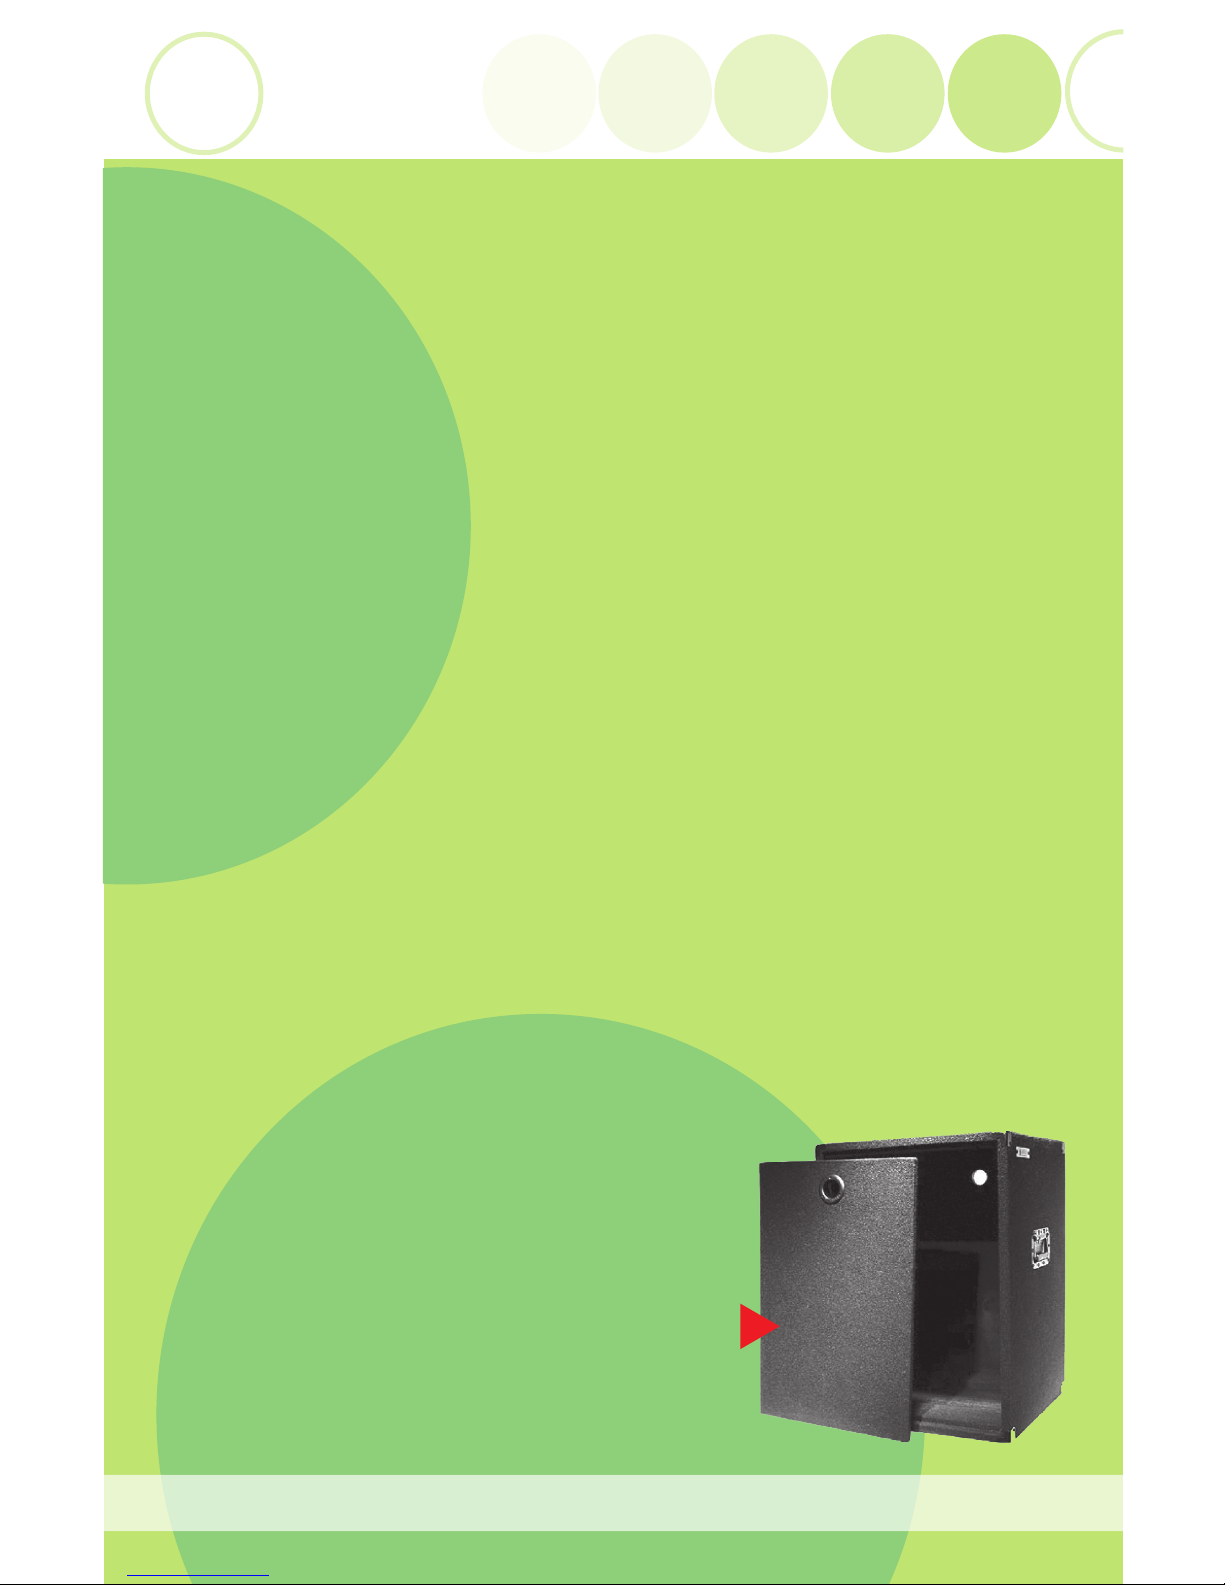
For improved security and a professional look, we always recommend a rack-
mount kit for your Wireless Microphone System.
• Next, position your : Your AV Now Sound System may contain a
,or a You may mount these players
in whatever order you wish, however when mounting a piece which includes an
iPod dock, make sure to leave enough room for the iPod to be easily docked and
removed.
• Next, place your accessory into the rack. This is a great product for
holding music, extra batteries, transmitters, headsets, first-aid kits, instructor log
books, etc. A rack drawer helps to keep the area around the system tidy and
organized.
• Next, place your into the rack.
A power amp should be located near the bottom. You will omit this step if you’ve
chosen (speakers with amplifiers built in). Some amplifiers,
like the Crown XTi series, have built-in handles on the front panel that can inter-
fere with the mounting of security doors. In this case, you’ll want to make sure
the amp is not all the way at the bottom of the rack.
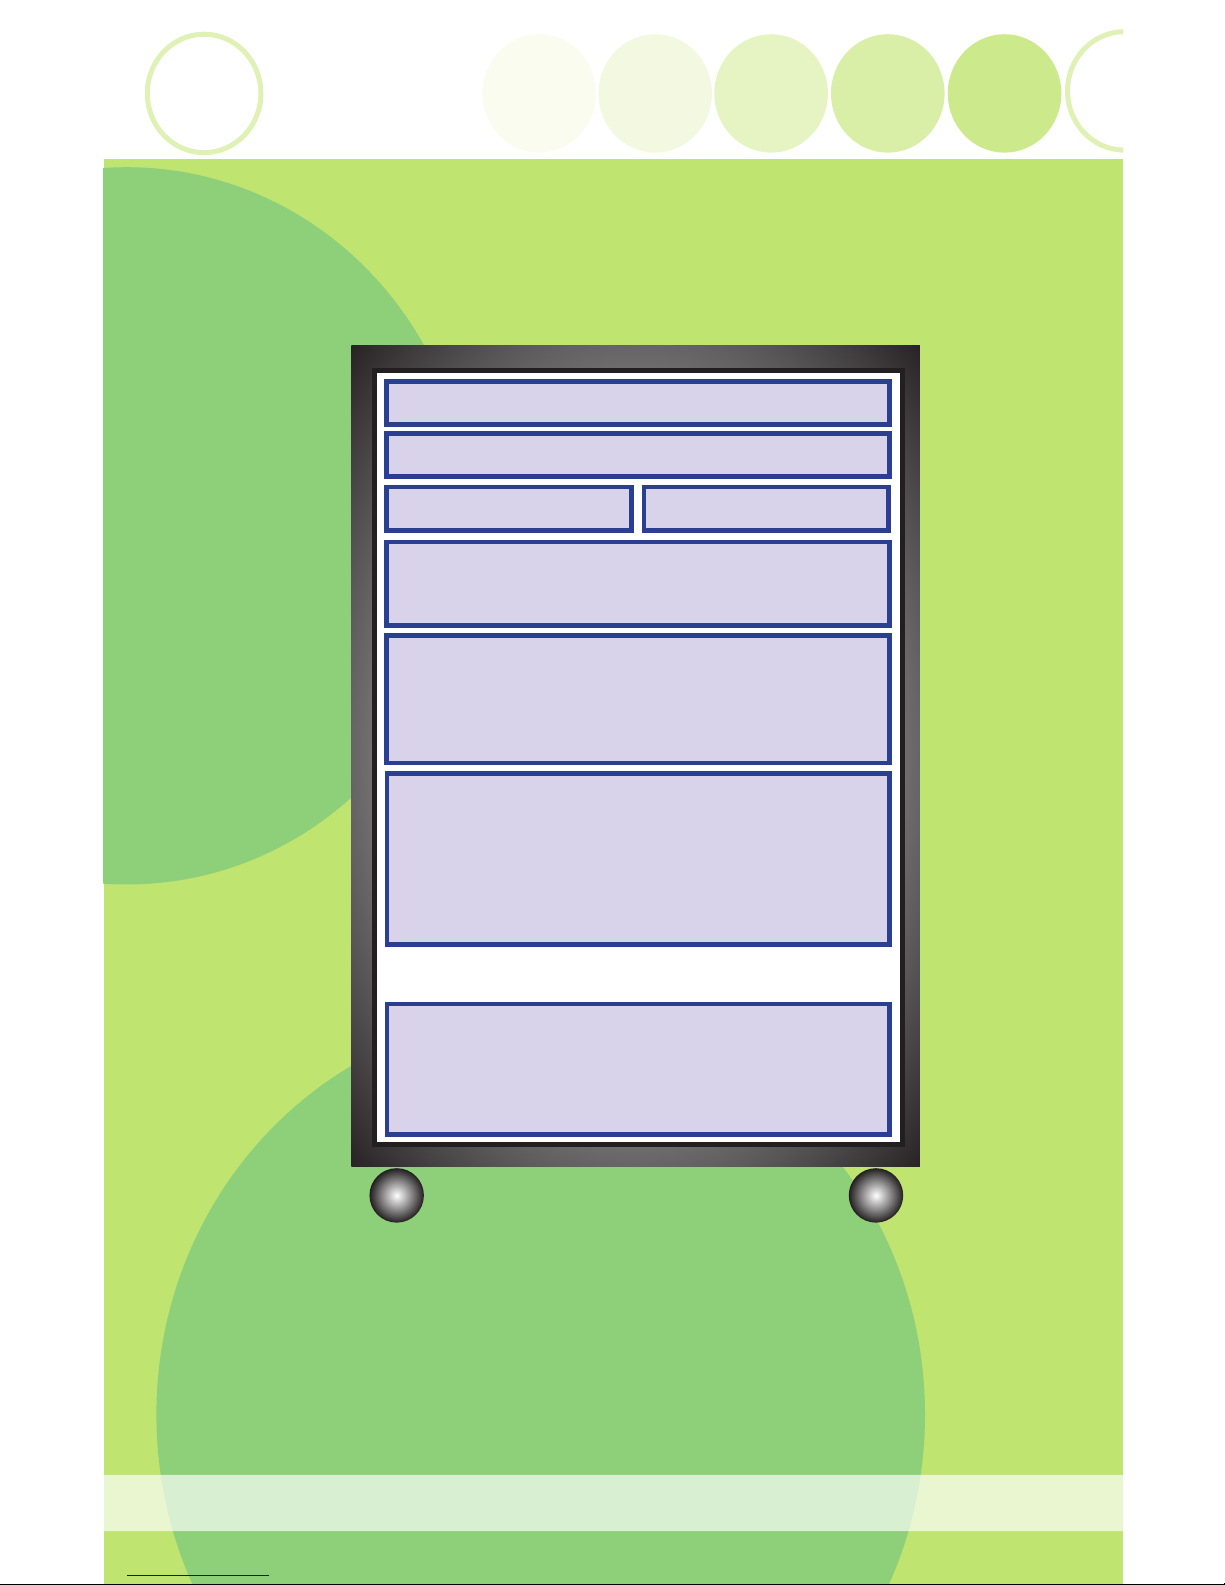
Filler Panels
If you’ve purchased , now is the time to position them. Filler panels
are 1 to 4 rack-space ventilated panels which fill in whatever spaces are left open
after the components are positioned. These panels give a finished ‘no holes’ look to
your sound system. Your AV Now system designer will have calculated how many
filler panels will be needed to fill in all the open space in the front of the rack.
avnow.com • 800-491-6874 avnow.com • 800-491-6874

EZ Set-Up Guide 5
AV Now recommends you position your components with few or no spaces
between them until you get to the power amp. Leave spaces above the power
amp and use your filler panels here, as they will provide natural ventilation for the
amp. It’s OK to use some filler panels in higher portions of the rack, but make sure
you give the amp as much breathing room as you can. If you have a dock for an
iPod or iPhone, make sure there’s enough room above it for clearance.
If you did not order filler panels with your system, they may be ordered and
installed at a later time.
Security Door
If you’re installing a
same time as the components. If you’re not installing a Locking Security Door,
please skip to below.
The same screws that secure the rack components also secure the security door
and its mounting rails. After you’ve positioned all the system components in the
rack, set the security door hinge-mounting rail on top of either the left-hand or right-
hand side of the components, line up the holes, and install the mounting screws.
Do the same with the locking rail opposite the door hinge rail. When you install the
mounting screws, you are in the Final Rack Mounting stage described next.
Final Rack Mounting
After you’ve laid out the components (and positioned security door, if applicable),
use 4 rack screws per component to secure each piece into the rack. Place
the screws into the 4 holes in each component’s faceplate and hand-tighten them
into the holes on the rack rails underneath. Snug them up using a Phillips head
screwdriver.
After securing all the components, carefully tilt the rack back up into its upright
position. Note that the rack will be heavier now than when you first laid it down.
Making Your AC Power Connections
All components should be mounted before making any AC Power Connections.
Plug the AC power cord from each component into the back receptacles of the
Power Module. . Some items use a detachable power cord such as
the Flexmix, Aeromix 2+2 and the Wireless Microphone Receiver. Make sure to
locate these and plug them in.
.
avnow.com • 800-491-6874

EZ Set-Up Guide
6
Making Your Audio (Sound) Connections
All components should be mounted (screwed in) before making any Audio
Connections.
Connecting a sound system’s audio is simpler than you might think. All of the
Sound Sources (wireless mic receiver, CD player, and iPod players/docks) will
connect to the Mixer. The Mixer connects to the Power Amp. The Power Amp
connects to the Speakers. See Figure #3.
Keep in mind the simple rule that an Output from one component connects to an
Input of another, usually in stereo or pairs. Here we go!
Most sound systems use a . To connect a wireless
microphone to your system, plug the supplied 6 ft. cord (1/4” to 1/4” plugs) to the
of the Wireless Receiver. Plug the other end of this cable into the
on the back of your Flexmix/Aeromix. A second wireless microphone system
can be plugged into .
use the red and white
ended RCA to RCA cables (supplied) to connect the output of each of these play-
ers to the on the back of the Flexmix or Aeromix 2+2.
have front panel inputs to make
plugging an iPod or other Mp3 player into either one easy. Simply use the supplied
cable. Plug the small 1/8” mini-phone jack into the player’s headphone output and
plug the larger 1/4” plug into the front panel input on the mixer. On the Flexmix,
channel 3’s music volume controls this input, on the Aeromix, channel 2’s music
volume controls it.
After completing the output connections
of all of your sound sources into the inputs of the Flexmix or Aeromix, connect the
using the supplied cables. These cables
are 5 feet long. Connect the 1/4” plug into the main outputs on the mixer and the
3-prong XLR connectors into the inputs on the amp. AV Now takes care to ship the
correct connection cables with each system.
avnow.com • 800-491-6874 avnow.com • 800-491-6874

EZ Set-Up Guide 7
Speaker and Master AC Power Connection
Your rack comes with two panels for the front and back. You removed these for
Rack Mounting. Whether or not you use a panel in front – to cover components
when the rack is not in use- is up to you. A Security Door takes the place of the
front panel option.
It also looks good. Grab either panel and get ready to install it on the rack’s back.
The pop-out panel has a hole in the bottom to route the Power Module’s ‘master’
AC cable and the system’s Speaker Cables through.
.
into If you have a system with
powered (active) speakers, see below for setup info.
Powered Speaker Hookup/Settings
If you purchased , (speakers with amplifiers built into them),
you’ll need to connect electrical power to each speaker. Typically, AV Now ships
‘Siamese Cables’ with these systems. A ‘Siamese Cable’ provides both electrical
power and audio signal to your powered speakers. There are two connectors on
each end of these cables. Connect the male AC Power plug to the power condi-
tioner. Connect the female AC Power plug to the speaker. Connect the 1/4” plug
to the output of the mixer. Connect the XLR plug to the input of your speaker.
Again, with powered speakers, you do not have a power amplifier in your rack;
your amplifiers are built into the speakers. Initial volume adjustment should be
made at the Powered Speaker. We suggest setting the volume (and tones controls,
if applicable) to 12 o’clock. Volume adjustments during classes will be made at the
Flexmix/Aeromix 2+2 . See Volume and EQ adjustment section for details.
avnow.com • 800-491-6874

EZ Set-Up Guide
8
Finishing the Rack
After you’ve routed and connected the Speaker Cables and Main AC Power cable
through the rear panel, install the pop out panel into the rack by simply
pushing it straight into the back of the rack where it will naturally seat into the form
fitting grooves. If your rack has a different type of back panel (such as on a plastic
or metal rack), you may choose to leave the back panel off.
Proper Speaker Placement
. Fitness sound is different than home stereo sound.
“Speakers in corners” can sound great at home but corners are seldom the best
place to mount speakers in a Fitness Sound/PA situation.
to . Instructors need to hear them-
selves, and participants need clear direction and motivating music with minimal
ear strain. Finding the proper balance between all these elements is more easily
achieved through proper speaker placement.
The Speaker Placement Diagrams in this Guide take all of these factors into
account. Refer to them for basic Speaker Placement.
Mounting Speakers to walls or ceilings should be done with great care.
AV Now recommends using appropriate mounting brackets only. Please refer
to the owner’s manual for the speaker mounting brackets and adhere to them.
You may wish to have your speakers mounted by a professional or by your
electrical/maintenance department.
Volume and Equalization Adjustment
Make sure all components have their individual power turned “On”. Make all
volume adjustments to avoid microphone feedback or abruptly loud
music. is a function of the microphone element picking up
various frequencies of its own sound through the speaker system and re-amplifying
them over and over until there is a squeal or hum.
By adjusting the mic’s volume and tonal quality (treble and/or bass), and/or
repositioning the speakers, most feedback situations can be eliminated.
avnow.com • 800-491-6874 avnow.com • 800-491-6874

EZ Set-Up Guide 9
Suggested Volume and Tone Control Starting Points
Make sure all your components are in the “ON” position and the Power Module is
“ON” before proceeding.
• Start with this and all bass/treble controls at 12 o’clock, straight up.
• Set the volume controls on the front of the Power Amp at 2 or 3 o’clock or
70-75%.
• Turn on the Wireless Microphone Transmitter Pack and gradually bring up the
appropriate Voice/Mic level (larger black knob on mixer– turning clockwise) until
the voice is heard clearly.
• Adjust the Music volume levels (while the music is playing – turning the larger
black knobs on the music side of the mixer clockwise) to desired levels to obtain
the proper mix.
• Make adjustments as necessary.
These are suggested starting points. Variations in class formats, instructor
preferences, and programming may require different adjustments.
Additional Information
To learn more about wireless microphone feedback and how to avoid it, we recom-
mend you read the articles online at avnow.com. Of course, you may always call us
for Free Lifetime Technical Support.
AV Now, Inc.
100 Pioneer Street, Suite B
Santa Cruz, CA 95060
800.491.6874
831.425.2500
831.423.0253 Fax
avnow.com • 800-491-6874

EZ Set-Up Guide
10
Figure 1
AV Now Sound Systems
This is a basic set-up, your actual system configuration may vary
depending on the items purchased. Contact us with any questions:
avnow.com • 800-491-6874 avnow.com • 800-491-6874
Power Module
Mixer
Music Player #1
Wireless Mic Receiver #1 Wireless Mic Receiver #2
Music Player #2
Drawer
Power Amp
16 Space Rack with Wheels

EZ Set-Up Guide 11
avnow.com • 800-491-6874
Power Module
Mixer
Music Player #1
Wireless Mic Receiver #1
AC Plug to Pwr Mod
AC Plug to Pwr Mod
AC Plug to Pwr Mod
To AC
Outlet
(110V)
AC Plug to Pwr Mod
AC Plug to Pwr Mod
AC Plug to Pwr Mod
Wireless Mic Receiver #2
Music Player #2
Drawer
Power Amp
16 Space Rack with Wheels
Figure 2
AV Now Sound Systems
This is a basic set-up, your actual system configuration may vary
depending on the items purchased. Contact us with any questions:

EZ Set-Up Guide
12
avnow.com • 800-491-6874 avnow.com • 800-491-6874
Power Module
Mixer
Music Player #1
Wireless Mic Receiver #1
Output to Speakers
Outputs to Mixer
Output to Amp
Output to
Mixer
Output to Mixer
(Music In - 2)
(Music In - 1)
Wireless Mic Receiver #2
Music Player #2
Drawer
Power Amp
16 Space Rack with Wheels
Figure 3
AV Now Sound Speaker Systems
This is a basic set-up, your actual system configuration may vary
depending on the items purchased. Contact us with any questions:

EZ Set-Up Guide 13
avnow.com • 800-491-6874
Power Module
Mixer
Music Player #1
Wireless Mic Receiver #1
Outputs to Mixer
Output to Speakers
Siamese Cable #1
Siamese Cable #2
Output to
Mixer
Output to Mixer
(Music In - 2)
(Music In - 1)
Wireless Mic Receiver #2
Music Player #2
Drawer
Powered
Speaker #1
Powered
Speaker #2
Figure 4
AV Now Sound Speaker Systems

EZ Set-Up Guide
14
avnow.com • 800-491-6874 avnow.com • 800-491-6874
W’
W’
D’
D’
Figure 5
Contact us with any questions:
= Speaker
Sound
System
Sound
System
Instructor
Instructor
Coverage for a Deeper Room
(More square)
Coverage for a Long Shallow Room

EZ Set-Up Guide 15
avnow.com • 800-491-6874
W’
W’
D’
Figure 6
Contact us with any questions:
= Speaker
Sound
System
Sound
System
Instructor
Coverage for a Deeper Room
(More square)
Coverage for a Long Shallow Room
D’
Instructor

avnow.com • 800-491-6874
EZ SET-UP GUIDE
• Wireless Mic Systems
• Group Ex Sound Systems
• Aqua-Aerobics Sound
• Portable Sound
Table of contents