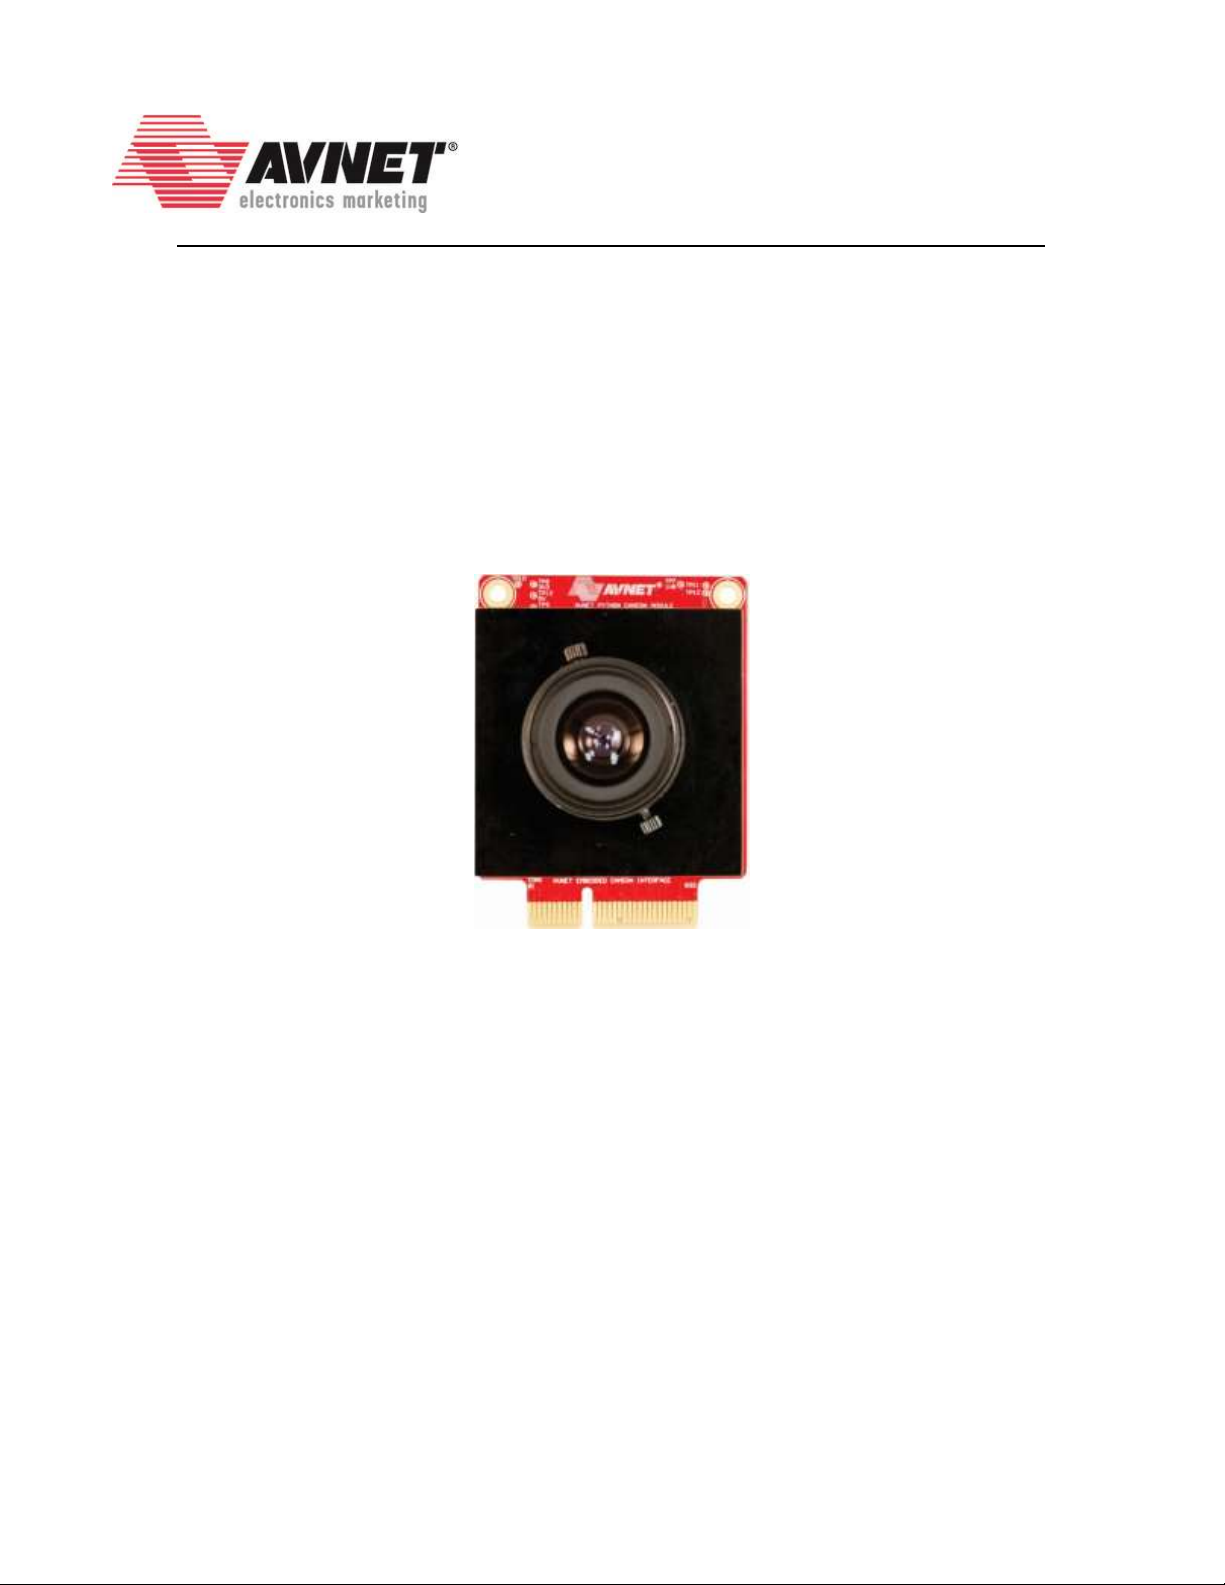
FMC-HDMI-CAM + PYTHON-1300-C
Frame Buffer Design Tutorial
v2015_4 23 February 2016
www.microzed.org Page 10 of 23
As a convenience, before building the hardware design, the scripts will verify if valid
licenses are installed for the video IP cores used in the design.
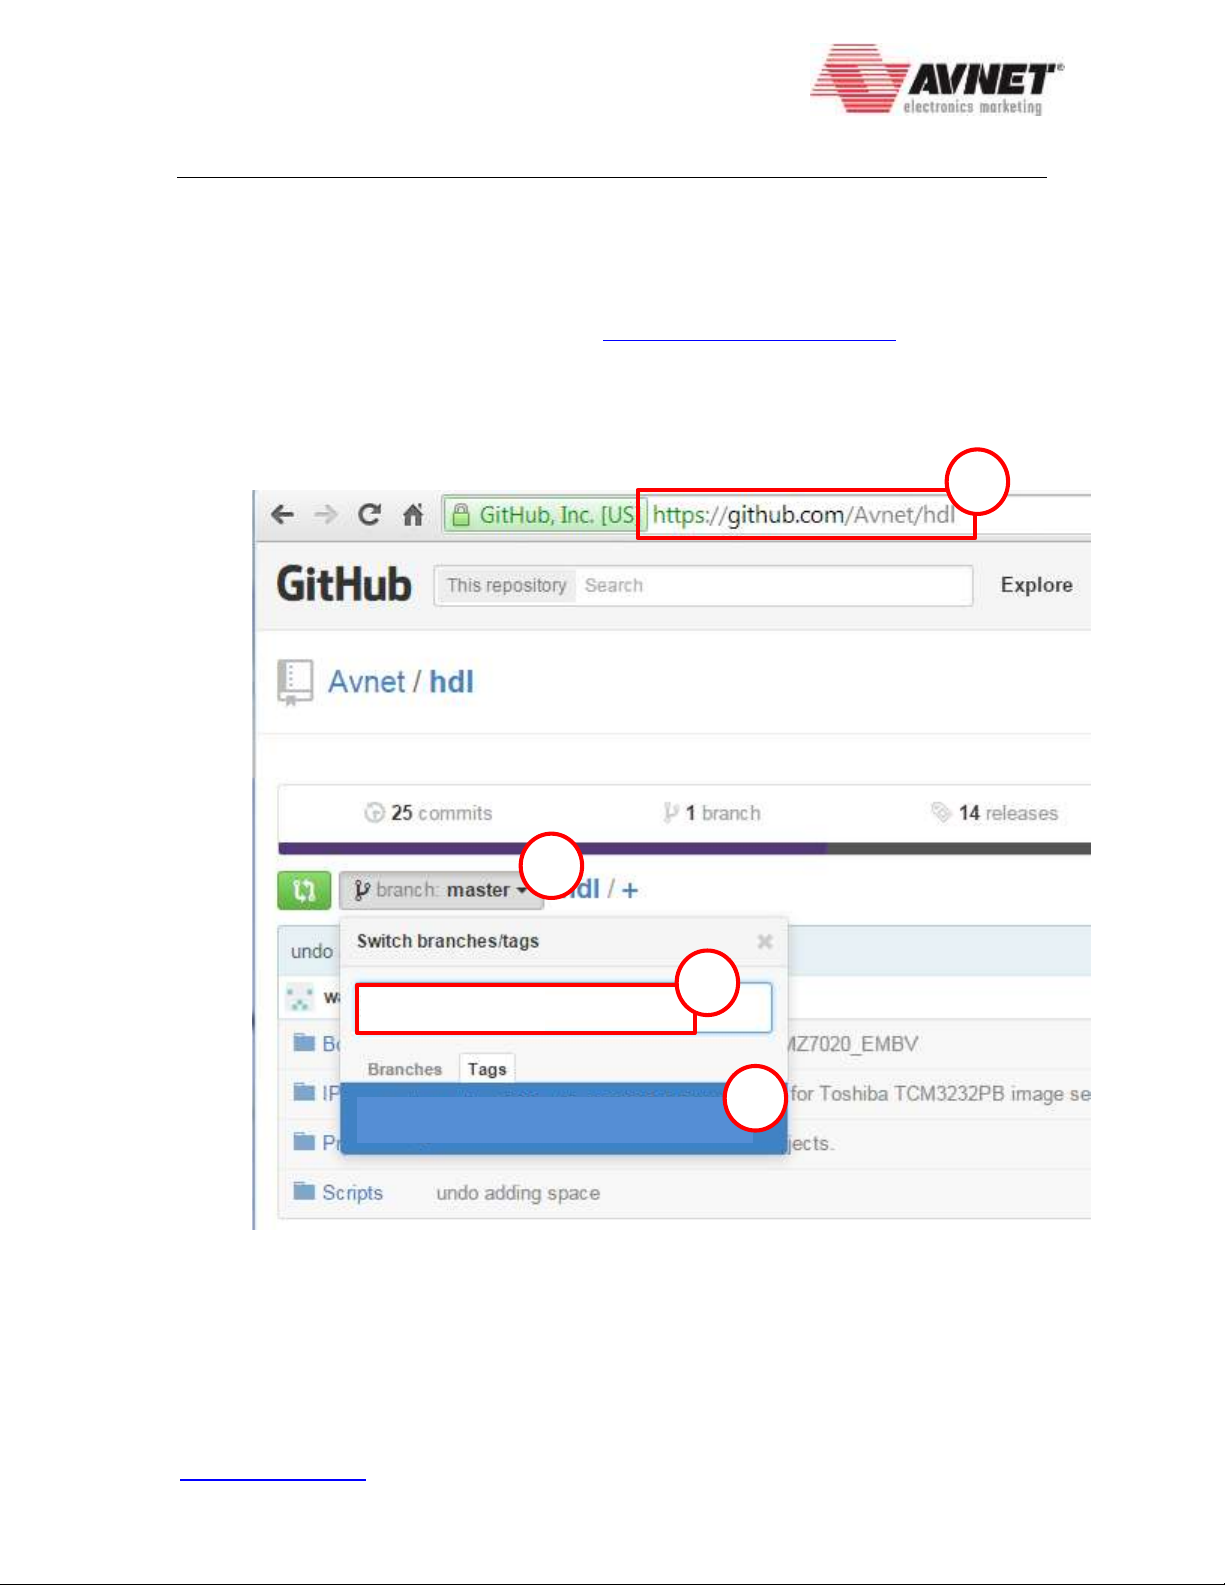
Figure 10 –Vivado 2015.4 TCL Shell –Video IP Core license verification
Each of the video IP cores requires a full license or hardware evaluation license in order
to successfully build a bitstream.
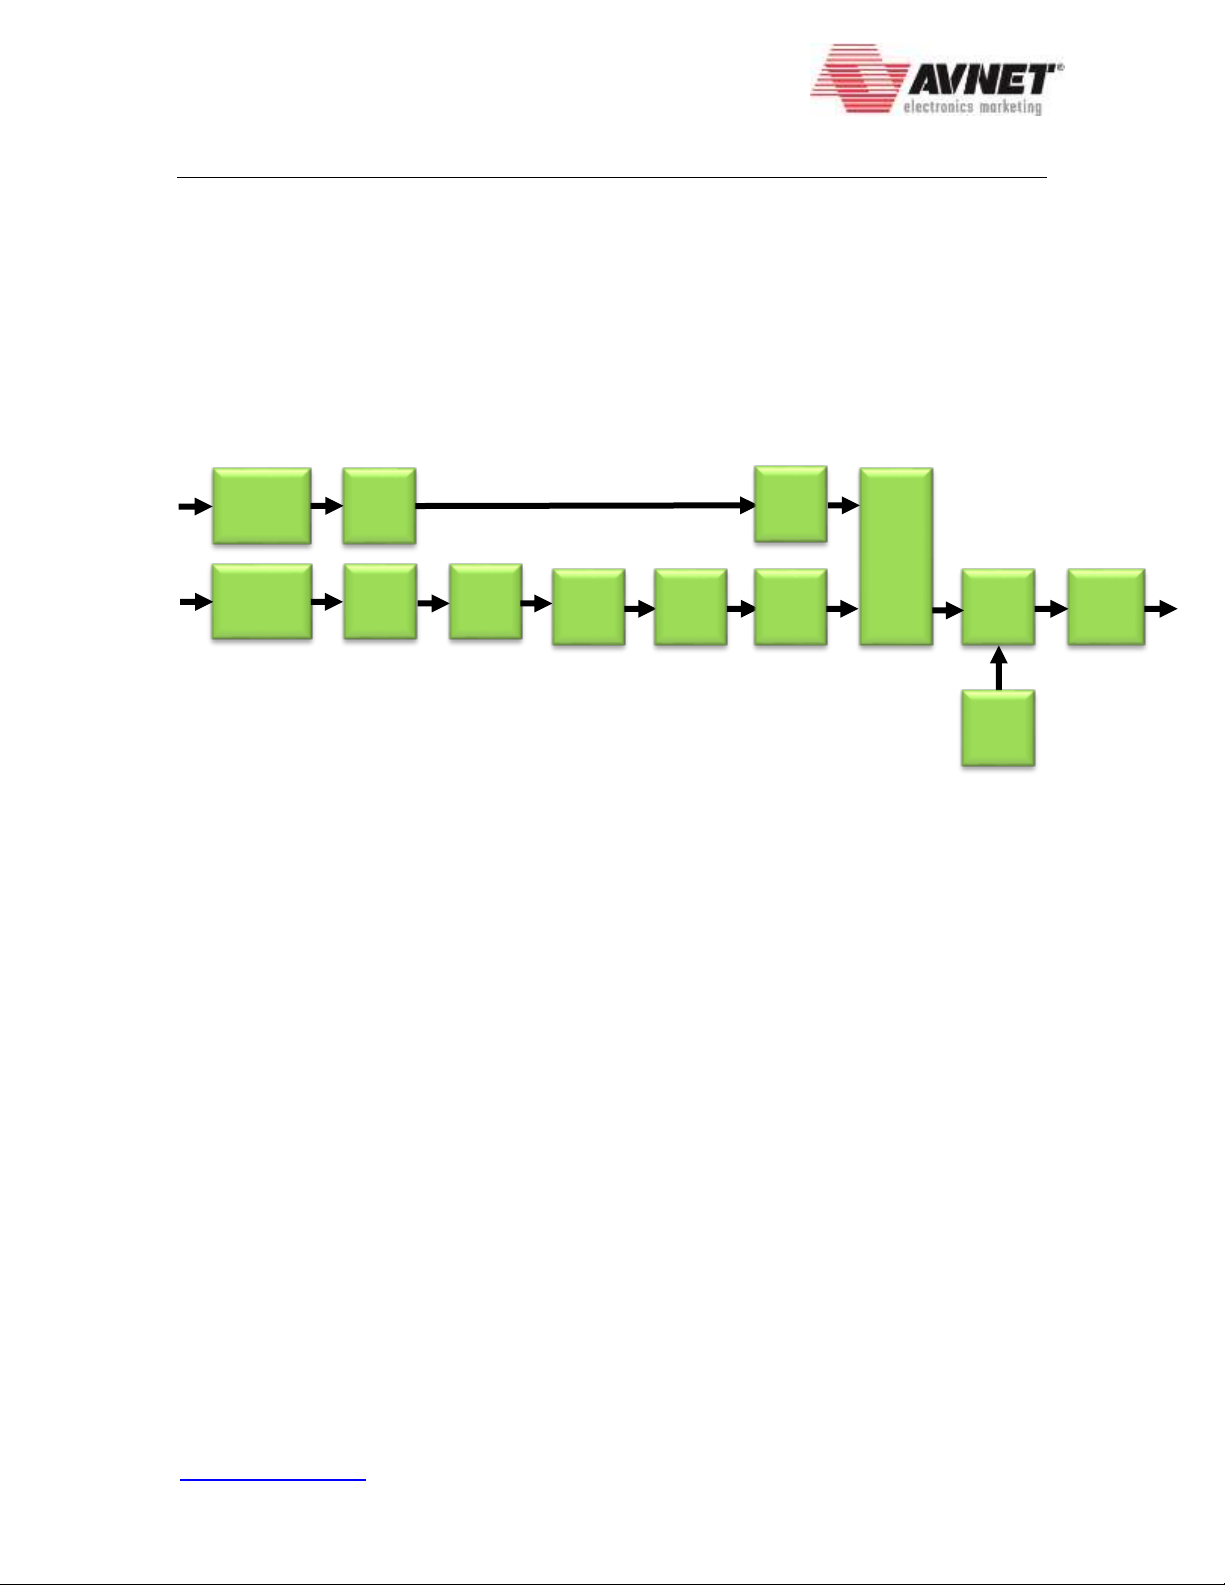
The build will perform the following steps, where {BOARD} will be one of
MZ7020_FMCCC , PZ7030_FMC2, ZEDBOARD, ZC702, or ZC706:
Create and build the hardware design with Vivado 2015.4,
including the IP Integrator block design
C:\Avnet\hdl\Projects\fmchc_python1300c\{BOARD}\fmchc_ python1300c.xpr
Create and build the SDK workspace, including board support package (BSP),
software application, and first stage boot loader (FSBL)
C:\Avnet\hdl\Projects\fmchc_python1300c\{BOARD}\fmchc_ python1300c.sdk
Create the SD card image (BOOT.bin)
C:\Avnet\hdl\Projects\fmchc_python1300c\{BOARD}\BOOT.bin
***** Check for Video IP core licenses...
+------------------+------------------------------------+
| Video IP Core | License Status |
+------------------+------------------------------------+
| v_cfa | VALID (Hardware Evaluation) |
+------------------+------------------------------------+
| v_cresample | VALID (Hardware Evaluation) |
+------------------+------------------------------------+
| v_osd | VALID (Hardware Evaluation) |
+------------------+------------------------------------+
| v_rgb2ycrcb | VALID (Full License) |
+------------------+------------------------------------+
| v_tc | VALID (Full License) |
+------------------+------------------------------------+