AX1824S Series 2 / AX1832S
12/24V LED DVD/SMART TV
PANEL
- Display Size: 60cm (23.6”) - AX1824S
81cm (32”) - AX1832S
- Full High Definition LED TV - AX1824S
- High Definition LED TV - AX1832S
- Aspect Ratio: 16:9
- Resolution: 1920 x 1080 - AX1824S
1366 x 768 - AX1832S
- Brightness: 220cd/m2 - AX1824S
250cd/m2 - AX1832S
- Contrast: 3000:1 - AX1824S
1200:1 - AX1832S
- Viewing Angle: 176(H) x 176(V) - AX1824S
178(H) x 178(V) - AX1832S
POWER
- Input: 9-36V DC / 4A @12V
- Optional AC Adapter: 240V 50Hz/60Hz
- Stand-by Power Consumption: 0.5W
CABINET
- Conformal Coated Circuit Board
- Size: 550 x 50 x 336mm - AX1824S
735 x 82 x 442mm - AX1832S
- Enhanced Strength VESA Mounting
- Net weight: 3.9 kg - AX1824S
5.1 kg - AX1832S
MULTIMEDIA & FEATURES
- TIMESHIFT: Pause, Rewind & Fast-Forward
Live TV (using PVR)
- USB Reader
- PVR (Personal Video Recorder)
- EPG (Electronic Program Guide)
DVD/CD PLAYER
- Built-In DVD Player
- Supports DVD/VCD/CD/MP3/DIVX/JPEG
- Supports DVD±R/DVD±RW/CD-R/RW
TUNER
- DVB-T Digital HD Tuner
- Analogue Tuner
- DTV Video System: MPEG-1MP@ML, H.264,
MPEG-4 (Video Codes)
- DTV Sound System: MPEG-1 Layer 1/2,
- ATV Video System: PAL
- ATV Sound System: BG, DK, I
SYSTEM
- MPEG-4 Video System
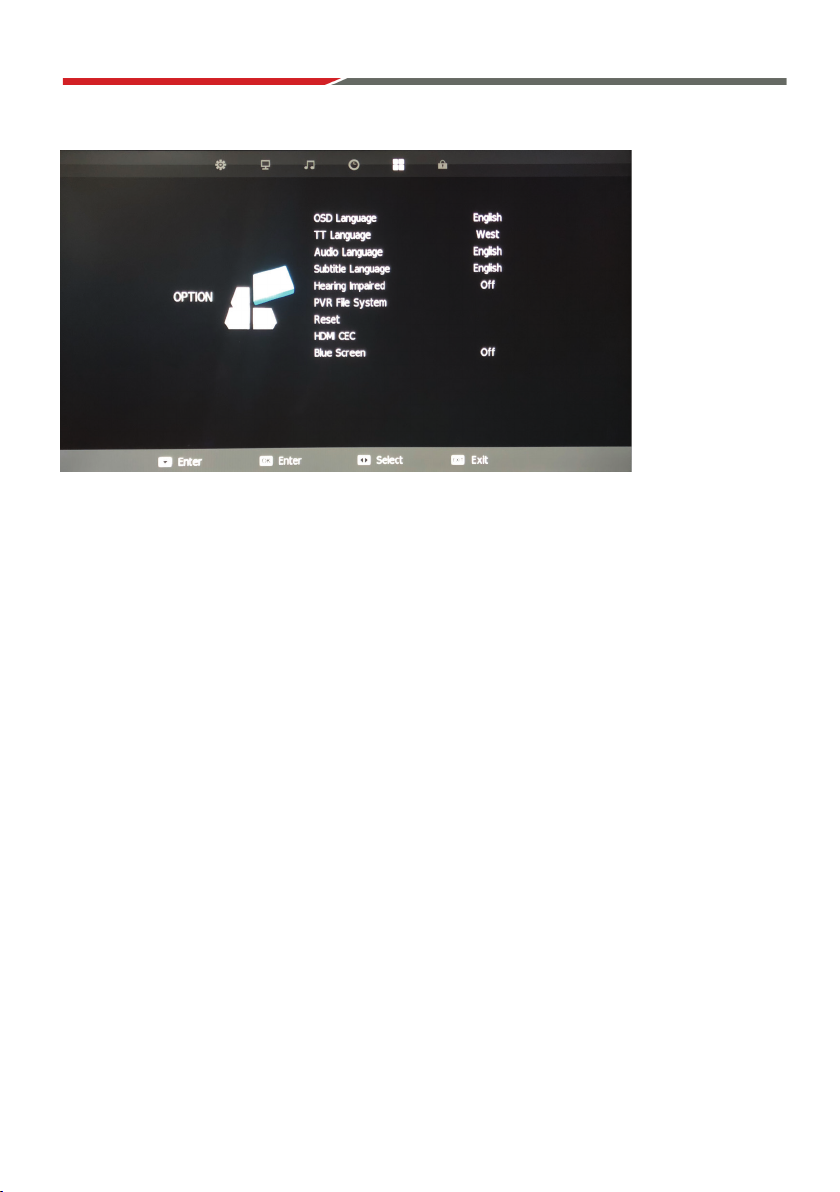
- OSD: Multi-languages
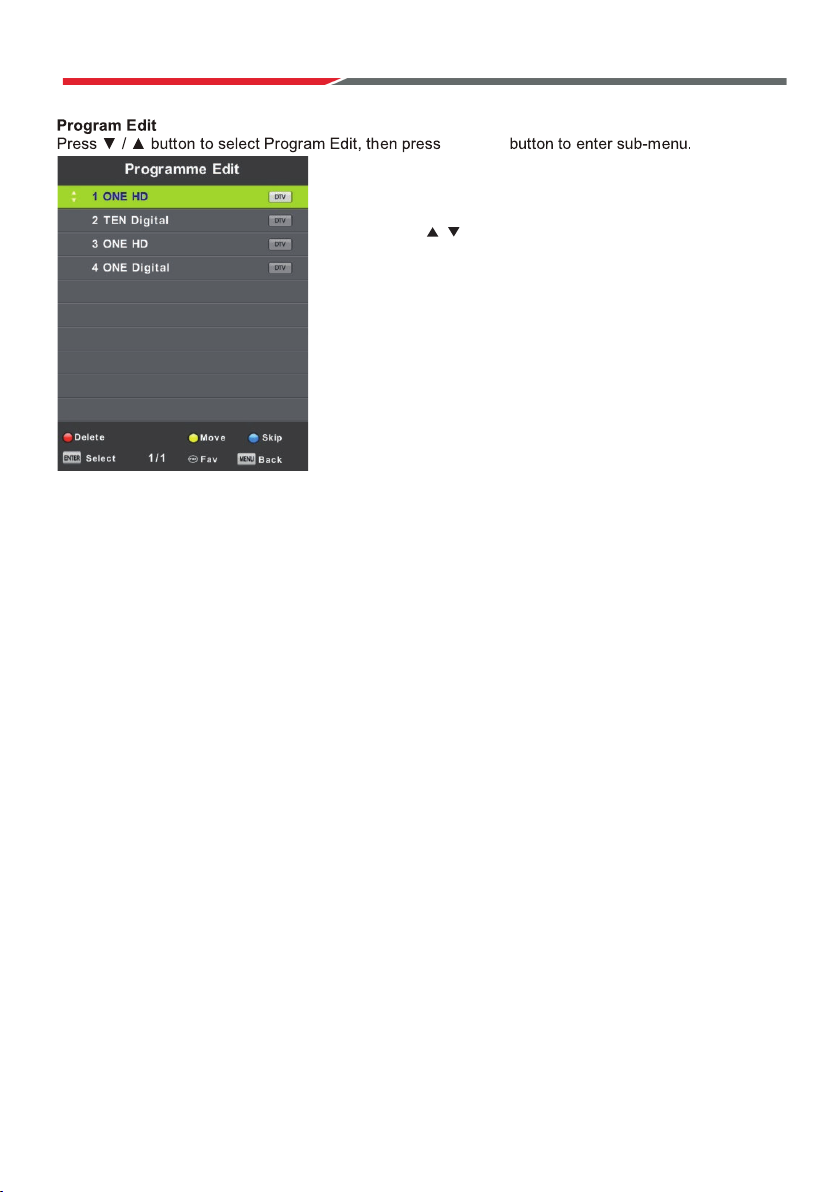
- Number of Channels: 99
- Comb Filter: 3D - AX1824S Only
- Teletext: ATV/1000 Pages
- Speakers: 2 x 3W Stereo - AX1824S
2 x 8W Stereo - AX1832S
SMART TV
- Android 7.1.1 OS
- Built-In WiFi
- Downloadable Apps
- Included Apps: Browser, Netflix, Stan, YouTube,
Freeview FV, ABC iview, Tenplay, SBS On Demand
INPUTS
- RF / Antenna: 1
- Mini AV: 1
- Mini YPbPr: 1
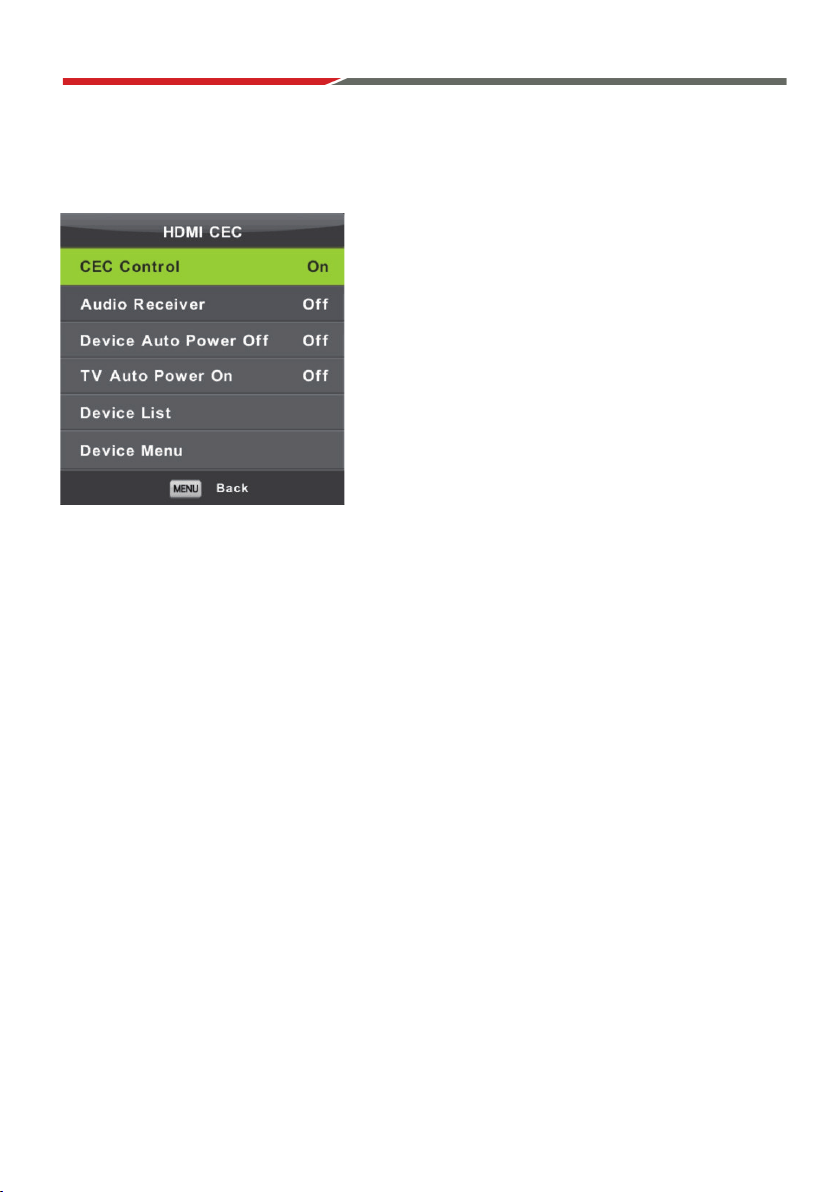
- HDMI: 2
- VGA: 1
- USB: 3 (2 Smart)
- PC Audio: 1
- Ethernet: 1
INCLUDED
- Remote Control
- Cig Lead Car Power Adaptor
- Wall Mounted Screws
- Mini YPbPr Lead
- Mini AV Adaptor
OUTPUTS
- Headphone: 1 (3.5mm)
- Digital Coaxial: 1
- Line Out: 1
INSTRUCTION MANUAL
Select from Axis Range of VESA 100 TV
Mounting Brackets
OPTIONAL
- Desktop Stand Legs
- 240V AC Adaptor