8
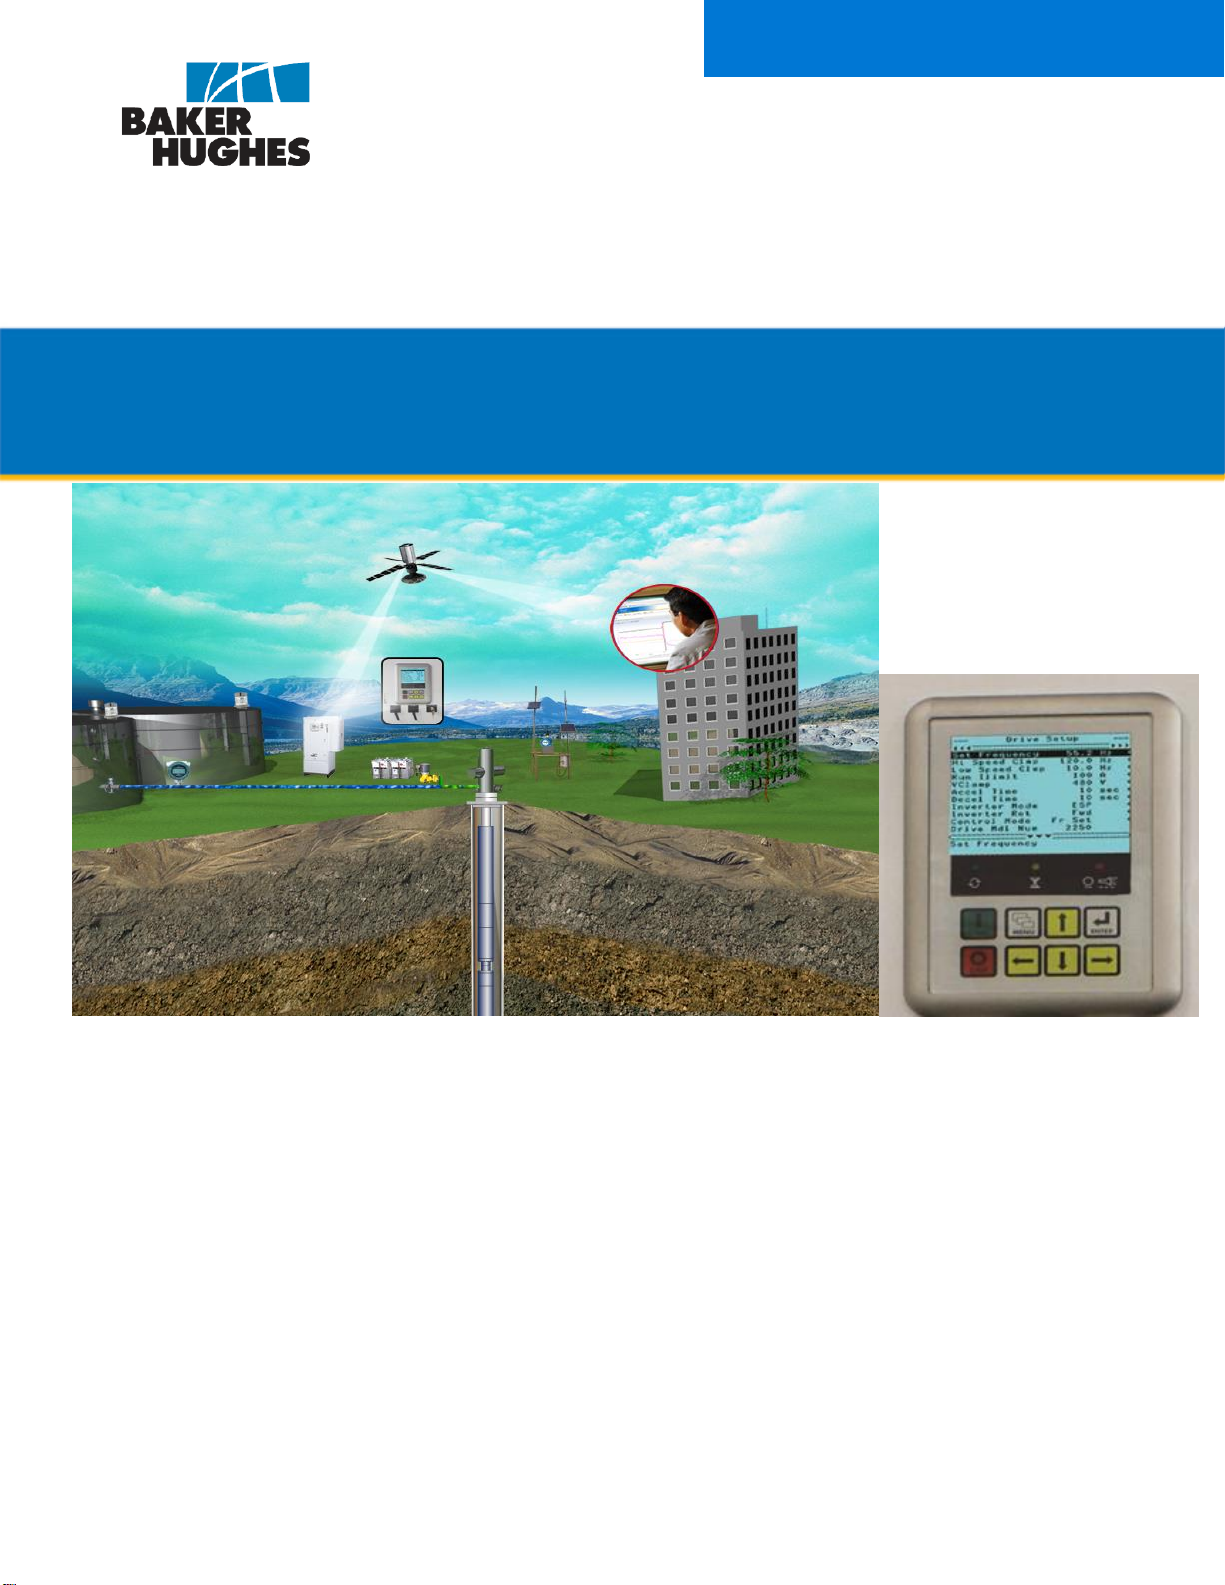
Electrospeed Advantage™ Variable Speed Drive
Installation and Operations Manual
TABLE OF FIGURES
Figure 1: ADVANTAGE 2000/4000 NEMA 1 6-PULSE, 12-PULSE ALL STANDARD OPTIONS .............................189
Figure 2: ADVANTAGE 2000/4000 NEMA-1 6&12-PULSE CATEGORY 0 SHUT DOWN & INPUT POWER
MONITORING ...............................................................................................................................................................190
Figure 3: ADVANTAGE 2000/4000 NEMA 1 6-PULSE, 12-PULSE CENTINEL AND WELL LIFT INTERFACE......191
Figure 4: VSD ADVANTAGE SERIES 2000 & 4000 N4 WITH ALL STANDARD OPTIONS.........................................192
Figure 5: VSD ADVANTAGE SERIES 4000 HARSH ENVIRONMENT NEMA4 24 PULSE WITH ALL STANDARD
OPTIONS ......................................................................................................................................................................193
Figure 6: ADVANTAGE SERIES 2000 & 4000 N4 12P CURRENT SHARING ............................................................194
Figure 7: VSD ADVANTAGE SERIES 2000 & 4000 N4 CATEGORY ZERO SHUT DOWN OPTION...........................195
Figure 8: VSD ADVANTAGE SERIES, 2000 & 4000 N4 DOWNHOLE INSTRUMENTATION OPTION......................196
Figure 9: ADVANTAGE SERIES 2000 & 4000 N4 SCH/INTERCONNECT, PWM FILTER TO DRIVE.........................197
Figure 10: ADVANTAGE VSD 8N4 6/12 & 24P, 4N4 24P ONLY WITH ALL STANDARD OPTIONS...........................198
Figure 11: ADVANTAGE 4000-24 PULSE AND SERIES 8000 6/12P, 24 PULSE - CONVERTERS AND CONTROL.199
Figure 12: ADVANTAGE 4000-24P & 8000 6/12/24 P CATEGORY ‘0’ SHUTDOWN & POWER MONITORING
OPTION.........................................................................................................................................................................200
Figure 13: ADVANTAGE 4000-24P & 8000 6/12P, 24P DOWNHOLE INSTRUMENTATION: CENTINEL AND WELL
LIFT INTERFACE..........................................................................................................................................................201
Figure 14: ADVANTAGE 4000-24P AND SERIES 8000 6/12P, 24 P FILTERED PWM OPTION...............................202
Figure 15: ADVANTAGE 2000/4000 NEMA1 6/12PULSE CONVERTER, CONTROL BOARD, POWER SUPPLY,
COOLING FANS, INVERTER .......................................................................................................................................203
Figure 16: ADVANTAGE 2000/4000 NEMA 1 DETAIL: 12-PULSE CONVERTER, 6/12 INPUT MONITORING, IGBT,
SCR DIODE DC BUS....................................................................................................................................................204
Figure 17: ADVANTAGE 2000/4000 NEMA 4 - 6/12PULSE CONVERTER, CONTROL BOARD, POWER SUPPLY,
COOLING FANS, INVERTER .......................................................................................................................................205
Figure 18: ADVANTAGE 2000/4000 NEMA4 DETAIL: 12 PULSE CONVERTER, 6 PULSE INPUT MONITORING,
IGBT, SCR, DIODE, DC BUS........................................................................................................................................206
Figure 19: ADVANTAGE 8000 NEMA4 6/12 PULSE DETAIL: CONVERTER 1 AND INVERTER 1...........................207
Figure 20: ADVANTAGE 8000 NEMA4 6/12 PULSE DETAIL: CONVERTER 2 AND INVERTER 2..........................208
Figure 21: ADVANTAGE 8000 NEMA4 6/12 PULSE DETAIL: CONTROL BOARD, POWER SUPPLY, COOLING
FANS.............................................................................................................................................................................209
Figure 22: ADVANTAGE 8000 NEMA4 6/12 PULSE DETAIL: INVERTER BOARD CONNECTIONS.......................210
Figure 23: ADVANTAGE 8000 NEMA4 6/12 PULSE DETAIL: CONVERTER BOARD CONNECTIONS....................211
Figure 24: ADVANTAGE 8000 NEMA4 6/12 PULSE DETAIL: IGBT, SCR, DIODE, DC BUS ....................................212
Figure 25 ADVANTAGE 8000 NEMA4 6/12 PULSE DETAIL: CONVERTER 1 & 2 AND INVERTER 1......................213
Figure 26 : ADVANTAGE 4000/ 8000 NEMA4 6/12 PULSE DETAIL: CONVERTER 3 & 4 AND INVERTER 2..........214
Figure 27: ADVANTAGE 4000/8000 NEMA4 24 PULSE CONTROL BOARD, POWER SUPPLY, COOLING FANS.215
Figure 28: ADVANTAGE 4000/ 8000 NEMA4 24 PULSE Detail: INVERTER BOARD CONNECTIONS .....................216
Figure 29: ADVANTAGE 4000/ 8000 NEMA4 24 PULSE DETAIL: CONVERTER BOARD CONNECTIONS..............217
Figure 30: ADVANTAGE 4000/ 8000 NEMA4 24 PULSE DETAIL: IGBT, SCR, DIODE, DC BUS .............................218
Figure 31: ADVANTAGE 2000 NEMA 1: OUTLINE & ANCHOR DIMENSIONAL DIAGRAMS....................................219
Figure 32: ADVANTAGE 2000 NEMA 1: OUTLINE & ANCHOR DIMENSIONAL DIAGRAMS ....................................220
Figure 33: ADVANTAGE 2000 NEMA 4: OUTLINE & ANCHOR DIMENSIONAL DIAGRAMS ....................................221
Figure 34: ADVANTAGE 2000 NEMA 4 SERIES- PWM FILTER OUTLINE & ANCHOR DIMENSIONAL DIAGRAMS222
Figure 35: ADVANTAGE 4000 NEMA 4 6/12P SERIES OUTLINE & ANCHOR DIMENSIONAL DIAGRAMS.............223
Figure 36: ADVANTAGE 4000 NEMA4 24P SERIES HARSH ENVIRONMENT CABINET - OUTLINE & ANCHOR....224
Figure 37: ADVANTAGE 4000 NEMA 4 24P SERIES OUTLINE & ANCHOR DIMENSIONAL DIAGRAMS...............225
Figure 38: ADVANTAGE 4000 NEMA 4 SERIES-PWM FILTER OUTLINE & ANCHOR DIMENSIONAL DIAGRAMS.225
Figure 39: ADVANTAGE 8000 NEMA 4 SERIES OUTLINE & ANCHOR DIMENSIONAL DIAGRAMS.......................225
Figure 40: ADVANTAGE 8000 NEMA 4 SERIES-PWM FILTER OUTLINE & ANCHOR DIMENSIONAL DIAGRAMS.225