baridi DH12.V2 User manual
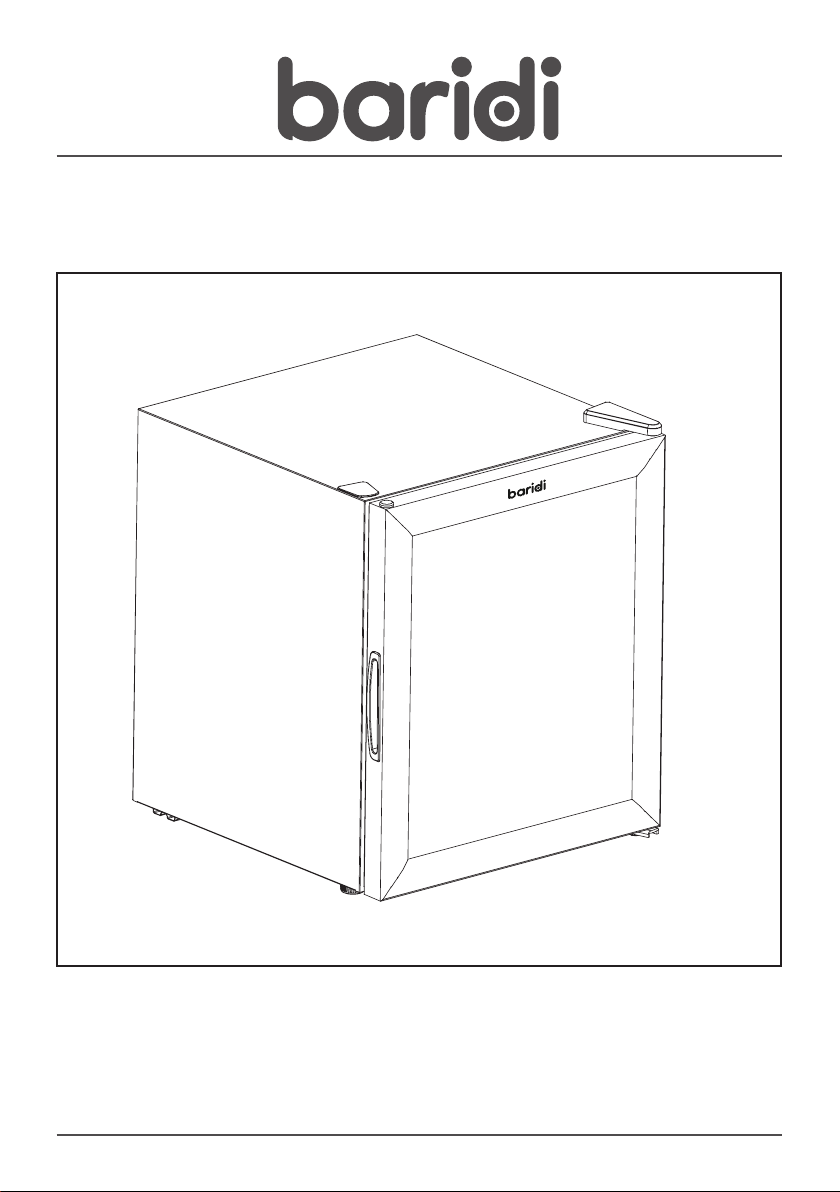
Baridi 46L Wine Beer Drinks Fridge Cooler
Thermostat Lock & Key Mini Bar - Black
Model No. DH12.V2
Thank you for purchasing a Baridi product from the Dellonda range. Manufactured to a high standard,
this product will, if used according to these instructions, and properly maintained, give you years of
trouble free performance.
DH12.V2 Issue 2 18/05/2021

2
Important Information
Please read these instructions carefully and note any safe operational requirements, warnings &
cautions. Use the product correctly and with care for the purpose for which it is intended. Failure
to do so may cause damage and/or personal injury and will invalidate the warranty. Keep these
instructions safe for future use.
• ELECTRICAL SAFETY
• WARNING! It is the user’s responsibility to
check the following:
• Check all electrical equipment and appliances
to ensure that they are safe before using.
Inspect power supply leads, plugs and all
electrical connections for wear and damage.
Dellonda recommend that an RCD (Residual
Current Device) is used with all electrical
products. You may obtain an RCD by
contacting your local domestic stockist. If
the product is used in the course of business
duties, it must be maintained in a safe
condition and routinely PAT (Portable
Appliance Test) tested.
• Electrical safety information: It is important
that the following information is read and
understood.
• Ensure that the insulation on all cables and on
the appliance is safe before connecting it
to the power supply.
• Regularly inspect power supply cables and
plugs for wear or damage and check all
connections to ensure that they are secure.
• Important: Ensure that the voltage rating on
the appliance suits the power supply to be
used and that the plug is tted with the correct
fuse - see fuse rating in these instructions.
• DO NOT pull or carry the appliance by the
power cable.
• DO NOT pull the plug from the socket by the
cable.
• DO NOT use worn or damaged cables, plugs or
connectors.
• Ensure that any faulty item is repaired or
replaced immediately by a qualied electrician.
• This product is tted with a BS1363/A 13 Amp
3 pin plug. If the cable or plug is damaged
during use, switch off the electricity supply
and remove from use. Ensure that repairs are
carried out by a qualied electrician.
• Replace a damaged plug with a BS1363/A 13
amp 3 pin plug. If in doubt contact a qualied
electrician.
A) Connect the GREEN/YELLOW
earth wire to the earth terminal ‘E’.
B) Connect the BROWN live wire to the
live terminal ‘L’.
C) Connect the BLUE neutral wire to
the neutral terminal ‘N’.
• Ensure that the cable outer sheath extends
inside the cable restraint and that the restraint
is tight.
• Dellonda recommend that repairs are carried
out by a qualied electrician.
• GENERAL SAFETY
• DO NOT store explosive substances such as
aerosol cans with a ammable propellant in
this appliance.
• WARNING: Ensure the supply cord is not
trapped or damaged.
• WARNING: DO NOT locate multiple portable
socket-outlets or portable power supplies at
the rear of the appliance.
Replacement fuse rating:
13A
Refer to
instructions
Indoor use
only
Warning:
ammable
material

3
• This appliance is intended to be used in
household and similar applications such as
staff kitchen areas in shops, ofces and other
working environments; holiday homes, hotels
and other residential settings; and catering
and similar non-retail applications.
• This appliance can be used by children
aged from 8 years and above and persons
with reduced physical, sensory or mental
capabilities or lack of knowledge and
experience if they have been given supervision
or instruction concerning the use of the
appliance in a safe way and understand the
hazards involved. Children shall not play with
the appliance. Cleaning and user maintenance
shall not be made by children without
supervision.
• INTRODUCTION
• Premier 46 litre capacity minibar using direct
compressor cooling technology to give a
temperature range between 3-10°C. Built-in
thermostat to control temperature to user’s
preference. Design features two strong
removable wire rack shelves, internal LED light
and built-in security lock. Energy Efciency
Class E. Ventilation Space - a minimum space
of 50mm is required for the rear of the fridge
and 30mm for the top and both sides. This will
maximise the efciency, performance and
life of the fridge and also ensure that there
is sufcient space for the hinge to operate
effectively.
• SPECIFICATION
• Model no: DH12.V2
• Temperature range: 3-10°C
• Rated current: 0.6A
• Voltage: 220-240V
• Frequency: 50Hz
• Energy efciency class: E
• Noise level: 42dB
• Volume: 46L
• Dimensions (W x D x H): 440 x 470 x 530mm
• INSTALLATION
• This unit is designed to be free-standing.
• Ventilation Space - a minimum space of 50mm
is required for the rear of the fridge and 30mm
for the top and both sides. This will maximise
the efciency, performance and the life of the
fridge and also ensure that there is sufcient
space for the hinge to operate effectively.
• Locate the unit away from direct sunlight or
sources of heat i.e. radiator, stove etc. Extreme
or cold ambient temperatures may also
prevent the unit working effectively.
• DO NOT locate the unit in a damp or moist
location.
• Ensure that the oor surface is strong and
stable enough to support the unit when it is
fully loaded.
• Level the unit when in location by using the
adjustable levelling feet in each corner.
• Once in position allow the unit to rest for an
hour before turning it on.
• Allow the unit 2-3 hours to reach set
temperature after switching on before placing
any items in the compartment.
• The unit is capable of having the door opening
handed.
• To change door opening, carefully remove the
door upper hinge cap using a at blade.
• Loosen the three cross head screws, remove
the hinge and lift off door.
• Remove lower hinge bracket and replace with
front foot from the other side.
• Remove hinge hole plug and place into
opposite side.
• Loosely x the lower hinge bracket to its new
position and carefully locate door in place.
• Loosely x upper hinge in place.
• Check that the door is properly closed, sealed
and level before tightening all screws.
• OPERATION
• The temperature control dial is accessed at
the rear of the unit in the lower right corner.
• To turn the unit on, rotate control knob from
the O (off) position.
• Rotate control knob to the required value .
A setting of ‘5’ will create maximum cooling
effect (approx. 30C) and ‘1’ will set working
internal temperature at approximately 100C.
• When the set temperature is reached, the
compressor will stop working.
• On rst use, set the temperature to maximum
e.g. ‘5’. and adjust to suit once this is reached.
• Use the rocker switch close to the control
knob to turn on the unit’s internal light.

Dellonda Limited, Sole UK Distributor of Baridi
Kempson Way, Suffolk Business Park, Bury St Edmunds, Suffolk. IP32 7AR
Environment Protection, Waste Electrical and Waste
Electronic Equipment Regulations (WEEE)
Recycle unwanted packaging materials. When this product is no longer required, or has
reached the end of its useful life, please dispose of in an environmentally friendly way.
Drain any uids (if applicable) into approved containers, in accordance with local waste
regulations. It is our policy to continually improve products and we reserve the right to alter
data, specications and parts without prior notice. No liability is accepted for incorrect use
of this product. Guarantee is 12 months from purchase date, proof of which is required for
any claim.
Symptom Solution
Unit does not operate. Not plugged in.
Fuse/circuit breaker failure.
Turns on and off frequently.
Poor cooling.
Room temperature higher than normal.
Door opened too often.
Door not properly closed.
Temperature control incorrectly set.
Door gasket not sealing.
Not enough space around unit.
Vibrations Check to assure unit is level.
Noisy unit Contraction/expansion of panels.
Unit not level.
Check fan operation.
Check heat pump.
Door will not close properly Unit not level.
Gasket distorted.
Internals out of position.
• MAINTENANCE
• Remove the power plug from the supply when
performing cleaning or maintenance.
• DO NOT use abrasive or chemical cleaning
materials on any surface of the unit.
• Wipe interior and exterior surfaces with a
damp cloth and dry thoroughly with a clean
dry cloth.
• For more soiled surfaces use a neutral
detergent, wipe down with a clean damp cloth
and dry thoroughly with a clean dry cloth.
• Troubleshooting
Other baridi Refrigerator manuals


 operating instructions")


