manuals.online logo
Brands
  1. Home
  2. •
  3. Brands
  4. •
  5. Barracuda Networks
  6. •
  7. Network Router
  8. •
  9. Barracuda Networks Link Balancer User manual

Barracuda Networks Link Balancer User manual

Barracuda Link Balancer
Barracuda Link Balancer - Quick Start Guide
Thank you for purchasing a Barracuda Link Balancer. This unit routes and manages traffic
across multiple Internet connections and offers many other services. It can be inserted
into your network without any service disruption.
This guide describes how to deploy the Barracuda Link Balancer in your network
replacing your existing firewall (firewall enabled mode). You can also deploy the
Barracuda Link Balancer between the Internet and your already existing firewall (firewall
disabled mode). Instructions for both deployment methods can be found in the Barracuda
Link Balancer Administrator’s Guide.
The unit defaults to firewall enabled mode. These instructions allow you to configure the
unit’s WAN links and firewall.
Getting Started
To set up your Barracuda Link Balancer, you need the following:
Barracuda Link Balancer, AC Power Cord (included)
Ethernet Cables
PC with Web browser
AC input voltage range is 100-240 volts at 50/60 Hz.
Plug in the Barracuda Link Balancer and power it on.
Prepare the Barracuda Link Balancer:
1. Set the network settings of a PC to use an IP address of 192.168.200.10,
subnet mask of 255.255.255.0, gateway of 192.168.200.200 and configure
the PC’s DNS settings so that the Web browser can display contents from
www.barracudanetworks.com.
2. Connect the PC to the LAN port on the front of the unit using an Ethernet
cable.
3. Access the web interface of the unit by typing http://192.168.200.200:8000
in a web browser. The default username is admin and the default password
is also admin.
4. Go to the BASIC > Links page and click one of the WAN ports in the
graphic. The Type In the Links Configuration section defaults to DHCP
(auto-acquiring an address in the office network) . Alternatively, you may set
it to Static and enter a specific IP address. Click Save Changes.
5. Connect an Ethernet cable from the corresponding WAN port on the front of
the Barracuda Link Balancer to your office network. You should now have
Internet connectivity from your PC.
Note: WAN ports may be labeled WAN 1 / WAN 2 or Port 1 / Port 2.
Activate the Barracuda Link Balancer
If you see an activation warning message at the top of every page on the
Barracuda Link Balancer web interface, follow these steps to activate:
1. Click on the link in the warning message or use the link on the BASIC >
Status page to open up the Barracuda Networks Product Activation
page in a new browser window.
2. Fill in the required fields and click Activate. A confirmation page opens to
display the terms of your subscription.
On the BASIC > Status page, you may need to enter the activation code
from the Barracuda Networks Product Activation page for activation.
Update the Firmware
Go to ADVANCED > Firmware Update. If there is a new Latest General
Release available:
1. Click Download Now and wait until downloading has completed.
2. Click Apply Now to start the updating process, after which the unit will
automatically reboot.
Configure Permanent WAN Settings
Configure the permanent settings for the WAN links to be connected to the unit.
Some of the configuration information for the WAN links, such as the upload and
download speed, is provided by your ISP. Be sure to enter these values
correctly.
1. Unplug the Ethernet cable connecting the WAN port to your office network.
2. Go to the BASIC > Links page.
3. For each link that will be connected to this unit:
a. Click the relevant WAN port in the graphic.
b. In the Links Configuration section, enter the details for the link to be
connected to the WAN port and save the changes.
Note: For each WAN interface that has a static IP address, enter the IP
addresses of all of your servers with public IP addresses in the Additional IP
Addresses field. You will need to reconfigure those servers with private IP
addresses. In the next step you can create 1:1 NAT rules to map the public IP
addresses to the private IP addresses of the servers.
Configure the Barracuda Link Balancer Firewall
If the Barracuda Link Balancer replaces your current firewall, create firewall rules
on the Barracuda Link Balancer to match the settings of your current firewall:
1. Go to the FIREWALL > NAT page to add 1:1 NAT and port forwarding
rules.
2. Respective inbound and oubound rules are automatically created. However,
if necessary, go to FIREWALL > Access Rules to create any additional
inbound and outbound rules.
Barracuda Link Balancer
Barracuda Link Balancer - Quick Start Guide
Configure Permanent LAN IP Address
Set the LAN IP address of the Barracuda Link Balancer to its permanent setting:
1. Go to the BASIC > IP Configuration page. In the LAN IP Configuration
section, change the LAN IP Address and Subnet Mask to their permanent
settings. The LAN IP Address is the default gateway for your network. On
the same page, update the Default Host Name and Default Domain and
save the changes.
2. The connection to the PC that you were using will terminate.
3. Unplug the cable connecting your PC to the Barracuda Link Balancer.
4. Power down your Barracuda Link Balancer using the power button on the
front of the unit.
Install in the Production Network
Now that the Barracuda Link Balancer is configured, install it in its permanent
location and make it part of your production network:
1. Mount the Barracuda Link Balancer in a 19-inch rack or place it in a stable
location. To ensure proper ventilation, do not block the cooling vents on the
front and back of the unit.
2. Connect each of the cables from the Internet links into a WAN port on the
front of the Barracuda Link Balancer. Be sure to connect them according to
your configuration.
3. Unplug your existing firewall from the network and plug its LAN link into the
LAN / Ethernet port of the Barracuda Link Balancer..
4. If the IP address of the Barracuda Link Balancer is the same as the IP
address of the firewall that you removed, you can ignore this step.
Otherwise, make the Barracuda Link Balancer the default gateway for the
clients by performing these steps:
a) Update the configuration of the DHCP server for the clients to give out
the LAN IP address of the Barracuda Link Balancer as the default
gateway. As the leases are renewed, each client will gain access to the
new Internet links.
b) Change the default gateway of any clients with static IP addresses to
the LAN IP address of the Barracuda Link Balancer.
c) On the Barracuda Link Balancer, configure the DHCP service within
SERVICES > DHCP Server.
Test Connectivity
Reboot your routers or modems on the WAN side of the Barracuda Link
Balancer to clear their ARP caches. Then test the connectivity to a client system:
1. If needed, change the gateway IP address of a test system to the LAN IP
address of the Barracuda Link Balancer.
2. Confirm that you can access the Internet from the test system. If this works,
continue.
3. On the test system, log into the web interface using the permanent LAN IP
address followed by a colon and 8000. It is also possible to use the IP
address of WAN1. Go to the BASIC > Links page. The status of each link
should appear as Connected. You can see the utilization of each link by
moving the mouse over the graphic.
4. On the test system, generate some traffic, by, for example, opening more
tabs in the browser of the test system and downloading files from the
Internet. FTP files from a number of different sites or use BitTorrent to get
the traffic to flow on multiple links. Go to the BASIC > Status page to view
graphs that show the incoming and outgoing traffic for each link.
You can continue to monitor the WAN links using the BASIC > Links, the
BASIC > Status page or the BASIC > Live Reports page.
Your Barracuda Link Balancer is now configured and operational.
Usage in Firewall Disabled Mode
If necessary, create respective rules on your existing firewall to ensure you can access
the Barracuda Link Balancer’s administration web interface.
If the Barracuda Link Balancer firewall is disabled because you keep your current firewall,
and you don’t want to change the current firewall configuration after inserting the
Barracuda Link Balancer into the network, you need to configure WAN1 with a static IP
address from the ISP in the same subnet as that configured on your existing firewall’s
external interface(s).
Furthermore, you may need to add the additional ISP’s DNS IP addresses to the DNS
forwarder in your internal network to ensure DNS failover in case an ISP goes down.
For more information
For additional documentation and solutions, visit the Barracuda TechLibrary at
http://techlib.barracuda.com/
Be sure to check out the Barracuda Networks Support Forum at
http://forum.barracuda.com for Frequently Asked Questions (FAQs) and other helpful
tips for setting up and using your Barracuda Link Balancer.
Contact and Copyright Information
Barracuda Networks, Inc. 3175 S.Winchester Blvd., Campbell, CA 95008 USA phone: 408.342.5400 fax: 408.342.1061 www.barracuda.com
Copyright 2008-2012 Barracuda Networks, Inc. All rights reserved. Use of this product and thismanual is subject tolicense. Informationin this document is
subject to change without notice. Barracuda Link Balancer is a trademark of Barracuda Networks, Inc. All other brand and product names mentionedin this
document are registered trademarks or trademarks of their respective holders. The Software supplied with this Product is provided under license from Barracuda
Networks, Inc. and other licensors, and certain of the programs included in the Software may be provided under theGNU General Public License (GPL) or the
Lesser General Public License (LGPL). In accordance with the terms of the GPL and LGPL, you may request a copy of the relevant source code. This offer is
valid for up to three years from the date of original purchase of the Product. For terms of use for this product, pleasevisit http://techlib.barracuda.com/x/MYBY
(Limited Warranty and License) in the Barracuda TechLibrary. V2.4-121009-02-1129pd

Other Barracuda Networks Network Router manuals

Barracuda Networks Network Router User manual

Barracuda Networks

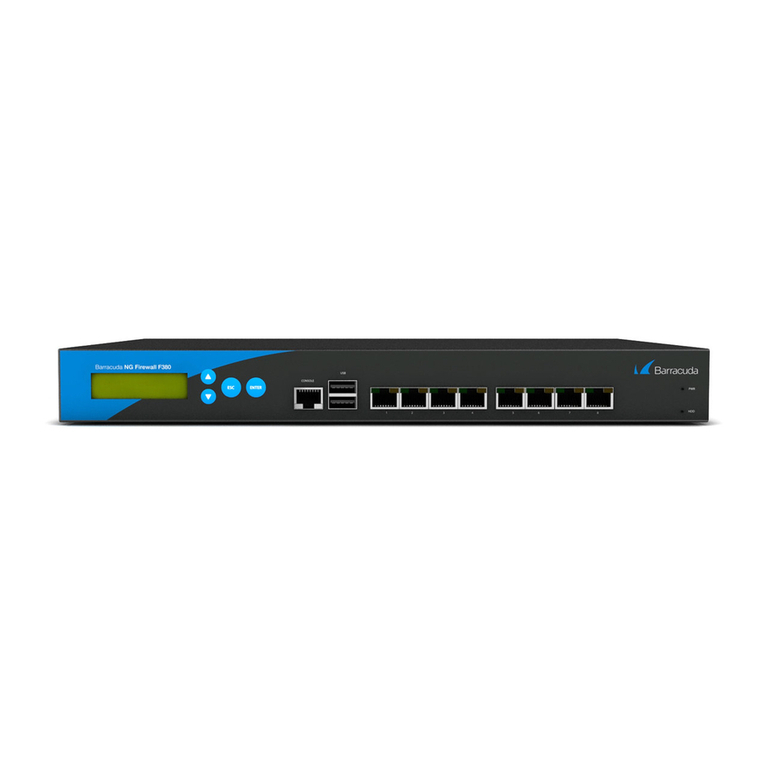
Barracuda Networks Network Router User manual

Barracuda Networks NG Firewall F200 / F201 User manual

Barracuda Networks

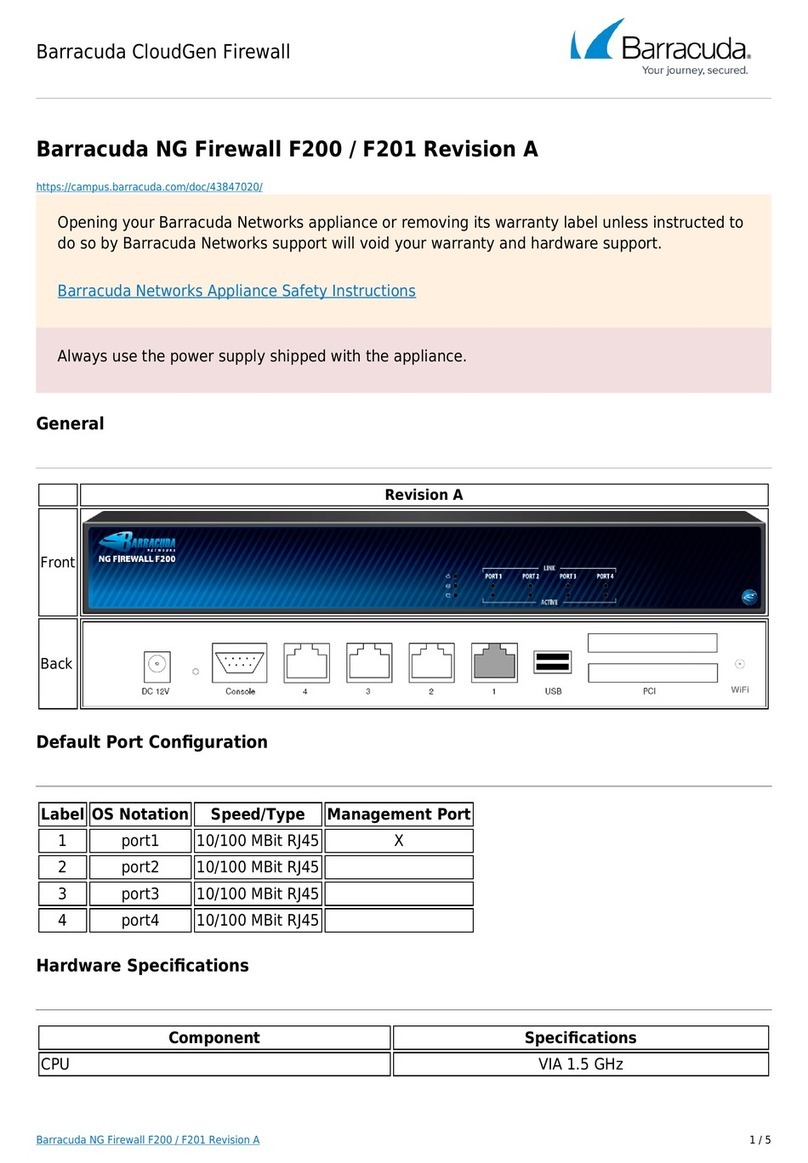
Barracuda Networks NG Firewall F200 / F201 User manual

Popular Network Router manuals by other brands

Billion BiPAC 6404VGP R3 user manual

Billion

Billion BiPAC 6404VGP R3 user manual

Draytek VIGOR3220 SERIES user guide

Draytek

Draytek VIGOR3220 SERIES user guide

Nexxt ACRUX 600 Quick installation guide

Nexxt

Nexxt ACRUX 600 Quick installation guide

Patton electronics IPLink 2802 Specifications

Patton electronics

Patton electronics IPLink 2802 Specifications

Cisco Small Business SRP520-U quick start guide

Cisco

Cisco Small Business SRP520-U quick start guide

Edge-Core AS7712-32X quick start guide

Edge-Core

Edge-Core AS7712-32X quick start guide

Cisco A9K-SIP-700 Hardware installation guide

Cisco

Cisco A9K-SIP-700 Hardware installation guide

TP-Link TL-WA830RE Quick installation guide

TP-Link

TP-Link TL-WA830RE Quick installation guide

Trust 15422 manual

Trust

Trust 15422 manual

Sparklan WX-7615A user manual

Sparklan

Sparklan WX-7615A user manual

InfiNet R5000-O quick start guide

InfiNet

InfiNet R5000-O quick start guide

Ascend T1 MAX series Hardware installation guide

Ascend

Ascend T1 MAX series Hardware installation guide

Advantech B+B SmartWorx SmartStart Start guide

Advantech

Advantech B+B SmartWorx SmartStart Start guide

Wistron NeWeb CRP-1 user guide

Wistron NeWeb

Wistron NeWeb CRP-1 user guide

Circutor airBRIDGE RS485 instruction manual

Circutor

Circutor airBRIDGE RS485 instruction manual

TP-Link TD-W8910G user guide

TP-Link

TP-Link TD-W8910G user guide

Fujitsu XG0224 Hardware guide

Fujitsu

Fujitsu XG0224 Hardware guide

TP-Link Archer C5400 user guide

TP-Link

TP-Link Archer C5400 user guide

manuals.online logo
manuals.online logoBrands
  • About & Mission
  • Contact us
  • Privacy Policy
  • Terms and Conditions

Copyright 2025 Manuals.Online. All Rights Reserved.