Basic Roamer Company RoamerTime User manual

RoamerTime User Manual
© The Basic Roamer Company. All rights reserved.
www.thebasicroamer.co.uk
Page 1 of 4
Version 1.02 - Revision 0
T
Th
he
e
B
Ba
as
si
ic
c
R
Ro
oa
am
me
er
r
C
Co
om
mp
pa
an
ny
y
R
Ro
oa
am
me
er
rT
Ti
im
me
e
I
It
t’
’s
s
a
a
N
Na
av
vi
ig
ga
at
to
or
r’
’s
s
T
Th
hi
in
ng
g
RoamerTime is a high quality cost effective timing unit for road, regularity and stage rally
navigators/co-drivers incorporating the following features:
a 24 hour hh:mm:ss time of day clock, which is easily set to any second, rather than
waiting "for the minute"
a stopwatch measuring to whole seconds or tenths of seconds, which can be paused,
re-started and zeroed
adjustable display brightness
operation via internal AA batteries or an external 7-16v DC supply
all information being retained, including the clock time and the running stopwatch,
when the unit is powered off
a quick release mounting bracket kit that allows adjustable fitting to all types of
vehicles
an optional remote control unit that allows complete operation of all functions
without touching the unit.
This version of the RoamerTime User Manual is for RoamerTime software version 1.02.x
(see O
Op
pe
er
ra
at
ti
in
ng
g
t
th
he
e
U
Un
ni
it
t)

RoamerTime User Manual
© The Basic Roamer Company. All rights reserved.
www.thebasicroamer.co.uk
Page 2 of 4
Version 1.02 - Revision 0
With RoamerTime being a fully self-contained unit, the clock can to be set to rally time, for
example, in the signing on area. It may also be used on events such as Table Top Rallies etc.
The RoamerTime unit is an aluminium case 125mm(W) x 80mm(H) x 45mm(D).
M
Mo
ou
un
nt
ti
in
ng
g
a
a
R
Ro
oa
am
me
er
rT
Ti
im
me
e
U
Un
ni
it
t
A RoamerTime unit can be easily fitted to the vehicle using the mounting bracket kit
supplied. The bracket can be mounted on any suitable vertical, horizontal or sloping surface
and the unit can be tilted to obtain the best viewing angle.
The inside distance between the arms of the bracket should be set to 135mm. When
mounting the unit in the bracket, the rubber washers should be between the unit and the
inside of the bracket arms.
RoamerTime may be removed from the bracket by simply loosening the thumbscrews and
sliding the unit out of the slots –the thumbscrews do not need to be removed completely.
IT IS VERY IMPORTANT THAT ONLY THE SUPPLIED THUMBSCREWS ARE
USED TO MOUNT THE UNIT
B
Ba
at
tt
te
er
ry
y
P
Po
ow
we
er
r
RoamerTime has the option to be powered by 6x AA batteries fitted in the rear battery
compartment.
1.5v alkaline or 1.2v rechargeable batteries may be used. Batteries of 1800maH or better are
recommended. With a fresh set of 1800maH batteries the unit will operate for more than 15
hours with both displays visible at their minimum brightness.
If batteries are fitted and external power is also present, the external power source is used to
power the unit and the batteries are not used –but the batteries will power the unit, without
interruption, if there are is a failure in the external power.
If the unit is running on battery power, the colon in the clock display will flash twice per
second.
The unit quickly flashes the entire display once every second when the battery voltage is low.
If the battery voltage falls further, the display will go to minimum brightness and the
batteries should be changed as soon as possible. The batteries should be changed
immediately if the bottom display shows "batt" at any time.

RoamerTime User Manual
© The Basic Roamer Company. All rights reserved.
www.thebasicroamer.co.uk
Page 3 of 4
Version 1.02 - Revision 0
E
Ex
xt
te
er
rn
na
al
l
P
Po
ow
we
er
r
A RoamerTime unit can also be powered from a 7v-16v externally fused (3A max) DC power
supply via the supplied power cable (red wire +ve, blue wire 0v) which plugs into the socket
on the right hand end panel.
If the unit is running on external power, the colon in the clock display will be displayed
constantly.
If the external power is applied with reverse polarity (i.e. +ve and 0v swapped) the unit will
not power up –however, no electrical damage will occur.
D
Di
is
sp
pl
la
ay
ys
s
There are two displays on a RoamerTime unit:
Top display: a 24hr clock showing hh:mm:ss
Bottom display: a stopwatch with two modes –Road Mode and Stage Mode. In
Road Mode the display is in whole seconds only and shows h:mm:ss with leading
zero hours and zero tens of minutes blanked. In Stage Mode all leading zeroes are
blanked, the display is in tenths (i.e. mm:ss.t) up to 59:59.9, then hh:mm:s
O
Op
pe
er
ra
at
ti
in
ng
g
t
th
he
e
U
Un
ni
it
t
Turn the unit on or off using the rocker switch. The first time the unit is switched on, the
displays will be at minimum brightness and:
the clock will start from 00:00:00
the stopwatch will be in Road Mode and set to 0.00
After initial switch on, the displays are shown according to the last display mode selected
(see below) and at the last brightness setting selected.
There are two multi-function buttons on the right hand side of the unit:
the Top button or T –the black button
the Bottom button or B –the red button.
If Tis pressed when the unit is switched on, the software version (1.02.x) is shown for 2
seconds on the bottom display and then the unit operates normally.
If Bis pressed when the unit is switched on, the stopwatch toggles between Road Mode and
Stage Mode. The mode is remembered until changed by pressing Bat switch on again.

RoamerTime User Manual
© The Basic Roamer Company. All rights reserved.
www.thebasicroamer.co.uk
Page 4 of 4
Version 1.02 - Revision 0
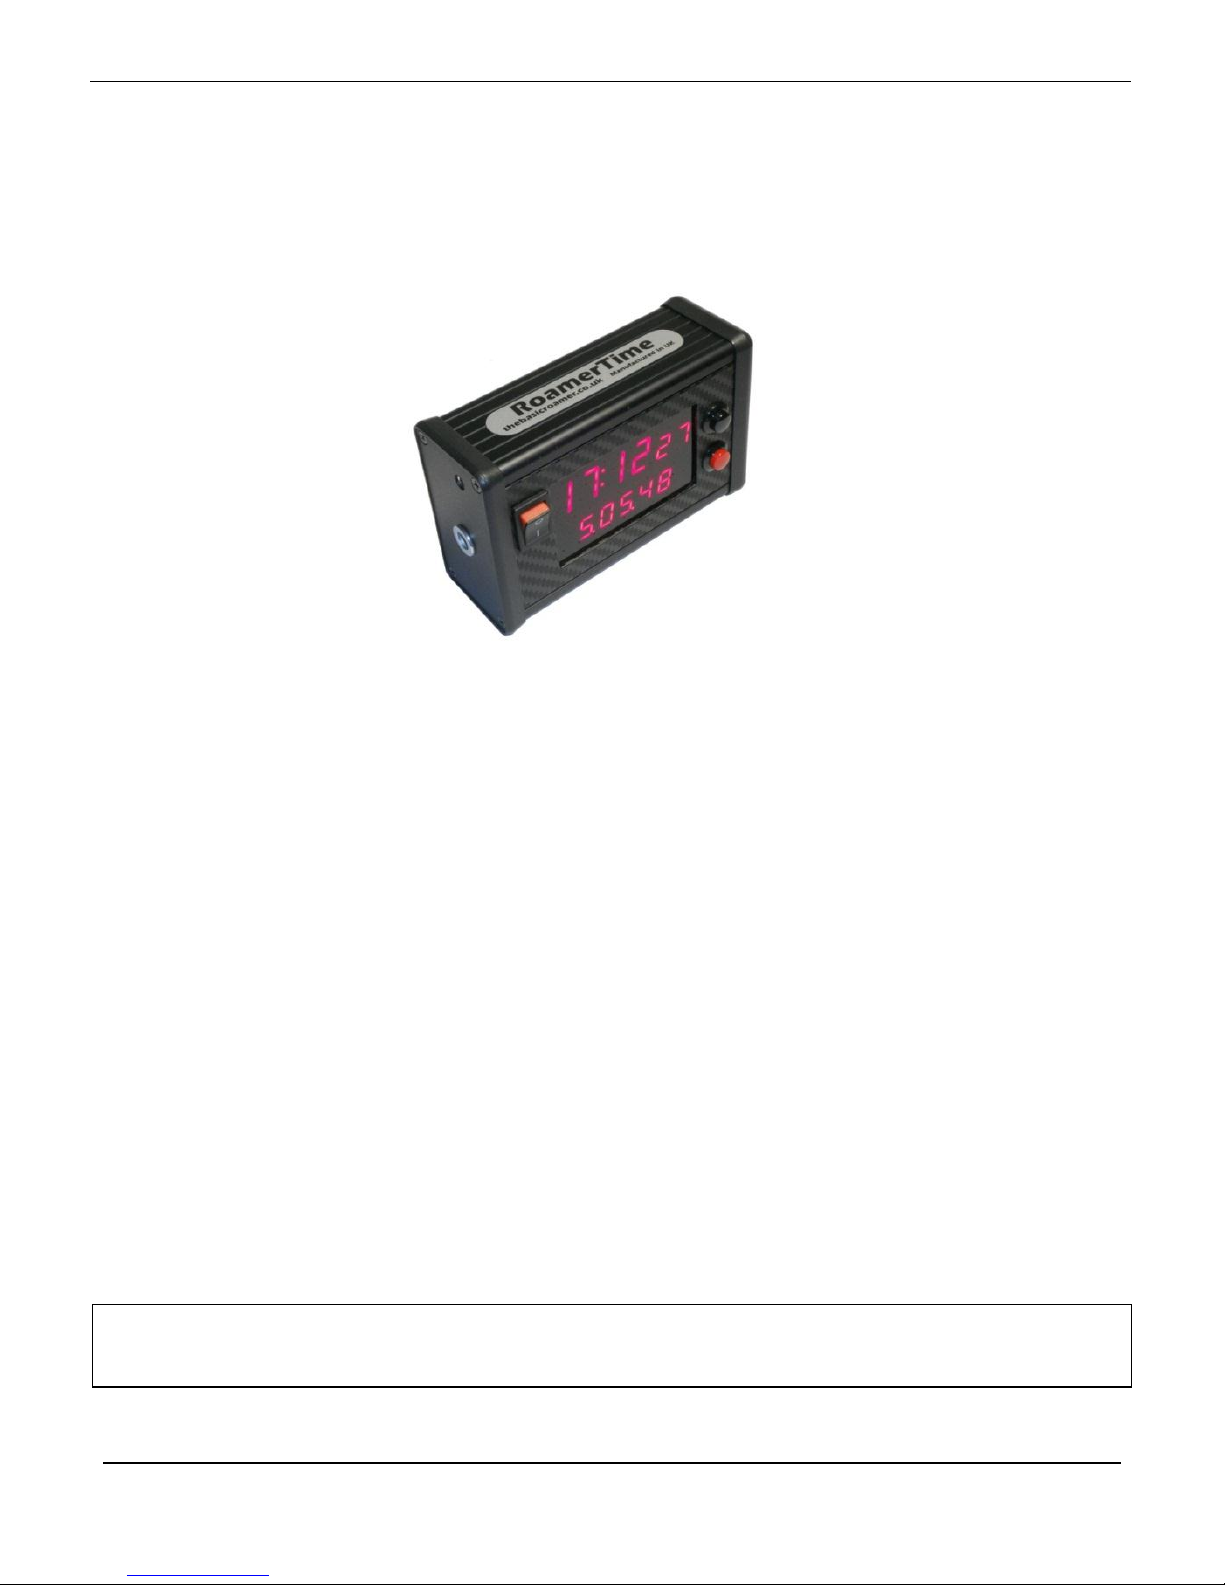
Thas different effects depending on how long it is pressed for:
a short press changes the display mode, in the sequence:
oclock and stopwatch displayed
oclock only displayed
ostopwatch only displayed
a medium press (more than 2 seconds) allows the display brightness to be changed -
use Bto increase the brightness from 0 (min) to 15 (max) one step at a time, or hold
down to continuously change the brightness
a long press (more than 5 seconds) will allow the clock to be set. Initially the hh
value will flash - use B(one press at a time or hold down) to increment hh. Press Tto
flash the mm value - use B(one press at a time or hold down) to increment mm.
Press Tto flash the ss value - use B(one press at a time or hold down) to increment
ss. Press Tagain to set the clock to the displayed value. Note that the clock stops to
allow accurate setting when Bis used to change the hh, mm or ss values.
Bcontrols the stopwatch (or is used for setting the brightness and clock - see above):
a short press will start the stopwatch
the next short press will pause the stopwatch display (although the stopwatch will
continue running in the background)
the next short press will restart the stopwatch display, with the displayed value
resuming at the time that the stopwatch has now reached
a medium press will reset the stopwatch to zero.
O
Op
pt
ti
io
on
na
al
l
R
Re
em
mo
ot
te
e
U
Un
ni
it
t
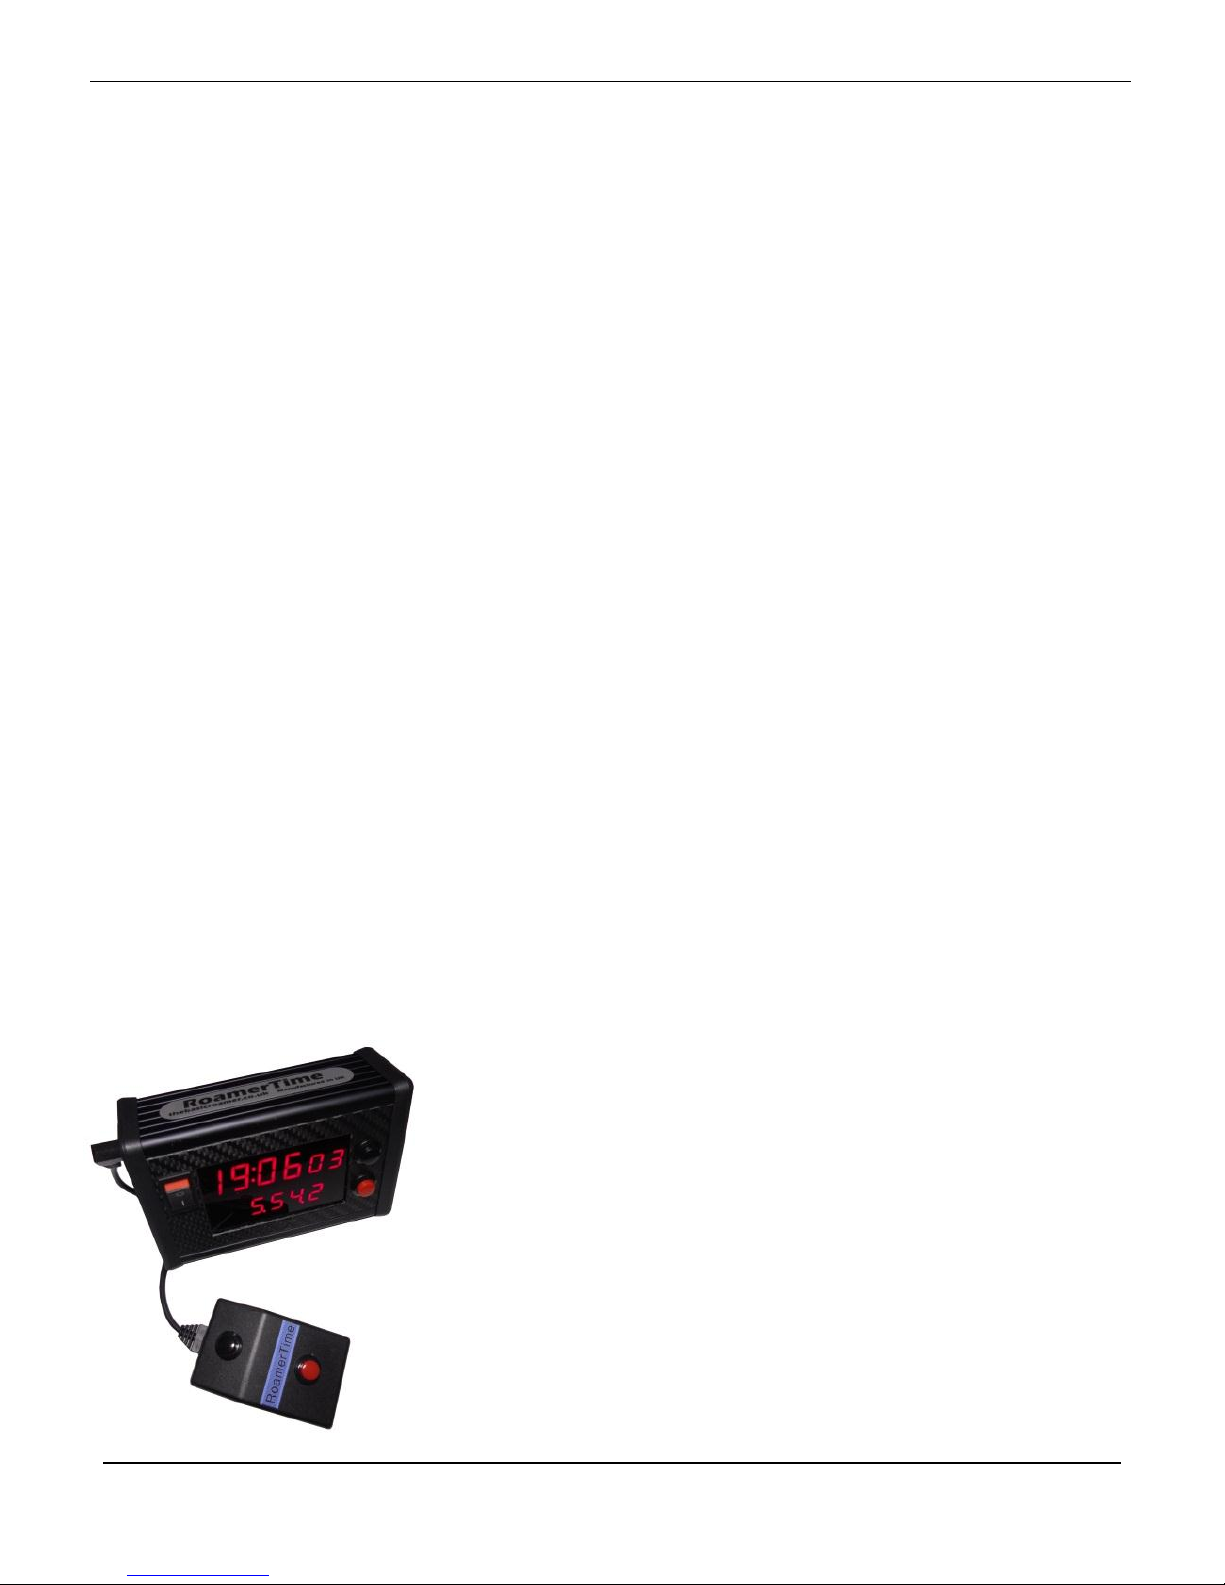
The optional remote unit connects to the RoamerTime via
the socket on the left hand side.
There are two buttons on the remote unit:
The black button at the top provides exactly the
same functions as the Tbutton
The red button at the bottom provides exactly the
same functions as the Bbutton.
Table of contents