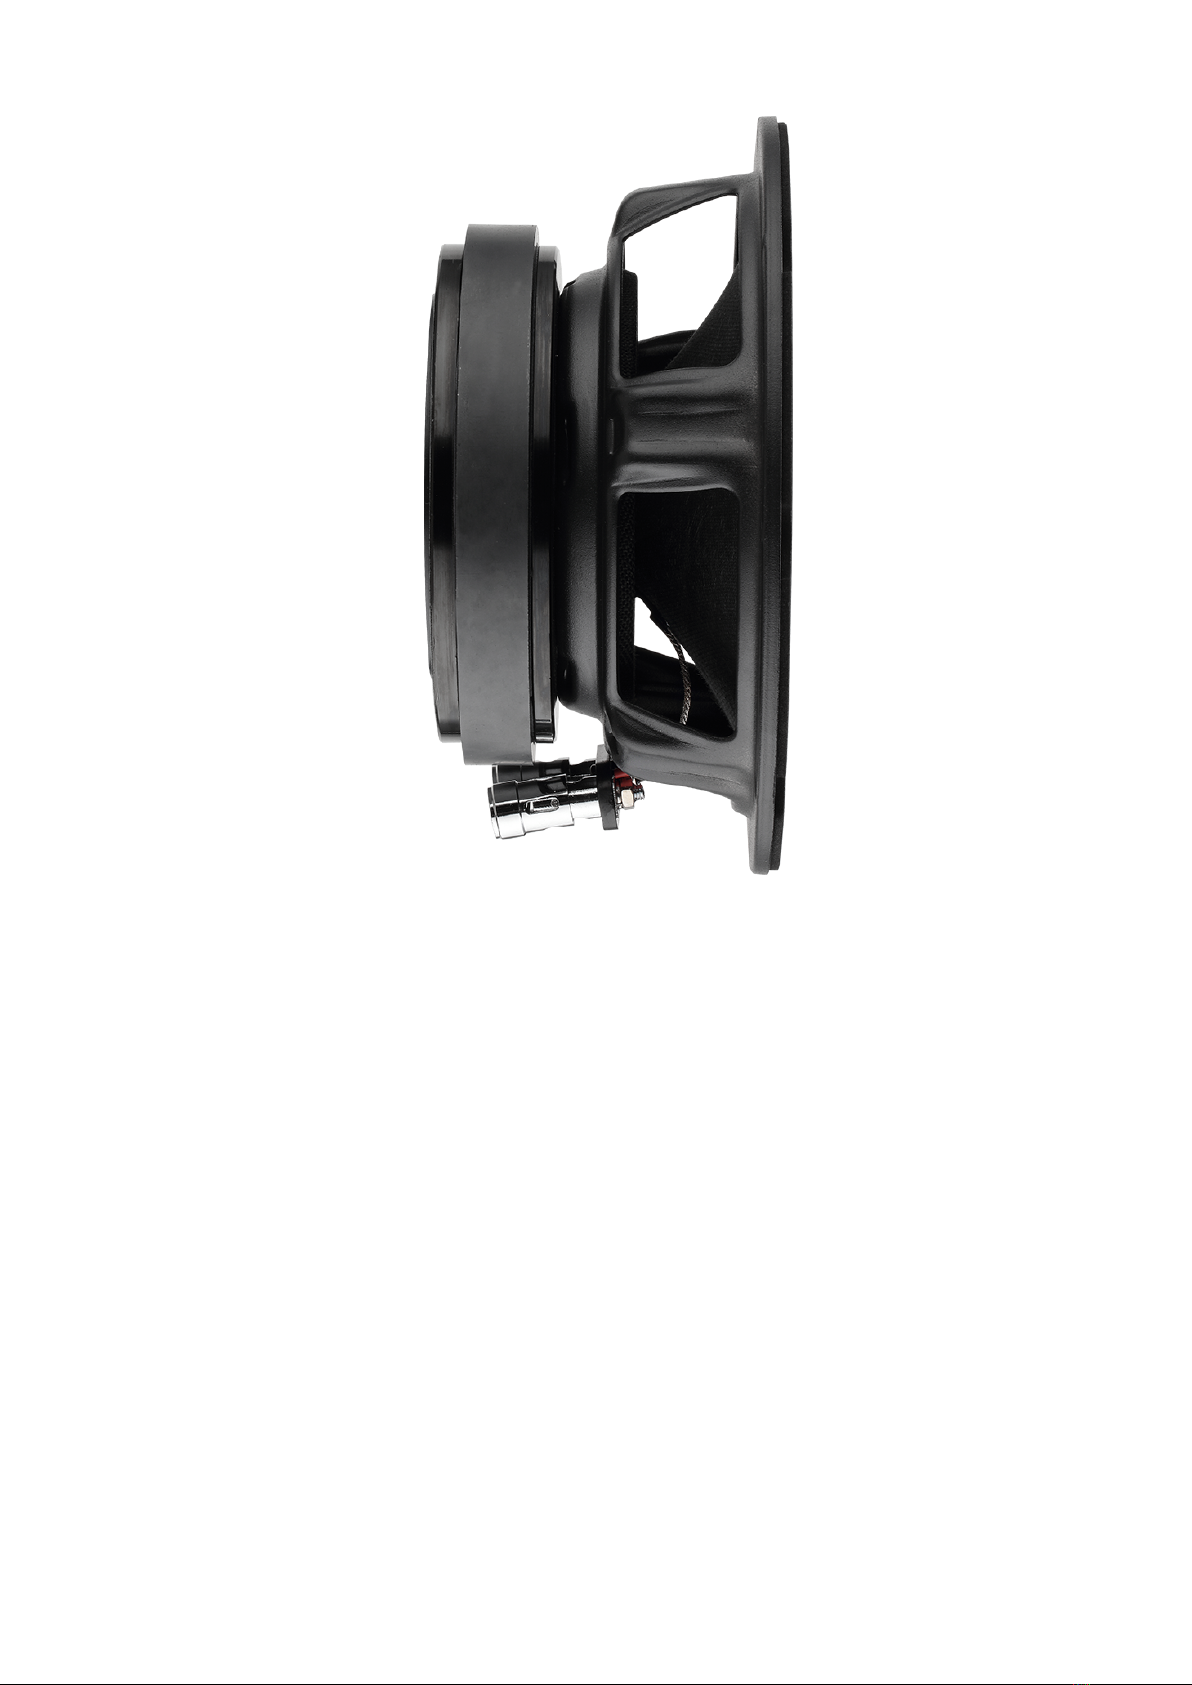
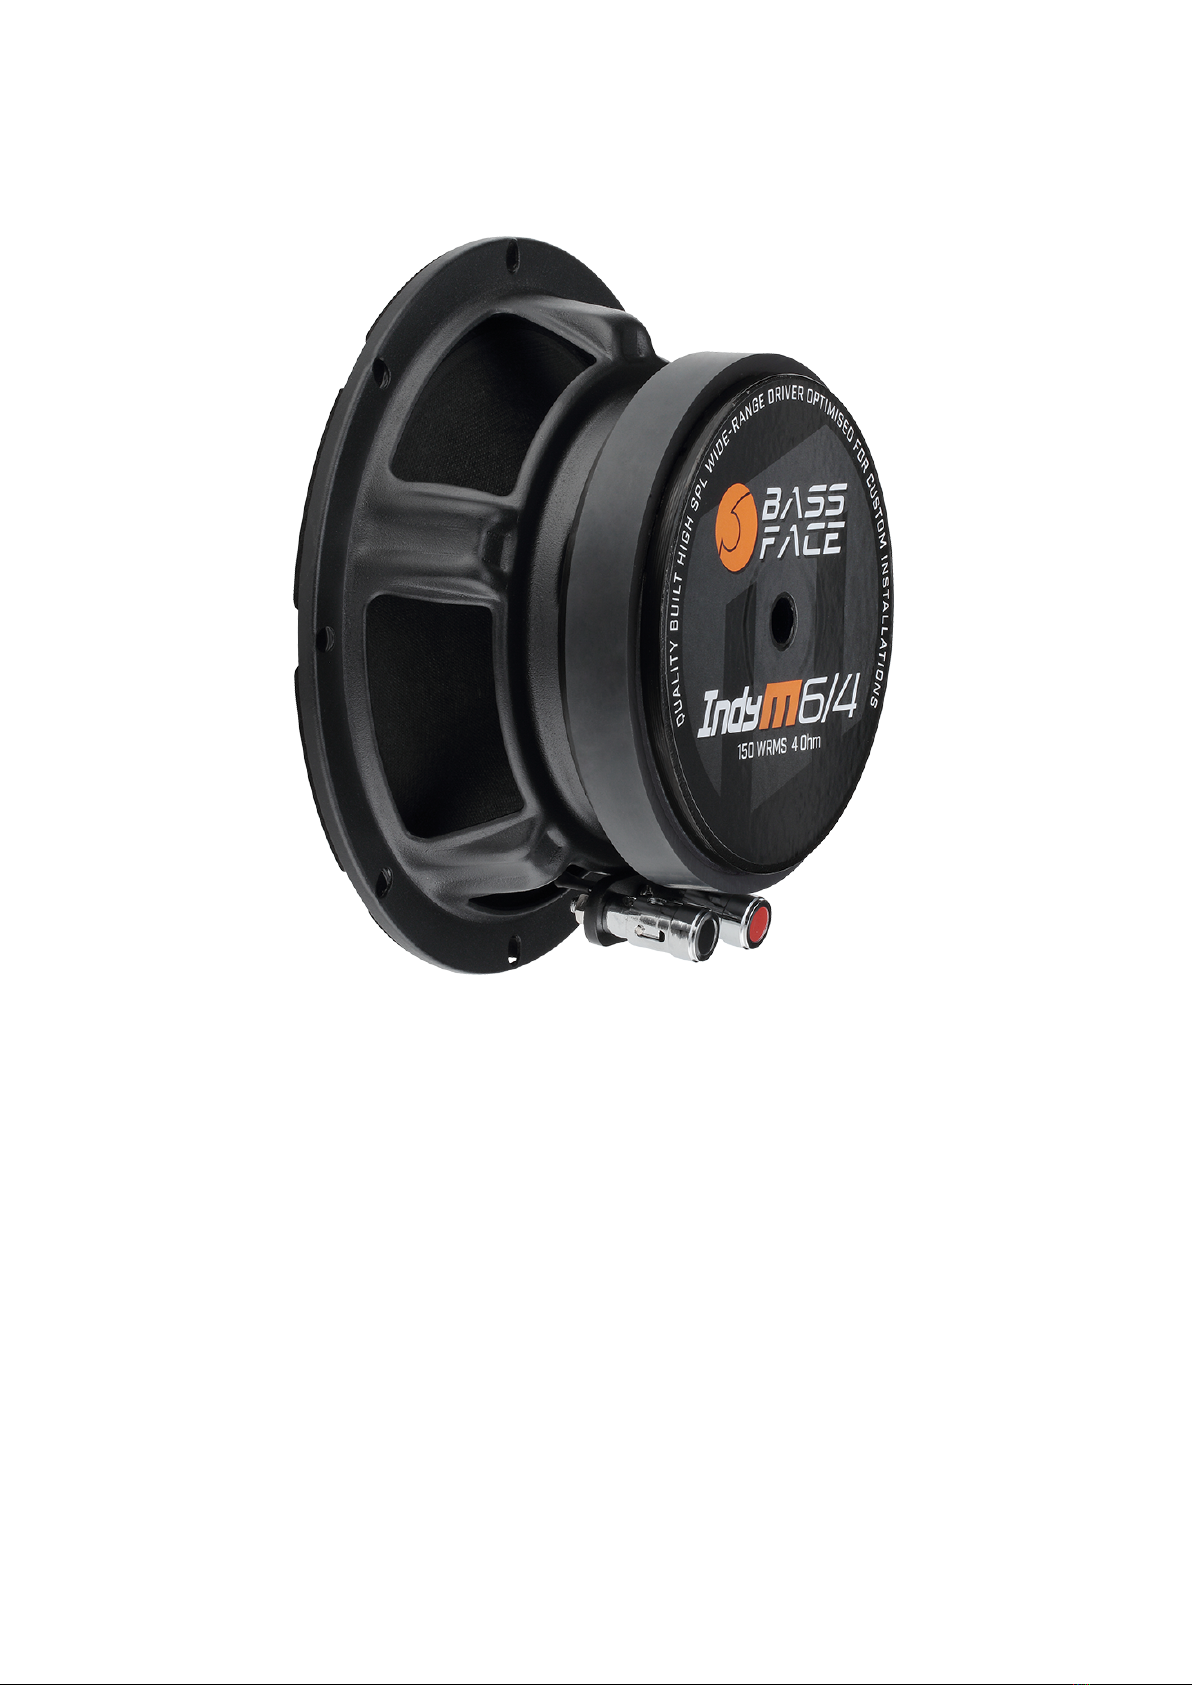
BASSFACE IndyM6/4 User manual
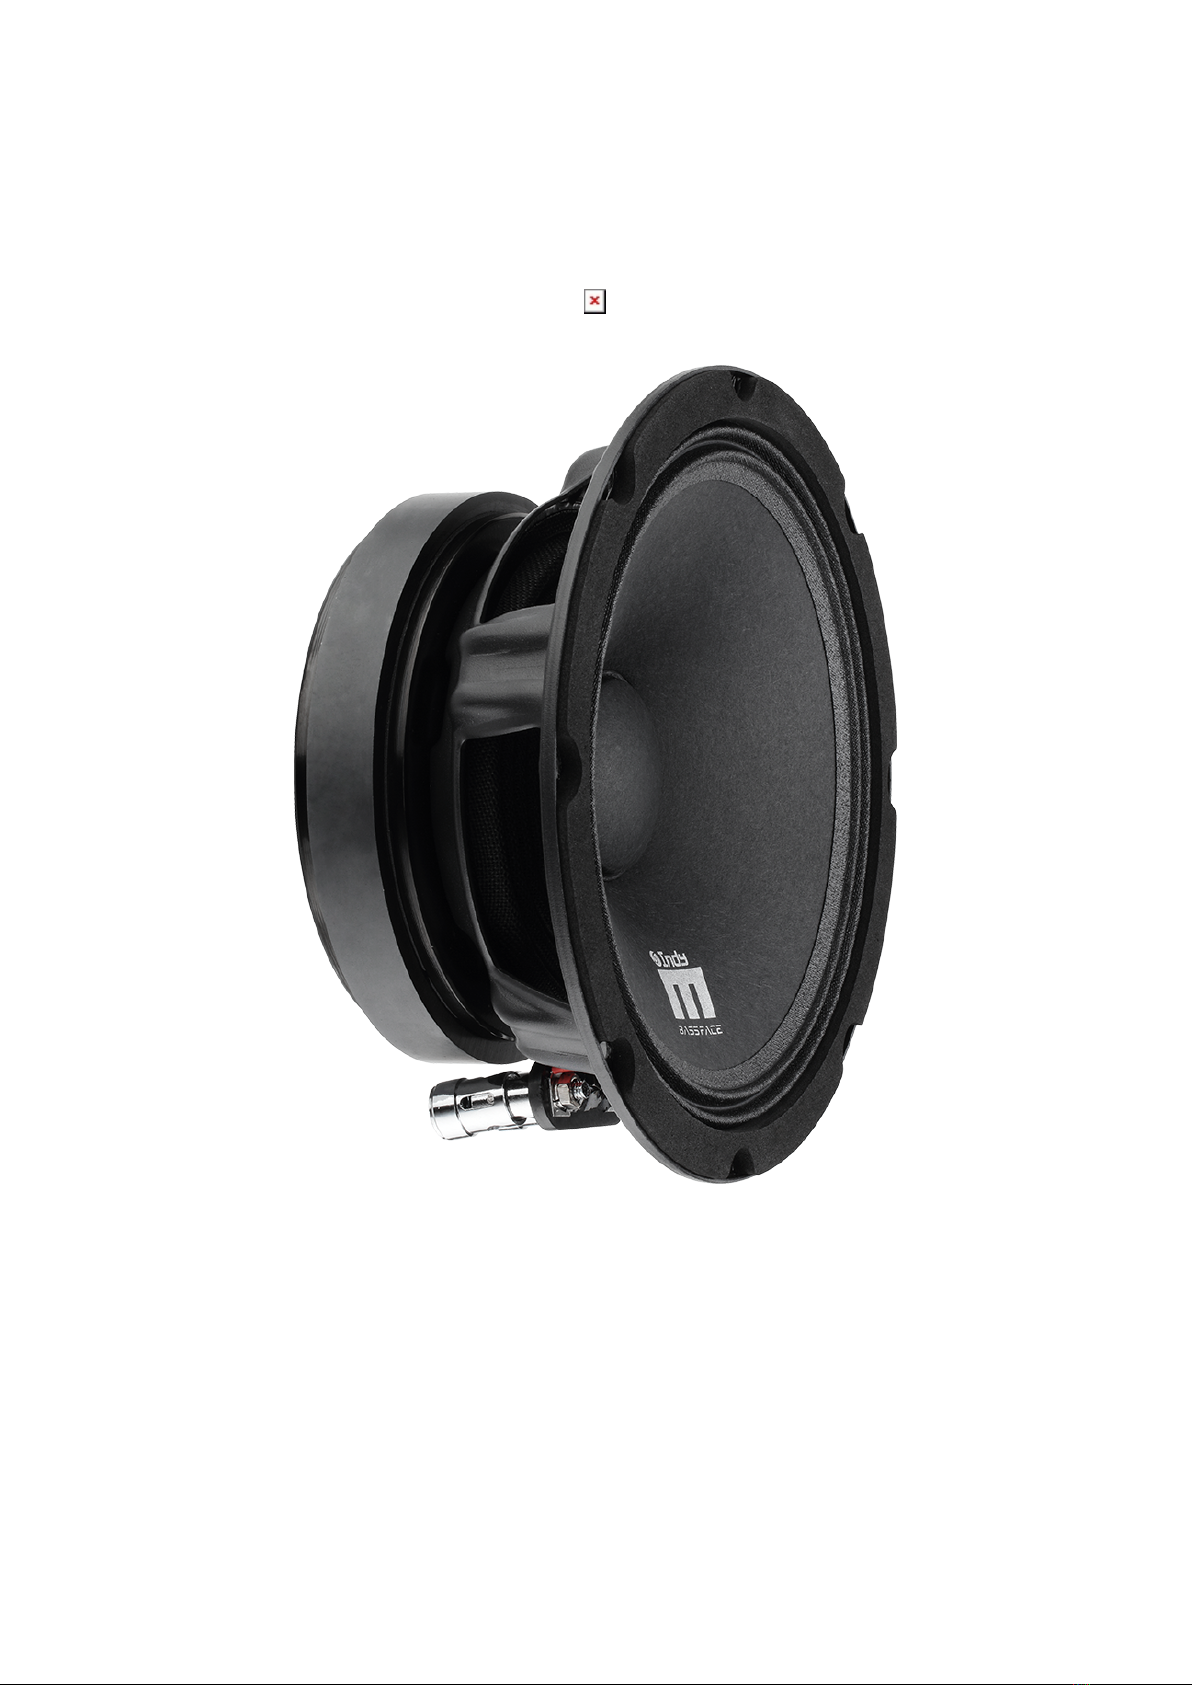
IndyM6/4 6" 4Ohm SVC 150w RMS
Quality High SPL Wide Range Driver
Optimised For Custom Installations
Instruction manual

Thank you for choosing Bassface. From the simplest connector to our top of the range
amplifier - every element of these products has been designed to give you the best possible
performance for your money. Please take the time to read these instructions carefully as
they contain useful and important information. Modern high power audio systems can
generate voltages at the speaker similar to mains operated equipment – for some reason
everyone seems to ignore or forget this. Your wiring needs to be good to be safe. Please
remember this and take your time. Please exercise caution when setting volume levels –
powerful audio equipment can easily produce enough sound to permanently damage
hearing. Remember that audio competitors use ear protection when operating and
competing. Do remember that incorrect installation or abuse is not covered under warranty
– please make sure that your installation and any partnered product is suitable and
compatible. If you are unsure please seek qualified advice before proceeding. Always use
appropriate hand and eye protection when working with tools, and always work within your
capabilties as an installer. We offer a 12 month manufacturer warranty via your distributor
or retailer. Please retain your purchase receipt as proof of purchase. Please note that
Bassface operates a policy of continuous product development and we reserve the right to
change specification without prior notice. You can follow our process on our website by
reviewing the version history information.
Please note that we sometimes include information inside these manuals which we feel is of
potential value to the client on related subjects such as conversion charts, capacitance
values or wiring diagrams. Please feel free to copy any of this information since it is in the
public domain.
Before tackling the installation of the speaker, it is CRITICALLY important to follow at least a
basic break in procedure for the speaker. This operation will loosen up the moving
components of the speaker which will prepare it for heavy use. Failure to run a proper
break in can be responsible for failures such as ripped spiders, surrounds or tinsel leads. We
advise to feed the speaker with a range of tones from a clean power source at gradually
increasing amplitudes. Before you start, gently press on the cone - you will feel that it is
very stiff, and not compliant. You can imagine the forces at play if you try to run that
speaker like that in anger before break in. Start off by using the approximate resonant
frequency of the speaker (the FS), and run the speaker on the bench. Observe the speaker
carefully as you run the process - remember that the speaker will not have any power
handling as it is not in a box or baffle plate. Just run it up so that the spider, surround and
leads gradually get exercised. Don't overdrive the speaker - you DO NOT want to hear ANY
bad noises from it during this process. It's gentle exercise to loosen it up. Once you have
run the speaker for, say, an hour, recheck by switching everything off and pressing the
cone. You will feel that it is much softer. You should then run for another hour to complete
the initial break in. From here many more experienced people will wish to adopt their own
preferred break in procedure which is of course fine. From our perspective and from a
warranty point of view the minimum requirements are to run the driver as described for at
least 2 hours before installation in the final environment. Failure to carry out this process
will result in NO WARRANTY support on the speaker. If you have a failure of the speaker you
will be asked the warranty question to prove that you have read this manual and adhered
to the break in procedure. The answer to the warranty question is "BREAK-IN FOR THE
WIN!" Please repeat this phrase if you are asked to answer the warranty question. Later in
this manual we may reference specific break in procedures for this particular model. They
are recommended to be followed but not as mission critical as this initial period.

Successful installation of new car audio speakers is a task that relies on the engineer
understanding that the performance of the finished system is squarely in his or her hands
to even more of an extent that it is us, as the driver manufacturer. For this manual I’m
going to concentrate on actual training in terms of understanding the topic, rather than
stating the obvious in a “prepare the mounting hole, drill the holes, run in a wire, screw in
the speakers” kind of text. In home audio, the customer purchases a complete speaker
system – that is – a driver in a properly designed enclosure that the manufacturer has
tested. In car audio, marine audio and “custom” audio our involvement and help can go as
far as providing you with a great RAW DRIVER and this manual and the rest is down to
installation.
The first part to learn about is the “baffle plate” – the actual mounting plane you are going
to screw the speakers to. In a car, this is normally the inner metal door panel via a plastic
adaptor. In an ideal world the baffle plate would be infinitely strong and free of any
vibration reaction to the speaker itself. A typical car door panel is of course nothing at all
like this. Installations where the speakers are mounted into wooden rings or into the floor
panel or kickwell area via custom solutions are normally at a terrific advantage to a typical
door installation from the very start. Benefits to firming up the baffle plate are enormous –
from deeper, richer bass to sweeter midrange and high end performance there will be
nothing that isn’t improved. In fact the difference between a well installed driver and a
badly installed on is absolutely, absolutely, absolutely game changing and unrecognizable
that the sound is produced by the same physical product. You can use fiberglass resin,
bitumen or butyl based sound deadening, wooden structures or even metal reinforcement
panels to help stiffen things up.
Secondly, you should pay attention to the area that forms the effective “enclosure” around
the back of the speaker. If we remember my example earlier of the home hifi speaker unit
that would generally have a neat and thick wooden enclosure with carefully positioned
Dacron wool. We potentially have a tin car door with a glass window and a tonne of wire
and rattly mechanism to play with. To say we are at a disadvantage is understating it! Our
advice is to stay out of the doors as much as you can but I have to concede that so many
times you have no choice. So if you are faced with a door install the plan for the backwave
is to work hard to sound deaden the door card itself and the metal shell of the door. Modern
products are available that can even be sprayed into the door shell to achieve this aim as
well if not better than traditional soundproofing material. Finally, take care to work out
where any water ingress will affect the installation, and loop any cables at a low point under
the speaker so droplets form on the bottom of the cables and drip down into the door drain.
If you suspect that the speaker will be subject to water from above (apart from waterproof
speakers obviously) we recommend that a simple hood be made and fastened above the
driver to protect it as constant attack from the elements will eventually damage the
speaker. Also pay attention to the mounting depth of the speaker to make sure that the
window can pass behind it as it drops, if applicable.
If your speaker system is one of our component sets with a separate crossover then again,
please pay careful attention to mounting and keep the crossover out of the door. If this
simply can’t be done due to wiring constraints then make sure the crossover box is on the
interior side of the door splash sheet AND PAY ATTENTION TO THE NOTE BELOW. Mounting
a crossover in the main cavity of the door results in failure (in the UK anyway!) within a few

months and our warranty guys won’t be exactly thrilled to see your crossover sent back as
“faulty” looking like a relic from the SS Titanic deep sea research operation…
Also - and this is VERY important - the crossover boards are NOT designed to be subjected
to the repeated loads of a door slamming. The further away from the door jamb the
crossover is placed the greater the load. If you absolutely have NO choice but to install the
crossover in the door then we recommend the following precautions. Firstly, make sure that
the crossover circuit board is facing IN to the car, so that when the door is slammed shut
the load is such that the components on the board are pushed ON to the board, rather than
AWAY from the board. Secondly, use temperature stable silicone adhesive around the
componenets on the boards to secure them in place against these loads. These two
precautions represent only a few minutes work and yet they will prevent almost certain
failure of the component should you not adhere to them.
It goes without saying that crossovers returned with loose components will NOT be covered
under warranty.
At this point I want to be realistic with you – if you have bought a set of bassface speakers
to replace your old but working existing speakers and you really don’t have the time to
follow the advice in this manual to improve your installation – ie you’re just going to replace
like with like – what might you expect from the sonic performance? Firstly – you won’t get
the most out of your speaker. I hope I’ve explained why already. Secondly you will get an
improvement in tonal performance – our speakers sound smooth and sweet and exciting at
the mid and top end. The bass response, however, like the ones you are replacing, will
probably be disappointing. If you are driving them off a standard head unit the power that
is available isn’t much and will distort easily – the speakers can’t do anything about this. As
a final point on straight replacements please be very careful that you install the new
speakers at least as well as the old ones otherwise you might actually end up with WORSE
sound than before you started! It is important not to replace a basic but well fitting OEM
speaker with a nice but badly fitting aftermarket one. And that doesn’t matter if it’s a
BassFace or anyone else’s brand – same rules apply. So make sure, at the absolute
minimum that there is no air leakage around the speaker, that the screws are not distorting
the chassis and that there is room for the cone to move forwards without hitting any oem
grille or door panel hardware. I have seen all these things and more and in every case poor
attention to detail on the part of the installer resulted in a sub standard result.
I’d like to make a point about the wiring of the speakers. It is preferable to rewire the
system with excellent quality OFC cable (obviously we recommend our own) but it is NOT a
critical factor for getting a good sound. Much more important is the careful physical
installation as I have detailed above.
Finally I want to introduce you to the concept of time alignment and stereo. This is a
complicated subject but an overview is that for the best stereo you should design your
speaker system to offer the most equal path lengths between the listener’s left ear and the
left speaker and the listener’s right ear and the right speaker. If you think about the design
of most cars, with either left or right hand drive and then speakers in their common
locations this is potentially a difficult brief. Delving further, however, we can start to
recognise that the lower down and further away we can position the speakers (such as
footwells or floor panels) the more equidistant the two measurements become. The trade
off when designing a no compromise install is that the lower down the speakers are
mounted (and this is especially true if you expect the speakers to produce high frequencies
such as tweeters) the more the sound stage suffers at the edges. A sound stage is an
imaginary stage – like at a concert – in front of you in the car. If there is a violin on the left
of the stage how well is that replicated to listen to? Is the violin “there” or is it on the
passenger’s left foot? If the singer is centre stage is she coherent, together and placeable?
Or is she singing at you from everywhere like in a disco? Placing the higher frequency
speakers physically higher helps lift the “level” of the sound stage but can harm the
coherence of the sound – known as “imaging and staging”. I hope the paragraphs above
help to create some interest in working to optimise the setup and design of your
installations. It can be really helpful to have the tweeters (if applicable) on a pair of fly lead
extension cables and then you can blu-tak them to the car in various positions pending test
to help selection of the best location.
Table of contents
Other BASSFACE Speakers manuals

BASSFACE
BASSFACE IndyA8/4 User manual

BASSFACE
BASSFACE Indy SPL8M/4 User manual

BASSFACE
BASSFACE TeamZXM8/4 User manual

BASSFACE
BASSFACE SPL5C.2 User manual

BASSFACE
BASSFACE SPLBOX.1 User manual

BASSFACE
BASSFACE Team SQ6/4 User manual

BASSFACE
BASSFACE MP1.2 User manual

BASSFACE
BASSFACE SPL69.1 User manual

BASSFACE
BASSFACE Team ZXM6/4 User manual

BASSFACE
BASSFACE BLACKSPL5C.1 User manual


Popular Speakers manuals by other brands


Altec Lansing
Altec Lansing SHOCKWAVE 100 quick start guide

Hifonics
Hifonics Warrior HCX42 Owners & installation manual

Braven
Braven 440 owner's guide

TRIUMPH BOARD
TRIUMPH BOARD 70" MULTI Touch LED LCD installation guide

EarthQuake
EarthQuake EQ6CS Specifications

Martin Audio
Martin Audio SCREEN4P - SCHEMATICS manual