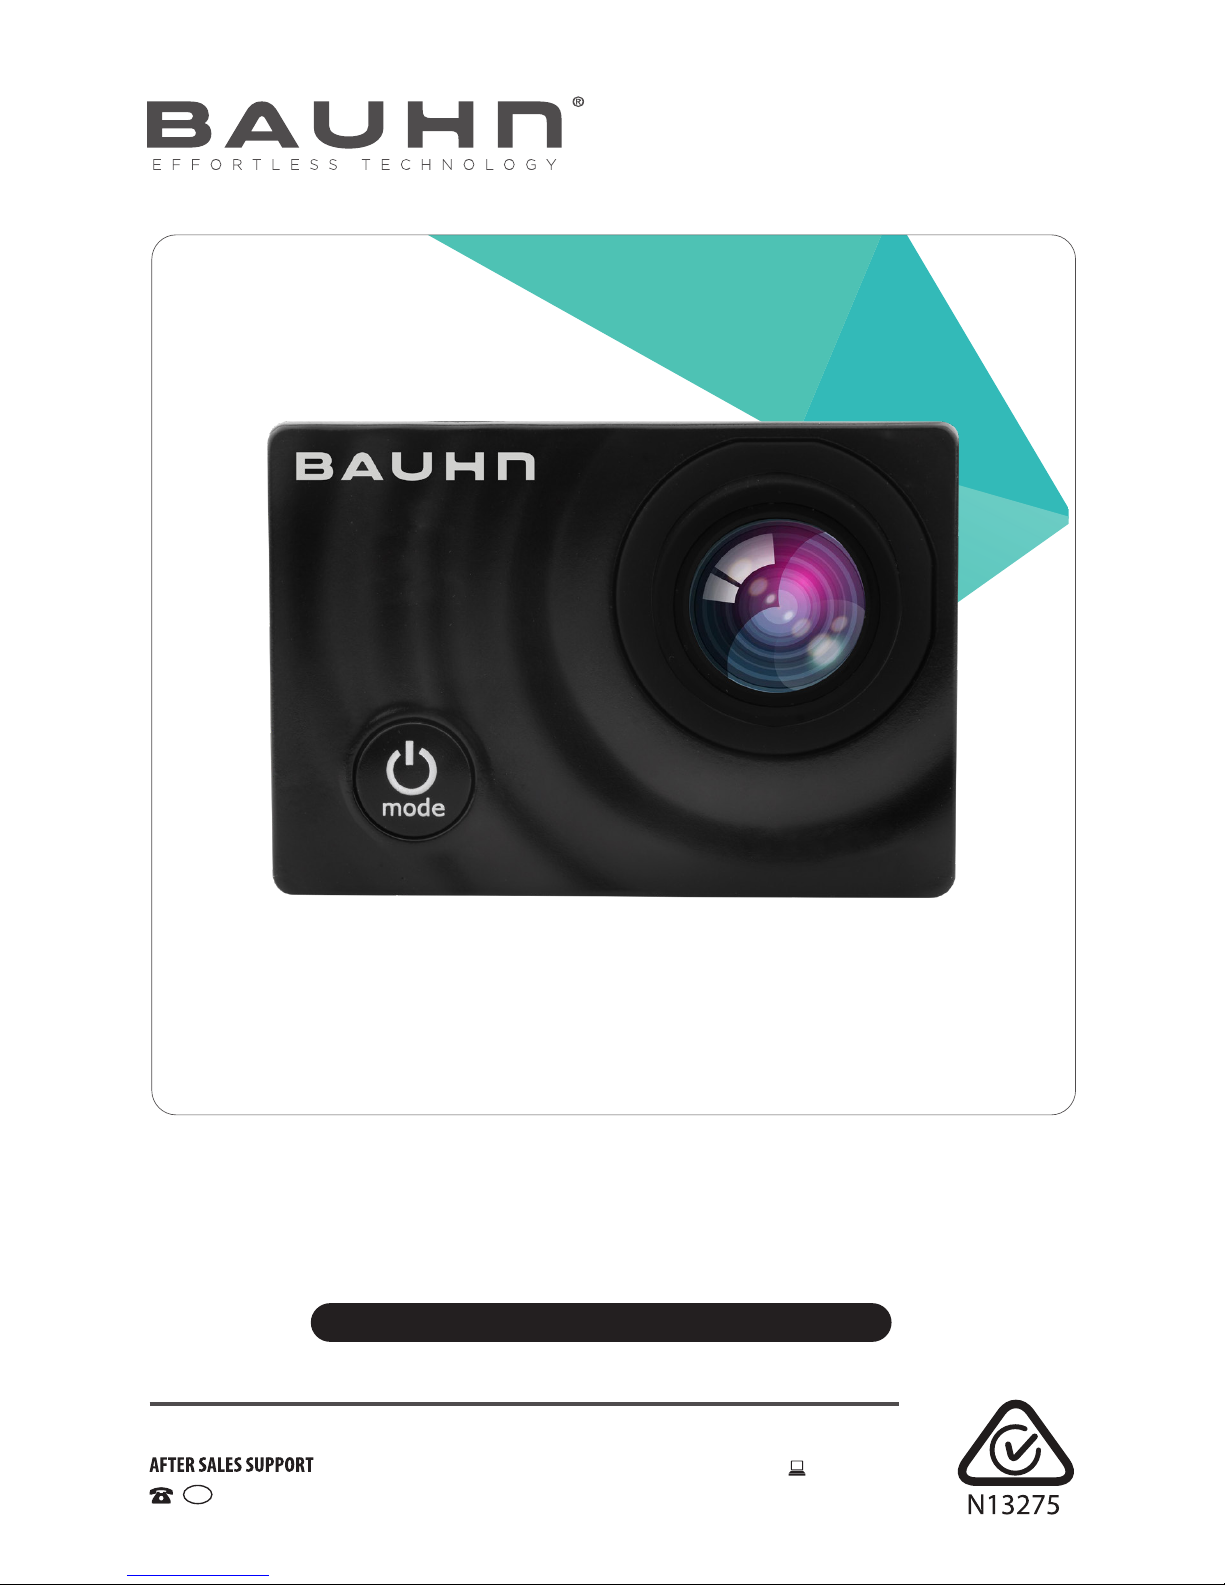
General Information & Safety Instructions
Read this manual thoroughly before first use and keep it in a safe place for
future reference, along with the completed warranty card, purchase receipt
and carton. The safety precautions enclosed herein reduce the risk of fire,
electric shock and injury when correctly adhered to. Follow all instructions
and take notice of all warnings to reduce the risk of fire or electric shock.
This product complies with Australian Safety standard AS/NZS 60950:2015 to
ensure the safety of the product.
The RCM is a visible indication of a product’s compliance with all applicable ACMA
regulatory arrangements, including all technical and record-keeping requirements.
Usage Conditions and Restrictions
• Shooting brightness: This camera is designed for use under suitable light
conditions. Do not aim it directly at the sun and other strong light sources in order
to avoid damaging the optical sources. Do not store the camera in strong direct
sunlight.
• At the beach: Water, sand, dust or particles containing salt may damage the
camera. Therefore, take care when using the camera at the beach or near water,
to avoid water or sand entering the camera. In areas where water could enter the
camera, always use the waterproof housing. If sand has settled on the camera or
lens, gently blow it off.
• Storage conditions: Store the camera in a cool and dry place with good ventilation.
Avoid storage in areas that are excessively hot or humid.
• Dust: Do not use the product in environments with high dust density to avoid dust
settling on the camera lens or other components.
• Cleaning: In case dirt, dust or sand has accumulated on the camera, blow off any
lose particles and then clean the camera with a soft, clean and dry cloth, suitable
for cleaning optical instruments. If needed, use a specific lens cleanser. Do not
clean the camera with an organic solution. Never touch the lens surface with your
finger.
• Usage restrictions: This product is not intended for use by persons (including
children) with reduced physical, sensory or mental capabilities, or lack of
experience and knowledge, unless they have been given supervision or instruction
concerning use of the product by a person responsible for their safety.
• Children: Supervise children to ensure they do not play with the product.
• Damage: This camera contains no parts you can repair yourself. Do not attempt to
disassemble, repair or modify it. In case of damage, contact our after sales support
line for advice on repair or replacement, or refer servicing to qualified personnel
only.
• Liability: We assume no liability for any eventual damages or injury caused by
misuse of the product or noncompliance with these instructions.