Betts 6234AL Manual

Form Title:
Document #:
INSTALLATION AND MAINTENANCE MANUAL
MM-PRV005
(Form: DEF-006A-3)
Revision:
0
Document Title:
Date:
Inbreathing Vacuum Vent
Jun. 20, 2022
Page:
1 of 8
Betts Industries Inc. ▪814·723·1250 ▪1800 Pennsylvania Ave. West ▪Warren, PA 16365 ▪www.BettsInd.com
Print Date: 6/20/2022 This form is considered uncontrolled 24 hrs. after print date.
PART NUMBERS (Including, but not inclusive)
6234AL 6234AL277
6234ALB 6234ALFS
6234ALP 6234ALTS
Table of Contents:
1.0 General
2.0 Parts List
3.0 Description and Intended Use
4.0 Installation
5.0 Inspection and Testing
6.0 Disassembly and Rebuild Instructions
7.0 Trouble Shooting Guide

Form Title:
Document #:
INSTALLATION AND MAINTENANCE MANUAL
MM-PRV005
(Form: DEF-006A-3)
Revision:
0
Document Title:
Date:
Inbreathing Vacuum Vent
Jun. 20, 2022
Page:
2 of 8
Betts Industries Inc. ▪814·723·1250 ▪1800 Pennsylvania Ave. West ▪Warren, PA 16365 ▪www.BettsInd.com
Print Date: 6/20/2022 This form is considered uncontrolled 24 hrs. after print date.
1.0 General Maintenance Manual Guidelines
1.1 It is strongly recommended that this entire manual be read prior to any operation, disassembly, or
assembly of this equipment.
1.2 Betts Industries, Inc. provides this manual as a guideline for reference only and assumes no
responsibility for personal injury or property damage that may occur in conjunction with this manual.
Betts Industries, Inc. cannot be held responsible for incorrect installation, operation or maintenance
ofthis equipment. Use onlygenuine Bettsreplacementparts. Substituteparts willvoidall warranties
and could impair the proper function making this equipment unsafe.
1.3 Betts Industries, Inc. recommends all equipment be placed on a regular maintenance schedule that
includes the routine replacement of seals and gaskets and visual inspection for leaks and corrosion.
The end user must make their own determination and set their own schedule based upon use and
environment. In some cases, regulations may dictate the minimum testing frequencyof items. Make
sure operators are aware of all applicable codes.
1.4 Only trained and qualified personnel should perform maintenance on this equipment.
1.5 As with any maintenance work, proper safety gear must be utilized and approved procedures must
be followed at all times. Examples of safety gear may include but are not limited to gloves, safety
goggles, face shields, protective suits and respirators. It is the responsibility of the person/company
working on this equipment to identify the hazardous products that the equipment has been exposed
to and designate specific and appropriate protective gear and safety procedures.
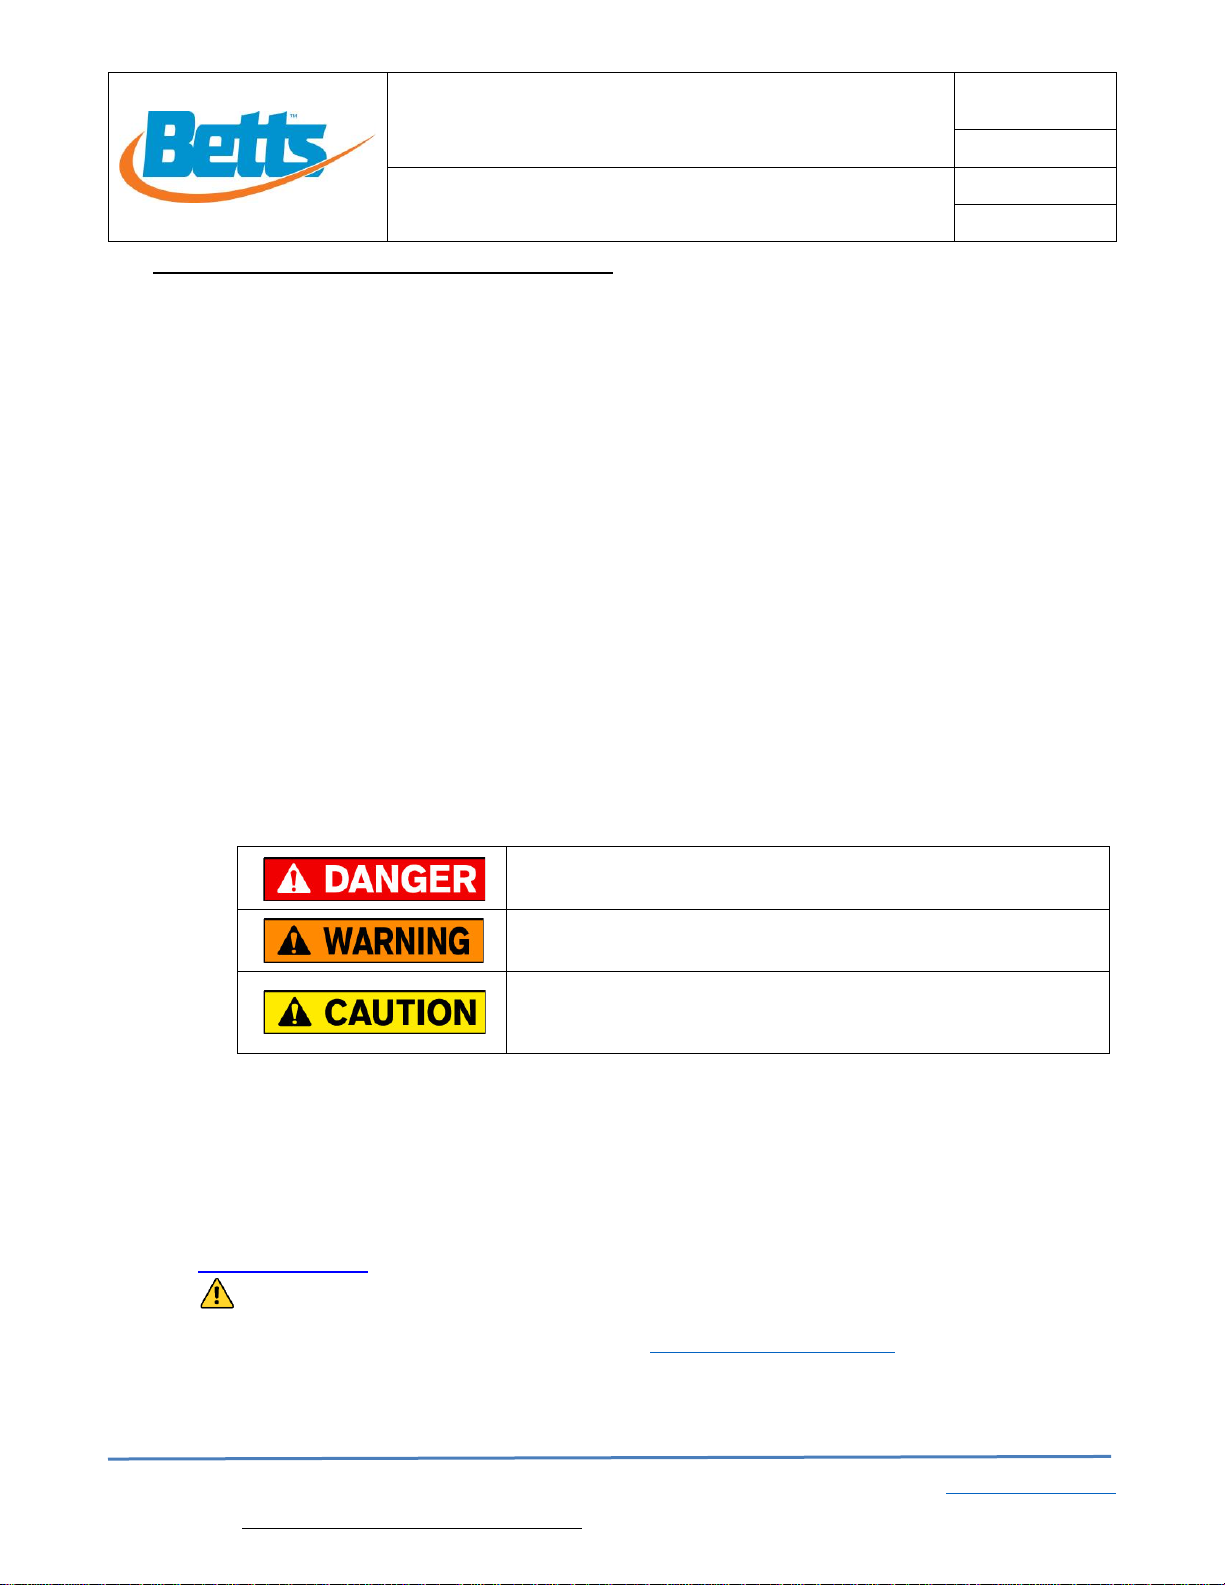
1.6 Safety alert symbols are used to alert operator to potential personal injury hazards. These symbols
are per ANSI Z535.5 and are listed below. Operator MUST obey all instructions that follow a safety
symbol. Alerts will be used to indicate known safety concerns.
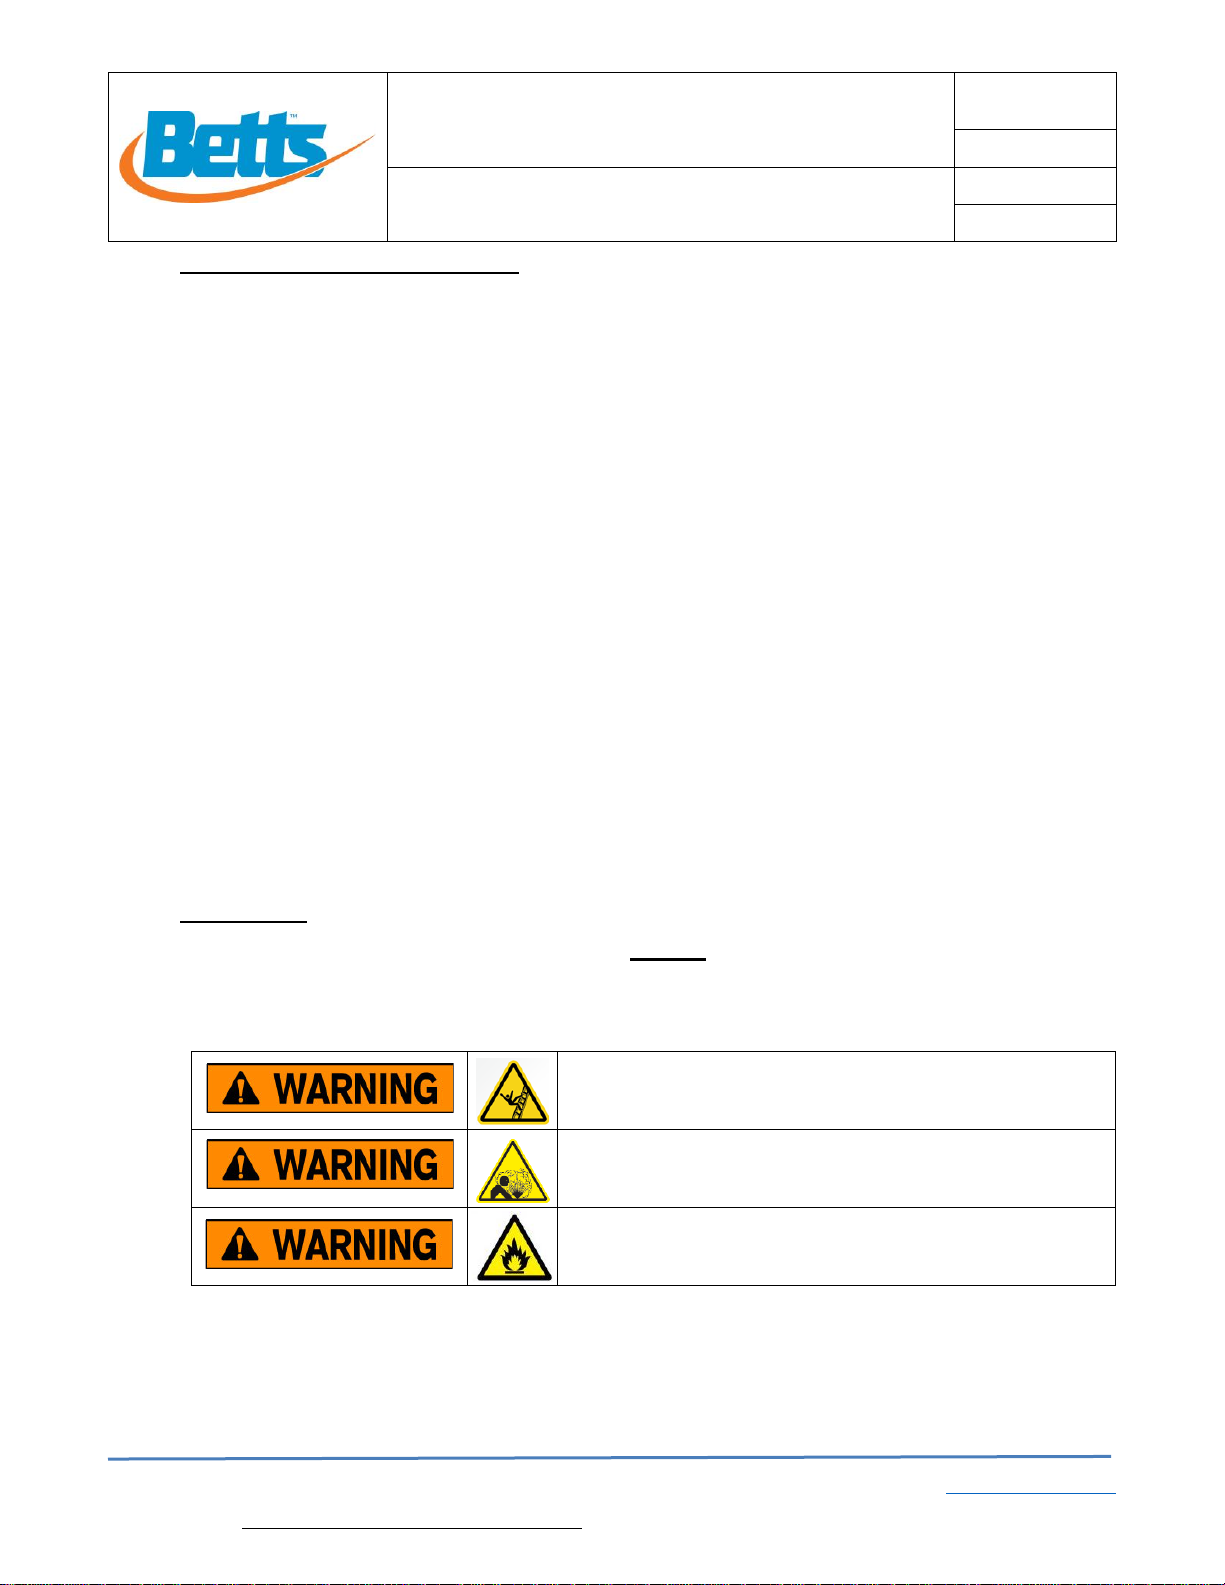
A list of hazards may include but are not limited to fall hazards, pressure hazards, loaded springs,
corrosive material, flammable product, pinch points. Additional concerns are possible and should
be identified and avoided by the operator.
1.7 Product Warranty shall be void if equipment is subject to misapplication, misuse, neglect, alteration,
or damage.
1.8 Specific design details described in this document are for reference only and are subject to change
without notice. See Betts Industries, Inc. web page for the most recent revision to this document.
www.bettsind.com
1.9 WARNING: This product can expose you to chemicals including Chromium (hexavalent
compounds), which is known to the State of California to cause cancer and birth defects or other
reproductive harm. For more information go to: www.P65Warnings.ca.gov
1.10 For additional questions or more detailed technical assistance, contact the Betts Industries, Inc.
Customer Service, Sales or Engineering Department at (814) 723-1250.
Indicates an imminently hazardous situation which, if not
avoided, will result in death or serious injury.
Indicates a potentially hazardous situation which, if not
avoided, could result in death or serious injury.
Indicates a potentially hazardous situation which, if not
avoided, may result in minor or moderate injury. It may also be
used to alert against unsafe practices.

Form Title:
Document #:
INSTALLATION AND MAINTENANCE MANUAL
MM-PRV005
(Form: DEF-006A-3)
Revision:
0
Document Title:
Date:
Inbreathing Vacuum Vent
Jun. 20, 2022
Page:
3 of 8
Betts Industries Inc. ▪814·723·1250 ▪1800 Pennsylvania Ave. West ▪Warren, PA 16365 ▪www.BettsInd.com
Print Date: 6/20/2022 This form is considered uncontrolled 24 hrs. after print date.
2.0 Parts List - 6234
No.
Description
Material
Part No.
1
Vent Body
Aluminum
3639AL
2
Retainer Plate
Aluminum
3479AL
3
Retainer Ring
Stainless Steel
9Q4987
4
Spring
Stainless Steel
3574SL
5
Poppet
Aluminum
3632AL
6
Seat O-ring
FKM Type A
3357VT
Nitrile (Buna-N)
3357BN
Fluorosilicone
3357FS
EPDM (white)
3357WE
Tef-Sil
3357TS
7
Mounting O-ring
FKM Type A
17211VT
Nitrile (Buna-N)
17211BN
Fluorosilicone
17211 FS
EPDM (black)
17211EP
PTFE
17211TF
4
2
3
7
1
6
5

Form Title:
Document #:
INSTALLATION AND MAINTENANCE MANUAL
MM-PRV005
(Form: DEF-006A-3)
Revision:
0
Document Title:
Date:
Inbreathing Vacuum Vent
Jun. 20, 2022
Page:
4 of 8
Betts Industries Inc. ▪814·723·1250 ▪1800 Pennsylvania Ave. West ▪Warren, PA 16365 ▪www.BettsInd.com
Print Date: 6/20/2022 This form is considered uncontrolled 24 hrs. after print date.
3.0 Description and Intended Use
The 6234 is a single purpose in-breathing spring-loaded re-closing vacuum vent. This vacuum
vent is designed to be stand alone or used as a supplement to the normal vent to provide
additional in-breathing capacity when required. This vent may be used by itself or in multiples
according to requirements.
The vacuum vent meets requirements of 49CFR§178.345-10, 178.346-3(c)(2), and 178.346-
3(d)(2) but is limited by the maximum unload rate of cargo tank. As required by code “each
vacuum reliefsystem must havesufficient capacity to limit the vacuum to 1 psig”. Venting capacity
is marked on the vent and it must be verified that total vacuum capacity satisfies this requirement.
Note: While this vent does provide additional in-breathing capacity, it is recommended that
positive opening vaporrecovery vents, which openwhen the emergency valves open, be provided
when discharging product when the manhole closed.
Vacuum Set: .25 psig (1.7 kPa) to .375 psig (2.6 kPa)
Vacuum Venting Capacity: 4,000 SCFH @ 1psig
Part Numbers:
6234AL –Aluminum body with FKM Type A seals
6234ALB –Aluminum body with Nitrile (Buna-N™) seals
6234ALFS –Aluminum body with fluorosilicone seals
6234ALP –Aluminum body with EPDM seals
6234ALTS –Aluminum body with FEP encapsulated silicone and PTFE seals
Note: Add suffix “277” to end of part number for vent with 30x30x.012 screen.
4.0 Installation
4.1 The 6234 Vacuum Vent installs on the interior of the tank.
4.2 The vent is typically installed into the vent port of a 10” PAF Cover but can be installed in
any 15/8–12 UN threaded port with a flat seating surface.
4.3 Inspect sealing surface to ensure there are no scratches, pitting or debris.
4.4 Apply anti-seize compound to the external threads of the vent.
4.5 Carefully hand thread the vent in a clockwise direction into the mounting location.
4.6 Tighten with wrench to secure. Do not over tighten.
Fall Hazard –Climbing on top of a cargo tank is dangerous
and should be avoided without proper safety equipment.
Falling can result in death or serious injury.
Pressure Hazard –Hydraulic system contains high pressure
which, if suddenly and unexpectedly released, could result in
death or serious injury.
Flammable Product –Cargo tank may contain product that
could present a risk of fire, explosion, asphyxiation or other
hazards resulting in death or serious injury.

Form Title:
Document #:
INSTALLATION AND MAINTENANCE MANUAL
MM-PRV005
(Form: DEF-006A-3)
Revision:
0
Document Title:
Date:
Inbreathing Vacuum Vent
Jun. 20, 2022
Page:
5 of 8
Betts Industries Inc. ▪814·723·1250 ▪1800 Pennsylvania Ave. West ▪Warren, PA 16365 ▪www.BettsInd.com
Print Date: 6/20/2022 This form is considered uncontrolled 24 hrs. after print date.
5.0 Inspection and Testing
5.1 Visual Inspection
5.1.1 Examine vacuum vent for corrosion pitting or
damage. Replace if needed.
5.1.2 Examine Retaining Ring (3) to make sure it is fully
installed in the groove.
5.1.3 Visually examine the Spring (4) to ensure it is seated
properly in the interior chamber.
5.1.4 Push down on the Poppet (5) and check for free
movement and smooth operation. Inspect for
corrosion or damage to the Vent Body (1) bore.
Replace if necessary.
5.1.5 Push down on the Poppet (5) and inspect the Seat
O-ring (6) on opposite side to ensure it is fully seated
in the O-ring groove. Inspect the seat of the Vent
Body (1) for corrosion in the area it contacts the Seat
O-ring (6). Replace if necessary.
5.1.6 Inspect the Mounting O-ring (7) for wear or damage.
Replace if necessary.
5.2 DOT Compliance Testing
5.2.1 49CFR§180.407 requires inspection and testing of cargo tanks. Verify the
frequency and requirement for your specific cargo tank specification.
5.2.2 Per §180.407(g)(1)(ii), all self-closing pressure relief valves, including emergency
relief vents, and normal vents,
must be removed from the
cargo tank for inspection and
testing.
5.3 Pressure tightness test:
5.3.1 Install vent as shown in figure
3 into test tank.
5.3.2 It is imperative the pressure
gauge is a calibrated, high
quality, high precision with low
pressure capabilities.
5.3.3 Apply soapy water to the
internal bore of the Vent Body
(1)
5.3.4 Apply 1.0 psig air pressure to
the test tank.
5.3.5 The vent must not leak.
4
3
Fig. 1
7
5
1
Fig. 2
Fig. 3
Air pressure in
from regulator
Air out to
gauge
Test Tank
6687AL (shown
with body cut
away for clarity)
Pressure Test: Apply soapy water in
bore and look for bubbles to verify
pressure tightness
6234 Vent

Form Title:
Document #:
INSTALLATION AND MAINTENANCE MANUAL
MM-PRV005
(Form: DEF-006A-3)
Revision:
0
Document Title:
Date:
Inbreathing Vacuum Vent
Jun. 20, 2022
Page:
6 of 8
Betts Industries Inc. ▪814·723·1250 ▪1800 Pennsylvania Ave. West ▪Warren, PA 16365 ▪www.BettsInd.com
Print Date: 6/20/2022 This form is considered uncontrolled 24 hrs. after print date.
5.4 Vacuum relief test:
5.4.1 Install vent as shown in figure 4
into test tank.
5.4.2 Apply soapy water to the area
around the Seat O-ring (6)
5.4.3 Slowly apply air pressure to the
test tank and note at what
pressure bubbles appear.
5.4.4 49CFR§178.346-3(b)(2) states,
for DOT 406each vacuum relief
device must be set to open at
no more than 6 ounces (.375
psig) vacuum.
5.4.5 The 6234 shall relieve between
0.25 psig to 0.375 psig.
5.4.6 This simulates vacuum in the
tank.
5.5 Rinse and thoroughly dry the entire valve after test is complete.
6.0 Disassembly and Rebuild Instructions
6.1 Remove the Retaining Ring (3) using a flat head
screwdriver. See figure 5.
6.2 Remove the Retainer Plate (2).
6.3 Remover the Spring (4).
6.4 Remove the Poppet (5).
6.5 Using a non-marring pick, remove Seat O-ring (6) from
the Poppet (5) and discard.
6.6 Using a non-marring pick, remove Mounting O-ring (7)
and discard.
6.7 Inspect the O-ring groove of the Poppet (5) for pitting,
scratches or product build-up. Replace the Poppet (5)
if needed.
6.8 Inspect the seat of the Vent Body (1) for pitting,
scratches or product build-up. Replace Vent Body (1)
if needed.
6.9 Inspect the mounting seat area of the Vent Body (1) for
pitting, scratches or product build-up. Replace Vent
Body (1) if needed.
6.10 All parts should be clean prior to rebuild.
Fig. 4
Air pressure in
from regulator
Air out to
gauge
Apply soapy water in seat area. Vent should
bubble between 0.25 psig to 0.375 psig.
Test Tank
6687AL (shown
with body cut
away for clarity)
6234 Vent
4
2
3
7
1
6
5
Fig. 5

Form Title:
Document #:
INSTALLATION AND MAINTENANCE MANUAL
MM-PRV005
(Form: DEF-006A-3)
Revision:
0
Document Title:
Date:
Inbreathing Vacuum Vent
Jun. 20, 2022
Page:
7 of 8
Betts Industries Inc. ▪814·723·1250 ▪1800 Pennsylvania Ave. West ▪Warren, PA 16365 ▪www.BettsInd.com
Print Date: 6/20/2022 This form is considered uncontrolled 24 hrs. after print date.
6.11 Lubricate and carefully install* new Seat O-ring (6) onto the Poppet (5).
* If the O-ring is a PTFE encapsulated silicone O-ring, exercise great care during install
as to not kink, scratch or damage in any way. PTFE encapsulated O-rings are not
resilient to damage and must be free of any debris such as dirt, sand or rust particles.
6.12 Lubricate the interior bore of the Vent Body (1) and install the Poppet (5) into the Vent
Body (1).
6.13 Install the Spring (4) and Retainer Plate (2).
6.14 Push down on the Retainer Plate (2) to compress
the Spring (4) and install the Retaining Ring (3).
6.15 Make sure the Retaining Ring (3) is seated
completely in the groove of the Vent Body (1).
6.16 Lubricate and install the MountingO-ring (7) onto
the top of the Vent Body (1).
6.17 Fully test the vent per section 5 prior to placing in
service.

Form Title:
Document #:
INSTALLATION AND MAINTENANCE MANUAL
MM-PRV005
(Form: DEF-006A-3)
Revision:
0
Document Title:
Date:
Inbreathing Vacuum Vent
Jun. 20, 2022
Page:
8 of 8
Betts Industries Inc. ▪814·723·1250 ▪1800 Pennsylvania Ave. West ▪Warren, PA 16365 ▪www.BettsInd.com
Print Date: 6/20/2022 This form is considered uncontrolled 24 hrs. after print date.
7.0 Trouble Shooting Guide
Problem
Potential Cause
Potential Solution
Air leak past mounting threads
Loose Vent
Tighten vent in a clockwise
direction
Damaged or worn Mounting O-
ring (7)
Replace Mounting O-ring (7)
Damaged or pitted sealing
surface
Replace Vent Body (1)
Repair or replace mating
mounting surface.
Pressure leaks past Poppet
Seat O-ring
Damaged or worn Seat O-ring
(6)
Replace Seat O-ring (6)
Damaged or pitted sealing
surfaces
Replace Vent Body (1)
Replace Poppet (5)
Spring weak or damaged
Replace Spring (4)
Slightly stretch Spring (4) and
verify vacuum relief falls within
acceptable range.
Vent set vacuum is under
acceptable limit.
Damaged or worn Seat O-ring
(6)
Replace Seat O-ring (6)
Damaged or pitted sealing
surfaces
Replace Vent Body (1)
Replace Poppet (5)
Spring weak or damaged
Replace Spring (4)
Slightly stretch Spring (4) and
verify vacuum relief falls within
acceptable range.
Vent set vacuum is over
acceptable limit.
Corrosion between bore of Vent
Body (1) and Poppet (5)
Clean and lubricate bore of
Vent Body (1)
Replace Vent Body (1) and
Poppet (5)
Spring too stiff or damaged
Replace Spring (4)
This manual suits for next models
5
Table of contents
Other Betts Plumbing Product manuals
Popular Plumbing Product manuals by other brands

HydroQuip
HydroQuip The Smart Choice Ultimate Series System operation manual

Delta
Delta 25720LF Series installation instructions

Delta
Delta MultiChoice R18222 Series repair parts

infra world
infra world SAFIR COMPLETE Assembly instructions

Delta
Delta ITS61350 quick start guide

Delta
Delta Pilar 980T-SD-DST Specification sheet