Big Bang BB275 User manual

SpeakerCraft®
Big Bang
Power Amplifiers
BB275
Owner’s Manual
LR
ACTIVE
PROTECTION
POWER
SpeakerCraft BB275

2
1
Thank you for purchasing the SpeakerCraft BB275 power
amplifier. The BB275 contains the excellent performance and
reliability that SpeakerCraft products have been recognized
for. For best performance please carefully read the instruc-
tions in this manual.
Installation Considerations 2
Power Mode Selection 2
Operating Multiple Speakers 3
Installation 4
Front and Back Panel Diagrams 5-7
Operation 8
Troubleshooting 9
Specifications 10
Placement
DO:
• Place the amplifier with the feet resting on a solid flat level surface.
• Place the amplifier in a well-vented area to provide proper cooling.
Allow at least 4” of space above amplifier. In areas that lack proper ven-
tilation, such as tight cabinets or racks, it may be necessary to install
small fans to create air movement.
DON'T:
• Don't block the ventilation holes on the top or bottom of the amplifier.
Never place it on carpeting or similar material
• Don't place the amplifier in any other position other than horizontal
with the feet down. Never place on its side or resting on the back
where the terminals are located.
• Don't place the amplifier near heat sources, or in an area that it would
be exposed to moisture.
YOU SHOULD KNOW
• The power supply is very large and therefore may cause a hum to be
heard in some components if they are placed very close to the
amplifier.
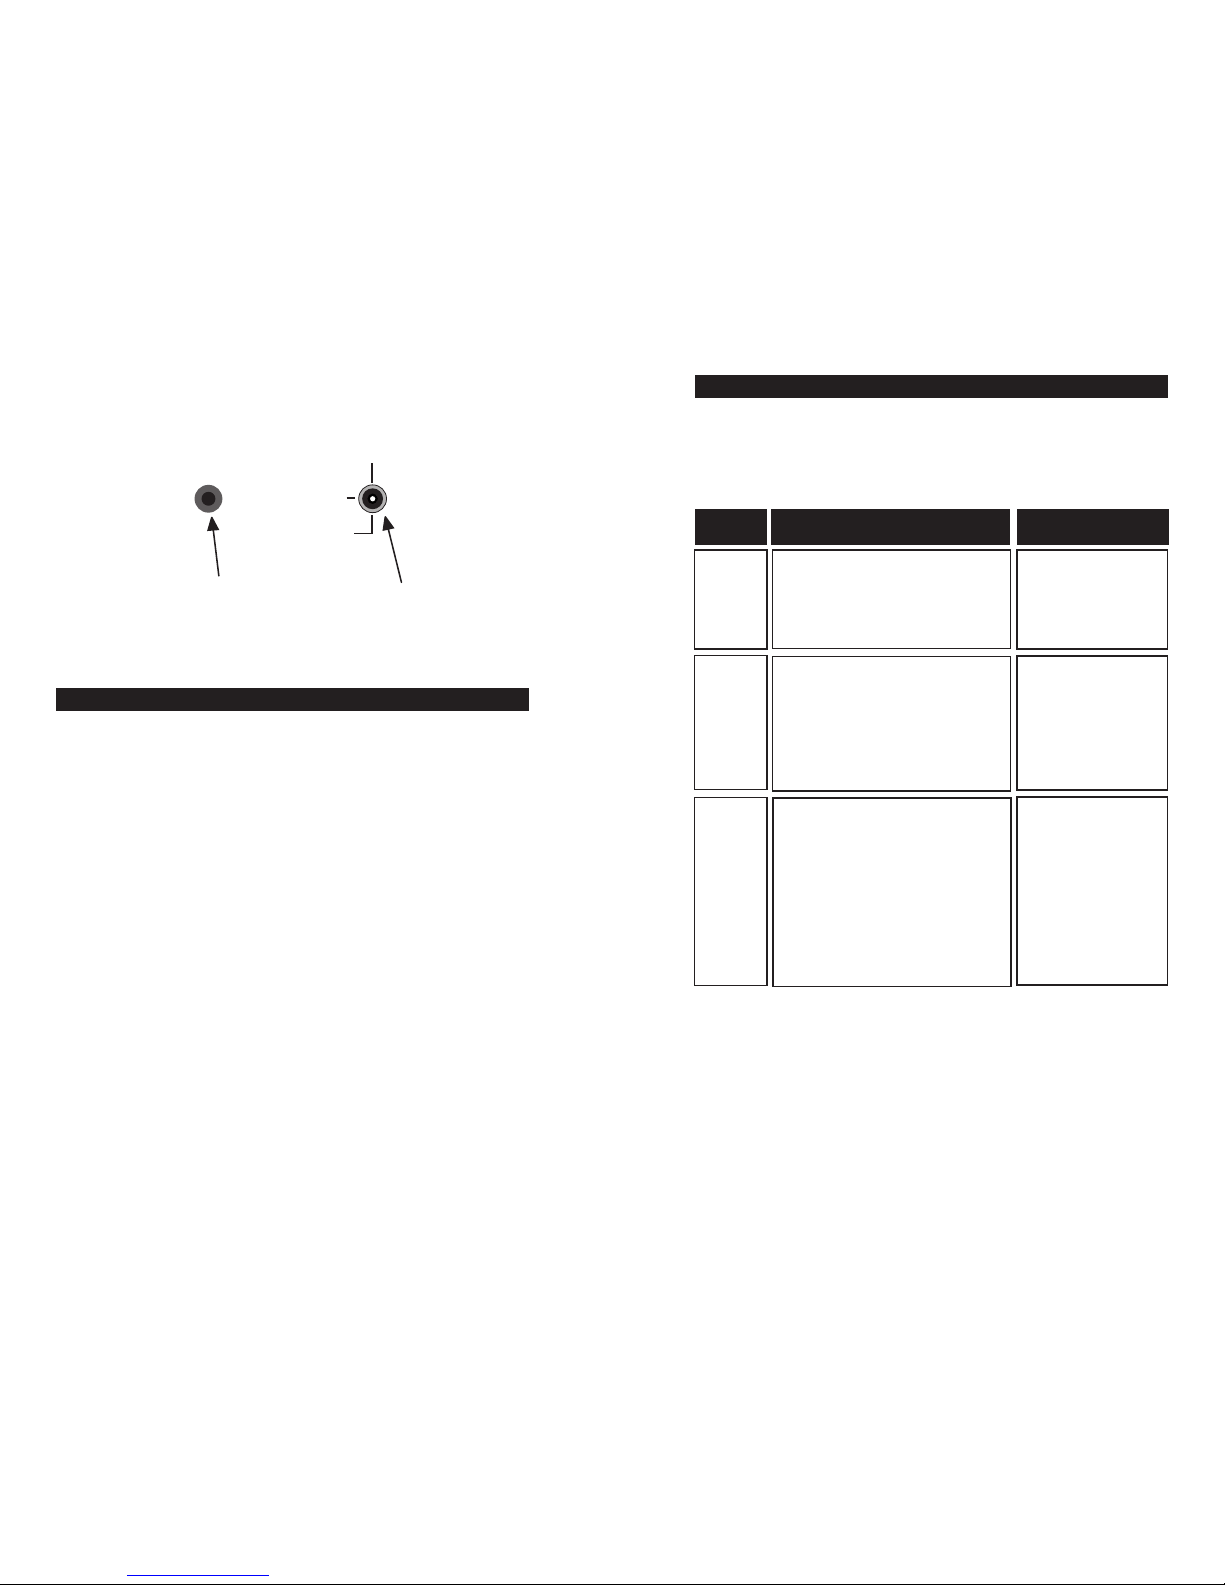
There are three ways to turn the amplifier on and off. Use the following
list to decide which mode will work best for your application.
Constant: Use this selection when you wish to manually turn the ampli-
fier on and off by using the front mounted power button.
Trigger: Use this selection if you wish the amplifier turn on when it
receives voltage (3-30V A/C or D/C) from an external source and turn off
once that voltage has stopped. Some components have voltage outputs
that are designed for this use. In addition there are devices that can be
used as part of an automated system that will provide voltage to enable
the mode. The voltage source must be connected to the trigger-input
jack on the back of the amplifier.
Audio Sense: Use this selection when you want the amplifier to turn on
when the amplifier's main input receives an audio signal. At the moment
that either the left or right input jacks receive a signal the amplifier is
turned on. Once the signal stops the amplifier waits 3 minutes and then
turns off.
See Diagram#1
INSTALLATION CONSIDERATIONS
Table Of Contents Page
Power Mode Selection
43
Operating Multiple Speakers
Because it is very stable, multiple pairs of speakers can be connected directly
to the amplifier's outputs (see Diagram #2) as long as the total impedance
presented to the amplifier does not drop below 2.67 ohms. As an example,
3 pairs of 8 ohm speakers could be connected. If excessive demands are
placed on the amplifier the protection circuitry may be engaged, temporarily
shutting down the amplifier.
When speakers are connected directly to the amplifier they will all play at the
same time. If you wish to control speaker pairs independently of each other
we recommend that you use one of SpeakerCraft's multi-room speaker selec-
tors. Depending on the model, up to eight pairs of speakers can be turned
on or off independently of each other, while providing protection to your
amplifier at the same time. Your SpeakerCraft dealer can provide you with
details on the selectors available.
Select the Power Mode Selection
Refer to the Power Mode Selection area under installation considerations to
determine which setting to use to turn the amplifier on. Once you have
determined which mode you will be using set the switches as outlined in the
following chart.
Control Output
The 12V output jack on the back of the amplifier can be used to turn on a
variety of components equipped to be activated when they receive a 12V DC
output. Voltage is only delivered to the jack when the amplifier is "on" or
active. When the amplifier turns off the voltage ceases.
Before connecting another device to the 12 output please make sure that the
device can accept 12V DC at 150ma. To connect the output to another
device you must access the output jack with a two-conductor plug that fits
into the 3.5mm jack. Be aware that the tip of the plug will be (+). If you are
unsure about using this feature please contact an authorized SpeakerCraft
dealer for assistance.
Constant Will light up when
the amplifier is
“On/Active” and will
go off when it is “off”
Switch Settings Active Light
Power Mode Selection = Set to
“Constant”
Master Power Button = Push to
“In” position to turn amplifier “On”,
out position is “Off”
Selection
Mode
Trigger
Will light up only
when the amplifier
receives an audio sig-
nal to the main
inputs indicating the
amplifier is
“ON”/active. Will turn
off three minutes
after the signal has
stopped.
Power Mode Selection = Set to
“Trigger”
Master Power Button = Leave in
the “On” position (Button in).
Audio
Sense
Will light up only
when the amplifier
receives a voltage
indicating the amplifi-
er is “On/Active”.Will
turn off once the
voltage has stopped.
Power Mode Selection = Set to
“Audio Sense”
Master Power Button = Leave in
the “On” position (Button in).
3.5mm mini plug jack Mode Switch
Power Mode Selection
AUDIO SENSE
3-30V A/C D/C
TRIGGER
INPUT
3-30V A/C D/C
TRIGGER
INPUT
CONSTANT
Diagram#1
Installation
Operating Multiple Speakers

65
LR
ACTIVE
PROTECTION
POWER
SpeakerCraft BB275
SpeakerCraft®
FUSE 8 AMP 250V
AC 120V 60HZ
SPEAKERSMAIN
INPUT + LEFT --
LEFTLEFT
RIGHT RIGHT
CASCADE
OUTPUT -- RIGHT +
SERIAL NUMBER
Model BB275
AUDIO SENSE
3-30V A/C D/C
TRIGGER
INPUT
3-30V A/C D/C
TRIGGER
INPUT
12V
CONTROL
OUTPUT
CONSTANT
Receptacle for A/C power cord
8 Amp A/C Fuse
Binding posts for speaker con-
nections
3.5mm Mini Plug socket for
12VDC control output
3.5mm Mini Plug socket for
voltage input
Power Mode Selection switch
Main Input Jacks. To connect
line level stereo sources
Cascade Audio Output Jacks. Connects to the line level
inputs of other amplifiers. Allows daisy chaining of up
to 5 SpeakerCraft®amplifiers
Master power switch. Turns
off power to amplifier and
Power Mode Circuitry
Active LED indicates that the
amplifier is working
Protection LED indicates that either a fault in
the wiring, the speaker, or the amplifier has
caused the amplifier to shut down.
Level Adjustment Screws are used to adjust the level
of the amplifier output so that you can match the
output levels of other amplifiers in your system.
Front and Rear Panel Detail
Diagram#2
87
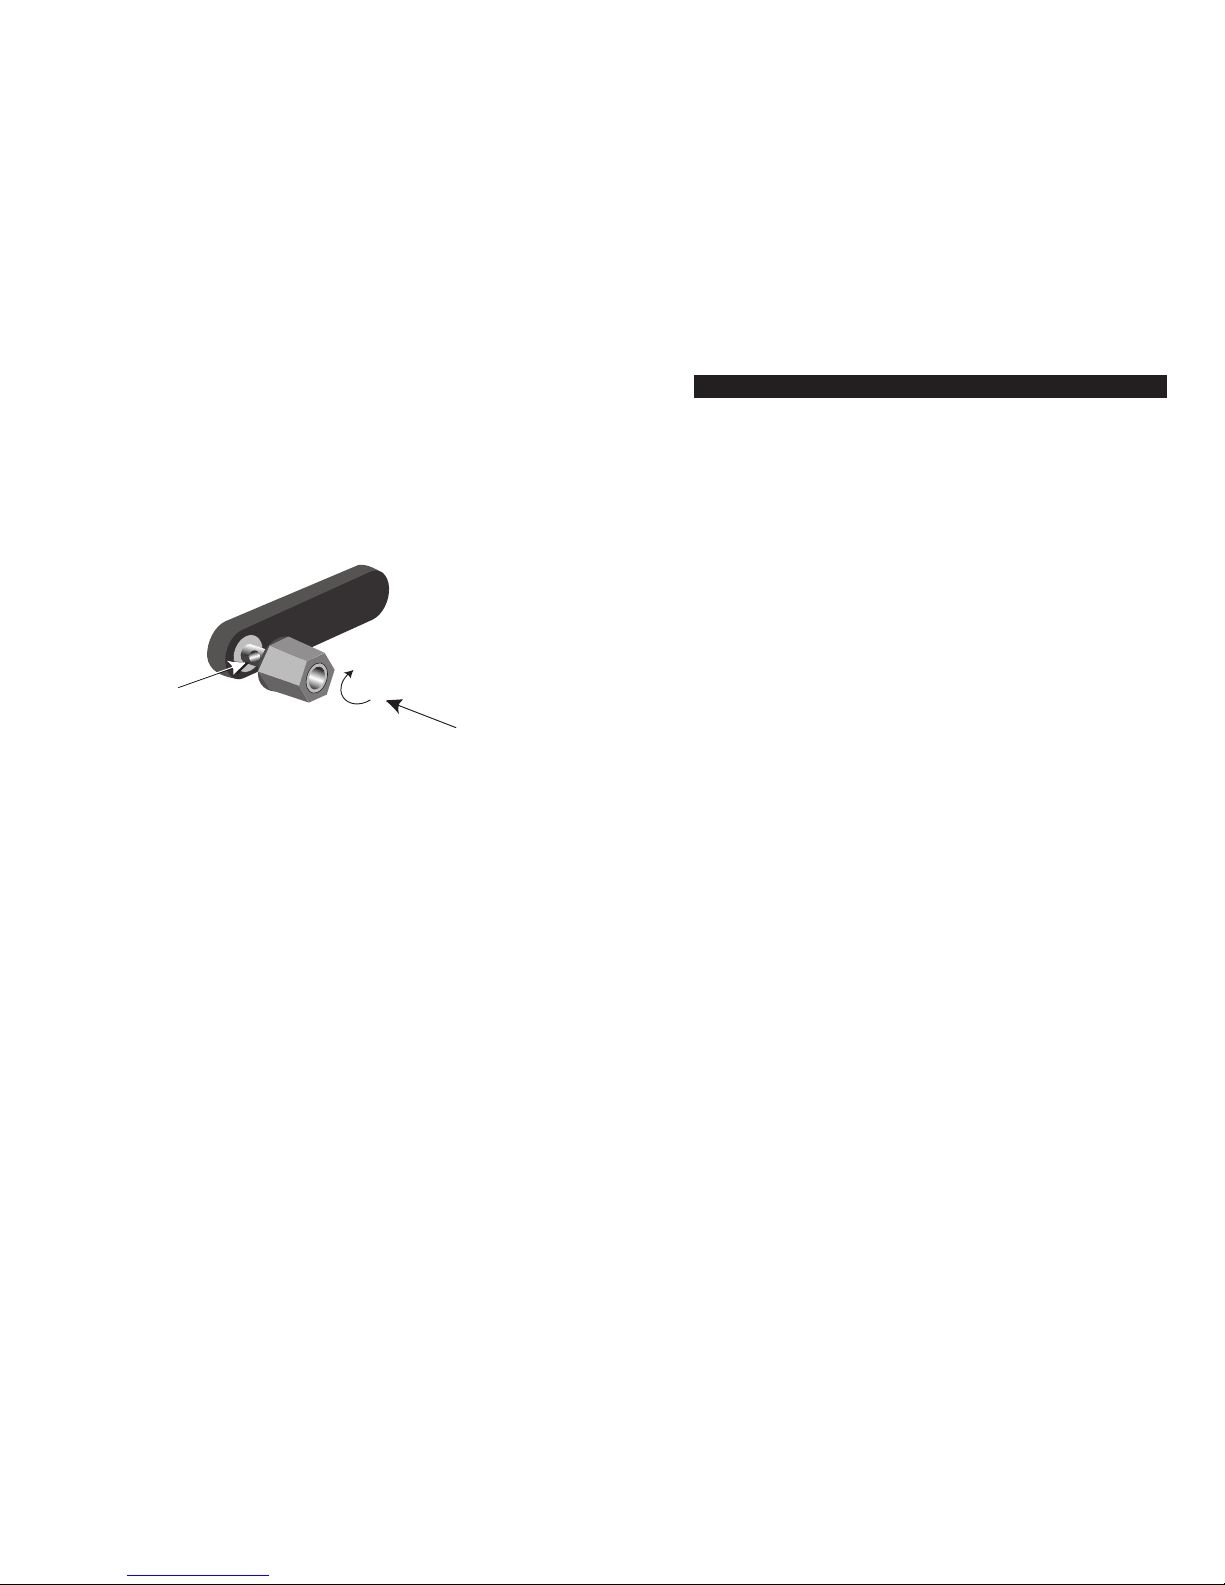
Connecting the Speaker Wires
Caution: Only make connections when the amplifier is turned off.
For best performance use high quality speaker cables. The binding post out-
puts on the back of the amplifier allow for a variety of ways to connect your
speakers to the amplifier (refer to Diagram #3 for options on connecting
speaker wire).
Connecting the Line Level Audio Inputs
Caution: Only make connections when the amplifier is turned off.
Connect the source component's (ie. CD player, VCR,etc) audio output jacks
to the corresponding Input jacks on the back of the amplifier. Make sure that
the left and right outputs are connected to the matching inputs.
Cascade Audio Outputs
The amplifier is equipped with line level audio outputs labeled "Cascade
Audio Outputs" (see Diagram #2). By using standard audio patch cables, you
can connect these outputs to the inputs of another amplifier. Up to 5
SpeakerCraft amplifiers can be daisy-chained together.
AC Power
Plug the socket of the AC cord supplied with the amplifier into the receptacle
on the rear of the amplifier. Plug the 3 prong plug directly into a 120V 60 Hz
wall outlet. Caution! Do not plug the amplifier into the preamplifier or
receivers switched or unswitched outlet. If you wish to have the amplifier turn
on once the preamplifier or receiver is activated, use one of the turn on
modes, voltage or audio.
See Diagram #2 for the location of the following.
Power Switch
The switch marked "Power" on the front panel of the amplifier will turn off all
amplifier circuitry no matter which turn on mode is selected. Refer to the
"Power Mode Selection" section for further information.
Active LED
When lit, the Active LED indicates that the amplifier is operating. Refer to the
"Power Mode Selection" section of this manual for further information.
Protection LED
When lit the "Protection" LED located on the front of the amplifier indicates
that either a fault in the wiring, the speaker, or the amplifier has caused the
amplifier to shut down.
Level Adjustment Screws
Level Adjustment Screws are used to adjust the level of the amplifier output so
that you can match the output levels of other amplifiers in your system. Use a
small slotted screwdriver to adjust the screws. If you have no other amplifiers
in the system it is best to leave the adjustments at their factory default position
(turned fully clockwise).
Insert Banana Plug
Insert Speaker Wire
or Spade Connector
Turn To Tighten
Binding Post Detail
Diagram #3
Operation

109
Power Output:
75 Watts per channel RMS at 8 ohms
100 Watts per channel RMS at 4 ohms
Input Sensitivity:
.77V for 8 ohm rated output
Input Impedance:
33K ohms
Total Harmonic Distortion:
.08% 20Hz to 20kHz @ 8 ohms
.1% 20Hz to 20kHz @ 4 ohms
Power Consumption:
500 Watts @ 120VAC, 60Hz
Dimensions:
Width = 17”, Height = 4”, Depth = 15” (including rear panel connectors)
Weight
21lbs
No Sound Heard
No Sound Heard from the one
side
The speaker wires or audio cables
are not wired correctly or are bad.
The front mounted level adjust-
ment on one side is turned all the
way down.
A speaker is not working. Make
sure by connecting the channel
to a speaker that you know to be
working.
Hum or buzzing Sound is Heard The sound may be caused by a
ground loop in the system. Try to
eliminate this by reversing the AC
plugs of other components in the
system.
Other causes may include faulty
cables.
Amplifier will not turn on. The amplifier must be plugged
into a live outlet. The power
switch on the front panel must be
on.
Audio cable to the source compo-
nent is not connected properly or
the cable is bad. use another
cable that you know is good.
The Problem Possible Causes And Solutions
The amplifier is designed to function trouble-free. Most problems occur
because of operating errors. If you have a problem please check the trou-
bleshooting list first. If the problem persists, contact your authorized
SpeakerCraft dealer or SpeakerCraft customer service at 800-448-0976.
Troubleshooting Specifications BB275

SpeakerCraft®
LIT 10/99
1650 Seventh Street, Riverside, CA 92507-4492
(800) 448-0976 Fax (909) 787-8747
www.speakercraft.com
Table of contents


