BIGSTONE C500B User manual

i de the li de www.RideTheGlide.ca
C500B Instructions
www.bigstone-nj.com

i de the li de www.RideTheGlide.ca
Contents
Introduction 3
NoteaboutWarranty 3
TheDisplay 3
TheButtons 4
TheDisplay 4
NormalView 5
Operation 5
On/O5
SpeedDisplay 6
RidingMode 6
Current6
PedalAssistLevel 7
Odometer,Trip,Time 7
BatteryIndicator 8
6km/hWalkAssist 8
Settings 9
SET0:RidingMode 9
SET1:TripReset 9
SET2:MaxSpeedLimit 9
SET3:WheelDiameter 9
SET4:SpeedUnits 9
USBCharging 10
ErrorCodes 10

i de the li de www.RideTheGlide.ca
Introduction
NoteaboutWarranty
TheDisplay
For starters, thanks for your purchase and for choosing Ride the
Glide! No doubt you’re very excited to get out and riding right away,
who wouldn’t! But please rst take a moment to read through this
instruction manual to learn the ins and outs of this display, how to
operate it and allay any confusion.
If you ever have any issues with your e-bike, whether mechanical or
electrical please contact us immediately and without delay. Warran-
ty can be voided by not disclosing an issue and not having it xed
in a timely manner. And remember your bike is only as good as the
shape you keep it in so please make use of your rst year of free
tune ups.
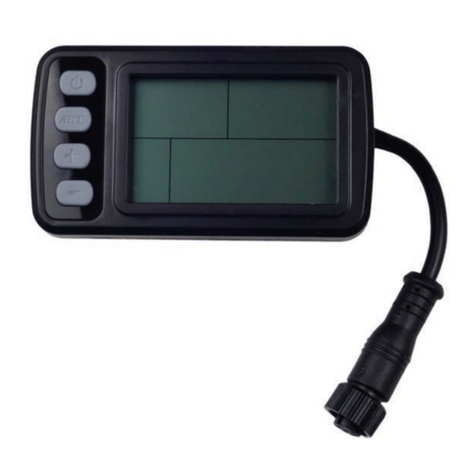
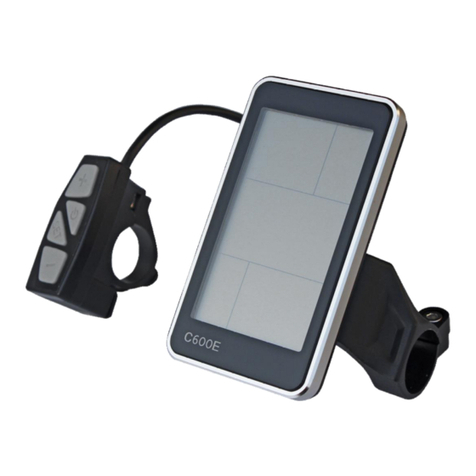
The C500B display is made of black ABS plastic and the bracket is a
nylon plastic. The normal operating temperature range is -20 to 60°C
Dimensions in mm

i de the li de www.RideTheGlide.ca
TheButtons
TheDisplay
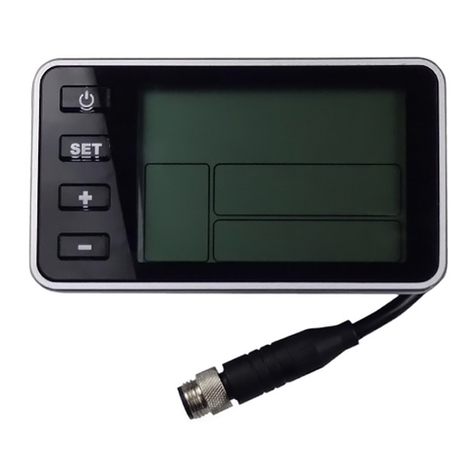
The C500B has four buttons including ON/OFF, SET, UP and DOWN.
The C500B has wide range of functions and indicators. The diagram
below shows the full contents of the display

i de the li de www.RideTheGlide.ca
Normal View
Operation
On/O
With the display on the default display is the speed, odometer (trip
and time), pedal assist level (default to zero or one depending on
model), mode indicator (eco, normal or power), current level and
battery level.
Press the ON/OFF button to start the display, this will provide power
to the controller and turn on the bike. Pressing the ON/OFF button
with the display on will turn the back light on as well as the front
and rear lights. To turn the display and the bike o hold the ON/OFF
button for 3 seconds until the display powers o. With the display
turned o there is no battery consumption and the display itself
when on draws no more than 2µA (micro amps).
The display panel will automatically turn o if the speed is 0km/h for
ve minutes.

i de the li de www.RideTheGlide.ca
Speed Display
Riding Mode
Current
The speed displays in the top right corner, the default reading is in
km/h but can be changed to mph in the settings.
There are three riding modes available, eco, normal and power,
which regulate the amount of available power. Eco will regulate up
to 6A, normal at 10A and power up the maximum of 12A. The default
is normal and can be changed in settings.
This gives a visual representation of the discharging current of the
battery. Each mark is 2A, all six marks is equal to 12A.

i de the li de www.RideTheGlide.ca
Pedal Assist Level
This determines the speed and amount of power when pedaling.
Default is 0 or 1 depending on model and can be changed by clicking
the up or down buttons. 0 pedal assist is no pedal assist, but power
is still available with the throttle. For pedal assist 1-5 levels are
available with 1 being the least and 5 being the most.
Odometer, Trip, Time
The odometer, trip odometer and riding time display in the bottom
right of the display. You can switch between each by clicking the set
button.
The odometer is to total distance the bike has been ridden with the
display powered on, this cannot be cleared.
The trip odometer is cumulative up to 500km at which point it will
automatically reset. The trip distance can be manually reset.
The riding time indicates how long the bike has been above zero
speed. This is automatically reset when the display is powered o.

i de the li de www.RideTheGlide.ca
Battery Indicator
Backlight/LightIndicator
6km/hWalkAssist
The battery frame has ve segments, each representing 20%
battery capacity. When the battery is severely depleted the outside
edge of the battery frame will ash, indicating it needs to be charged
immediately.
With the display powered on click the on/o button to turn on the
front and rear lights as well as back light the display. Click it again to
turn the lights o.
Hold the down button for 2 seconds to engage the 6 km/h walk
assist mode, releasing the button will turn the walk assist o.

i de the li de www.RideTheGlide.ca
Settings
Hold the set button for 2 seconds to enter the settings interface. The
lights with ash on and the screen will become back light. Use the
set button to cycle between settings and use the up and down
buttons to select the desired parameter. Hold set for 1 second to
save and exit the settings interface.
SET 0: Riding Mode
SET 1: Trip Reset
SET 2: Max Speed Limit
SET3:WheelDiameter
SET 4: Speed Units
Select the desired riding mode, eco, normal or power.
Click the down button to reset the trip distance.
The max speed is set by default to 32 km/h to comply with local laws
but can be adjusted from 20 km/h to 99.9km/h (no speed restriction)
Select the suitable value to ensure accurate display of speed and
mileage. *Correctly set from factory, no need to change.
Select either mph or km/h depending on your preference. Default is
km/h.

i de the li de www.RideTheGlide.ca
USBCharging
Error Codes
There is a USB charge port below the display that allows you to
charge a mobile phone or other device. In order to turn on USB
charging press and hold the set and up buttons for 2 seconds. The
USB icon, as shown below, will turn on. Repeat to disable this
feature.
If a fault is detected within the electronic control system, the display
will ash and show an error code. Reference the table below for
code details. If your display shows an error immediately contact
Ride the Glide about the error code and set up an appointment to
bring your bike in to have it looked at.
Error Code Description
1 Current error or MOS damaged
2 Throttle error (start detection)
3 Motor no phase position
4 Hall error
5 Brake error (start detection)
6 Under voltage
7 Motor stalling
8 Controller receiving error
9 Display receiving error
Table of contents
Other BIGSTONE Monitor manuals

