Bilt STEPR User manual

Tap. Zoom. Rotate with official interactive
instructions on the BILT app.
Scan for easy 3D instructions
STAIR CLIMBER
USER MANUAL

ASSEMBLY
PARTS LIST
CLASS SCREEN
MOVING THE STEPR
EXPLODED DRAWING
GROUNDING METHODS
CARE AND MAINTENANCE
PROPER USAGE
APP ONBOARDING PROCESS
WARNINGS AND SAFETY INFORMATION 02
24
36
34
32
25
27
35
11
22
1

IMPORTANT SAFETY INSTRUCTION!
DANGER - To minimize the risk of electric shock:
WARNING - To reduce the risk of burns, fire,
electric shock, or injury to persons:
Always remember to unplug the STEPR from the
electrical outlet immediately after use and before
cleaning.
When operating the STEPR, it is essential to follow basic
safety measures. This includes the following:
Please read this manual thoroughly and retain it for future
reference. Your safety and the longevity of your STEPR
stairclimber depend on your adherence to these guidelines.
Never leave the STEPR unattended when it is plugged
in. Always unplug it from the outlet when not in use
and before attaching or removing parts.
Use this STEPR solely for its intended purpose as
described in this manual. Do not use any attachments
that are not recommended by the manufacturer.
Do not operate the STEPR if the cord or plug is
damaged, if it is not functioning correctly, if it has
been dropped or damaged, or if it has fallen into
water. In such cases, immediately return the STEPR to
an authorized service center for examination and
repair.
Keep the cord away from heated surfaces to prevent
damage and potential hazards.
1.
1.
2.
3.
4.
2

Please note that the specifications of the STEPR may
vary slightly from the illustrations provided and are
subject to change without prior notice.
SAVE THESE INSTRUCTIONS
6.
7.
8.
9.
the STEPR is designed for indoor use only. Do not use
it outdoors.
Avoid operating the STEPR in areas where aerosol
(spray) products are being used or where oxygen is
being administered, as it may pose a safety risk.
To disconnect the STEPR, first, turn it off, and then
remove the plug from the electrical outlet.
Connect the STEPR only to a properly grounded
outlet as per the grounding instructions provided.
The STEPR is not suitable for use by individuals with
reduced physical, sensory, or mental capabilities or
those lacking experience and knowledge, unless they
have received proper supervision or instruction from
a responsible person regarding its safe usage. Keep
children under the age of 13 away from this machine.
Do not carry the STEPR by its supply cord, nor should
you use the cord as a handle. This can damage the
cord and may lead to hazardous situations.
If you are uncertain about any aspect of assembly,
maintenance, or use, please consult with a qualified
professional or contact STEPR's customer support.
10.
5.
IMPORTANT SAFETY INSTRUCTION!
3
11.

Before using the STEPR, carefully read all provided
instructions in the owner's manual. Keep the manual for
future reference.
During the assembly process, pay special attention to
several areas. It is crucial to follow the assembly
instructions accurately and ensure all parts are firmly
tightened. Failure to do so may result in loose parts and
irritating noises. To avoid damage to the STEPR,
thoroughly review the assembly instructions and take
corrective actions if necessary.
Never operate the STEPR if the cord or plug is damaged, if
it is not functioning correctly, if it has been damaged, or if
it has been immersed in water. Operating the STEPR
under such conditions may lead to safety hazards.
In the event of an emergency, immediately activate the
"emergency stop button" to stop the STEPR's operation.
Caution: Carefully read the assembly instructions and
strictly follow them while assembling the STEPR.
By using the STEPR, the user agrees to indemnify and hold
harmless STEPR and its representatives from any claims,
actions, damages, or losses that may arise from the user's
negligence, misuse, or failure to follow the instructions and
warnings provided herein.
IMPORTER:
STEPR, INC
ADD: 300 Delaware Ave. Suite 210 #524
Wilmington, DE 19801
United States
WARNING
4

Before starting any exercise program, consult with
your physician or a health professional to ensure it
is suitable for your health condition.
If you have high blood pressure or any other
medical condition, consult with a doctor before
engaging in any exercise activities.
Prior to use, check and ensure all bolts are securely
locked to prevent accidents during exercise.
Never place the STEPR in a wet area to avoid
operational issues or malfunctions.
The manufacturer takes no responsibility for any
troubles or injuries caused due to failure to follow
the mentioned guidelines.
Always wear appropriate sports clothes and shoes
before using the STEPR.
While working out, avoid placing your hands and
feet underneath the STEPR or within the stairs to
prevent any pinching incidents
To reduce the risk of injuries, perform warm-up
exercises before starting your workout routine.
The STEPR is intended for adult use only and
should be used indoors.
Provide adequate care, guidance, and supervision
for older adults, children, and individuals with
disabilities using the STEPR.
Do not plug any other devices into the STEPR, as it
may cause damage or electrical hazards.
ATTENTION
1.
4.
9.
2.
7.
5.
10.
3.
8.
6.
11.
5

12. Avoid connecting lines to the middle of the
cable, altering the cable plug, putting heavy
objects on the cable, or placing it near heat
sources to prevent fire hazards or injuries.
Always turn Screen prior to moving the STEPR
Always cut off the power supply when the
STEPR is not in use. When turning off the
power, avoid pulling the power line to keep it
from breaking.
The maximum weight capacity for users is 375
poungds (170 kilograms). Do not exceed this
weight limit to ensure safe usage.
The user is responsible for complying with all
applicable local, state, and federal laws and
regulations regarding the use, maintenance, and
disposal of the STEPR stairclimber.
The STEPR is classified as
:
SC
Incorrect or excessive training may result in
health injuries. The STEPR can be used by
children aged 13 years and above, as well as
individuals with reduced physical, sensory, or
mental capabilities, provided they have
received proper supervision or instruction on
using the STEPR safely and understand the
associated hazards.
Any modifications, misuse, or failure to follow
the guidelines as outlined in this manual may
void any applicable warranties, expressed or
implied, related to the STEPR stairclimber.
ATTENTION
13.
14.
16.
15.
18
.
19.
6
17.

If you experience any pain, chest pains, nausea,
dizziness, or shortness of breath while exercising,
stop immediately, and consult your physician
before continuing.
Always exercise at a comfortable pace to avoid
overexertion or injury.
Avoid wearing clothes that might catch on any
part of the STEPR to prevent accidents.
Always wear athletic shoes while using this
STEPR to ensure proper foot support and
stability.
Refrain from jumping on the STEPR, as it may
lead to damage or injuries.
Only one person should be on the STEPR while it
is in operation to prevent accidents or
interference with its function.
Do not use the STEPR if you exceed the specified
weight limit (375lbs/170kgs), as doing so will void
the warranty and may pose safety risks.
Before servicing or moving the STEPR, ensure
that all power is disconnected.
For cleaning, use a slightly damp cloth with soap;
avoid using solvents that could damage the
STEPR.
Never leave the STEPR unattended when it is
plugged in. Unplug it from the outlet when not in
use and before attaching or removing any parts.
Do not operate the STEPR under a blanket or
pillow, as excessive heating may occur, leading to
potential fire, electric shock, or injury.
IMPORTANT SAFETY PRECAUTION
7

Connect the STEPR only to a properly grounded
outlet to prevent electrical hazards.
Children under the age of 13 and pets must not be
within 10 feet of the machine at any time.
Keep children under the age of 13 away from the
STEPR. Teenagers using the STEPR should be
supervised at all times.
The STEPR is not intended for use by individuals
with reduced physical, sensory, or mental
capabilities, or lack of experience and knowledge,
unless they have been provided with proper
supervision or instruction by someone responsible
for their safety.
Use the STEPR solely for its intended purpose, as
described in the owner's manual, to ensure safe
and proper operation.
Do not use attachments not recommended by the
manufacturer, as they may cause injury or
malfunction.
Never operate the STEPR if it has a damaged
cord or plug, if it is not functioning correctly, if it
has been dropped or damaged, or if it has been
immersed in water. In such cases, discontinue use
and have it inspected by a qualified professional.
Keep the power cord away from heated surfaces
to avoid damage and potential hazards. Do not
carry the STEPR by its supply cord or use the cord
as a handle.
IMPORTANT SAFETY PRECAUTION
8

To prevent electrical shock, never drop or insert
any object into any opening of the STEPR.
Avoid operating the STEPR where aerosol
(spray) products are being used or during
oxygen administration to prevent potential
hazards.
To disconnect the STEPR, turn the power switch
to the off position, and then remove the plug
from the electrical outlet.
Do not use the STEPR in locations that are not
temperature-controlled, such as garages,
porches, pool rooms, bathrooms, carports, or
outdoors. Failure to comply may void the
warranty.
Console covers should not be removed unless
instructed by Customer Tech Support. Service
and repairs should only be performed by
authorized service technicians.
Ensure there is a minimum of 2 meters by 1
meter (approximately 6.5 feet by 3.3 feet) of
free space behind the STEPR to allow for
emergency dismounting.
In case of any abnormality during use, press the
emergency button and discontinue using the
STEPR after it comes to a complete stop.
If you observe any damage or wear on the mains
plug or the mains lead, have them replaced
immediately by a qualified electrician. Do not
attempt to change or repair these components
yourself.
IMPORTANT SAFETY PRECAUTION
9

If the supply cord is damaged, it must be replaced
by the manufacturer, its service agent, or similarly
qualified individuals to avoid potential hazards.
Before dismounting this STEPR, ensure that it has
come to a complete stop.
The free area around the STEPR should be not less
than 0.6 meters (approximately 2 feet) greater
than the training area in all directions from which
the STEPR is accessed. This free area must also
include space for emergency dismounting.
If multiple pieces of STEPR are positioned adjacent
to each other, the value of the free area may be
shared.
The free area and training area should be visually
illustrated with a dedicated figure to provide clear
guidance.
Children should be supervised at all times to
ensure they do not play with or around the
exercise STEPR.
Cleaning and user maintenance should not be
performed by children without adult supervision.
For the safety, stability, and optimal performance
of your STEPR, it is imperative to use only light and
ultra-light bands on all upright anchor points and
in all rear anchor points. Utilizing heavy bands or
non-recommended accessories may result in
tipping over, posing serious risks to users,
bystanders, and surrounding property.
IMPORTANT SAFETY PRECAUTION
10

assembly & installation
Faster than paper
or video
Audio, text &
image prompts
Rotate & zoom
3D images 360°
Replay steps instantly
Easily store receipts
& warranty
Easy to follow with voice, text & interactive 3D images
GET THE FREE APP
PINCH TO ZOOM
DRAG TO ROTATE
TAP FOR DETAILS
•
•
•
•
•
11

STEP 1
ASSEMBLY STEPS
Note: The floor area of this STEPR is 45.6x28.7in (115.8x71.9cm)
Product Net Weigth: 297.62lbs (135kgs)
Note: At least 2 persons are required to assemble the STEPR.
Open the package, take out all parts and
unwrap carefully with special attention to the
Console.
Place the Main Frame (1) on the flat ground.
(Note: Handle with care as it’s very heavy!)
1.
2.
12

STEP 2
Pass the Emergency Switch Upper Wire 2 (123) on
the Right Upright Tube (2R) through the right
Decorative Cover (49R) to connect with the
Emergency Switch Lower Wire 2 (124) on the right
of the Main Frame (1).
Insert the right Upright Tube (2R) through the right
Decorative Cover (49R), then slide the Upright Tube
onto Right lower tubes on the Main Frame (1) and
store the wires inside the lower tube at the same
time, lock with three M10*20 Hex socket screws (74)
and
∅
10 Lock washers (102).
(Note: Please don’t tighten the screws or clip the Decorative Coers for now.)
Repeat the 2nd step to assemble the left Upright
Tube (2L) and left Decorative Cover (49L), just no
wires related.
1.
2.
3.
13

Connect the Console Lower Extension Wire (119) to
the Console Lower Wire (120).
Attach the Lower Console Mast (5) to Main Frame
(1) with four M10*30 Hex socket screws (73) and four
∅
10 flat washers (105). (Please don’t tighten them
for now)
1.
2.
14
STEP 3

Hold the Console (132) carefully and align the
position with Mounting Plate (6), then lock the
Console to Mounting Plate with four M10*20 Hex
socket screws (74) and four
∅
10 Lock washers (102)
securely.
Insert the Keyboard Extension Wire (128), Console
Upper Extension Wire (118), Emergency Switch
Lower Wire 1(122) and Pulse Upper wire (125) into
the corresponding color/size sockets of the Socket
Board (131) on the back of Console (As shown in
figure 1, 2).
Align the Console Cover Adornment (36) to the back
of Console (132) and lock with five ST4*16 Cross
Tapping Screws (89).
Rotate the Console gently to a proper position.
1.
2.
3.
4.
15
STEP 4

Connect the Console Upper Extension Wire (118) to
the Console Lower Extension Wire (119) .
Attach the Upper Console Mast (4) to the Lower
Console Mast (5) with four M10*20 Hex socket
screws (74) and four
∅
10 Lock washers (102).
(Please don’t tighten them for now ).
1.
2.
16
STEP 5

Pass the Key Board Lower Wire (129a) on left
Handrail (3L) through the open D and out of hole C
on right Handrail (3R), then insert the left Handrail
(3L) into the right Handrail (3R). (Please be careful
not to clip the wires ).
Hole the Handrail Set (3L/R) and align the position
with Upright tube (2L/2R) and Upper Console Mast
(4).
Connect the Key Board Lower Wire (129a/129b) to
the Key Board Extension Wire (128) as per the
connectors color. Store properly all wire connectors
and wires into the Hole E of connection tube on
Upper Console Mast (4). (Note: Be careful not to clip
wires!)
1.
1.
2.
17
STEP 6
STEP 7

Insert the G tube of the Handrail Set (3L/R) into the
Upright Tubes (2L/2R), align the holes and lock with
six M10*20 Hex socket screws (74) and six
∅
10 Lock
Washers (102). (Please don’t tighten them now)
Align the 4 holes around the bottom connection of
Handrail Set (3L/R) with the connection tube of the
Upper Console Mast (4), and lock with four M8*20
Hex bolts (77) and four
∅
8 Lock washers (103).
(Note: if you found it’s hard to align, please loose the
bolts in previous steps to get more flexibility for the
alignment.)
3.
4.
18

STEP 8
Lock all the sixteen M10*20 Hex socket screws (74)
and the four M10*30 Hex socket screws (73) that
are not locked tightly in previous assembly steps.
Clip the Decorative Cover (49L/49R) into the
Protective Cover (44L/44R) respectively and press
to ensure they are clipped properly.
Place the Phone Holder (133) to the Handrails
(3L/R) by inserting the 2 posts into the holes on
Handrail and lock it with two ST4*16 Cross tapping
screws (89) from the Handrail bottom.
(Note: Please be mindful to avoid the screws
damaging the Key Board Lower Wires (129a/b)
inside the Handrail when tapping.)
1.
2.
3.
19
Table of contents
Other Bilt Fitness Equipment manuals
Popular Fitness Equipment manuals by other brands
Merrithew
Merrithew At Home SPX Reformer Standard owner's manual
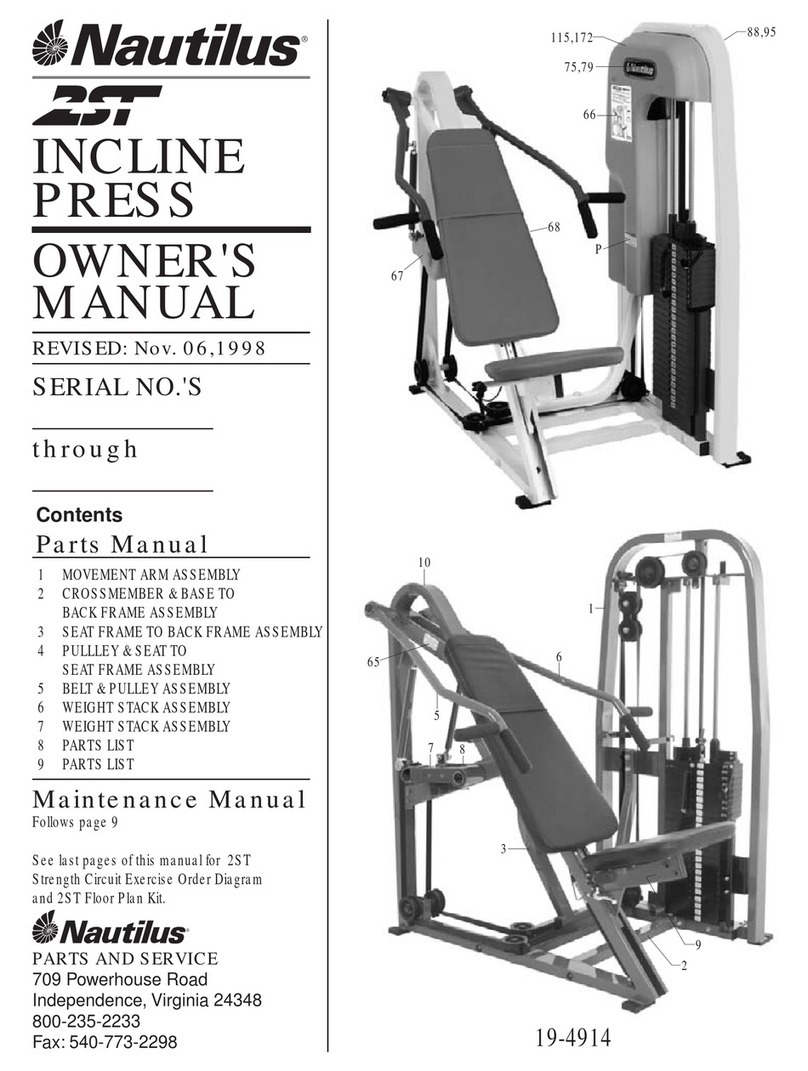
Nautilus
Nautilus 2ST INCLINE PRESS owner's manual

Razor
Razor BoGo Pogo owner's manual
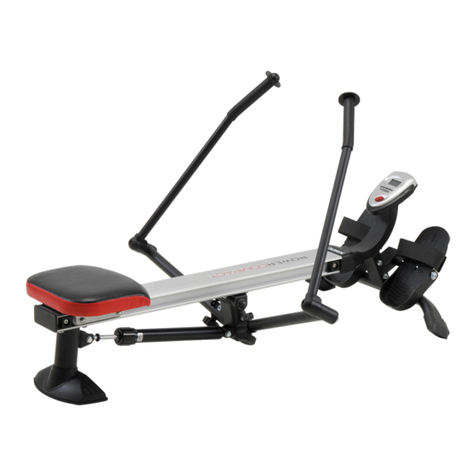
TOORX
TOORX RowerCompact instruction manual
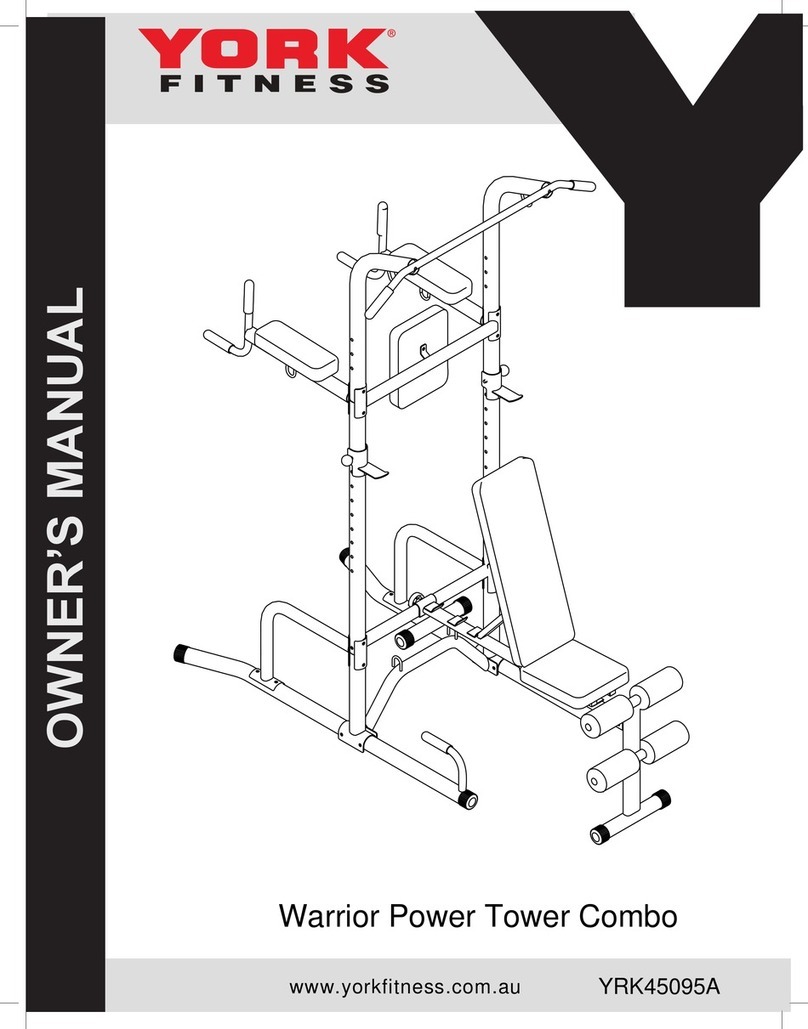
York Fitness
York Fitness Warrior Power YRK45095A owner's manual

Finishing Fitness
Finishing Fitness The Finisher user manual


