QUICK START
1. At the start of the day, turn FlySight on, leave it
outside for 15 minutes and then turn it off.
2. Before boarding the aircraft, turn FlySight on for 1
or 2 minutes and then turn it off.
3. A couple of minutes before exit, turn FlySight on
again.
4. After you land, turn FlySight off.
INTERFACE
CHARGING
FlySight must be charged before its first use. FlySight’s
battery will last a couple of hours—enough for a
weekend of logged jumps.
To charge FlySight, use the supplied USB cable to plug it
into a computer. When FlySight’s light turns green,
charging is complete.
WHAT DO THE TONES MEAN?
A low pitch means the indicated value (e.g., glide ratio)
is close to zero, while a high pitch means it is close to
the maximum value. Ordinarily, you will hear one tone
per second. However, the tones will “accelerate” if the
indicated value is changing quickly.
WHAT DO THE LIGHTS MEAN?
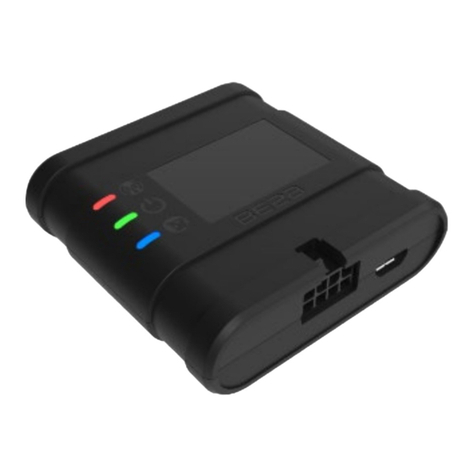
When FlySight is plugged in, a red light indicates that it
is charging and a green light indicates that charging is
complete.
When FlySight is not plugged in, a solid green light
indicates that it is looking for satellites. If the light is
flashing, FlySight has found enough satellites to
determine a 3D fix.
SOFTWARE
Data from FlySight can be imported into Paralog, where
it becomes part of a comprehensive logbook, including
jump details, photos, video, and more:
www.paralog.net
Alternatively, free viewers are available for Windows
and OS X, which will allow you to analyse your logged
jumps:
www.flysight.ca/software.htm
DOWNLOADING LOGS
FlySight starts a new log file each time it is turned on. To
view the log, use the supplied USB cable to plug FlySight
into a computer. FlySight will act like a drive, with logs
stored in folders according to date and time of the
jump. These files can be imported into Paralog or one of
the FlySight viewers.
CONFIGURATION
To configure FlySight, use the supplied USB cable to plug
FlySight into a computer. FlySight will show up as a drive
on the computer. The “config.txt” file located on the
drive contains configuration settings including:
