manuals.online logo
Brands
  1. Home
  2. •
  3. Brands
  4. •
  5. BiOptic
  6. •
  7. Measuring Instrument
  8. •
  9. BiOptic Qsep100 User manual

BiOptic Qsep100 User manual

Operation Quick Start
1. Turn on the power.
2. Double click the icon Q-Analyzer™
for Qsep100.
3. Q-Analyzer for Qsep100 software user interface:
4. Click “Connect” to link the instrument.
5. Cartridge and Buffer preparation:
5-3. Alignment Marker preparation for cartridge:
Add ≥ 20 μl “Alignment Marker” into the 0.2 ml tube and then add
10 μl “Mineral Oil” on the top of Alignment Marker.
5-2. Add 1X Separation Buffer into “S” well
and add diH2O into others.
* Buffer height should be equal to the
groove of wells.
5-1. Unpacking Cartridge:
Please follow the steps of “Unpacking guide” inside the cartridge
box.
Packing list of Cartridge kit:
Cartridges
Alignment Marker
Mineral Oil
Dilution Buffer
Separation Buffer
Buffer Tray
Droppers
0.2 ml tubes
6. Click “Change Buffer”.
7. Place Alignment Marker 20 bp &
1000 bp C109100 (≥ 20 μl) at MA-1
position and the buffer tray on the
tray holder.
For other size of Alignment Marker,
please place to the corresponding
position.
* Please make sure buffer tray have
been placed correctly and fitted in
the holder.
* Spin down and make sure the
Alignment Marker is in the bottom
of tube and no air bubble appears.
8. Hold the tray holder by your hand
and press down the tube of
Alignment Marker tightly into the
well by thumb.
9. Click “Change Sample” and place your samples. (≥ 20 μl)
* Spin down and make sure the sample is in the bottom
of tube and no air bubble appears.
10. Open the cartridge door and insert
cartridge.
(Guiding groove facing front)
11. Close the cartridge door.
* Press the door and make sure
you hear the squeeze sound .
12. Click “Latch”.
Cartridge information will be presented on the main
window after the cartridge is latched.
Bio–Fragment Analyzer : Qsep100 Document No.: F0004
Ver.: E-2021
Page: 1/3
(P) (W)
(S) (C)
Operation Quick Start
14. Click “Run” to start the analysis.
13-2. Click “Method” to select analysis method.
* If you want to analyze the samples with Alignment Marker, please
choose the appropriate Alignment Marker and then place it on the
corresponding position. (Check √the box)
13-3. Enter the result name.
12-1. New Cartridge Calibration:
New cartridge need to be calibrated before using.
Please proceed with the following steps.
1. Click “OK”.
2. Click “HV Check”.
3. Click “Calibrate”.
* The storage and transportation
condition may influence the gel-
matrix and cause unstable current.
Check current and see if it’s stable or
not. After HV Check, if current is still
unstable, please repeat this step 2-3
times.
•For troubleshooting, please refer to cartridge unpacking guide for
details.
Bio–Fragment Analyzer : Qsep100
During Calibration
Software will recognize peaks from Alignment Marker signal. DO
NOT use Size Marker or DNA sample doing “Calibrate”.
Brief introduction of the Signal Chart:
Current (gray line)
Fluorescence Intensity (red line)
Current Unit
Relative Fluorescence Unit
Document No.: F0004
Ver.: E-2021
Page: 2/3
Please refer to operation manual for details.
*Please check the Alignment Marker has
been located in correct position.
13. Click on the blank column and ①designate the sample
locations, ②test method, sample duration, runs, ③
result name and ④Para by following steps 13-1, 13-2,
13-3 and 13-4.
13-4. Click the icon “Para” and you can set the parameters.
(Baseline Factor, Peak Threshold, Calculate…etc.)
13-1. Click the “Sample Position”, mark the position of sample on the
plate and then press “OK”.
Operation Quick Start
Contact Information:
Company Name: BiOptic Inc.
Office Address: (23141) 5F., No.6, Ln. 130, Minquan Rd., Xindian Dis., New Taipei City, Taiwan
Factory Address: (23141) 4F., No.108-3,Minquan Rd., Xindian Dist., New Taipei City, Taiwan
Tel: +886-2-2218-8726, Fax: +886-2-2218-8727, E-mail: [email protected]
Bio–Fragment Analyzer : Qsep100 Document No.: F0004
Ver.: E-2021
Page: 3/3
Introduction of the Control Panel
A: System Control
B: Cartridge Control
C: Information Area
D: Testing Status
E: Testing Sequence
Finished
Proceeding
Number: Remaining runs
Pending
Number: Remaining runs
Prefix of the result name:
Tool tip will show up the previewing of the result name.
Prefix of the result name:
Cartridge Number:
Sequence Number/Position/Runs
D
E

Popular Measuring Instrument manuals by other brands

ENDEVCO 7255A instruction manual

ENDEVCO

ENDEVCO 7255A instruction manual

Muller Ziegler DSMG 96 manual

Muller Ziegler

Muller Ziegler DSMG 96 manual

Sonic Meter Soni operating manual

Sonic Meter

Sonic Meter Soni operating manual

Trotec BP17 operating manual

Trotec

Trotec BP17 operating manual

Agilent Technologies 4291B quick start guide

Agilent Technologies

Agilent Technologies 4291B quick start guide

M-system AS4M instruction manual

M-system

M-system AS4M instruction manual

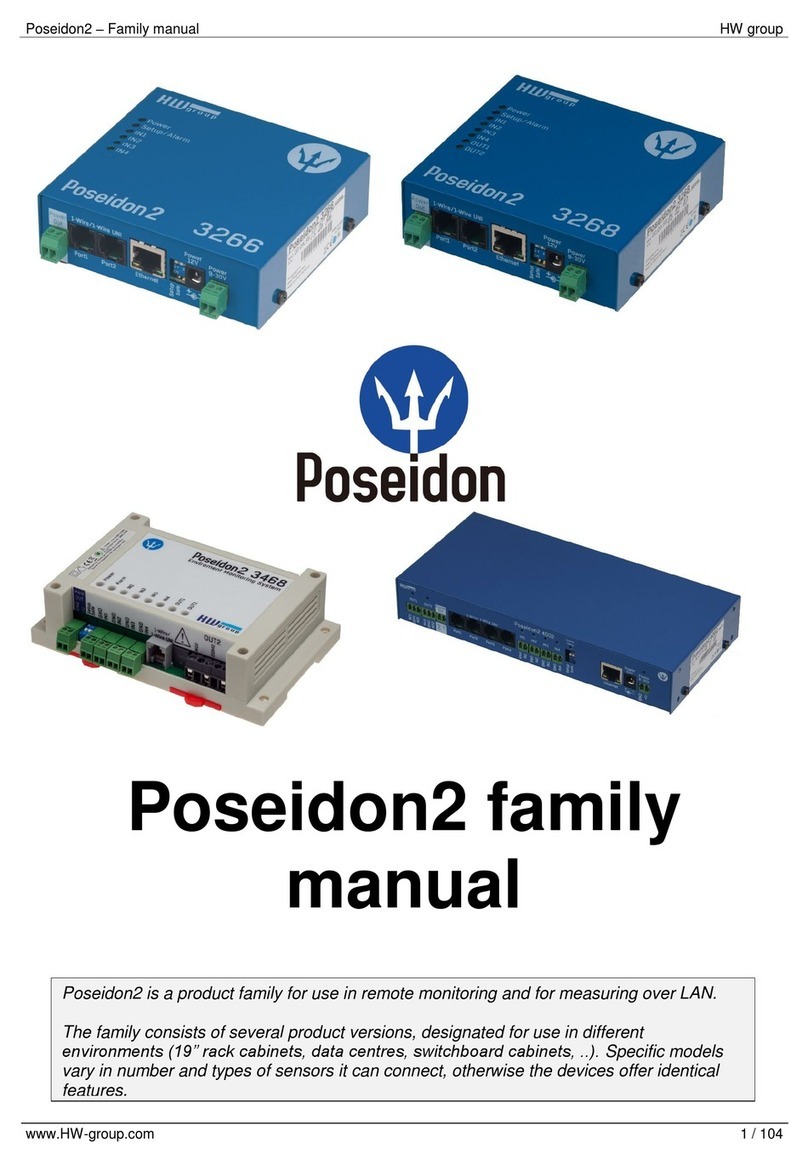
HW Group Poseidon2 3266 manual

HW Group

HW Group Poseidon2 3266 manual

Bosch Vivatmo me Instructions for use

Bosch

Bosch Vivatmo me Instructions for use

Mier products DA-610TO installation guide

Mier products

Mier products DA-610TO installation guide

Bender LINETRAXX RCM420 installation manual

Bender

Bender LINETRAXX RCM420 installation manual

Larson Davis 820 Technical reference manual

Larson Davis

Larson Davis 820 Technical reference manual

PCB Piezotronics IMI SENSORS TO604B91 Installation and operating manual

PCB Piezotronics

PCB Piezotronics IMI SENSORS TO604B91 Installation and operating manual

ADTEK CPM-20 Series Operation manual

ADTEK

ADTEK CPM-20 Series Operation manual

Levenhuk Wezzer BASE L30 user manual

Levenhuk

Levenhuk Wezzer BASE L30 user manual

Thermo Scientific NanoDrop OneC user guide

Thermo Scientific

Thermo Scientific NanoDrop OneC user guide

Xylem WTW pH 3110 quick start guide

Xylem

Xylem WTW pH 3110 quick start guide

3M Dynatel 2250ME Series Operator's manual

3M

3M Dynatel 2250ME Series Operator's manual

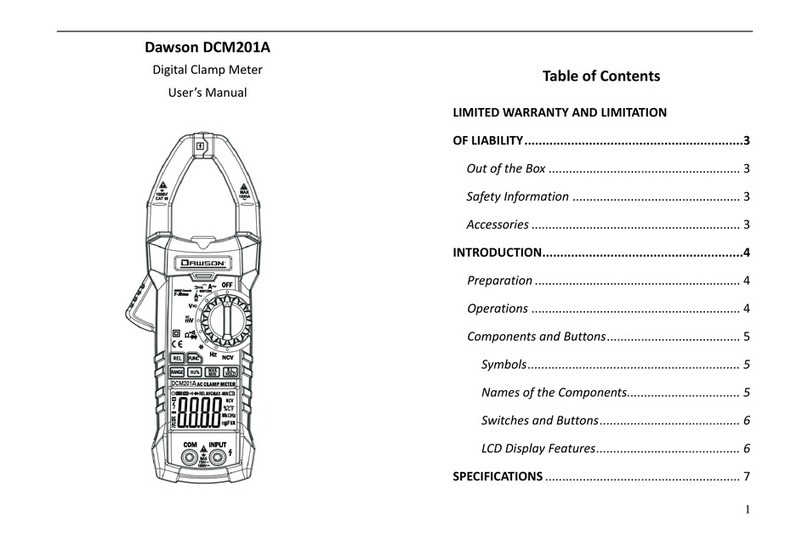
Dawson DCM201A user manual

Dawson

Dawson DCM201A user manual

manuals.online logo
manuals.online logoBrands
  • About & Mission
  • Contact us
  • Privacy Policy
  • Terms and Conditions

Copyright 2025 Manuals.Online. All Rights Reserved.