3
MPHDE-50
Quick Start Guide
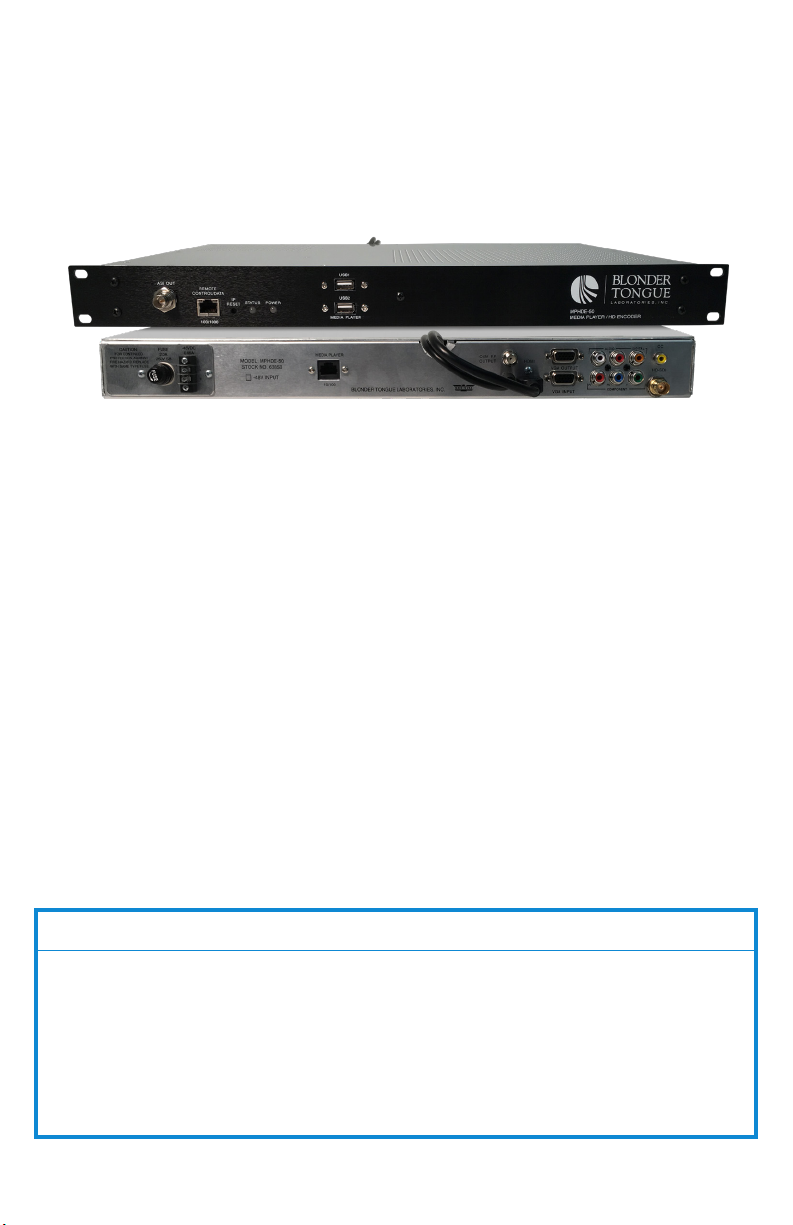
The MPHDE-50 utilizes one power supply to power
both the media player and encoder. Use the included
power cable to power the chassis and ensure that the
power and HDMI cables coming from the back of the
unit are plugged in to their respective locations.
For setup of the media player, either the main RF output
to a television can be used, or the HDMI cable can be
disconnected from the encoder and used direct to a
monitor.
NOTE:
Using the
HDMI cable
will prevent
encoding
lag for the
mouse cursor
movement. If
using the TV,
you will have
to wait about
0.75 seconds
from mouse
movement to
see the change
on the screen.
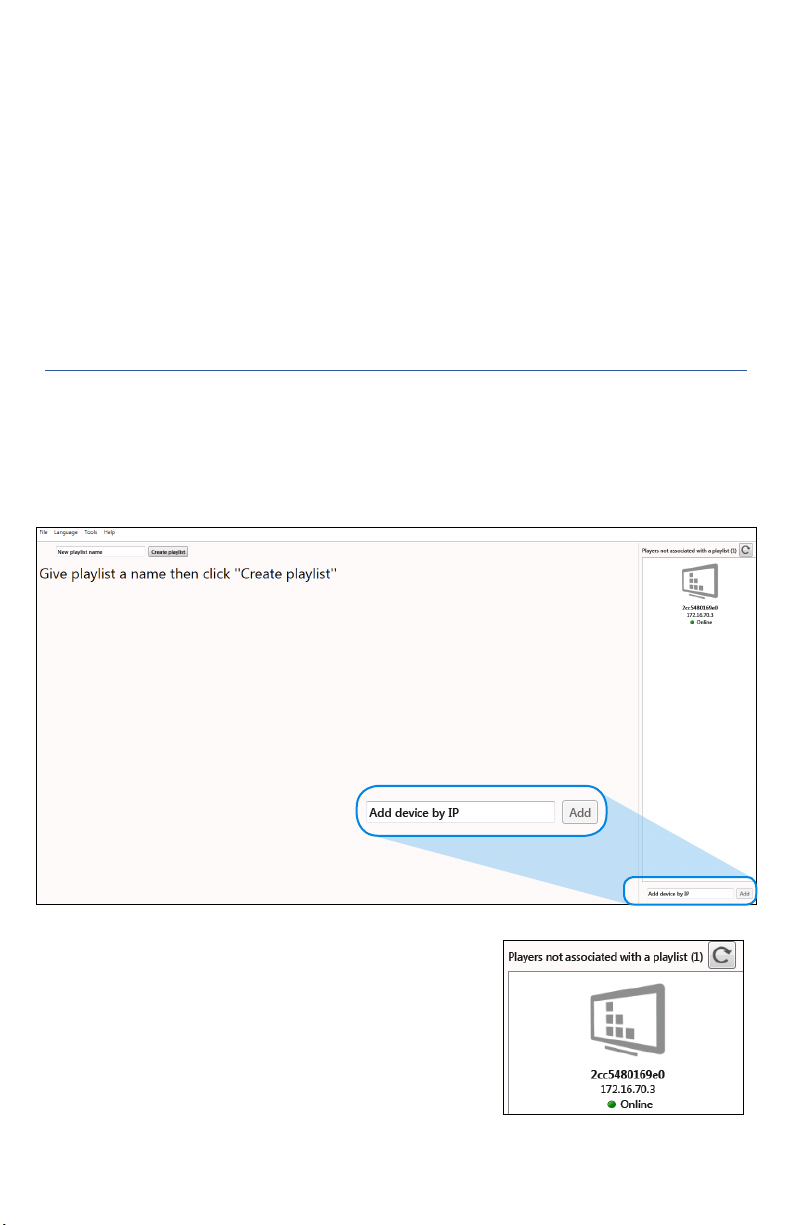
Powering Up
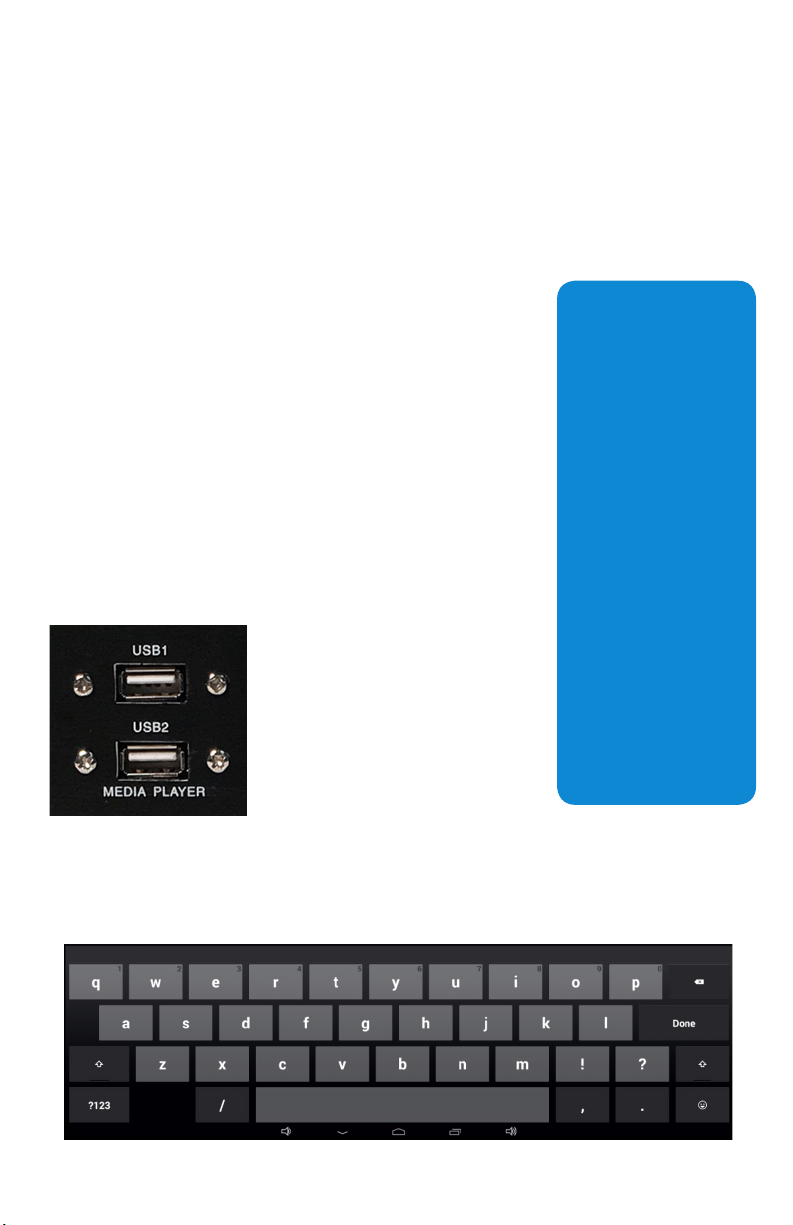
A mouse (NOT INCLUDED)
is required to setup the
media player and is used by
plugging it into one of two
USB ports on the front of
the unit. The media player
provides an on-screen
Before You Begin
CONNECTING THE UNIT
keyboard which can easily be utilized by the mouse.
Alternately, an external keyboard can also be used to enter information if plugged
into one of the two USB ports.