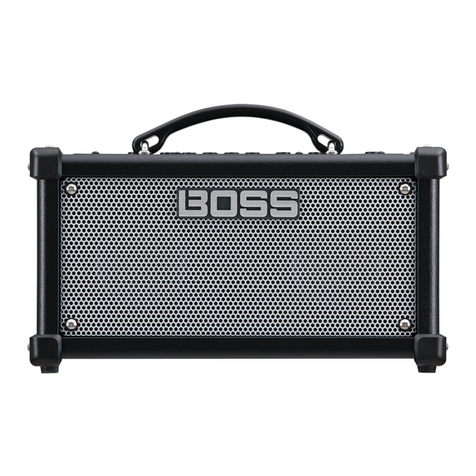
BOSSCO Acoustic Singer Live User manual

Owner’s Manual
Acoustic Amplier
Main Features
Acoustic Singer is an amp that’s designed to let the singer-instrumentalist perform powerfully on acoustic guitar and
vocals.
5Independent mic and guitar channels are provided, and can be mixed.
5A newly developed two-way speaker is bi-amped to deliver clear and powerful sound.
5You can automatically add harmony to your vocal along with your guitar performance.
5The mix of your vocal and guitar sound can be recorded and used for loop performances.
5Independent eects are provided for the mic channel and guitar channel.
MIC channel Anti-feedback, delay/echo, reverb
GUITAR channel Acoustic resonance, anti-feedback, chorus reverb
5A tweeter attenuator button is provided to deliver a milder sound.
5An AUX input allows you to connect your audio player or other audio source, and the line output can be connected
to your PA system.
Acoustic Singer Live
ACS-LIVE
Acoustic Singer Pro
ACS-PRO

4
Panel Description
This is the channel for connecting a vocal mic.
1 MIC jack
Connect your mic here.
* Pin assignment of MIC jack
1: GND2: HOT
3: COLD
1: GND 2: HOT
3: COLD
TIP: HOT
RING: COLD
SLEEVE: GND
2: HOT 1: GND
3: COLD
2 [PAD] button
Use this if the input level of the MIC jack is excessive, or if the
sound is distorted. When the button is pressed, the input level is
attenuated by 15 dB, and the button is lit green.
3 [PHANTOM] switch
Supplies phantom power. Turn this ON if you connect a condenser
mic that requires a phantom power supply.
4 [VOLUME] knob
Adjusts the volume.
5 EQUALIZER
[BASS] knob
Adjusts the sound level of the low-frequency range.
[MIDDLE] knob
Adjusts the sound level of middle-frequency range.
[TREBLE] knob
Adjusts the sound level of the high-frequency range.
6 ANTI-FEEDBACK
[PHASE] button
If acoustic feedback is a problem, rst try pressing the [PHASE]
button. Switching the phase will help suppress acoustic feedback.
[NOTCH] knob
If turning on the [PHASE] button does not help, adjust the
[NOTCH] knob.
5While acoustic feedback is occurring, turn the [NOTCH]
(frequency) knob to nd the location at which feedback is
suppressed.
5Turning the knob toward the right suppresses feedback at a
higher frequency; turning the knob toward the left suppresses
feedback at a lower frequency.
7 [DELAY/ECHO] knob
Applies delay/echo to the audio that is input from the MIC jack.
Turn the knob to adjust the depth of the eect.
* Either DELAY or ECHO is selected depending on the position of
the knob.
DELAY
depth
ECHO
depth
Type Eect
DELAY Produces an echo-like eect.
ECHO Produces a distinctively spacious eect similar to a
tape echo unit.
8 [REVERB] knob
Adjusts the reverb depth.
9 HARMONY
Lets you add natural harmony to the audio that is input from the
MIC jack.
[LEVEL] knob
Adjusts the volume of the harmony.
[ON] button
Switches HARMONY on/o.
[TYPE] button
Selects the type of harmony. The type switches each time you
press the button.
Type Explanation
HIGH Adds harmony above the vocal sound that is
input.
UNISON
Simulates the doubling eect produced when a
vocalist records the same melody a second time,
adding richness to the sound.
LOW Adds harmony below the vocal sound that is
input.
* You can specify the reference pitch used when the harmony
is added. For details, refer to “Specifying the Harmony
Reference Pitch” (p. 8).
Front Panel
10 15 181411 1912 20 2213 16 17
1 65 92 3 214 7 8
Mic Channel (Upper Row)

5
Panel Description
Guitar Channel (Lower Row)
This is the channel for connecting a guitar, such as an acoustic-
electric guitar.
10 GUITAR jack
Connect your guitar here. You can connect any guitar that is
equipped with a pickup.
11 [PAD] button
Use this if the input level of the GUITAR jack is excessive. When the
button is pressed, the input level is attenuated by 10 dB, and the
button is lit green.
12 [ACOUSTIC RESONANCE] button
Adds the natural resonance of an acoustic guitar.
The setting changes in the following order each time you press
the button.
Button Explanation
Green A full sound with emphasized body resonance
Orange A bright sound with boosted mid-range resonance
Red A brilliant sound extending to the high range
Unlit O
13 [VOLUME] knob
Adjusts the volume.
14 EQUALIZER
[BASS] knob
Adjusts the sound level of the low-frequency range.
[MIDDLE] knob
Adjusts the sound level of middle-frequency range.
[TREBLE] knob
Adjusts the sound level of the high-frequency range.
15 ANTI-FEEDBACK
[PHASE] button
If acoustic feedback is a problem, rst try pressing the [PHASE]
button. Switching the phase will help suppress acoustic feedback.
[NOTCH] knob
If turning on the [PHASE] button does not help, adjust the
[NOTCH] knob.
5While acoustic feedback is occurring, turn the [NOTCH]
(frequency) knob to nd the location at which feedback is
suppressed.
5Turning the knob toward the right suppresses feedback at a
higher frequency; turning the knob toward the left suppresses
feedback at a lower frequency.
16 [CHORUS] knob
Applies a chorus eect to the sound that is input from the GUITAR
jack. Turn the knob to adjust the depth of the eect.
* Either TYPE1 or TYPE2 is selected depending on the position of
the knob.
TYPE1
depth
TYPE2
depth
Type Eect
TYPE1 Chorus with natural modulation.
TYPE2 Chorus with emphasized modulation.
17 [REVERB] knob
Adjusts the reverb depth.
18 LOOPER
You can record up to 40 seconds (MONO) of a performance
and play back the recorded section over and over. You can also
layer additional performances with the recording as it plays
back (overdubbing). This lets you create real-time backing
performances on the y.
* For more about how to operate the looper, refer to “Using the
Looper” (p. 9).
[LOOPER] button
Switches between recording, loop playback, and overdubbing.
[STOP] button
Stops recording or playback.
REC/PLAY/OVERDUB indicator
Indicates the status of the looper.
Common to Both Channels
19 [TWEETER ATT] button
Applies a lter to the high-frequency region, making the sound
milder. If this is on, the button is lit green. This is eective in cases
such as when you want the guitar strings to sound softer and
more natural.
20 [MUTE] button
You can mute the sound while leaving the unit powered-on. This
lets you mute the amp without changing the volume or other
settings when you leave the stage, such as between sets of your
live performance.
* The sound of the PHONES/REC OUT jack is not muted.
* The sound from the AUX jack that is output to the DI/LINE OUT
jacks is not muted.
21 [POWER] switch
Turns the power of the Acoustic Singer on/o.
22 [MASTER] knob
Adjusts the overall volume.

6
Panel Description
1 AC IN jack
Connect the included power cord.
* Use only the power cord that was included with the unit.
2 DI/LINE OUT
Connect this to your PA system or recorder.
You can use this in conjunction with an external PA system, or
to record your performance via direct line while monitoring the
sound from this unit.
Adjust the output level using the [VOLUME] knob of each
channel.
MIC/MIX jack
From this jack, the audio that is input from the MIC jack can be
output by itself, or mixed with the audio that is input from the
GUITAR jack.
GUITAR/MIX jack
From this jack, the audio that is input from the GUITAR jack can
be output by itself, or mixed with the audio that is input from the
MIC jack.
* Pin assignment of MIC/MIX jack
and GUITAR/MIX jack
[OUT SELECT] switch
Species the output of the MIC/MIX jack and GUITAR/MIX jack.
Setting Explanation
MIX
The inputs from the MIC jack and the GUITAR jack
pass through the eects of the respective channel,
and are then mixed and output. The input from the
AUX jack is also mixed and output.
POST EFX
The inputs from the MIC jack and the GUITAR jack
pass through the eects of the respective channel,
and are then output separately from the MIC/MIX
jack and the GUITAR/MIX jack.
DI
The inputs from the MIC jack and GUITAR jack
do not pass through the eects, but are output
separately from the MIC/MIX jack and the GUITAR/
MIX jack.
3 PHONES/REC OUT jack
Connect headphones here. To adjust the volume, use the
[VOLUME] knob along with the [MASTER] knob.
* If a plug is inserted in this jack, no sound will be output from
the Acoustic Singer’s own speaker. This is convenient if you
don’t want loud sound to be produced from the speaker, such
as when you’re practicing at night.
4 REC OUT Ojack
If a commercially-available USB 2.0 cable is connected here, you
can record the sound of this unit into your computer, or use this
unit to play back sound from your computer.
* Set your computer’s sample rate and bit depth to 44.1 kHz and
24-bit respectively.
* The nominal level of the signal that is output from USB provides
20 dB of margin from the maximum level. If the sound is not
loud enough, adjust the level on your computer.
You must install the USB driver when connecting the unit to
your computer.
Download the USB driver from the BOSS website. For details, refer
to Readme.htm which is included in the download.
www.boss.info/support/
1: GND 2: HOT
3: COLD
Rear Panel
1 632
4
5
* To prevent malfunction and equipment failure, always turn down the
volume, and turn o all the units before making any connections.

7
Panel Description
5 FOOT CONTROL
If you connect a footswitch (sold separately: BOSS FS-6, FS-7, or
FS-5U), you can use your foot to control LOOPER operations (p. 9)
or turn CHORUS, HARMONY, and MUTE on/o.
* Pin assignment of LOOPER/CHORUS jack, HARMONY/MUTE
jack, and GA-FC jack.
Stereo 1/4”phone type
Stereo 1/4”phone type
or
FS-5U
RING
TIP
TIP
RING
RING TIP
FS-6 FS-7
Rear Panel
Stereo 1/4”phone type
1/4” phone type x 2
or
If connected to the LOOPER/CHORUS jack
Switch Explanation
TIP LOOPER Operates LOOPER (p. 9).
RING CHORUS Turns CHORUS (p. 5) on/o.
If connected to the HARMONY/MUTE jack
Switch Explanation
TIP HARMONY Turns HARMONY (p. 4) on/o.
RING MUTE Turns MUTE (p. 5) on/o.
GA-FC jack
You can connect a GA-FC (sold separately) and turn on/o the
following.
DELAY/ECHO and REVERB of the mic channel,
CHORUS and REVERB of the guitar channel.
HARMONY, MUTE
Connecting the GA-FC
Connect a stereo cable to the GA-FC jack.
* Always use a stereo cable.
GA-FC
Using the GA-FC
You can switch on/o the REVERB of each channel, DELAY/ECHO,
HARMONY, and MUTE.
Ax the included adhesive labels to the GA-FC.
Using the expression pedals
If you connect an expression pedal (sold separately: Roland EV-5,
BOSS FV-500L, BOSS FV-500H), you can use the pedal to vary
the volume of the guitar channel or control the volume of the
HARMONY eect.
* Use only the specied expression pedal. By connecting any
other expression pedals, you risk causing malfunction and/or
damage to the unit.
GA-FC
Expression Pedal
Jack Explanation
GTR VOL. Adjusts the volume of the guitar channel.
HARMONY LEV. Controls the HARMONY volume.
Setting MINIMUM VOLUME of an expression pedal
With the [MINIMUM VOLUME]
knob of an expression pedal,
you can set the value for when
the pedal is lifted up all the way
(lowest value).
6 AUX
You can connect a CD player, audio player, or electronic musical
instrument, and hear it play along with your own performance.
INPUT jack
Connect your CD player, audio player, or electronic musical
instrument here.
[LEVEL] knob
Adjusts the volume of the connected instrument.
1: GND2: HOT
3: COLD
1: GND 2: HOT
3: COLD
TIP
RING
SLEEVE (GND)
[MINIMUM
VOLUME]
knob
Table of contents
Other BOSSCO Amplifier manuals
BOSSCO
BOSSCO AD-10 User manual
BOSSCO
BOSSCO MC900B User manual
BOSSCO
BOSSCO Cube Street II User manual

BOSSCO
BOSSCO RIOT RT345 User manual

BOSSCO
BOSSCO AR1200.2 User manual
BOSSCO
BOSSCO AR1200.2 User manual

BOSSCO
BOSSCO CXX502 User manual

BOSSCO
BOSSCO MR1950 User manual

BOSSCO
BOSSCO RGT600 User manual
BOSSCO
BOSSCO IQ3KD.1 User manual
BOSSCO
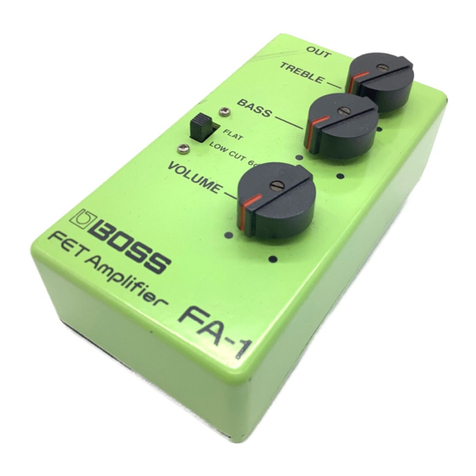
BOSSCO FA-1 User manual
BOSSCO
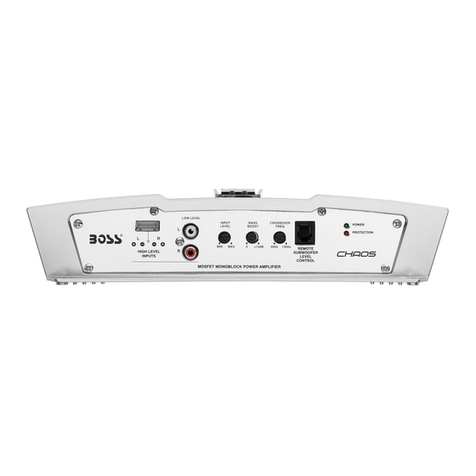
BOSSCO CHM2000 User manual

BOSSCO
BOSSCO Acoustic Singer Live ACS-LIVE User manual

BOSSCO
BOSSCO Acoustic Singer Live LT User manual
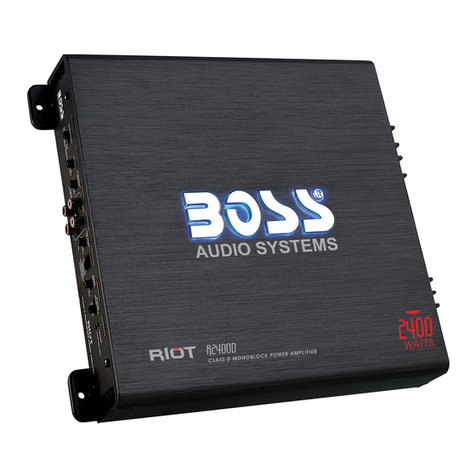
BOSSCO
BOSSCO R2400D User manual
BOSSCO
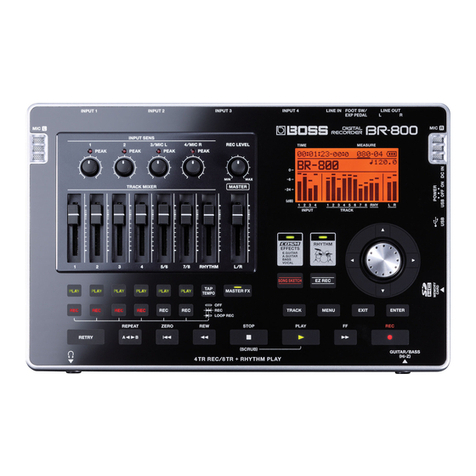
BOSSCO TurboStart BR-800 User manual

BOSSCO
BOSSCO CHAOS CH1500DSE User manual

BOSSCO
BOSSCO IQ380.2 User manual
BOSSCO
BOSSCO AVA 400M User manual

BOSSCO
BOSSCO MC900B User manual
