............................... 3
4
5
5
5
5
7
7
7
8
8
8
8
8
9
10
10
12
12
14
14
15
15
15
17
18
18
19
20
20
20
21
22
23
23
24
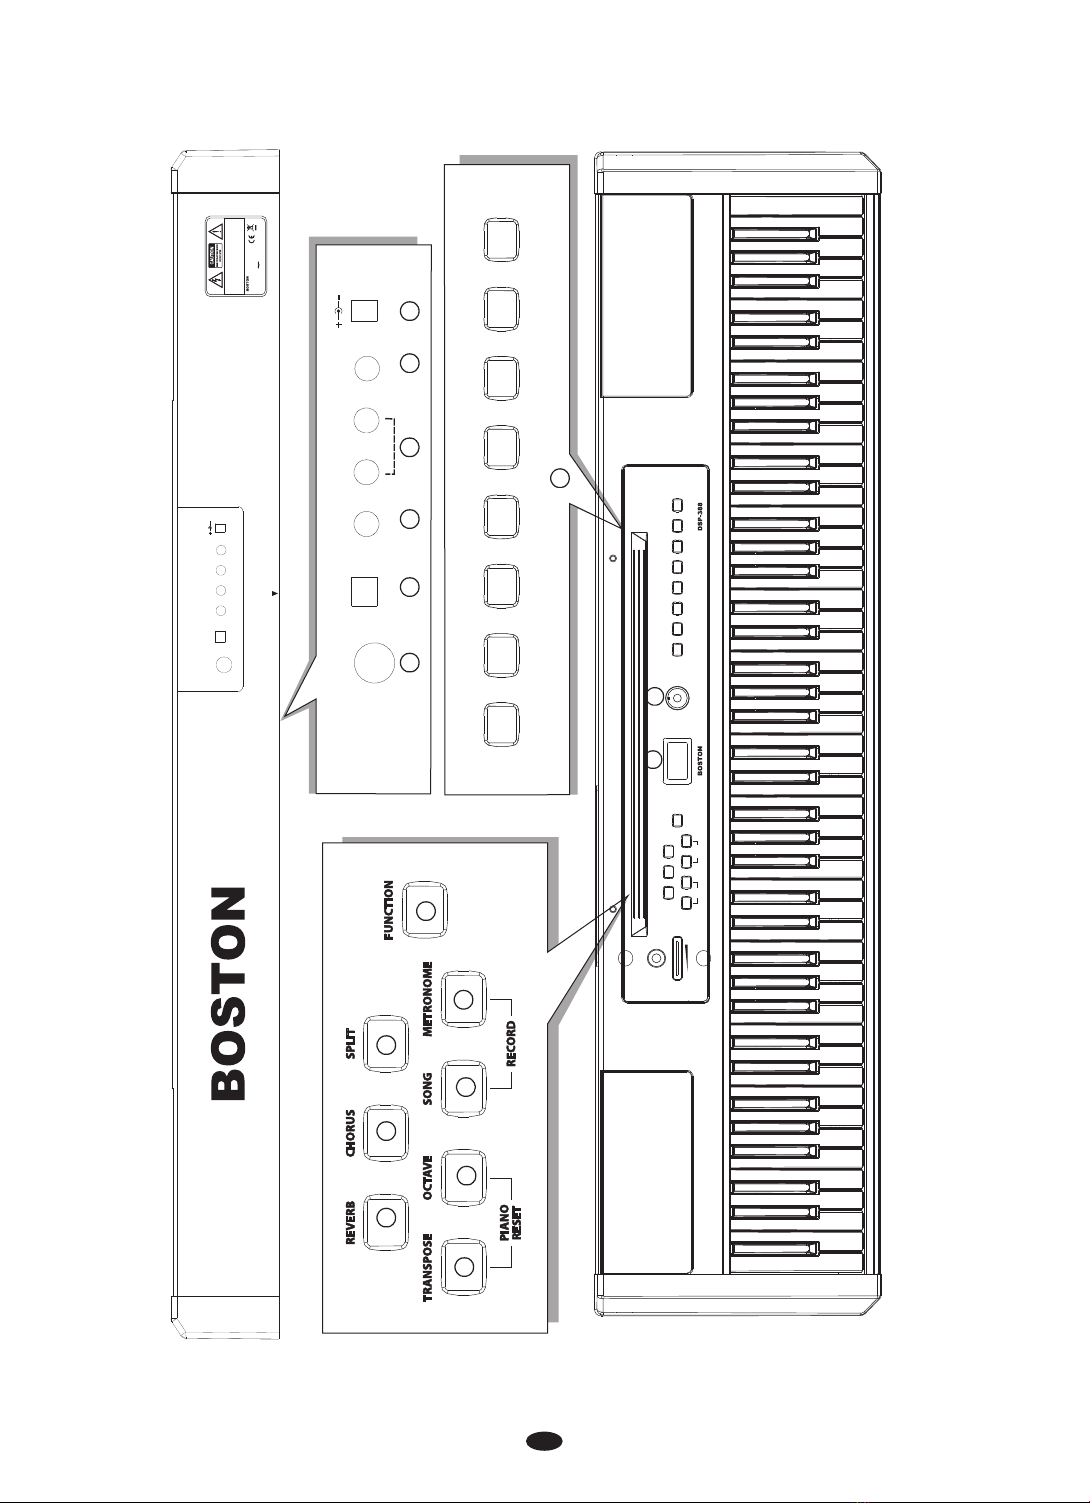
Panel Control
Setup
CONNECTOR PANEL
Midi Out
USB To Host
PANEL CONTROLS
Turning on the power
Volume
Demo Songs
Select the Demo Song
Voice
Voice Select
Split Mode
Layer Mode
Metronome
Transpose
Octave
Song Recording
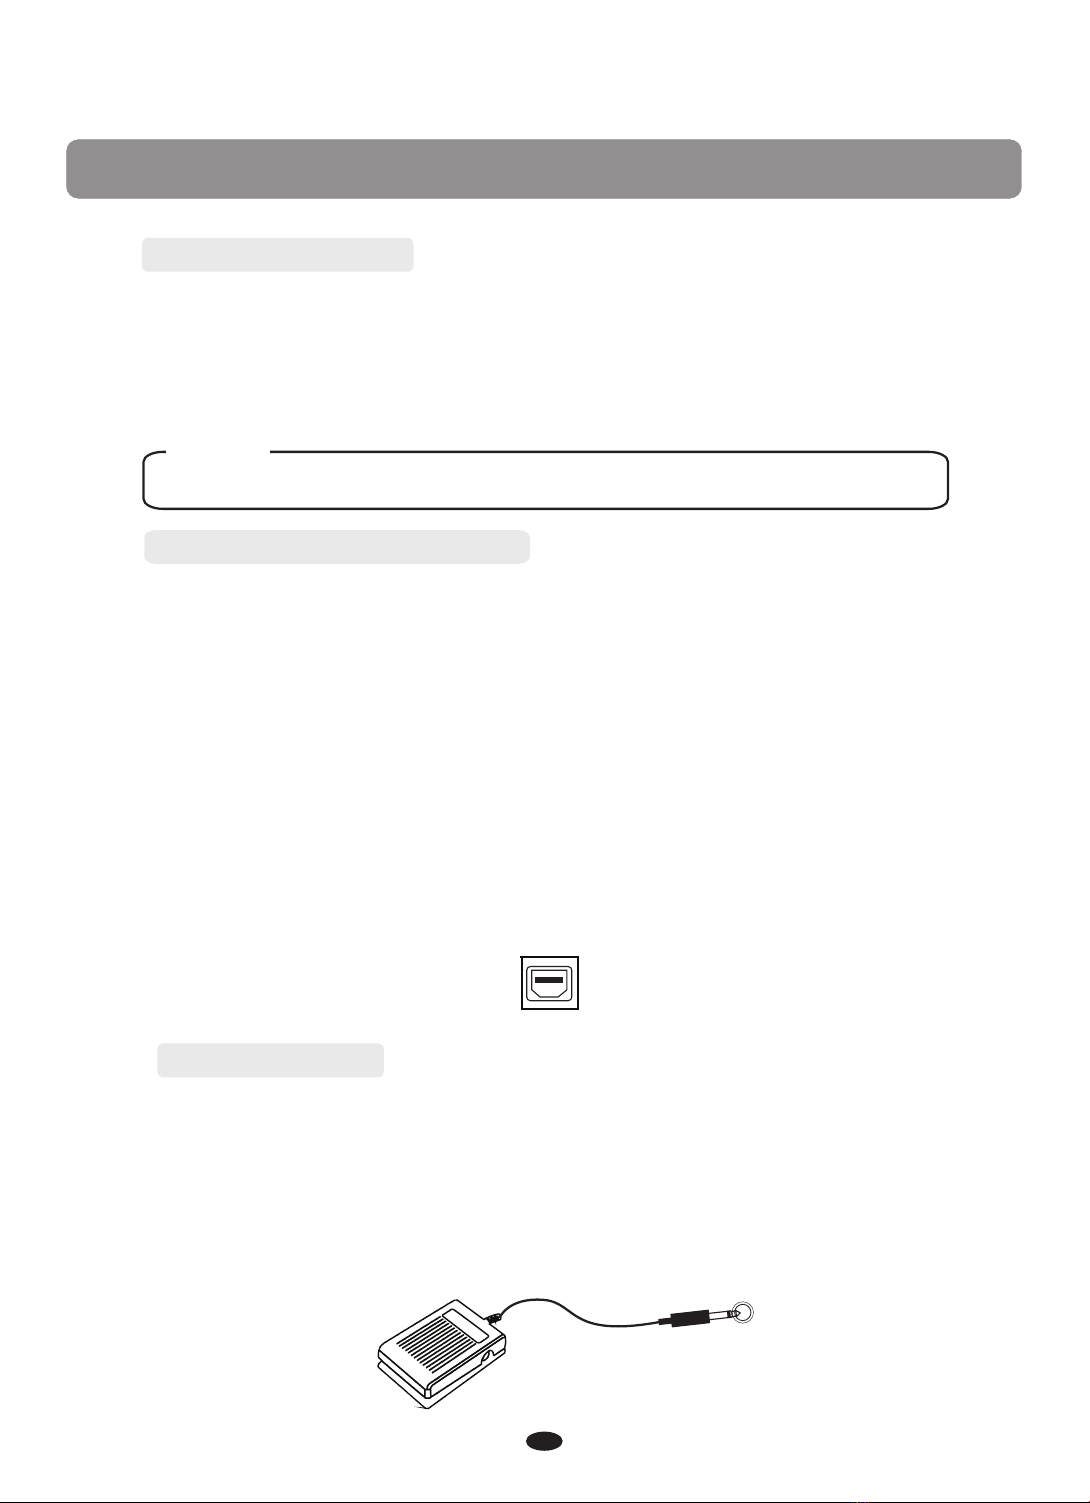
Pedal
Line Out/In
Phones
DC 12V Input
Function
Master
LED Display
Data Control Knob
Reverb
Chorus
Enter Split Mode
Change the Split Point/voice /volume
Turn Off Split Mode
To Adjust the Volume of the Main/Layer
Voice
Turn Off Layer Mode
Tempo
Specify Metronome Time Signature
To Record a Track
To Manually Select a Track to
Record to
............................................
...............................
..........................................
..........................................
............................................
25
25
26
27
27
28
29
30
30
31
32
33
33
34
34
35
36
37
37
To Erase Record Data While in Playback
Mode
#
Local On/Off(C 3)
Appendix
MIDI Implementation Chart
Defaults
Specifications
To Cancel Recording While in Record
Wait Mode
To Stop Playback and Exit Song
Play Mode
Master Tuning
Touch (Sensitivity)
To Set the Keyboard Sensitivity
MIDI Connections/Channels
Multitimbral Mode
Sending MIDI Program Changes
Sending Bank LSB/ MSB Changes
To Turn Off the Metronome While
Recording
To Clear all Data in the Song Record
To Erase a Single Track in the Song
Recorder
To Play Back Your Song Recorder
Tracks
Edit FUNCTIONS
MIDI Functions
#
Main MIDI Transmit Channel(C 2)
Numeric Data Entry Keys
b
Enter Keys(C7)/Cancel Keys(B 6)
#
Data Control Assign Key(C 6)
#
Panic Key(F 6)/Default Key(F5)
Data Control Assignments and MIDI
CC List
Advanced Functions Keyboard Chart
Piano Reset in Detail
Factory Reset
...................................
...............................................
......................................
.......................
..................................
....................
............................
.........................
.......................
..................................
.....................
.....................................
...............................
.........................
...............
........................
...................................
............................................
...........
................
...................................
........................................
..........................................
.....................................
......................................
............................................
.......................................
............................................
...........................................
.....................................
..........................................
.......
..........
........................
........
.....
....
.........................................
........................................
......................
.................................
................................
.................................
............................
........................
..................................
...................
.......................
.............................
.....................................
....................................
1
53
54
55
44
47
47
48
50
52
39
41
.........................................
..................................
Table Of Contents