Roland Fantom-G none Instruction manual

1
© 2009, 2010 Roland Corporation U.S.
All rights reserved. No part of this publication may be reproduced in any form without the
written permission of Roland Corporation U.S.
FGWS08
Creating Layers and Splits
®ÂØÒňήWorkshop
Fantom-G Workstation Keyboard

2
About the Workshop Booklets
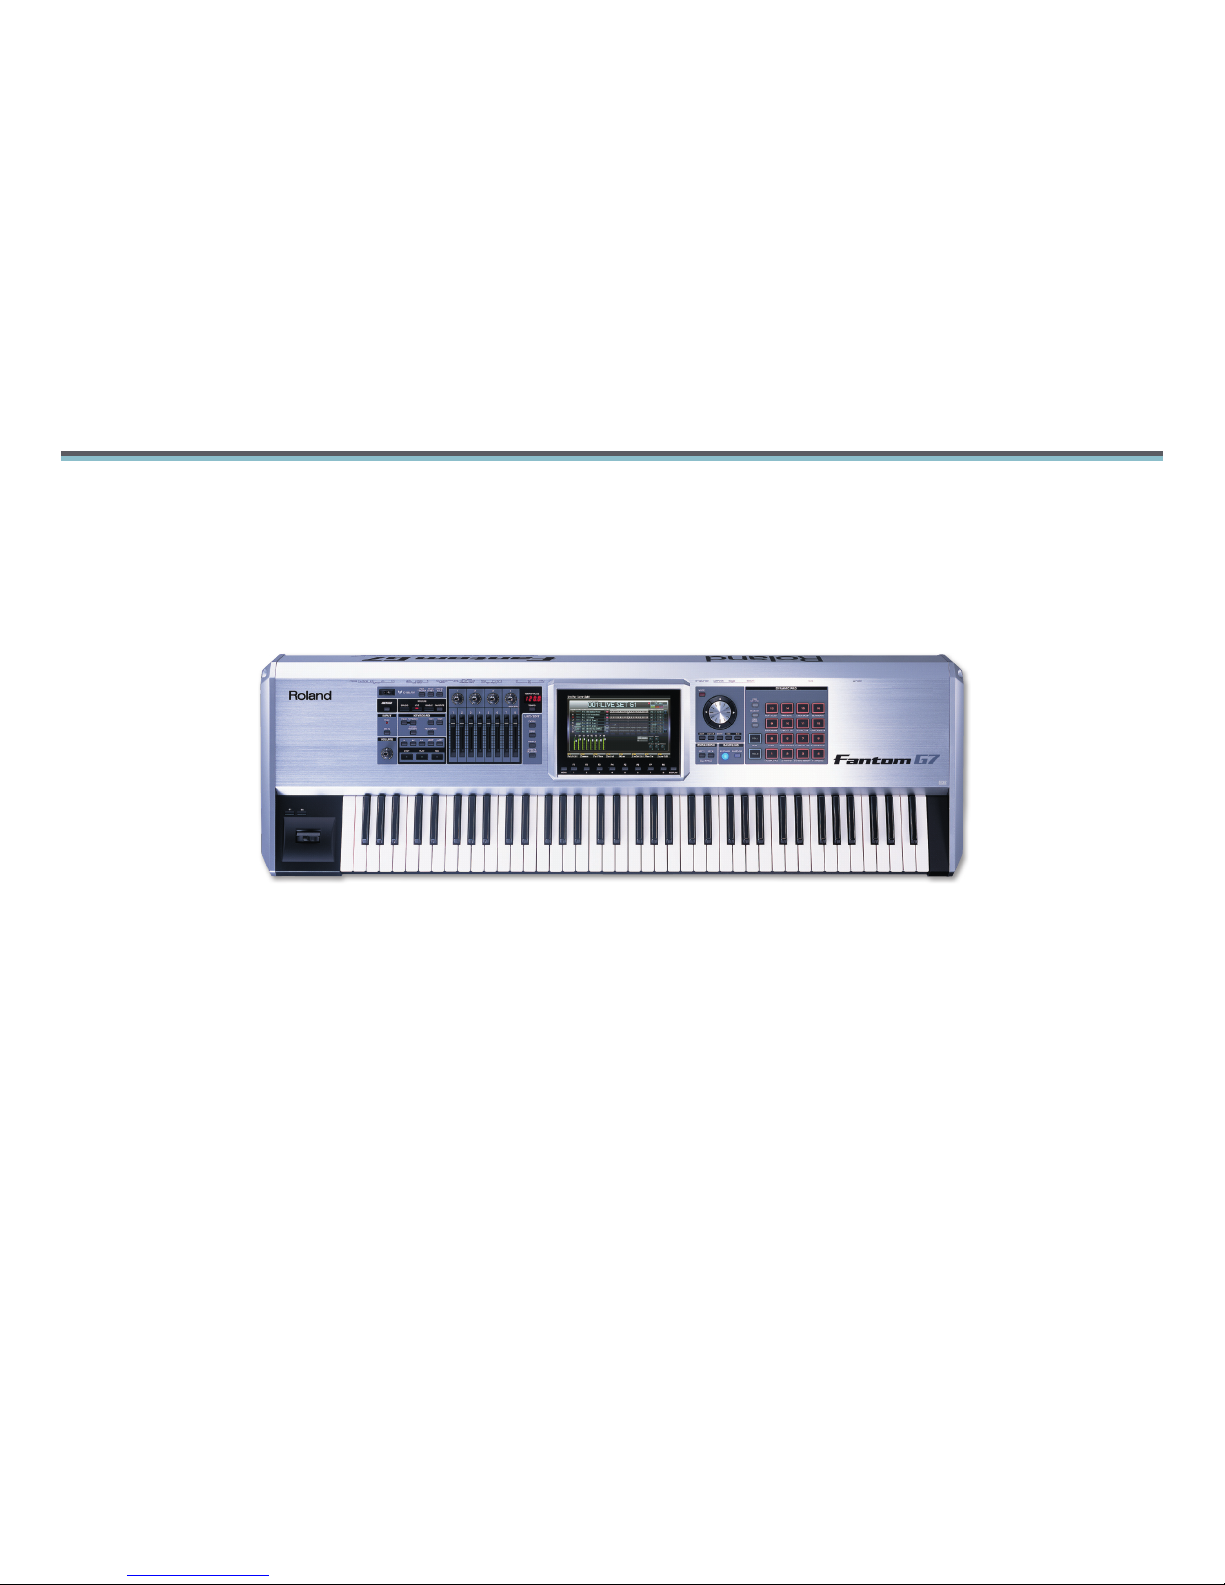
Roland’s Fantom G6, G7, and G8—the Fantom-G family—set a new standard
for excellence in workstation keyboards, with spectacular sounds and
incredible built-in effect-processing muscle. A beautiful full-color LCD
display and innovative performance features make getting around a pleasure
and make the G6, G7, and G8 a dream to play. For recording, the Fantom-G
contains a powerful 152 MIDI/audio track sequencer. Each Fantom-G can
also host two Roland ARX SuperNATURAL™ cards whose breakthrough
modeling technology provides sounds with amazing sonic detail, expressive
possibilities, and sound-design opportunities.
Each Fantom-G Workshop Series booklet focuses on one Fantom-G topic,
and is intended as a companion to the Fantom G6/G7/G8 Owner’s Manual.
This booklet requires Fantom-G Operating System v1.30 or higher. You can
download the latest Fantom-G O.S. for free from www.RolandUS.com.
About This Booklet
At the heart of the Fantom-G’s Live mode is the ability to layer sounds for
the creation of complex timbres, and to split the keyboard to play different
sounds from different keys. Really, the construction of a live set is largely
about setting up layers and splits. This booklet explains how to do this.
Understanding the Symbols in This Booklet
Throughout this booklet, you’ll come across information that deserves
special attention—that’s the reason it’s labeled with one of the following
symbols.
A note is something that adds information about the topic at hand.
A tip offers suggestions for using the feature being discussed.
Warnings contain important information that can help you avoid
possible damage to your equipment, your data, or yourself.
Clicking or Pressing
As explained in the Power User Control Fantom-G Workshop booklet, you
can perform most operations on the Fantom-G using either a connected
mouse—sold separately—or the Fantom-G’s own front-panel controls.
If you’re using a mouse: If you’re using the Fantom-G’s controls:
You select parameters and objects with
a left click. You change the selected
parameter’s value by turning the scroll
wheel. You can often display a menu by
right-clicking an object.
You select parameters and objects with the
3, 4, 5, and 6buttons. Change a
selected parameter’s setting by turning the
Value dial or by ing DEC and INC.
Left click Right click
Scroll
wheel
Value dial
In any situation, the best method to use is always simply the one that feels
most natural to you.
Going forward, when we want you to click an onscreen button or its
physical counterpart—your choice, of course—we’ll simply tell you to “click”
the button. The same mouse-centric logic will apply to any other virtual
versus physical control issues we encounter. If there’s only one way to do
something, we’ll tell you so. Beyond that, remember that whether you use a
mouse or the Fantom-G’s built-in controls is entirely up to you.

3
Understanding Layers and Splits
A Live set always contains eight Internal parts, EXP parts, and External MIDI
parts. They’re all always there, but you—or whoever programmed a live set
you’re playing—can control whether they’re playable from the keyboard, as
well as the keyboard keys from which they can be played.
The Importance of the Keyboard Switch
The Keyboard switch—often shown onscreen as the “KBD” switch—
determines whether a part has to actually be selected to play its sound.
When the KBD switch is turned on, a part can be played without being
selected.
This is important since only a single part can ever be selected at a time.
Without a KBD switch, you would therefore be unable to combine sounds—
you’d only be able to play the sound belonging to the single part you had
selected. The KBD switch is what allows you to play multiple sounds at once,
since it allows you to play sounds that aren’t selected.
You turn the KBD switch on for any part you want to layer or split.
The Importance of Key Ranges
When multiple parts’ KBD switches are turned on, they can all play at the
same time when you play the Fantom-G keyboard. Maybe you want this to
occur. Maybe you don’t. Maybe you want to play one sound in one area of
the keyboard, and another sound or a combination of sounds in another.
You set up the behavior you want by setting the parts’ key ranges.
Overlapping or separate key ranges are what result in layers and splits.
So, Layers and Splits Are...?
When two or more parts play in the same key range—• their sounds are
heard stacked on top of each other in a “layer.”
D-50 FantsiaPart 1 KBD
C- G9
Key Range
Stacc HeavenPart 2 KBD
C- G9
Key Range
Himalaya IcePart 3 KBD
C- G9
Key Range
FM HeavenPart 4 KBD
C- G9
Key Range
Ringy BellPart 5 KBD
C- G9
Key Range
Candy BellPart 6 KBD
C- G9
Key Range
Classic FM 1Part 7 KBD
C- G9
Key Range
Classic HipHopPart 8 KBD
C- G9
Key Range
This is actually
one of the factory
live sets—PRST
009: D-50 Magic.
You can select it
and hear what this
example sounds
like.
When different parts play in different key ranges—• you’ve got a “split.”
HM Grand Brt 3Part 2 KBD
C #3 G9
Key Range
Vintg.EP BrtCHRSPart 3 KBD
C #3 G9
Key Range
Four BrtPart 4 KBD
C #3 G9
Key Range
888 +3rdPart 5 KBD
C #3 G9
Key Range
Jazz Vib StPart 6 KBD
C #3 G9
Key Range
Guinguette 2Part 7 KBD
C #3 G9
Key Range
Wd Std Kit 1aPart 8 KBD
C #3 G9
Key Range
Part 1 KBD
C - C3
Lounge Kit 2
Key Range
In this example—PRST
016: Jazz Trio 1—the
only sounds you hear are
from Parts 1 and 2, since
they’re the only ones
with their KBD switches
turned on. You could
temporarily add another
part’s sound to the live
set by selecting it. (Yes,
we know there are
only two sounds in this
trio—just add drums.)

4
You can also combine layering and splitting—• so that key ranges are
shared by more than one part. This gives you layers that are split across
the keyboard.
80s Brass 3Part 7 KBD
C3 G9
Key Range
Cross TalkPart 8 KBD
C3 G9
Key Range
Part 1 KBD
C - B3
ForYourBreak
Key Range
Part 2 KBD
C - B3
G-Break
Key Range
Part 3 KBD
C - B3
Sine Beat
Key Range
Part 4 KBD
C - B3
System G
Key Range
Part 5 KBD
C - B3
BPF Saw 3
Key Range
Part 6 KBD
C - B3
Rhythmic 5th
Key Range
Here’s PRST 001:
System G, where six
parts’ sounds are
stacked up in the
lower portion of
the keyboard, and a
pair of sounds play
together from the
upper keys.
Key ranges can also partially overlap with other parts—• or even with
multiple parts.
In our illustrations we’re showing only Internal parts for simplicity’s
sake. The concepts we’re showing do also apply to EXP and External
parts.
By now, you may have noticed that our diagrams somewhat resemble the
Key Range area of the Live Play screen. Check it out in PRST 12: Baroque
Orch. It’s an example of partially overlapping parts, and an interesting
combination of layers and splits.
The Truth About the Construction of Layers and Splits
Whether you’re setting up a layer or split, the process is the same, and you
apply it to all of a live set’s parts. It’s all about programming two elements:
First, you turn on the KBD switch for all of the parts you want to
1
include in your layers or splits.
Second, you set each part’s key range as desired.
2
Starting from Scratch
To create a layered and/or split live set from scratch, initialize the currently
selected live set using the following steps.
Don’t worry about permanently deleting an existing live set when you
initialize—you’re only affecting the copy of the current live set that’s
in work RAM. The stored version is safe and sound.
1 On the Live Play screen, click F2 (Utility) to display the Live Set Utility
screen.
Click F6 (initialize) to show
2
the Live Set Initialize
Menu from which you can
choose:
Default—
• to begin
work with a simple,
basic-vanilla live set.
Sound Control—
• to reset the most commonly used sound-control
parameters in the current live set so that they’re not doing
anything to your part sounds. (For a list of these parameters, see
Page 148 in the Fantom-G Owner’s Manual.)
Click F8 (Select), and then F8 (OK) to initialize the live set, or its
3
sound-control parameters only.
Proceed to the next section.
4

5
Setting Up Layers and Splits in a Live Set
1 If you’re not working with a live set you’ve just initialized, navigate to
the Live Play screen and select the live set you want to start with.
On the Live Play screen, turn on the KBD switch for all
2
of the individual parts that play sounds you want to
include in the live set.
3 For each part
set the lowest key you want to have play
•
the part—by highlighting the part’s
Lower parameter, holding down the
SHIFT button, and then striking the
desired lowest key.
set the highest key you want to have
•
play the part—by highlighting the
part’s Upper parameter, holding
down the SHIFT button, and then
striking the desired highest key.
Set up each part’s parameters, levels, panning, and effects using the
4
method of your choice from the Live Mode in the Fantom-G Workshop
booklet.
Once you’ve set up all of your parts, be sure to save your live set
5
as described in the Saving Your Work on the Fantom-G Workshop
booklet.
About Parts You Don’t Want to Use
To guarantee you don’t hear an unwanted part
make sure its KBD switch is turned off—
• This includes EXP parts, and
External parts if you’re connected to an external MIDI device.
make sure the part’s not selected when you play.
•
Of course, for unwanted External parts, you can also disconnect the
Fantom-G from the MIDI device you don’t want to hear, or turn down
the device’s volume.
+
+
The End
We hope you’ve found this workshop helpful. Keep an eye out for other
Fantom-G Workshop booklets available for downloading at www.RolandUS.
com.
Other manuals for Fantom-G none
6
Table of contents
Other Roland Musical Instrument manuals

Roland
Roland V-Accordion FR-1x User manual

Roland
Roland C-280 User manual

Roland
Roland E-60 User manual

Roland
Roland VS-880EX User guide

Roland
Roland HP-2 User manual

Roland
Roland RG-7 User manual

Roland
Roland C-190 User manual

Roland
Roland KR-7 User manual

Roland
Roland RD-100 User manual

Roland
Roland ep-97 User manual

Roland
Roland RP30 Use and care manual

Roland
Roland V-ACCORDION FR-7b User manual

Roland
Roland F701 User manual

Roland
Roland HP-136 User manual

Roland
Roland Aerophone Pro Editor User manual

Roland
Roland RM-700 User manual

Roland
Roland RD-700GX User manual

Roland
Roland E-80 User manual

Roland
Roland ep-707 User manual

Roland
Roland RD-700 Quick start guide