Boyd AAVID Kodiak G02 Series User manual

AAVID,THERMALDIVISIONOFBOYDCORPORATION
SERVICEADDRESS:
9AFORBESROAD
WOBURN
,
MA01801
www.boydcorp.com
ServicePhone:+1‐781‐933‐7300
TECHNICAL MANUAL
KODIAKRECIRCULATINGCHILLERS
MODELSRC006,RC011,RC022,RC030ANDRC045
SERIESG02/H02/J02
OneCompany,ManySolutions
Manual# 820-0043 Rev. N, 11/06/2019
©Boyd Corporation 2019

KodiakRecirculating Chiller Technical Manual
Manual# 820-0043 Rev N, 11/25/2019
1
T
T
Ta
a
ab
b
bl
l
le
e
e
o
o
of
f
f
C
C
Co
o
on
n
nt
t
te
e
en
n
nt
t
ts
s
s
TABLE OF CONTENTS .................................................................................................................................0
INTRODUCTION ..........................................................................................................................................3
RECEIVING YOUR NEW KODIAKCHILLER ................................................................................................................ 3
ABOUT THE WARRANTY .............................................................................................................................................. 3
CUSTOMER SERVICE SUPPORT ..................................................................................................................................... 3
24 HRS./7DAY SERVICE .............................................................................................................................................. 3
SAFETY PRECAUTIONS ...............................................................................................................................4
LABELS AND SILKSCREEN MARKING ..........................................................................................................5
PART NUMBER DESCRIPTION .....................................................................................................................6
SPECIFICATIONS.........................................................................................................................................7
GENERAL INFORMATION............................................................................................................................9
CHILLER SYSTEM DESCRIPTION................................................................................................................................... 9
COOLANT LOOP (FLOW CONTROL)............................................................................................................................... 9
REFRIGERATION SYSTEM AND HOT GAS BYPASS ........................................................................................................ 9
CONTROL PANEL FUNCTIONS ..................................................................................................................11
DESCRIPTION OF INDICATORS:................................................................................................................................... 11
OPTIONAL SYSTEM FEATURES .................................................................................................................13
DEIONIZATION PACKAGE:.......................................................................................................................................... 13
COOLANT WATER FILTER:......................................................................................................................................... 13
HEATER PACKAGE RC011, RC022, RC030, RC045:................................................................................................. 13
HIGH PURITY PLUMBING: .......................................................................................................................................... 13
EXTERNAL MANUALLY ADJUSTABLE FLOW VALVE:................................................................................................. 13
EXTERNAL PRESSURE RELIEF VALVE:....................................................................................................................... 13
AUTO TANK REFILL RC011, RC022, RC030 AND RC045:........................................................................................ 14
WATER COOLED CONDENSER RC022, RC030 AND RC045:...................................................................................... 14
CONTROLLER OPTIONS ............................................................................................................................15
BASIC CONTROLLER (PACKAGE 1; STANDARD WITH ALL UNITS) ............................................................................... 15
PACKAGE 2: (OPTION)................................................................................................................................................ 15
INSTALLATION .........................................................................................................................................16
COOLANT REQUIREMENTS:........................................................................................................................................ 16
ELECTRICAL REQUIREMENTS (FOR UNIT WITHOUT HEATER OPTION).......................................................................... 16
SELECTING CHILLER LOCATION ................................................................................................................................ 16
PLUMBING THE COOLANT LINES................................................................................................................................ 17
INSTALLATION PROCEDURE....................................................................................................................................... 17
FOR WATER COOLED CHILLERS ................................................................................................................................ 18
CONNECTING POWER (FOR UNITS WITHOUT HEATER OPTION).................................................................................... 18
STARTUP PROCEDURE................................................................................................................................................ 19
CHILLER OPERATION ...............................................................................................................................20
CHANGING TEMPERATURE SCALES ............................................................................................................................ 20

KodiakRecirculating Chiller Technical Manual
Manual# 820-0043 Rev N, 11/25/2019
2
PROGRAMMING CHILLER FUNCTIONS:....................................................................................................................... 20
LT—LOW TEMPERATURE INDICATION (OPTION)....................................................................................................... 22
WEEKLY INSPECTIONS: ............................................................................................................................................. 24
PERIODIC MAINTENANCE .......................................................................................................................................... 25
KODIAK SPARE PARTS............................................................................................................................. 31
DRAWING SPECIFICATIONS RC006 ......................................................................................................... 32
DRAWING SPECIFICATIONS RC011/022 .................................................................................................. 33
DRAWING SPECIFICATIONS RC030/RC045 ............................................................................................. 34
WIRING DIAGRAM RC006G02 ................................................................................................................ 35
WIRING DIAGRAM RC011G02 ................................................................................................................ 36
WIRING DIAGRAM RC011H02/J02 ......................................................................................................... 37
WIRING DIAGRAM RC022H02/J02 ......................................................................................................... 38
WIRING DIAGRAM RC030H02/J02 &RC045H02/J02............................................................................ 39
PLUMBING DIAGRAM............................................................................................................................... 40
REFRIGERATION DIAGRAM...................................................................................................................... 41
BOYD KODIAKTM CHILLER CONTROL.................................................................................................... 42
HOST INTERFACE DATA LINK.................................................................................................................. 42
BOYD RECIRCULATING CHILLER SERVICE POLICY.................................................................................. 46
BOYD WARRANTY................................................................................................................................... 49

KodiakRecirculating Chiller Technical Manual
Manual# 820-0043 Rev N, 11/25/2019
3
Introduction
Receiving your New KodiakChiller
Inspect your new chiller immediately upon receiving it. If the unit shows shipping damage,
contact the transportation company and file a freight damage claim. Retain all cartons and
packing material until the unit is operated and found to be in good condition. Your chiller has
been fully tested at the Boyd factory with clean water. Although the system has been drained,
some residual fluid may remain. This will not hinder the performance of the chiller.
About the Warranty
All units returned for warranty claims must have an RMA (Returned Material Authorization)
number on the outside of the container. Call Boyd Customer Service at (781) 933-7300 for an
RMA number. Refer to the end of manual for the chiller warranty.
Customer Service Support
Boyd is committed to servicing the customer, both during and after the sale. If you have any
questions concerning the operation of your unit, contact our Application Engineering
Department at (781) 933-7300. To facilitate your call, please have the model number and
serial number of the unit (located on the rear of the chiller) for the Boyd Applications
Engineer.
24 hrs. / 7 day service
Boyd has a 24 hours per day, 7 days per week service hotline to help you with questions on the
startup and operation of your Kodiakrecirculating chiller. (We recommend you review the
troubleshooting guide on page Error! Bookmark not defined. before calling our service
hotline.) Boyd service can be reached by dialing (781) 933-7305. To facilitate your call please
have the model number and serial number (located on rear of the chiller) of the unit for the
Boyd Service Technician.

KodiakRecirculating Chiller Technical Manual
Manual# 820-0043 Rev N, 11/25/2019
4
Safety Precautions
This system is designed to provide fluid cooling only as specified in this manual. If you use this
system in a manner other than as specified, the safety protection of the system may be impaired.
Warnings are posted throughout the manual. Read and follow these important instructions. Failure to
observe these instructions or use other than specified may impair safety protection, void the warranty,
and can result in permanent damage to the unit, significant property damage, personal injury and/or
death.
Make sure you read, understand, and follow all instructions and safety precautions listed in this
manual before operating your unit. If you have any questions concerning the operation of your unit or
the information in this manual, please contact our Applications Engineering Department at (781) 933-
7300.
If the set point is 10oC or below, a freezing point depression additive, such as ethylene
glycol, is required. This unit is equipped with a low flow switch. This feature will shut
the chiller down during a low flow situation to prevent freezing.
DO NOT USE AUTOMOTIVE ANTI-FREEEZE IN THE CHILLER. The rust
inhibitors in the automotive type will cause premature failure of the pump seals. Use of
automotive anti-freeze in a Boyd chiller will void the warranty.
Never place the unit in a location where excessive heat, moisture, or corrosive materials
are present.
The unit must be plugged into a properly grounded power source.
Do not connect the SUPPLY or RETURN fitting to your building water supply or any
pressurized source.
Performance of installation, operation, or maintenance procedures other than those
described in this manual may result in a hazardous situation and may void the Boyd
warranty.
Transport the unit with care. Sudden jolts or drops can damage the unit.
Observe all warning labels. Never remove warning labels.
Do not operate damaged or leaking equipment.
Do not operate the unit without fluid in the reservoir.
Always turn the unit "OFF" and disconnect the power cord from the power source
before performing any service, maintenance procedures, or before moving the unit.
Do not operate equipment with damaged power cords.
A qualified technician should perform Service and repairs.

KodiakRecirculating Chiller Technical Manual
Manual# 820-0043 Rev N, 11/25/2019
5
Labels and Silkscreen marking
(located in the back of unit)
This silkscreen marking identifies the connection where heated
fluid is supplied from the user’s machine.
SUPPLY
This silkscreen marking identifies the connection where chilled
fluid is supplied to the user’s machine.
This symbol certifies that the chiller conforms to the EMC
Directive and all applicable directives at the time of marking.
Product ID Label: Identifies the model number, serial number,
electrical information volts, amps, Hz, phase, pump type,
refrigerant, and charge.
The Protective Earth
(g
round
)
Terminal.
RETURN
The triangle symbol tells maintenance personnel and users
to consult the product technical manual for more
information. In this example, the symbol calls attention to
the High Voltage Warning in the Control Box.

KodiakRecirculating Chiller Technical Manual
Manual# 820-0043 Rev N, 11/25/2019
6
Part Number Description
RC006 G02 BB 1 MXXX
Basic
Model No.
Electrical
Configurations
Pump
Options
Controller
Configuration
Standard
Modifications
RC006 - 600 Watts
RC011 - 1100 Watts
RC022 - 2200 Watts
RC030 - 3000 Watts
RC045 - 4500 Watts
NOTE:
Cooling capacity
and pump flows
are rated at 60Hz.
For 50Hz power,
derate capacity by
17%.
G02 = 115V~/1 Ph/60Hz
H02 = 230V~/1 Ph/50Hz
J02 = 230V~/1 Ph/60Hz
AA* = CP-15
Centrifugal Pump
BB = 1.3 gpm
Positive
Displacement Pump
BC = 1.8 gpm
Positive
Displacement Pump
BG = 4.3 gpm
Positive
Displacement Pump
DA* = CP-25
Centrifugal Pump
EB* = TB-2
Turbine Pump
* Water filter and
DI cartridge not
recommended with
Centrifugal &
Turbine pumps.
1= Temperature control,
calibration offset,
pressure indication, low
flow shut off.
2= Temperature control,
calibration offset,
pressure indication, low
flow shut off.
a. Low level
indication.
b. Low
temperature
indication.
c. High
temperature
indication.
d. Chiller fault shut
down (toggle
“on” and “off”).
e. Relay contacts
for customer
interface.
f. Audible alarm
(toggle “on” and
“off”)
3= Same as "2" above
with the addition of
RS232 communications.
NOTES:
1. Refer to the product ID label on the on the rear of your chiller for the configuration you have
purchased.
2. The above mentioned table refers to Boyd’s standard product offering for the Kodiak
product line.

KodiakRecirculating Chiller Technical Manual
Manual# 820-0043 Rev N, 11/25/2019
7
Specifications
RC006 RC011 RC022 RC030 RC045
Thermal Capacity 2
Watts
Btu/Hr
60 Hz 50 Hz
600 480
2000 1660
60 Hz 50 Hz
1100 913
3700 3070
60 Hz 50 Hz
2200 1826
7500 6225
60 Hz 50 Hz
3000 2500
10,200 8500
60 Hz 50 Hz
4500 3735
15000 12450
115V~ 60Hz 1ph G02 N/A
230V~ 60Hz 1ph N/A J02
230V~ 50Hz 1ph H02
Full Load
Amperage 4
G02
J02
H02
10.0 Amps
N/A
4.4 Amps
15.4 Amps
7.4 Amps
6.9 Amps
N/A
10.0 Amps
9.4 Amps
NA
11.9 Amps
11.0 Amps
N/A
19.6 Amps
16.4 Amps
Compressor
Capacity Hp
1/4 1/2 3/4 1 1 1/2
Refrigerant Type R134A
Temperature
Stability +/- 0.1°C
Operating
Environment
15° to 40° C (59° to 92° F), 80% R.H.
(consult factory for environments below 15°C (59° F)
Coolant
Temperature Range
40°F-95°F
5°C-35°C
Reservoir Capacity,
Gallons Liter 1 (3.8) 2 (7.6) 2 (7.6)
6 (22.6) 6 (22.6)
Dimension, in.
(mm)3
Width, in. (mm)
Depth, in. (mm)
Height, in. (mm)
12.5" (318)
19.0" (483)
22.0" (559)
14.8" (376)
24.5" (622)
26.5" (673)
14.8" (376)
24.5" (622)
26.5" (673)
21.4" (543)
27.8" (705)
31.0" (787)
21.4" (543)
27.8" (705)
31.0" (787)
Connection, FNPT 3/8” 3/8” 3/8” 1/2" 1/2"
Weight, lbs (Kg) 97 (44) 122 (55) 166 (75) 260 (118) 270 (123)
Process Coolant
Delivery Pressure
60 psig maximum (factory preset for PD pumps only)
1Specifications subject to change.
2Capacity for 20°C delivery water at a 20°C ambient.
3Dimensions do not include filters.
4Full load amperage for models with standard pumps without heater.

KodiakRecirculating Chiller Technical Manual
Manual# 820-0043 Rev N, 11/25/2019
8
Performance Curves RC006/011/022/030/045

KodiakRecirculating Chiller Technical Manual
Manual# 820-0043 Rev N, 11/25/2019
9
General Information
Chiller System Description
Your chiller consists of a refrigeration system, a coolant loop, associated controls and
plumbing. The pump draws coolant from the internal reservoir and pumps it out to cool your
equipment, and then the coolant flows back to the chiller. It flows through the evaporator,
where the heat is removed, and then flows back into to the reservoir.
Coolant Loop (flow control)
Kodiak chillers are designed to operate with continuous coolant flow through a closed loop.
This loop contains the system pump, temperature sensor, reservoir, internal and external
plumbing lines and fittings, and the external heat load. The external plumbing and the heat
loads are provided by the end user and are generally unique to the user’s process and/or
location.
****CAUTION****
Do not put valves in the system that can stop flow while the chiller is operating.
Refrigeration System and Hot Gas Bypass
The chiller uses a standard refrigeration system to keep the coolant at the process temperature
set point. The compressor compresses the refrigerant vapor (gas), which then passes through
the condenser where it is cooled and turns to a liquid. The refrigerant in its liquid state then
passes through the evaporator. The coolant also flows into the evaporator, through passages
separated by thin layers of metal from the refrigerant. The refrigerant evaporates, drawing heat
from the coolant. The refrigerant vapor returns to the compressor and continues the cycle.
Kodiak
Recirculating Chiller
(FRONT VIEW)

KodiakRecirculating Chiller Technical Manual
Manual# 820-0043 Rev N, 11/25/2019
10
Many refrigeration systems, such as those used in household refrigerators, control the
temperature by turning the compressor on and off. This is a simple, inexpensive method of
controlling the cooling, but its temperature control is not precise and the frequent on-off cycles
cause wear on the compressor motor.
Boyd’s recirculating chillers use a better method for controlling the cooling rate: a hot-gas
bypass system. This employs a liquid line solenoid valve and a hot-gas bypass valve to meter
the refrigerant flow through the evaporator when refrigeration is needed. When the coolant
reaches its set point temperature, the liquid line solenoid valve closes, causing the hot-gas
valve to open. The hot-gas valve lets hot-gas from the compressor discharge into the
evaporator inlet, adjusting the temperature in the evaporator to maintain the correct coolant
temperature. When refrigeration is needed, the liquid line solenoid valve opens, the hot-gas
valve closes and the cycle starts again.
This hot gas bypass control method provides precise temperature control. It also minimizes
wear on the compressor motor, since the compressor runs continuously and does not
experience the stress of repeated cycling.

KodiakRecirculating Chiller Technical Manual
Manual# 820-0043 Rev N, 11/25/2019
11
Control Panel Functions
Key Operation
I Turn on chiller
O Turn off chiller
“UP”+ “DOWN” + Enter menu
(press simultaneously and hold for 3 seconds and
release)
“SET” Push to display or change set point.
“UP” arrow Increase set point temperature
“DOWN” arrow Decrease set point temperature
°F/°C Toggles between °F and °C
Description of Indicators:
Pressure-indicating bar: Displays output pump pressure in psi/bar, 2 psi/segment, 0.14
bar/segment.
Temperature set point: Displays coolant temperature or set point in °C or °F.
Temperature set point °C or °F
Over temperature
(
optional
)
Coolin
g
on/off indication
Low temperature
(
optional
)
International fault s
y
mbols
Tactile feedback buttons
Pressure-indicatin
g
bar
g
raph
Alarm
(
optional
)
Low flow
Low level
Kodiak Control Panel

KodiakRecirculating Chiller Technical Manual
Manual# 820-0043 Rev N, 11/25/2019
12
Cooling indicator: To maintain set point temperature the chiller must cycle between
cooling and hot gas bypass mode. This indicator illuminates
while in cooling mode.
Low flow indicator: Illuminates to indicate a low flow condition. The chiller will also
shut down during this condition.
Controller package II and III
Alarm indicator: Illuminates to indicate an alarm fault condition.
Low level indicator: Illuminates to indicate a low fluid level condition
Over temperature indicator: Illuminates to indicate an over-temperature condition.
Low temperature indicator: Illuminates to indicate a low-temperature condition.

KodiakRecirculating Chiller Technical Manual
Manual# 820-0043 Rev N, 11/25/2019
13
Optional System Features
Deionization Package:
The Deionization Package consists of a factory-installed deionization cartridge. The
deionization cartridge requires replacement only when the mixed bed is depleted. For
replacement cartridges, Call Boyd’s Customer Service at 781-933-7300. This package is
offered for deionized water applications where the resistance of the water does not exceed 1
megohm-cm, and where the use of brass and copper fittings is acceptable. The deionization
package is not recommended with centrifugal pumps.
Coolant Water Filter:
This factory installed water filter removes particulate from the coolant water. The water filter is
not recommended with centrifugal pumps. For replacement filters, call Boyd’s Customer
Service at 781-933-7300.
Heater Package RC011, RC022, RC030, RC045:
The heater package is for applications requiring coolant temperature well above ambient
temperature. This package is a single set point type. The heater is activated when the water
temperature is 3F below setpoint.
*NOTE: The heater option is not intended to provide tight temperature control, but to bring
coolant temperature up to an application's requirement.
****WARNING****
If your unit was not built with the heater package, do not attempt to retrofit it. If you do,
severe damage will occur to the unit, personal injury may result, and the warranty will be
voided.
High Purity Plumbing:
This option is intended for use with deionized water. Only stainless steel and/or plastic
components and a nickel-brazed heat exchanger come in contact with the coolant. You must
specify this option before you purchase a chiller; it is not field retro-fittable.
External Manually Adjustable Flow Valve:
This option is a valve plumbed between the supply and the return of the chiller. It allows you
to manually adjust the flow rate. To be sure your equipment is receiving
enough flow, install a flow meter at the outlet from your equipment.
External Pressure Relief Valve:
This option is for applications requiring reduced pressure. This kit contains a Pressure Relief
Valve, 2 Tees, Hose Clamps and Plumbing Instructions.

KodiakRecirculating Chiller Technical Manual
Manual# 820-0043 Rev N, 11/25/2019
14
Auto Tank Refill RC011, RC022, RC030 and RC045:
This option automatically maintains the fluid level in the reservoir. This feature requires a city
water connection or equivalent pressurized coolant supply.
Water Cooled Condenser RC022, RC030 and RC045:
This feature replaces the standard condenser and fan with a water cooled condenser. This
requires facility cooling water to be supplied to the chiller at 75F (25C). Minimum flow
rates are as follows:
Model Flow Rate (min)
RC022 1.4 gpm
RC030 1.9 gpm
RC045 3.4 gpm

KodiakRecirculating Chiller Technical Manual
Manual# 820-0043 Rev N, 11/25/2019
15
Controller Options
Basic Controller (Package 1; standard with all units)
Temperature control, +/-0.1°C.
Temperature display in °C or °F.
Pump output pressure display psi/bar, 2 psi/segment.
Offset temperature calibration -4°C to 4°C , -7°F to 7°F
with 0 the midpoint.
Low flow shut off.
Auto Restart
Package 2: (option)
Has the same function as the basic controller, and includes the following:
Low level indication
Low temperature indication
High temperature indication
Audible alarm (toggle on/off)
Fault chiller shutoff (toggle on/off)
External normally closed contacts. Open under fault. 0.5 amp. Maximum
Package 3: (option)
Has all the same functions as Package 2 above, plus:
RS232 communications
Additional Options:
Remote Start

KodiakRecirculating Chiller Technical Manual
Manual# 820-0043 Rev N, 11/25/2019
16
Installation
Coolant Requirements:
Boyd recommends using filtered clean water above 10oC as coolant.
If the set point is 10oC or below, a freezing point depressant, such as ethylene glycol, is
required. This unit is equipped with a low flow switch. This feature will shut the chiller down
during a low flow situation to prevent freezing.
Avoid using water with a high mineral content.
Standard RC units may not be compatible with deionized water. Consult Boyd Application
Engineering for deionized water applications.
If the coolant is exposed to sunlight add an algicide to control organic growth in lines.
****CAUTION****
Positive displacement pumps are susceptible to damage from abrasive materials in the coolant.
To reduce risk of damage, a factory-installed water filter is recommended.
Electrical Requirements (for unit without heater option)
Refer to the Specification section and to the product ID label on the rear of the chiller for the
specific electrical requirements of your unit. The chiller power module is configured with a
standard international IEC320/C20 inlet. To safely operate the chiller, use a SJT cord set with
an IEC 320/C19 receptacle and an inlet plug that is compatible to the local power grid and the
power requirements of the chiller. All Kodiak chillers should use CSJT 3 conductor 12 awg
minimum power cord.
****WARNING****
It is the user’s responsibility to provide a proper ground connection.
Selecting Chiller Location
To minimize the heat gain and pressure drop through the connecting hoses, the chiller unit
should be located as close as possible to the heat load (user equipment). This is more important
for units with centrifugal pumps. Coolant lines are best run at or near the same level as the
cooling system. Once the chiller is in position lock the casters.
Air flow is critical to optimize performance of the chiller. The front and one side or the back
of the unit MUST be kept clear and unobstructed. The remaining two sides or back must have
minimum clearance of 18". The top clearance must be at least 6". Ensure that the hot air
exiting the chiller does not recirculate into the inlet openings. The front of the unit must have a
free supply of ambient-temperature air.

KodiakRecirculating Chiller Technical Manual
Manual# 820-0043 Rev N, 11/25/2019
17
NOTE:
The circuit breaker located on the rear of the unit must be kept clear and easily
accessible.
To move the chiller, cap all ports to prevent any coolant leakage. Unlock the casters and move to new
location. Once in the new location lock the casters. To prevent freezing during storage drain water if
the chiller is located in an area below (10C 50F).
Plumbing the Coolant Lines
The coolant ports are located on the rear of the system and are labeled with the Supply
and Return symbols.
To minimize the pressure loss in the coolant lines, use the largest practical diameter tubing. If
substantial lengths of cooling lines are required, they should be pre-filled with coolant before
connecting them to the chiller.
To minimize heat gain, all lines should be as short as possible. Keep them away from heat
sources such as radiators and hot water pipes. Lines that cannot be routed away from heat
sources should be protected with thermal insulation, preferably at least 1/2" (12.7mm).
Flexible tubing, should be of heavy wall or reinforced construction. All tubing should be rated
to withstand 125 psig at 186oF (30o C). Make sure all tubing connections are secured and leak-
tight. Also, whenever possible use opaque lines to prevent algae growth during prolonged non-
operating periods.
****CAUTION****
Do not connect the SUPPLY or RETURN fitting to your building water supply or any
pressurized source.
Installation Procedure
To connect the fluid lines to the chiller and user equipment follow these steps:
1. Remove the plastic caps covering the supply and return ports on the rear panel of the unit.
2. Attach coolant lines to the supply and return ports on the rear panel.
Supply port: chilled coolant goes out to user equipment
Return port: hot coolant returns from user equipment

KodiakRecirculating Chiller Technical Manual
Manual# 820-0043 Rev N, 11/25/2019
18
3. Refer to the table below for the fitting sizes required for the your unit.
Model# Fitting Size
RC006, RC011, RC022 3/8" FNPT
RC030, RC045 1/2" FNPT
Note: Fittings should either be brass, stainless steel or plastic. Never use steel or cast iron fittings, as
the corrosion will damage the chiller. For chillers with deionization cartridges or high purity
plumbing Boyd recommends the use of either stainless steel or nylon fittings.
4.Remove water filler cover on top of the unit to access the reservoir.
5.Fill the reservoir. Use the reservoir sight tube on the front of the unit to see the coolant level
in the tank as you are filling. Be sure to allow for the volume of coolant needed to fill the
cooling lines between the chiller and the equipment, if they were not filled with coolant before
installation.
6. Centrifugal Pumps must be primed before operation. To prime pumps, disconnect supply line
from rear of chiller, allow air to vent and out of pump head and reconnect line.
For Water Cooled Chillers
7. Connect facility water to connections labeled "City Water In" and "City Water Out".
Minimum flow rate of facility water is shown on page 14. Facility water flow must be started
before chiller is turned on.
****CAUTION****
Standard RC units may not be compatible with deionized water. Consult Boyd Application
Engineering for deionized water applications.
Connecting Power (for units without heater option)
Connect a 3-conductor SJT type power cord with an IEC 320/C19 receptacle to the inlet power to the
module on the rear of the unit and to an appropriate AC power source. All chillers should use a 12
gauge power cord.
****WARNING****
Be sure to provide a proper ground connection.

KodiakRecirculating Chiller Technical Manual
Manual# 820-0043 Rev N, 11/25/2019
19
Startup Procedure
1. Turn "ON" the circuit breaker on the rear of the unit. The controller will go through a diagnostic
test. Turn on the chiller unit using the ( I ) key located on the Keypad Display panel. The
controller displays "OFF" for 8 seconds. The delay prevents rapid cycling of the compressor using
the "ON" and "OFF" switch.
****IMPORTANT****
If you have optional controller package 2 or 3, the fault shutoff may prevent the chiller from operating.
If you turn on the unit and it does not operate, disable the fault shutoff. Then turn on the chiller. After
the chiller is operating and the coolant reaches its setpoint temperature, you can enable the fault
shutoff.
2. Set the temperature setpoint using the controls on the keypad display as follows:
Press the “SET” key once to display the current coolant temperature set point.
Press the “UP” or “DOWN” arrow key until the desired coolant temperature setpoint
appears on the LED display.
Press the “SET” key again to accept the setpoint and return to normal operation.
3. Operate the chiller for a short time and then check the coolant level in the reservoir. If the level
drops, add more coolant.
4. Check all fittings and hoses for fluid leaks. If a leak exists, turn chiller off, disconnect power and
take necessary action to repair the leak.
****IMPORTANT****
Do not operate chiller until leak has been repaired.
This manual suits for next models
7
Table of contents
Popular Chiller manuals by other brands
Carrier
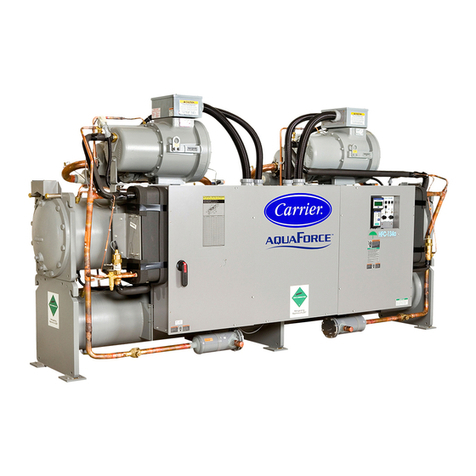
Carrier Ecologic Series 3 Controls, start-up, operation, service, and troubleshooting
Hypertherm
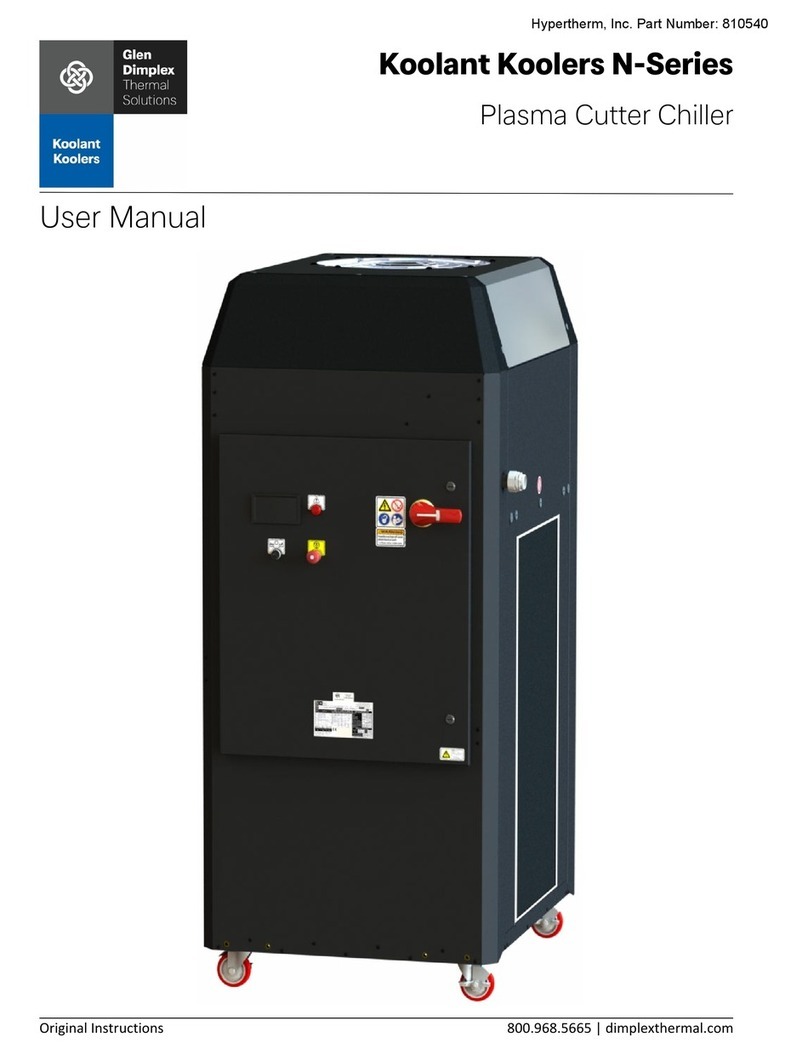
Hypertherm Koolant Koolers N-Series user manual
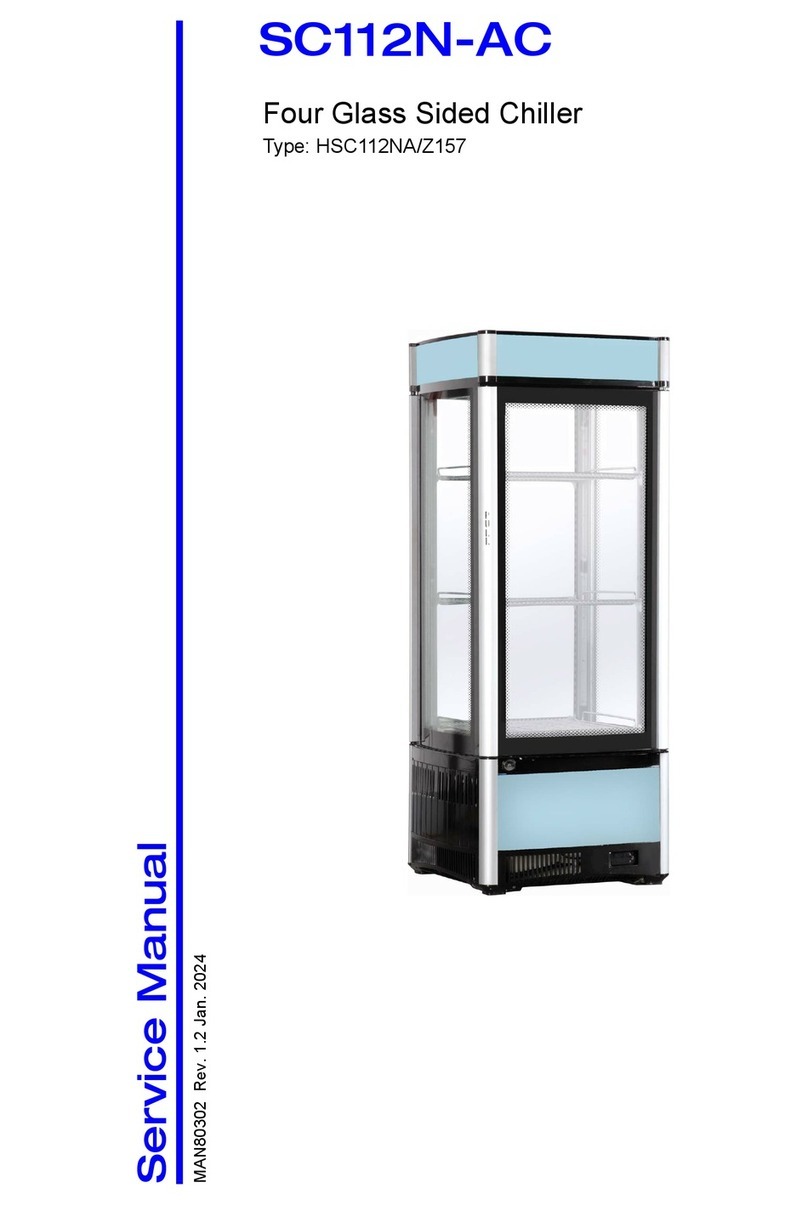
Skope
Skope SC112N-AC Service manual
SMC Networks
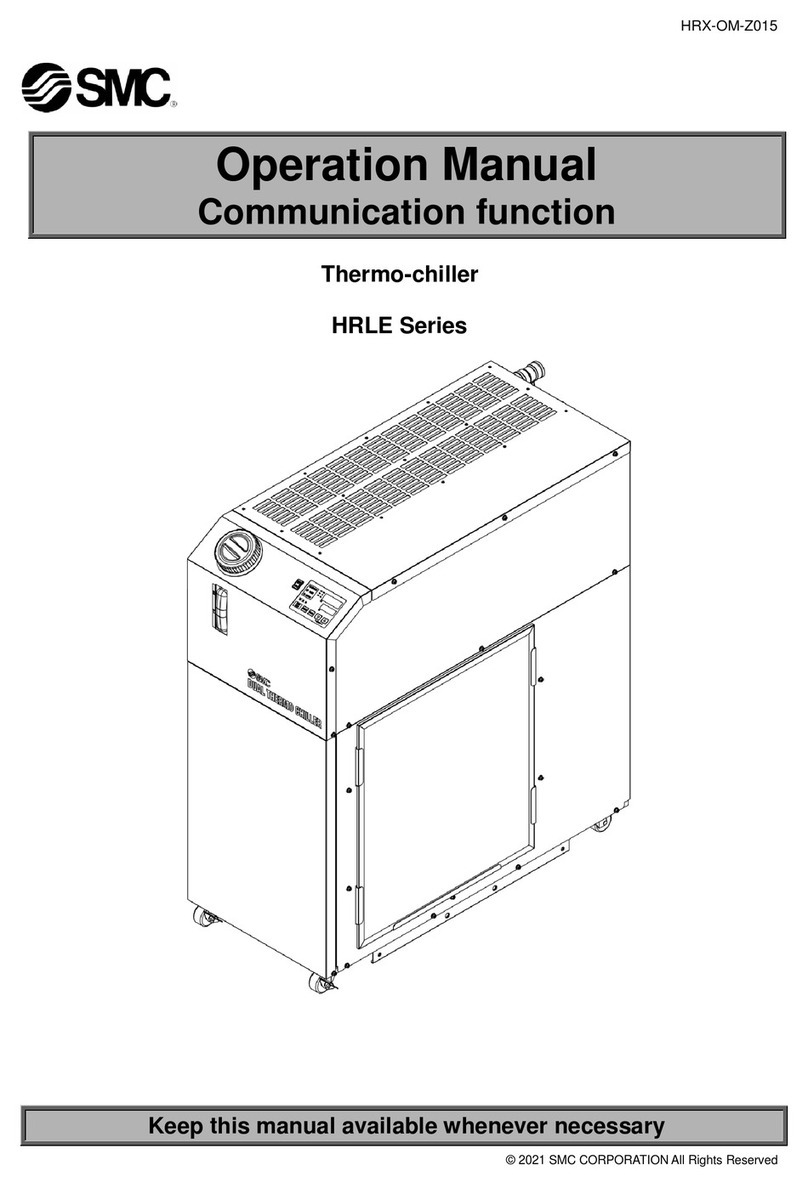
SMC Networks HRLE Series Operation manual

Thermal Care
Thermal Care FT Series Operation, installation, and maintenance manual
Nordcap
Nordcap 433000006 user manual

Multistack
Multistack Airstack ASPX Series Operation and maintenance manual
Oasis
Oasis R3 instruction manual
Trane
Trane Sintesis RTAF-SVX002D-EN Installation, operation and maintenance
Haskris
Haskris R1600 instruction manual
Elkay
Elkay ERW32-1B installation instructions
Johnson Controls
Johnson Controls YORK YK Series installation guide

