Brainz 38544 User manual
EN
BRAINZ WIRELESS CHARGER CLOCK
INSTRUCTION MANUAL
PLEASE READ ALL INSTRUCTIONS CAREFULLY AND
RETAIN FOR FUTURE USE
This is what you need:
USB Cable (included)
3x AAA Battery (not included)
USB Adapter or power supply (not included)
Mobile device equipped with QI technology
Product description:
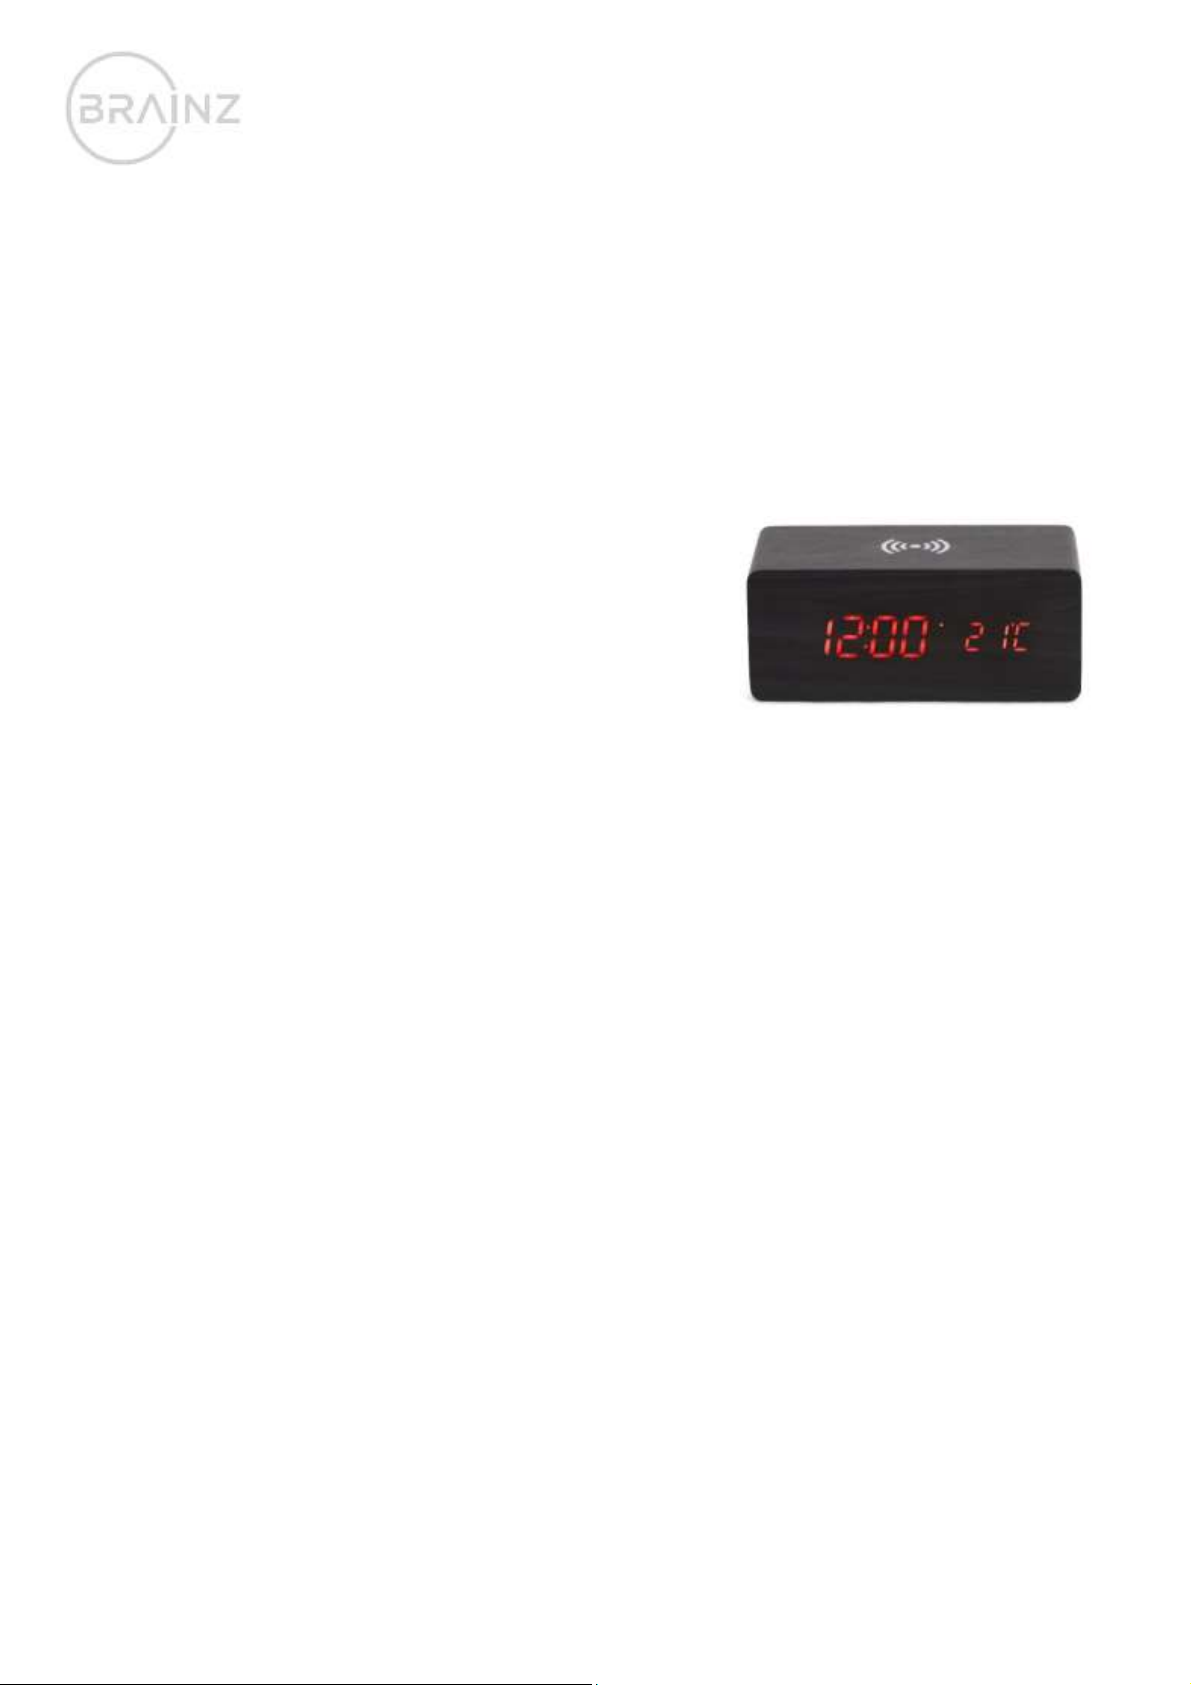
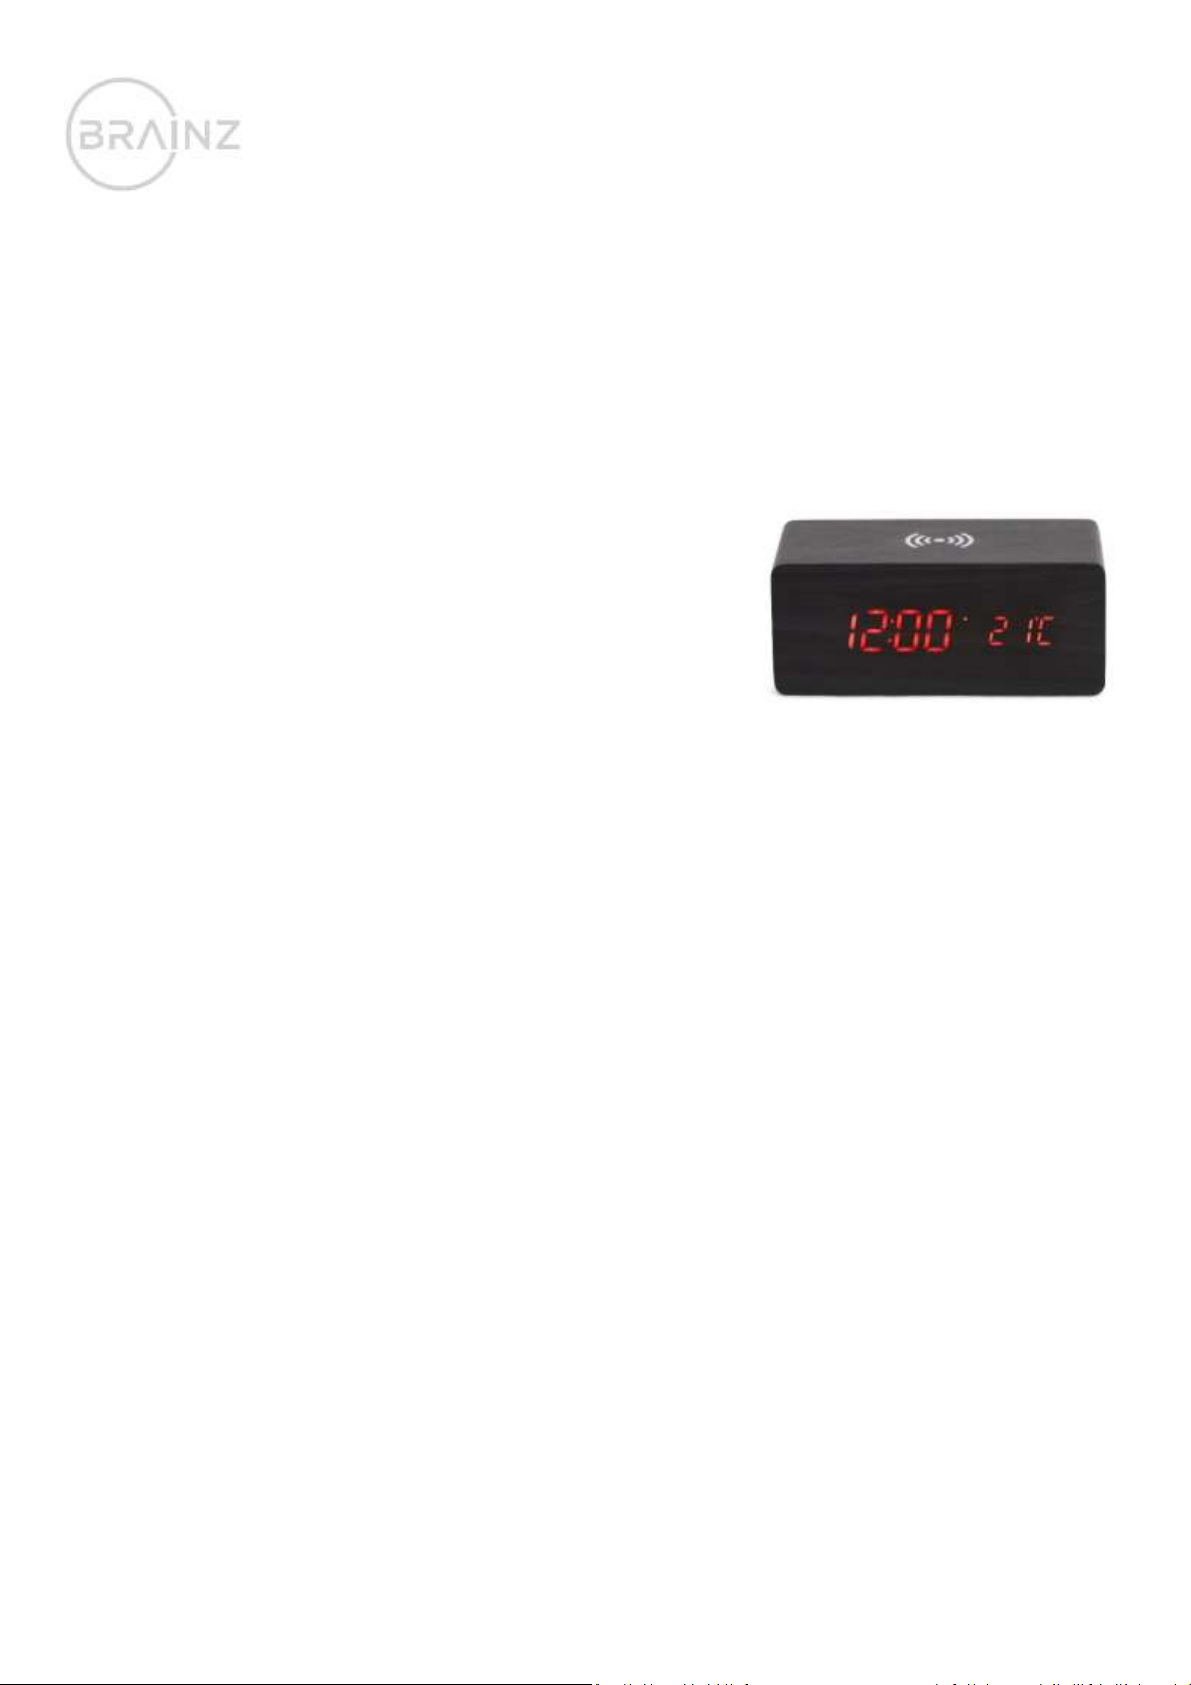
Digital alarm clock with wireless charging system and finished in a beautiful dark wood look. The power supply is via a
supplied USB cable. The display can show time, date and temperature. An all-in-1 alarm clock in a stylish design! To charge
your phone wirelessly it must be equipped with QI technology.
This is how you set it up:
Turn on the clock by plugging in the USB cable or putting the batteries into the clock. The clock is on when you hear a sound
coming from the clock. Now you can set the time and date of the clock. While the clock is flashing, press "SET" to set the time
and date. On the desired screen (time or date), press and hold the "SET" button for 2 seconds.
Setting the time
On the time screen, press and hold the "SET" button for 2 seconds. The clock starts to flash. Here you can set whether you
want to use a 12-hour clock or a 24-hour clock. Use the "UP" and "DOWN" buttons to set this. Ready? Then press "SET" once.
The clock will now start to flash again. Set the hour first. Then press "SET" again. Now set the minutes. Press "SET" again. The
clock is now set to the time you entered.
Setting the date
On the date screen, press and hold the "SET" button for 2 seconds. The clock starts to flash. The clock first asks for the year.
Enter the desired year using the "Up" and "Down" buttons and press "SET" when done. You can then set the month and day.
Use the "UP" and "DOWN" buttons to set the date. Note: the first digit you set is the month you are in. The second digit is
the day of the month. Use the "SET" button to continue when you are finished entering. The clock is now entered on the date
you entered.
Setting the alarm
The clock has 3 different alarm functions that you set in the same way. Use the "SET" button to switch to screen A1, A2 or A3.
On the desired alarm, press and hold the "SET" button for 2 seconds. Just as with setting the time, you can set the desired
alarm here. Ready? Then press "SET" again. If a red dot is lit to the right of the current time, the alarm is activated.
The alarm will repeat every day at the entered time. The alarm goes off for 1 minute. If you want to turn off the alarm, you
only need to press 1 of the 3 buttons. You can deactivate the alarm by choosing the correct alarm with the "SET" button and
then pressing the "UP" button to switch off the alarm.

Setting the temperature-display
The temperature can be set to degrees Celsius or degrees Fahrenheit. To do this, press and hold the "DOWN" button for 2
seconds. The clock automatically converts the degree unit to Fahrenheit or vice versa and stores it automatically.
Setting display-modes
The clock has 3 different display views. You can choose between views by pressing the "UP" button.
(1) Display 1 shows the time for 10 seconds and the date for 2 seconds. This goes on until the setting is changed.
(2) With view 2 you can choose which function you want to show on the screen by default. Set the screen to the
function you want to display by pressing the "SET" button until you reach the time screen. This also works on the
date and alarm mode.
(3) In display 3, the clock always shows the time after 15 seconds without interaction.
Setting energy saving mode
You can activate the energy-saving mode with this alarm clock. In this mode, the clock screen turns off after 10 seconds
without interaction. You can turn the screen back on by pressing one of the 3 buttons, or by touching the clock at the top.
You set energy-saving mode by pressing the "DOWN" button when the clock is on the time setting.
Wireless charging:
Wireless charging only works if the alarm clock is connected to a power supply. The wireless charging does not work on
batteries. If your phone is equipped with Qi technology, you can place your phone on top of the clock and it will charge itself.
Not sure if your phone supports wireless charging? Then visit www.brainz-electronics.nl.
This manual is applicable for item number 38544.
More information about this product is available on www.brainz-electronics.nl
NL
BRAINZ DRAADLOZE OPLADER EN WEKKERKLOK
GEBRUIKSAANWIJZING
GELIEVE DE INSTRUCTIES ZORGVULDIG TE LEZEN
EN TE BEWAREN VOOR LATER GEBRUIK
Dit heeft u nodig:
USB Kabel (inbegrepen)
3x AAA Batterij (niet inbegrepen)
USB Adapter of voeding (niet inbegrepen)
Mobiele telefoon uitgerust met QI technologie
Productomschrijving:
De Brainz klok en draadloze oplader is een digitale wekker en draadloos oplaadsysteem voor uw telefoon. Het display van de
klok kan de tijd, datum en de temperatuur weergeven. Om gebruik te kunnen maken van het draadloos-oplaadsysteem moet
uw telefoon uitgerust zijn met Qi-technologie. Kijk op www.brainz-electronics.nl om te kijken of uw telefoon deze
technologie bezit.
De klok kunt u op 2 manieren aanzetten. Door 3 AAA-batterijen in de klok te stoppen kunt alleen de klok gebruiken. Wilt u
gebruik maken van het draadloze opladen? Dan zult u de klok met de meegeleverde USB-kabel aan moeten sluiten.
Zo stelt u het in:
Zet de klok aan door de USB-kabel in het stopcontact te doen via een adapter of de batterijen in de klok te stoppen. De klok
staat aan als u een geluid uit de klok hoort komen. Nu kunt u de tijd en datum van de klok instellen. Druk terwijl de klok
knippert op ‘SET’ om de tijd en datum in te stellen. Houd op het gewenste scherm (tijd of datum) 2 seconden de ‘SET’-knop
ingedrukt.
Tijd instellen:
Houd op het tijd-scherm 2 seconden de ‘SET’-knop ingedrukt. De klok begint te knipperen. Hier kunt u instellen of u gebruik
wilt maken van een 12-uurs klok of een 24-uurs klok. Gebruik de ‘UP’ en ‘DOWN’-knoppen om dit in te stellen. Gereed? Druk
dan 1 keer op ‘SET’. Nu begint de klok weer te knipperen. Stel eerst het uur in. Druk dan weer op ‘SET’. Stel nu de minuten in.
Druk nogmaals op ‘SET’. De klok staat nu ingesteld op de door u ingevoerde tijd.
Datum instellen:
Houd op het datum-scherm 2 seconden de ‘SET’-knop ingedrukt. De klok begint te knipperen. De klok vraagt eerst om het
jaartal. Voer het gewenste jaartal in door middel van de ‘Up’- en ‘Down’-knop en druk wanneer gereed op ‘SET’. Hierna kunt
u de maand en de dag instellen. Gebruik de ‘UP’ en ‘DOWN’-knoppen om de datum in te stellen. Let op: het eerste cijfer wat
u instelt is de maand waar u zich in bevindt. Het tweede cijfer is de dag van de maand. Gebruik de ‘SET’-knop om door te
gaan als u klaar bent met invoeren. De klok staat nu ingevoerd op de door u ingevoerde datum.

Alarm instellen:
De klok heeft 3 verschillende alarmfuncties die u op dezelfde manier instelt. Gebruik de ‘SET’-knop om te schakelen naar het
scherm A1, A2 of A3. Houd op het gewenste alarm de ‘SET’-knop 2 seconden ingedrukt. U kunt hier net zoals bij het tijd
instellen het gewenste alarm instellen. Gereed? Druk dan nogmaals op ‘SET’. Als er een rode stip rechts naast de huidige tijd
brandt staat het alarm geactiveerd.
Het alarm herhaalt zich elke dag op de ingevoerde tijd. Het alarm gaat af gedurende 1 minuut. Als u het alarm uit wilt zetten
hoeft u slechts op 1 van de 3 knopjes te drukken. U kunt de wekker deactiveren door de juiste wekker te kiezen met de ‘SET’-
knop en dan op de ‘UP’-knop te drukken om het alarm uit te zetten.
Temperatuur instellen:
De temperatuur kan ingesteld worden op graden Celsius of graden Fahrenheit. Om dit te doen houdt u 2 seconden de
‘DOWN’-knop ingedrukt. De klok zet de graden-eenheid automatisch om naar Fahrenheit of andersom en slaat dit
automatisch op.
Display modes instellen:
De klok heeft 3 verschillende display-weergaves. U kunt tussen de weergaves kiezen door middel van de ‘UP’-knop in te
drukken.
(1) Weergave 1 weergeeft 10 seconden lang de tijd en 2 seconden lang de datum. Dit gaat om en om.
(2) Bij weergave 2 kunt u kiezen welke functie u standaard op het scherm wilt laten zien. Zet het scherm op de functie
die u wilt laten zien door het ‘SET’-knop in te drukken totdat u op het tijd-scherm komt. Dit werkt hetzelfde bij de
datum- en alarmstand.
(3) Bij weergave 3 laat de klok altijd de tijd zien na 15 seconden zonder interactie.
Energie-bespaarstand instellen:
U kunt bij deze wekker de energie-bespaarstand aanzetten. Bij deze stand gaat het scherm van de klok na 10 seconden
zonder interactie uit. U kunt het scherm weer aanzetten door op een van de 3 knoppen te drukken, of door de klok aan de
bovenkant aan te raken. U stelt energie-bespaarstand in door op de ‘DOWN’-knop te drukken als de klok op de tijdstand
staat.
Draadloos opladen:
Draadloos opladen werkt alleen als de wekker aangesloten zit aan een voeding. Het draadloos opladen werkt niet op
batterijen. Als uw telefoon is uitgerust met Qi-technologie kunt u uw telefoon boven op de klok leggen en deze zal zichzelf
dan opladen. Weet u niet zeker of uw telefoon draadloos opladen ondersteunt? Kijk dan op www.brainz-electronics.nl.
Deze handleiding is van toepassing op artikelnummer 38544.
Meer informatie over dit product vindt u op www.brainz-electronics.nl
Table of contents
Languages:
Popular Clock manuals by other brands


Imagine
Imagine ADC-A12C31 Installation and operation manual

La Crosse Technology
La Crosse Technology 513-1417v5 manual

Amano
Amano PIX-3000x Series manual

La Crosse Technology
La Crosse Technology WT-3129B user manual

NexxTech
NexxTech C8171 WWVB User instructions

VISIOMED
VISIOMED VM-D31 DODODOO instruction manual