manuals.online logo
Brands
  1. Home
  2. •
  3. Brands
  4. •
  5. Brother
  6. •
  7. Sewing Machine
  8. •
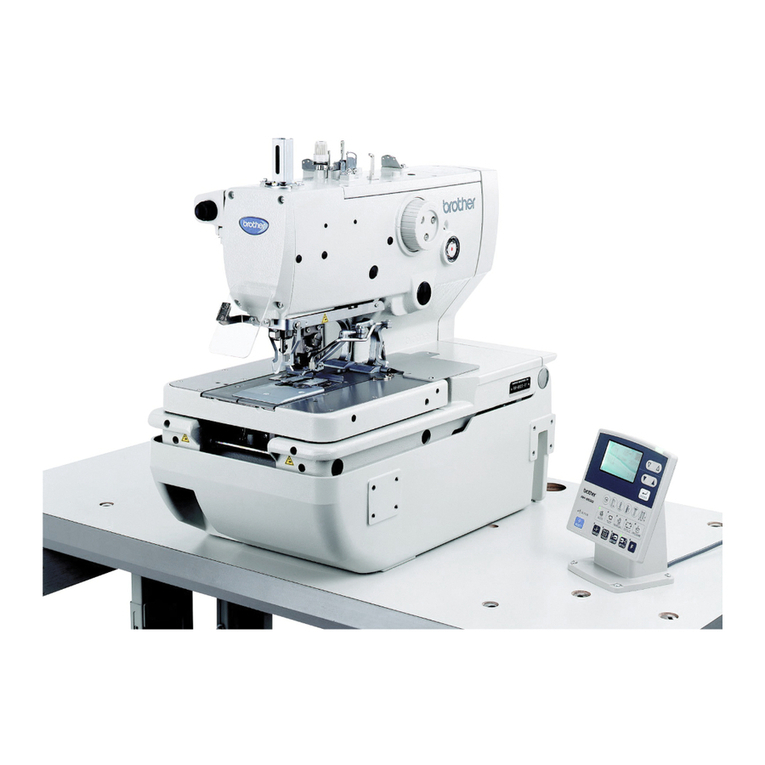
  9. Brother BE-0901E-AC User manual

Brother BE-0901E-AC User manual

1
Instrucciones Básicas Para
BE-101, 916, 901, 1216,1201
Para la ayuda Técnica, por favor llame 1-877-4BROTHER (1-877-427-6843)
CARGAR UN DISEÑO DE UN DISCO “FLOPPY”
ESTABLECER SECUENCIA DE COLORES
Inserte el disco floppy (3.5) en lector de disco
Presione la tecla ”Flopp
y
disk” para entrar en la
pantalla de selección de lectura de memoria.
Presione la tecla de selección de
agujas para cambiar de páginas.
Presione una de las flechas direccionales para
resaltar el diseño a cargar.
Presione la tecla “start”
p
ara copiar el diseño a la
memoria de maquina y convertirlo en diseño activo.
Nota: La maquina no arrancara. Tiene
que precionar”start” una vez mas para
comenzar a bordar.
Presione la tecla “Needle Set” para entrar a modo
de programación de colores.
U
se el teclado numérico para asignar el número de
aguja (Color).
Comience
p
resionando el cero
p
ara
asignar números de dos dijitos (Ej. 12)
Continúe seleccionando los números de a
g
u
j
as
hasta que termine programando los colores
Presione la tecla “End” para salir y salvar la nueva
secuencia de colores.
CARGAR UN DISEÑO DE LA MEMORIA DE LA
MA
Q
UINA
POSICIONAR Y COSER EL DISEÑO
Presione las teclas con flechas direccionales para
resaltar el diseño a cargar.
Presione la tecla “Enter” para seleccionar el diseño
a bordar.
ESTABLECER SECUENCIA DE COLORES
POSICIONAR Y COSER DISEÑO
Presione la tecla con flechas direccionales para
centralizar el diseño dentro del bastidor.
Presione le tecla “START”
p
ara comenzar a
bordar.
Presione la tecla “Confirm”
p
ara verificar que el
diseño este bien colocado dentro del bastidor.
COMO ROTAR UN DISEÑO
Presione la tecla “Edit”o Editar
p
ara entrar en
modo de edición de diseños.
Presione las “flechas izquierda o derecha”
p
ara
cambiar el angula de rotación del diseño.
Presione la tecla“End”
p
ara salvar el grado de
rotación y salir de modo de “Edición”.
Presione la tecla “Flopp
y
disk” para
e
ntrar en la
pantalla de selección de lectura de disco . Use el teclado numérico para asignar la velocidad,
presionando los números de 1 a 6. 1=mas rápido.
6= mas lento.
Presionar la tecla “Flopp
y
Disk” para entrar en
pantalla de selección de lectura de memoria .
2
CORTE DE HILO MANUAL
Desde la pantalla de “listo” presione la tecla
“Thread Trimming” para cortar el hilo.
CANCELAR EL BORDADO
“NAVEGAR POR LAS PUNTADAS DE UN DISEÑO
BORRAR UN DISEÑO ALMACENADOS EN MEMORIA
MOVIMIENTO DE CAJA DE BARRAS DE AGUJAS
BORRAR TODOS LOS DISEÑOS ALMACENADOS
Desde la
p
antalla de” listo”
(
ver dibu
j
o
)
.
Presionar la tecla “Asterisco” para seleccionar la
cantidad de puntadas que desea navegar a la vez.
Presione la flecha izquierda o derecha para
navegar hacia atrás o adelante a la puntada
anteriormente seleccionadas.
Presione una de las flechas “Needle Select”
p
ara
cambiar de numero de aguja. Continúe presionando
hasta situar la a
g
u
j
a deseada en
p
osición de bordar.
Colocar interruptor de maquina a posición
“OFF”.
Presione y detenga la tecla “Delete” mientras
mueve el interruptor de maquina a posición “ON”
Presione la tecla “Delete” una vez más cuando
pregunte si desea borrar todos los diseños
almacenados. Presionando la tecla”ENTER”
recompondrá todos los ajustes pre-establecidos a los
originales de fabrica.
“NAVEGAR A UN NUMERO DE PUNTADAS
ESPECIFICO
Desde la
p
antalla de “Listo”
(
ver dibu
j
o
)
.
Presionar la tecla de “Asterisco” cinco (5) veces.
Use el teclado numérico para asignar el número de
puntadas a moverse.
Presione la tecla “End”
p
ara saltar a la puntada
escogida.
CARGAR UN DISEÑO DE SU COMPUTADORA
Presione la tecla “Flopp
y
Disk”
p
ara entrar a la
pantalla de selección de lectura de memoria .
Presione la tecla “Start” para copiar el diseño a la
memoria de la maquina y convertirlo en diseño activo.
Nota: La maquina no arrancara. Tiene que presionar
“Start”una vez más para comenzar a bordar.
Presione la tecla“Flopp
y
Disk”
p
ara entrar a la
pantalla de selección de lectura de disco .
Presione la tecla “Flopp
y
Disk” para entrar a la
pantalla de selección de comunicación .
Presione una de las flechas de“Needle
Select” para comenzar comunicación con la
computadora.
Presione una de las flechas direccionales para
resaltar el diseño a cargar.
Presione una de las flechas“Needle
Select” para cambiar de pagina.
Presione la tecla “Flopp
y
Disk”
p
ara entrar a la
pantalla de selección de lectura de memoria .
Presione una de las flechas direccionales para
resaltar el diseño a borrar.
Presione la tecla “Delete”
p
ara seleccionar el
diseño que querría borrar.
Presione la tecla “Enter” para confirmar el borrado
de diseño.
Desde la pantalla de” listo” (ver dibujo)
con la maquina detenida.
Presione la tecla “ESC”
p
ara cancelar el
bordado.
Presione la tecla “ENTER” para confirmar.

Other manuals for BE-0901E-AC

5

This manual suits for next models

7

Other Brother Sewing Machine manuals

Brother 885-E42 User manual

Brother

Brother 885-E42 User manual

Brother CS8000 Series User manual

Brother

Brother CS8000 Series User manual

Brother BAS-416A Manual

Brother

Brother BAS-416A Manual

Brother NX-400 User manual

Brother

Brother NX-400 User manual

Brother LS-2125i User manual

Brother

Brother LS-2125i User manual

Brother LK3-B448E User manual

Brother

Brother LK3-B448E User manual

Brother ZM-851A User manual

Brother

Brother ZM-851A User manual

Brother Innov-is NV4000D User manual

Brother

Brother Innov-is NV4000D User manual

Brother Innov-is BQ2450 User manual

Brother

Brother Innov-is BQ2450 User manual

Brother BES-1240 Reference guide

Brother

Brother BES-1240 Reference guide

Brother BE-438C User manual

Brother

Brother BE-438C User manual

Brother KE-436C User manual

Brother

Brother KE-436C User manual

Brother DB2-8715 User manual

Brother

Brother DB2-8715 User manual

Brother BE-1204B User manual

Brother

Brother BE-1204B User manual

Brother 929D User manual

Brother

Brother 929D User manual

Brother 882-U70 User manual

Brother

Brother 882-U70 User manual

Brother BAS-342G PS User manual

Brother

Brother BAS-342G PS User manual

Brother NX-250 Setup guide

Brother

Brother NX-250 Setup guide

Brother BC-2500 User manual

Brother

Brother BC-2500 User manual

Brother T-8422C Setup guide

Brother

Brother T-8422C Setup guide

Brother BAS-423 Instruction Manual

Brother

Brother BAS-423 Instruction Manual

Brother LT2-B845 MKII Instruction Manual

Brother

Brother LT2-B845 MKII Instruction Manual

Brother KE-430D User manual

Brother

Brother KE-430D User manual

Brother CS6000XL User manual

Brother

Brother CS6000XL User manual

Popular Sewing Machine manuals by other brands

Jack T1310 manual

Jack

Jack T1310 manual

Pfaff 3568-2/12 instruction manual

Pfaff

Pfaff 3568-2/12 instruction manual

Silver 9300E owner's manual

Silver

Silver 9300E owner's manual

UnionSpecial Advanced 56100 Series Original instructions

UnionSpecial

UnionSpecial Advanced 56100 Series Original instructions

Janome Sewing Machine Instruction book

Janome

Janome Sewing Machine Instruction book

iSP 406 owner's manual

iSP

iSP 406 owner's manual

Duerkopp Adler 171 instruction manual

Duerkopp Adler

Duerkopp Adler 171 instruction manual

JUKI APW-895NE instruction manual

JUKI

JUKI APW-895NE instruction manual

Necchi EX30 Instruction book

Necchi

Necchi EX30 Instruction book

Duerkopp Adler 261-140342 operating instructions

Duerkopp Adler

Duerkopp Adler 261-140342 operating instructions

Singer 55-3 parts list

Singer

Singer 55-3 parts list

Zanussi ZAN2250 user manual

Zanussi

Zanussi ZAN2250 user manual

Singer Style-Mate 347 instructions

Singer

Singer Style-Mate 347 instructions

DURKOPP ADLER 367 operating instructions

DURKOPP ADLER

DURKOPP ADLER 367 operating instructions

Singer 477 Instructions for using

Singer

Singer 477 Instructions for using

VERITAS Sarah manual

VERITAS

VERITAS Sarah manual

Singer 17W13 instructions

Singer

Singer 17W13 instructions

Necci N420E instruction manual

Necci

Necci N420E instruction manual

manuals.online logo
manuals.online logoBrands
  • About & Mission
  • Contact us
  • Privacy Policy
  • Terms and Conditions

Copyright 2025 Manuals.Online. All Rights Reserved.