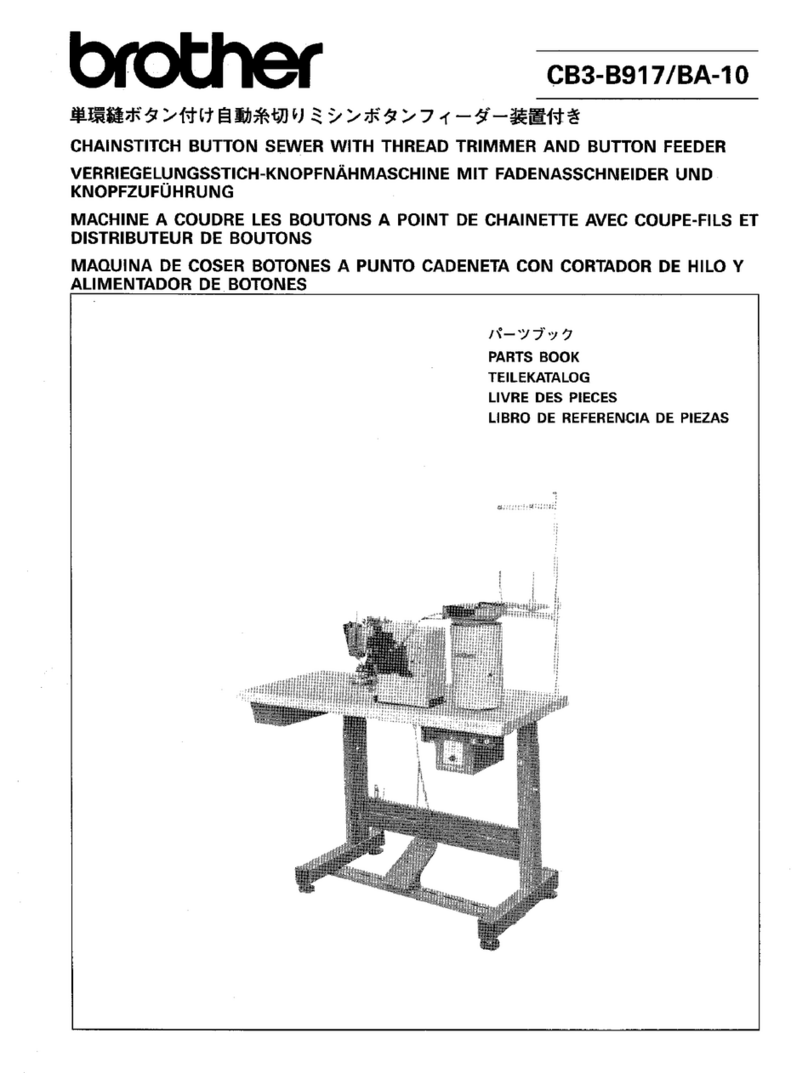
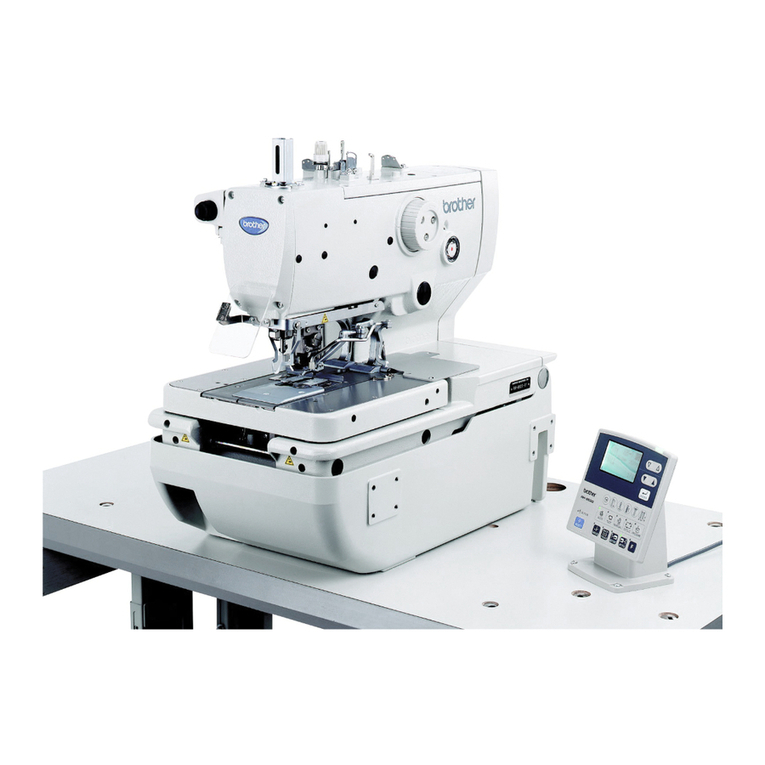
BE-438C
CONTENTS
1. NAME OF EACH PART .............................. 1
2. SPECIFICATIONS ...................................... 2
2-1. Specifications......................................................... 2
2-2. Program list............................................................ 3
3. INSTALLATION .......................................... 6
3-1. Power table............................................................ 6
3-2. Installing the control box........................................ 7
3-3. Installing the rubber cushions.................................8
3-4. Installing the oil pan................................................8
3-5. Installing the cushions.............................................8
3-6. Installing the switching plate...................................9
3-7. Installing the machine head....................................9
3-8. Installing the head rest..........................................10
3-9. Installing the liquid cooling tank,
optional.................................................................10
3-10. Installing the operation panel.............................. 11
3-11. Connecting the ground wire................................11
3-12. Connecting the cords..........................................12
3-13. Installing the belt cover....................................... 14
3-14. Installing the foot switch...................................... 14
3-15. Installing the spool stand ....................................15
3-16. Installing the button tray......................................15
3-17. Installing the eye guard....................................... 15
4. LUBRICATION........................................... 16
4-1. Lubrication points..................................................16
5. OPERATION.............................................. 17
5-1. Name and function of each operation
panel item.............................................................17
5-2. Operating procedure.............................................19
6. CHECKING THE SEWING PATTERN........ 21
7. CORRECT USE......................................... 22
7-1. Selecting the needle and thread...........................22
7-2. Installing the needle.............................................. 22
7-3. Threading the upper thread ..................................22
7-4. Winding the lower thread......................................23
7-5. Replacing the bobbin case and
threading the thread..............................................24
7-6. Thread tension...................................................... 24
7-7. Inserting the button...............................................27
7-8. Adjusting the button holder...................................27
7-9. Adjustment by the accessory spring .....................27
7-10. Replacing the PROM..........................................28
8. SEWING .................................................... 29
9. MAINTENANCE AND INSPECTION..........30
9-1. Checking the needle..............................................30
9-2. Cleaning the rotary hook.......................................30
9-3. Lubrication.............................................................31
9-4. Draining the oil ......................................................32
9-5. Cleaning the control box air inlet port....................32
9-6. Cleaning the air holes of belt cover
and frame side cover.............................................32
9-7. Cleaning the eye guard.........................................32
10. STANDARD ADJUSTMENTS...................33
10-1. Adjusting the needle bar height...........................33
10-2. Adjusting the needle bar lift amount ....................33
10-3. Adjusting the driver needle guard........................34
10-4. Adjusting the needle clearance ...........................34
10-5. Adjusting the shuttle race thread guide ...............34
10-6. Adjusting the thread take-up amount...................35
10-7. Adjusting the movable knife.................................36
10-8. Adjusting the button clamp lift amount.................38
10-9. Adjusting the holding pressure............................39
10-10. Adjusting the position of the button holder.........39
10-11. Adjusting the needle up stop position................40
10-12. Adjusting the thread wiper.................................40
10-13. Checking the input sensor and DIP
switch input........................................................41
10-14. Checking the input voltage................................42
10-15. Clearing all memory settings.............................42
10-16. Moving stitch patterns .......................................43
11. USING THE COUNTERS.........................44
11-1. Using the bobbin thread counter .........................44
11-2. Using the production counter...............................44
12. CHANGING FUNCTIONS USING THE
DIP SWITCHES .......................................45
12-1. Operation panel DIP switches.............................45
12-2. Setting the presser mode ....................................45
12-3. DIP switches inside the control box.....................46
12-4. Using user programs...........................................47
13. CHANGING SPECIAL FUNCTIONS
USING THE MEMORY SWITCHES.........49
13-1. Using the cycle sewing function ..........................52
14. TABLE OF ERROR CODES.....................54
15. GAUGE PARTS LIST...............................56
16. TROUBLESHOOTING .............................57
17. OPTIONAL PARTS ..................................60

