4 5
Safety and warnings Safety and warnings
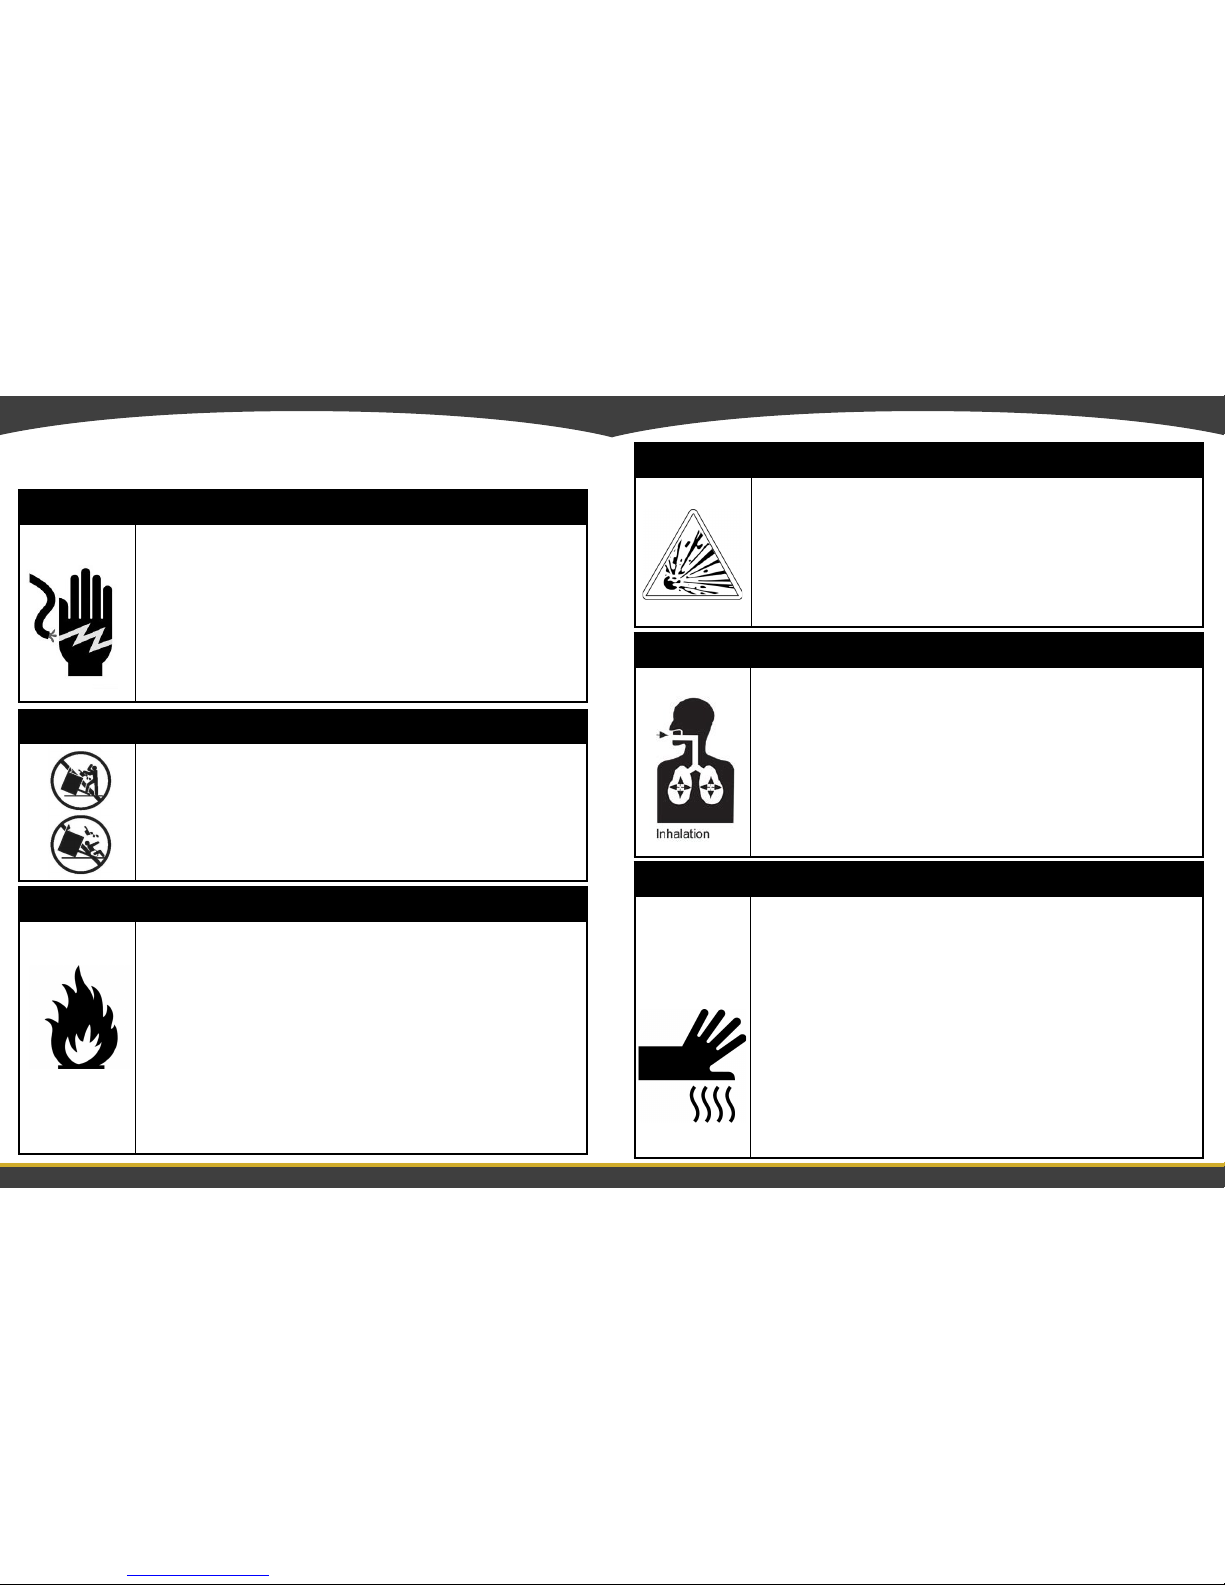
IMPORTANT SAFETY INSTRUCTIONS
• Safe food handling: leave food in the oven for as short a time as possible before and after cooking.
This is to avoid contamination by organisms which may cause food poisoning. Take particular care
during warmer weather.
• Clean only the parts listed in this manual.
• Do not use a steam cleaner to clean any part of the appliance.
• Do not obstruct the ow of combustion and ventilation air to the appliance.
• Before self-cleaning the oven – Remove oven shelves, side racks, broiler pan and all other cook-
ware/utensils, and wipe up large food spills or grease deposits.
• Before self-cleaning the oven –make sure you move any pet birds to another, closed and well ven-
tilated room. Some pet birds are extremely sensitive to the fumes given off during a self-cleaning
cycle, and may die if left in the same room as the range during such a cycle.
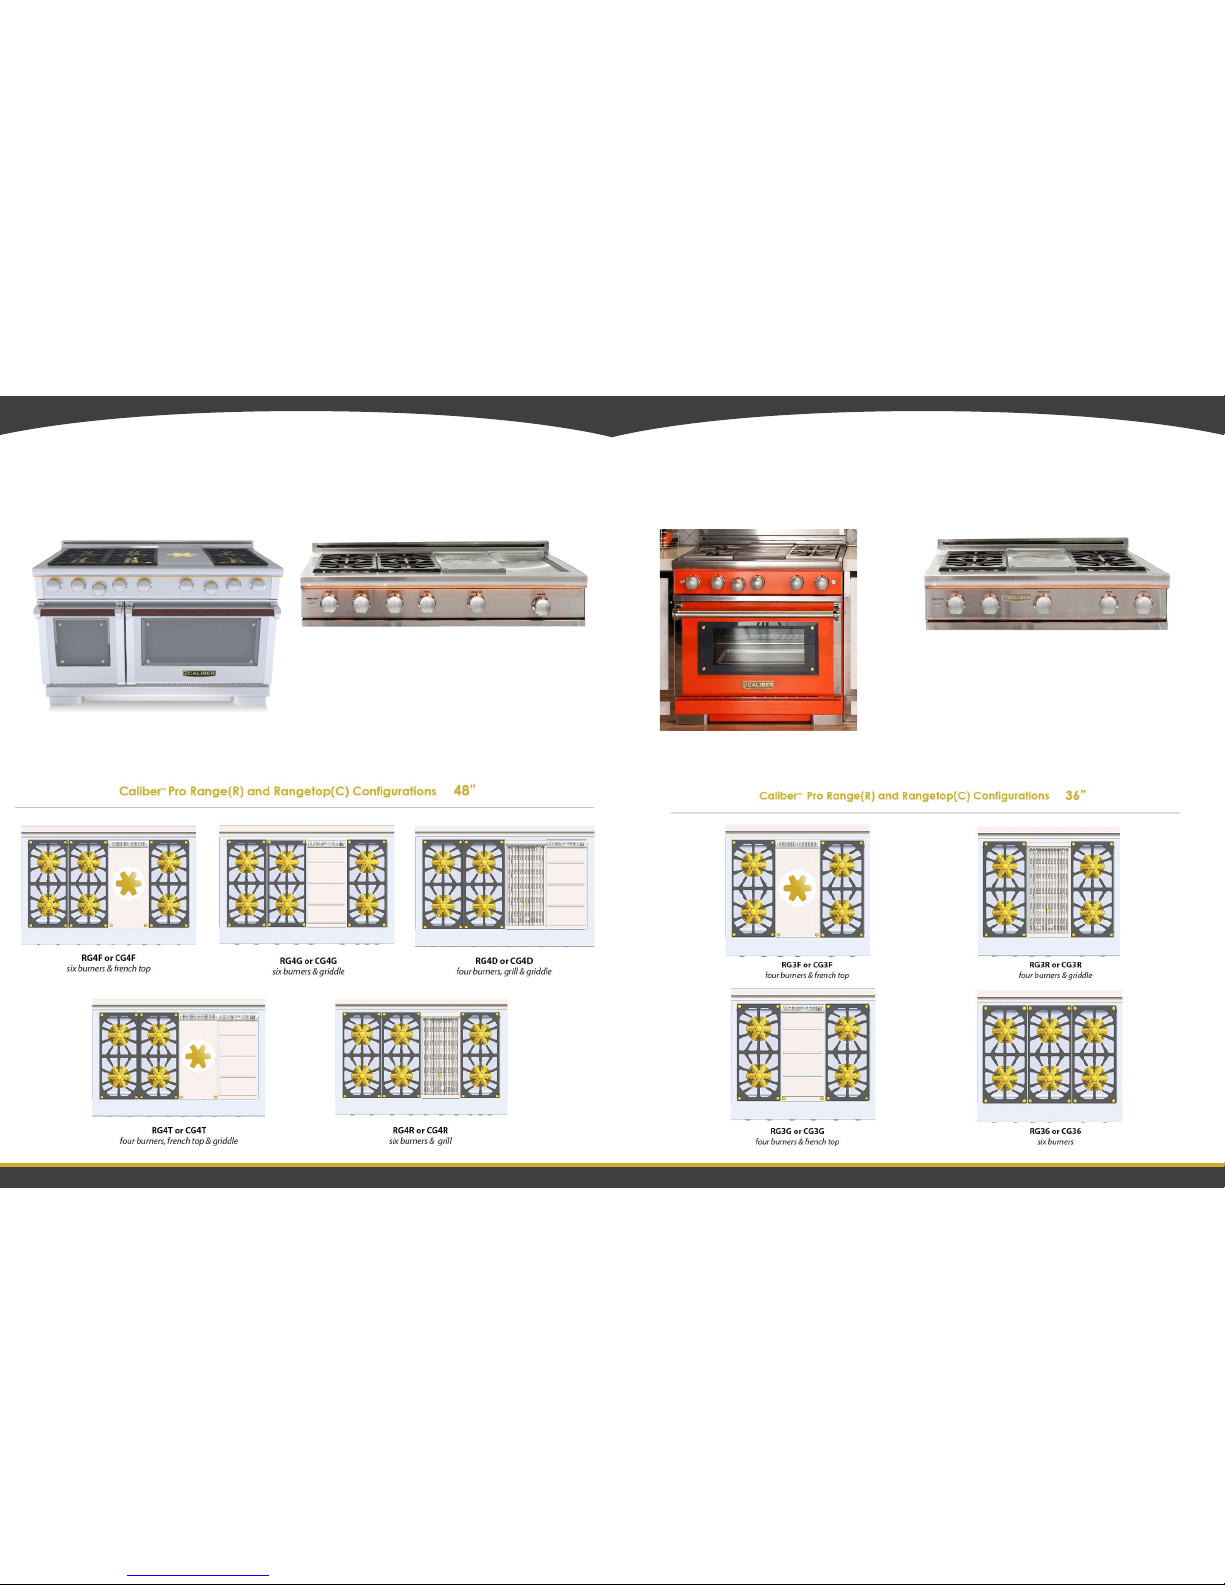
• Do not use any cookware on the French Top, grill or griddle.
• Top cover (lid) must be removed when the griddle is in operation.
• When using the grill or griddle, make sure the grease drip-pan is in place – absence of this during
use may subject wiring or components underneath to damage.
• The oven(s), French Top, grill, and griddle of your rangetop cannot be used in the event of a power
failure. Do not attempt to operate these during power failure.
• Do not use aluminum foil to line any part of the oven or rangetop. This will cause heat to be trapped
underneath it. This trapped heat can upset the cooking performance and damage the nish of the
oven or rangetop parts.
• Do not place any dishes, trays, water or ice directly on the oven oor during cooking, as doing so will
irreversibly damage the porcelain enamel nish.
• For safety reasons, the rangetop burner ame size should be adjusted so it does not extend beyond
the edge of the cookware.
• Use cookware of the appropriate size and construction for the type of cooking. This appliance is
equipped with burners of different sizes. Cookware must be matched to the size of the burner.
• Select utensils with at bottoms large enough to cover the burner ames. The use of undersized
utensils will expose a portion of the burner ames to direct contact and may result in ignition of cloth-
ing. Proper relationships of utensil to burner will also improve efciency.
• Protective liners – Do not use aluminum foil to line grease drip-pans or oven bottoms.
• Glazed cooking utensils – only certain types of glass, glass/ceramic, ceramic, earthenware, or other
glazed utensils are suitable for rangetop service without breaking due to the sudden change in tem-
perature.
• Utensil handles should be turned inward and not extend over adjacent rangetop burners – To reduce
the risk of burns, ignition of ammable materials, and spillage due to unintentional contact with the
utensil, the handle of a utensil should be positioned so that it is turned inward, and does not extend
over adjacent rangetop burners.
• The Governor of California is required to publish a list of substances known to the State of California
to cause cancer or reproductive harm and requires businesses to warn customers of potential expo-
sures to such substances.
WARNING!: This product emits exhaust that contains chemicals known to the State of California to cause
cancer, birth defects, and other reproductive harm. To reduce the risk from such chemicals, make sure this
appliance is installed, operated, and maintained according to the manufacturer’s instructions.
IMPORTANT SAFETY INSTRUCTIONS
• Read all the instructions before using the appliance. Use the appliance only for its intended pur-
pose as described in these instructions.
• Proper installation – Be sure your appliance is properly installed and grounded by a qualied tech-
nician. A risk of tip-over exists when the appliance is not installed in accordance with the installation
instructions.
• Do not operate the appliance if it is damaged or not working properly. If you received a damaged
product, contact your dealer or installer immediately.
• Be sure to have the installer show you where and how to turn off the power supply to the range (i.e.
location of the main fuse or circuit breaker panel) and where and how to turn off the gas supply to
the range in an emergency.
• Do not leave children alone – Children should not be left alone or unattended in the area where the
appliance is in use. They should never be allowed to play with the appliance or to sit or stand on
any part of the appliance.
• Caution – for safety reasons, do not store items of interest to children in cabinets above a range or
at the back of the range – children climbing on the range to reach items could be seriously injured.
• Wear proper apparel – Loose-tting or hanging garments should never be worn while using the
appliance.
• User servicing – Do not repair or replace any part of the appliance unless specically recommend-
ed in the manual. All other servicing should be referred to a qualied technician.
• Technicians must disconnect the appliance from the power supply before any servicing.
• Storage in or on appliance – Flammable materials should not be stored in an oven or near the
rangetop.
• Use care when opening the oven door – Let hot air or steam escape before removing or replacing
food.
• Keep oven vent ducts unobstructed.
• Keep rugs and mats well clear of the base of the range.
• Placement of oven shelves – Always position shelves in the desired location while the oven is cool
(before preheating). If a shelf must be removed while the oven is hot, do not let oven mitts or pot-
holder contact the base of the oven or hot heating elements in the oven.
• Do not clean the oven gasket or use any oven-cleaning products on it. It is essential for a good
seal, which ensures that the oven operates efciently. Care should be taken not to rub, damage or
move it.
• Do not use oven cleaners, harsh/abrasive cleaning agents, waxes, or polishes in a self-cleaning
oven. No commercial oven cleaner, oven liner, or protective coating of any kind should be used in\
or around any part of a self-cleaning oven.
• Do not use harsh/abrasive cleaners, scourers or sharp metal scrapers to clean the oven door glass
since they scratch the surface, which may result in the glass shattering.
• Do not sit or stand on the oven door or place any heavy objects on it – doing so may result in per-
sonal injury.
• Be careful when reaching for items stored in cabinets above the appliance.