Calorex ACT-7 User manual

ACT-7
Quick start guide

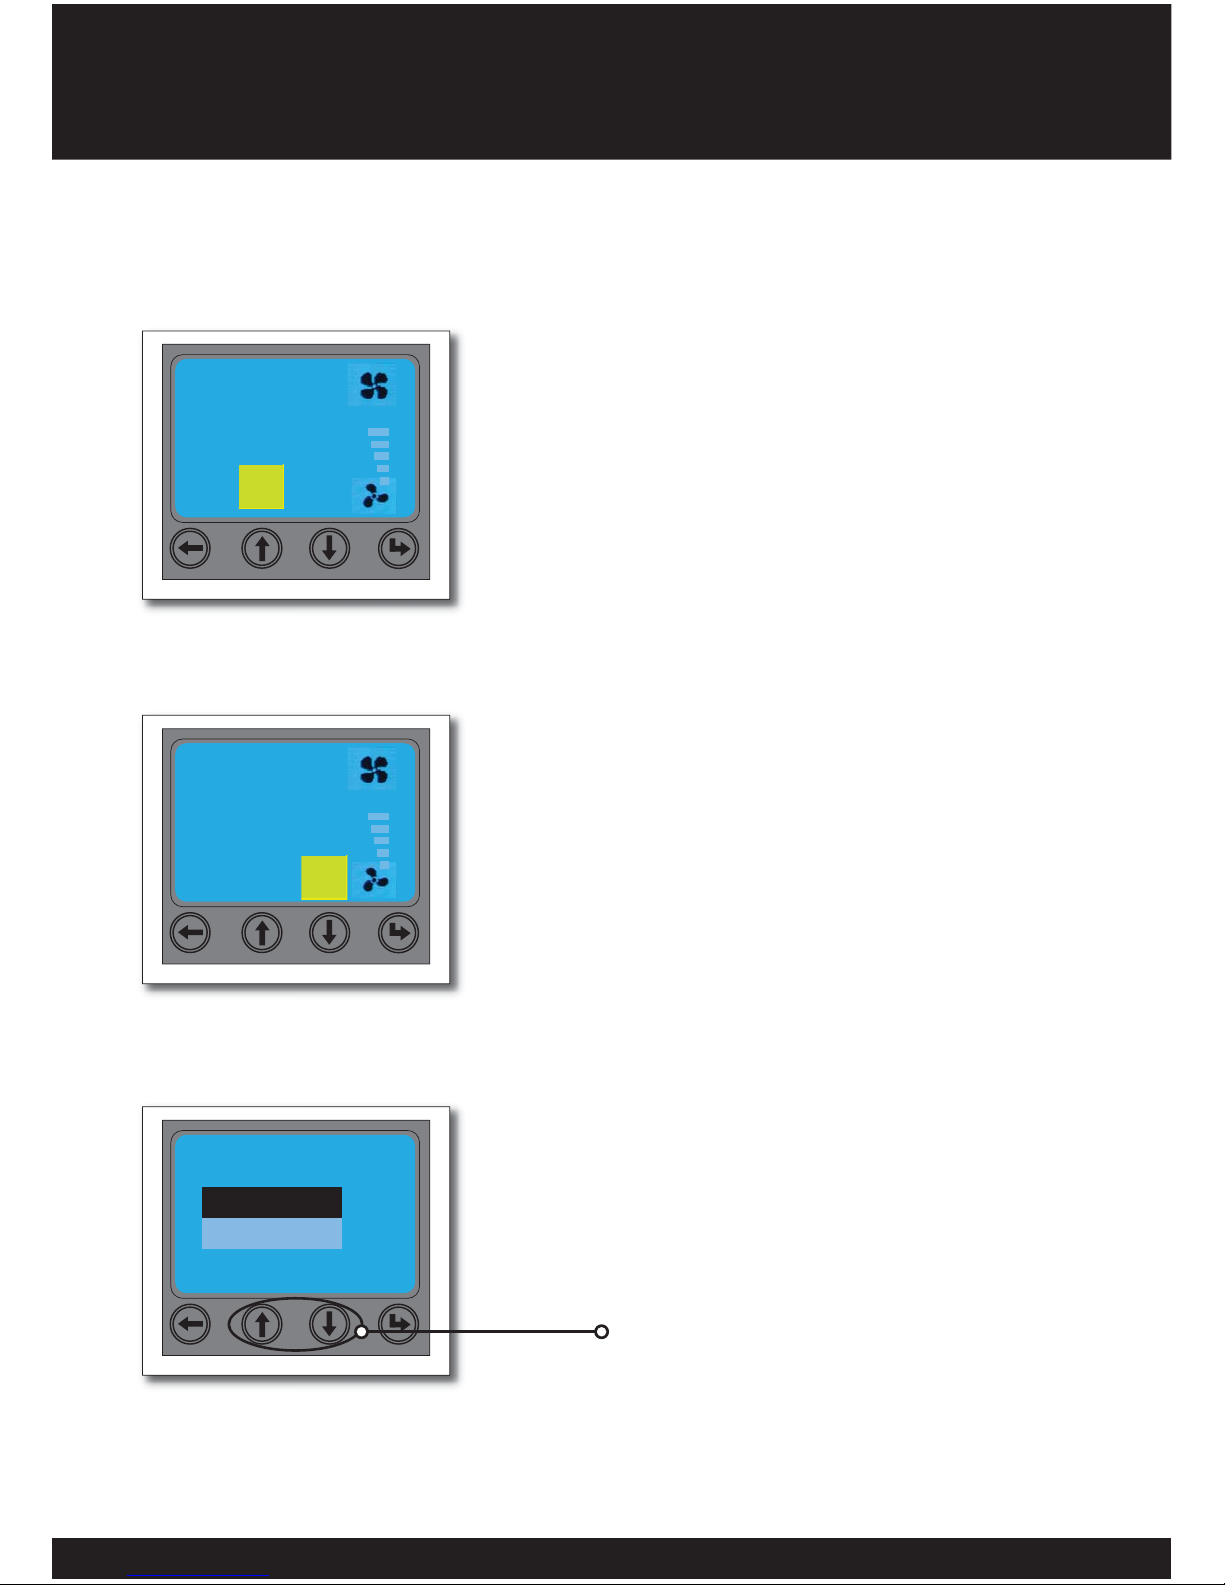
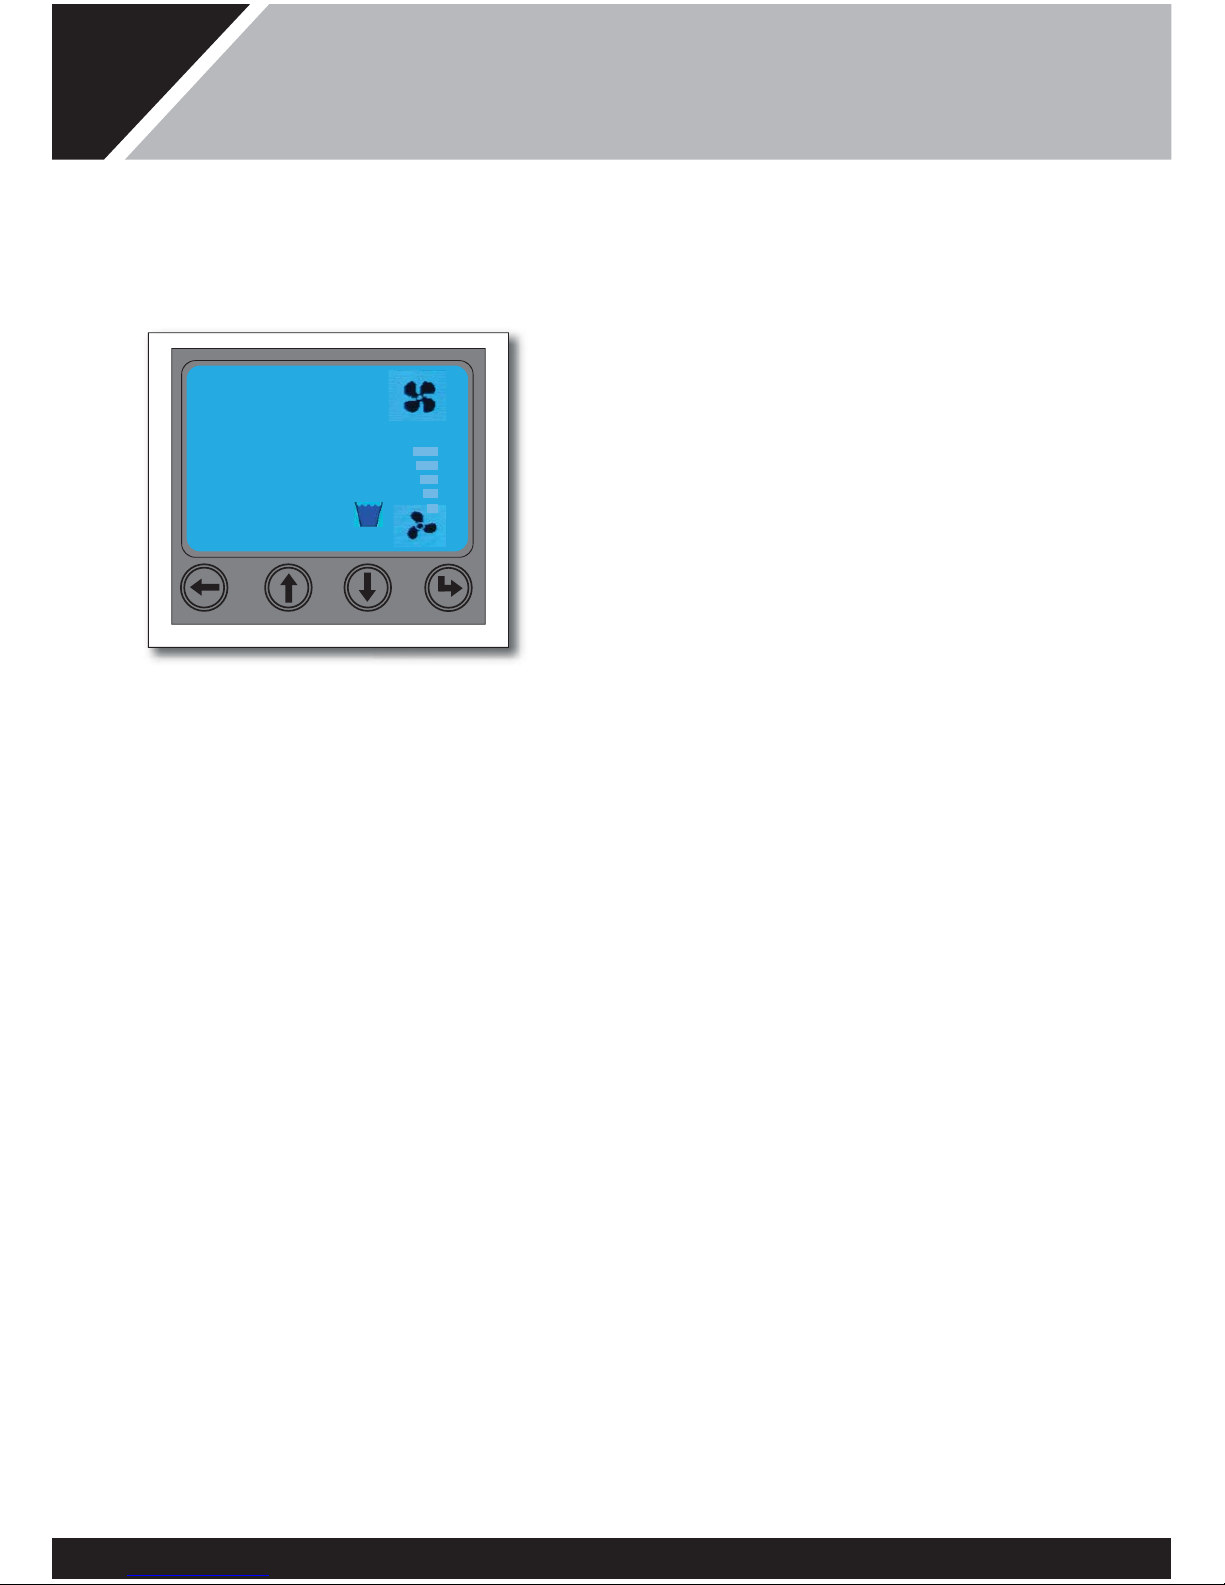
2ACT-7 QUICK START GUIDE
QUICK START GUIDE
HEALTH AND SAFETY WARNING
As e air conditioner contains electrical and
rotational equipment, it is recommended at ONLY
competent persons carry out any work on is type
of device.
Isolate electrically before entering machine or
removing panels.
This appliance can be used by children from 8 years
and above and persons wi reduced physical,
sensory or mental capabilities or lack of experience
and knowledge if ey have been given supervision
or instruction concerning use of e appliance in
a safe way and understand e hazards involved.
Children should not play wi e appliance. Cleaning
and user maintenance shall not be made by children
wiout supervision.
General safety
• This device should only be operated by a competent
adult who has read and understood ese instructions.
• Never operate is device if you are ill, feeling tired or
under e influence of alcohol or drugs.
• Never put anying on top of e device or block e air
inlets or outlets.
• Make sure e device is switched off and unplugged
aer use.
• Check condition of e device before use. If device
is showing signs of damage contact your supplier
immediately.
Warnings
• This device MUST be transported and operated in e
upright position at all times.
• Do not operate is device if it has missing, damaged,
insecure guards or electrical components.
• Ensure e device is sited on firm level ground.
• Locate away from any possible unauorised
interference.
• Ensure electrical supplies are of adequate capacity.
• The user must not undertake any service or repair of
e device.
• Ensure debris cannot be sucked into e device.
If ere is any doubt concerning e device or installation
consult your supplier.
Heal and safety at work act 1974
Under section 6 of e above Act, it is e duty of e
manufacturers and suppliers of e products for use at
work to ensure, so far it is reasonably practicable, at such
products are safe wiout risk to heal when properly used
and to make available to users of such products adequate
information about eir safe and proper operation.
Air conditioners should only be used in e manner and
purpose for which ey were intended and in accordance
wi e recommendations detailed in is guide. Our air
conditioners have been designed, produced and inspected
wi safety in mind, but ere are certain basic precautions
which should be taken by e user and in particular attention
is drawn to e safety precaution in is leaflet.
It is imperative, erefore, at all persons who may make
use of e device have all e information and instructions
ey require to ensure at ey are fully aware of any
hazards, and at ey know bo e purpose and e
correct manner of e use of e device.

3
ACT-7 QUICK START GUIDE
QUICK START GUIDE – PLEASE READ BEFORE OPERATING THE UNIT
Table of contents
Heal and safety 2
System description 3
Electrical supply 3
Air flow 3
Siting 4
Heat exchanger 4
Condensate 5
Connections 5
Room unit fluid level 5
Gas charge 5
Controls 6
Setting e desired temperature 7
Fault symbols 8
Changing e offset 10
Setting e language 12
Turning off 13
Maintenance 13
Troubleshooting 14
System description
The ACT-7 comprises a room unit and external heat
exchanger. The interconnecting line which connects e two
parts togeer includes two water pipes, condensed waste
water pipe and an electrical supply power cord. Bo ends of
e water pipes are fitted wi ‘quick connect’ couplings at
open on connection but reseal to become water tight on
disconnection. Up to 30m of lines can be joined togeer.
Electrical supply
As standard, e ACT-7 requires a fused electrical supply (UK
13A, Europe 16A) rated at 230 Volts, ~1N, 50Hz. The ACT-7
will operate from a standard domestic wall socket. The size of
any extension cable at may be used is 2.5mm2minimum
up to a maximum leng of 10 metres. For longer lengs
4.0mm2cable must be used. If e cable is on a ‘cable drum’
en ensure at it is completely unwound in accordance
wi e manufacturer’s instructions – serious complications
will occur oerwise.
Note: Most domestic proprietary extension cables are
1.5mm2. This is not sucient.
Air flow
The air outlet at e top of e ACT-7 room unit is fitted wi
grilles at allow e angle of air outlet to be adjusted. In
conjunction wi e fan speed control switch, e air velocity
and direction can be carefully set up to obtain maximum
coverage of e area being cooled wiout causing draughts.
An alternative top panel wi twin 7" ducts is available.
Care should be taken to avoid outlet air being obstructed as
is will cause e air to rebound around e device resulting
in recirculation and incorrect control of e device. Ideally, e
air should be directed to create a ‘blanket’ of cold air across
e ceiling area allowing natural convection to drop e air
over e whole area at very low velocity.

4ACT-7 QUICK START GUIDE
QUICK START GUIDE
Ducted fn speed switch
When e ACT-7 is fitted wi ducting, e position of e
ducted fan speed switch inside e ACT-7 room unit has
to be changed. The switch is accessed by removing e
top cover (five screws). The switch is located at e back of
e electric box in e position shown below. Change e
switch to e ducted fan position, and replace e cover wi
e ducted panel. Wi e ACT-7 in is state, when e
fan speed control dial is turned to full speed, e fan speed
display indicator will display red bars (see Controls). If e
ducted panel is changed back to e standard panel ensure
e switch is changed back to e non ducted position.
Siting
Room unit
Ideally, e ACT-7 room unit should be positioned in e
middle of e shortest wall in e room blowing down e
leng of e room. If ere is more an one ACT-7 in e
same area, en ey would normally be positioned side
by side, and equally spaced along e long wall, all pointing
in e same direction. Sometimes it may be necessary to
position units around e perimeter of an area but, in is
case, great care should be taken to avoid one unit blowing
cold air straight into anoer which will adversely affect
operation. Good and correct air flow is, perhaps, e single
most important aspect of satisfactory use of portable air
conditioners. If in doubt seek e advice of your supplier.
Heat exchanger
The external heat exchanger must be sited external to e
area being cooled and, preferably outside. It can stand freely
on a flat surface or may be hung, in e upright position,
from a window-sill or balcony.
Use e chains provided to support e heat exchanger.
(See below).
The heat exchanger must NOT be supported by e
flexible lines alone.
Ducted fan speed switch shown in
correct position for use wi ducted
cover.

5
ACT-7 QUICK START GUIDE
Condensate
In operation, e ACT-7 room unit condenses water vapour
out of e atmosphere. This water is pumped away rough
e interconnecting line between e room unit and e heat
exchanger. Re-evaporation of some of e water occurs in e
heat exchanger, but water will also drip rough e base of
e heat exchanger.
Consider carefully e potential of dripping water when
positioning e external heat exchanger.
Connections
The ACT-7 room unit must only be operated when
connected to e heat exchanger wi e interconnecting
line provided. Connect e condensate drain to bo e
ACT-7 room unit and e heat exchanger by pushing e
clear hose ends into e grey connector (push darker grey
ring ‘in’ and pull e hose to remove). Connect e heat
exchanger power cord to bo e ACT-7 room unit and heat
exchanger using e sockets provided. Connect e water
pipes to e room unit and e heat exchanger.
The interconnecting line should be routed carefully to avoid
any possibility of kinking or unnecessary restrictions to e
flow of water. The line will be more susceptible to kinking
when warm.
Room unit fluid level
The fluid system in e ACT-7 room unit should be at e
correct level when delivered. Look rough e inspection
window and check at e level is between e MAX and
MIN on e tank in e back of e room unit. If necessary
top up e room unit wi antifreeze (33%) and water. To
ensure e system is properly protected, do not mix different
types of antifreeze. Original specification is eylene glycol
based antifreeze, containing rust/corrosion inhibitors, suitable
for aluminium systems, 33% giving protection to -20°C. This
specification will protect e entire water circuit down to
-20°C (-5°F).
The header tank filler is in e rear of e room unit and
can be accessed by removing e two screws holding e
security plate over e filler tank cap. (See Fig.1).
Ensure e ACT-7 is running in cooling mode before slowly
removing e header tank cap. Top up e tank and replace
e cap and security plate. The approximate total volume of
e system complete wi heat exchanger and lines is as
follows:
Line set leng System capacity
5m 5.3 litres/1.16 gallons
10m 6.7 litres/1.47 gallons
15m 8.1 litres/1.78 gallons
20m 9.5 litres/2.08 gallons
25m 10.9 litres/2.39 gallons
30m 12.3 litres/2.70 gallons
Do not apply mains water pressure to e system.
Refrigerant charge
The device incorporates a hermetically sealed refrigeration
circuit containing 0.88kg of R407c refrigerant.
Global warming potential (GWP) 1774.
Carbon dioxide equivalent 1.6 tonnes.
Inspection
window
Remove
screws
Fig.1

6ACT-7 QUICK START GUIDE
QUICK START GUIDE
Fn speed control
The speed of e fn is controlled by e fn speed control
dil s shown bove. Turning e dil clockwise increses
e speed of e fn nd more solid blck brs will be shown
on e fn speed indictor. Plese note t ere is short
dely between turning e dil nd e fn speed incresing
or decresing. If using e optionl duct kit, e switch on e
bck of e electric box must be set to ducted mode. (Only
use fn speeds in e
RED rnge on e fn speed indictor
for ducted opertion).
Mode switch
Top position: ‘fn only’ mode is selected. In ‘fn only’ mode
ir circultes, but ere is no ir conditioning.
Centre position: ‘stnd by’ mode is selected. The device
remins powered but will not operte.
Bottom position: ‘ir conditioning’ (A/C) mode is selected.
There is six minute dely timer when switching to ‘A/C’
mode from ‘stnd by’ or ‘fn only’ modes. Cooling will strt
er is dely period.
Controls
A/C indicator Alarms Fan speed
indicator
Fan speed
control dial
Defrost
indicator
Mode switch
Temperature
display
Tank full
indicator

7
ACT-7 QUICK START GUIDE
Temperature
Reset alarm
+ -
25
ACT-7
16C
Setting e required temperature
Press and hold e ‘enter’ key for two seconds, en
release to enter e ‘Settings menu’.
Wi e ‘Temperature’ option highlighted press e
‘enter’ key.
Use e ‘up’ and ‘down’ keys to change e highlighted
value. Pressing enter stores e temperature setting.
‘back’ ‘up’ ‘down’ ‘enter’

8ACT-7 QUICK START GUIDE
QUICK START GUIDE
Reset Alarms
HP Fault
LP Fault
ACT-7
16C
ACT-7
16C
Alarms
High pressure and low pressure faults are indicated by a
flashing red ‘H’ or ‘L’ respectively and must be reset to
resume normal operation.
See ‘troubleshooting’ section.
Resetting e alarms
Fault symbols
In e ‘Settings menu’ scroll down to ‘Reset alarm’ and push
‘enter’. Then using e up and down keys highlight e
alarm to be reset and push ‘enter’.
H
L

9
ACT-7 QUICK START GUIDE
Tank full alarm
This alarm resets itself and no action is required on e part
of e user.
When e condensate tank in e ACT-7 is full, a blue bucket
flashes on e console. While is is flashing e ACT-7
continues to work for a furer 30 seconds.
Aer 30 seconds, if e condensate tank has not emptied,
e pump continues to operate but e ACT-7 stops cooling
e air.
Once e condensate tank is empty, e bucket stops
flashing and cooling restarts aer a delay of six minutes.
ACT-7
16C

10 ACT-7 QUICK START GUIDE
QUICK START GUIDE
Settings menu
Advanced
Reset alarm
Advanced settings
Changing e offset
An offset is used to calibrate e temperature
shown on e main screen.
In e ‘Settings menu’ scroll down to ‘Advanced
settings’ and push ‘enter’.
Highlight ‘Offset’ and push ‘enter’.
Use e ‘up and ‘down arrows to change e +/- symbol.

11
ACT-7 QUICK START GUIDE
Press ‘enter’ to move onto e next digit.
When ‘enter’ is pressed on e final digit, e
value is stored.

12 ACT-7 QUICK START GUIDE
QUICK START GUIDE
Setting e language
Advanced menu
Enable Pin
Language
In e ‘Advanced menu’ scroll down to ‘Language’ and
push ‘enter.’
Language Menu
English
Francais
Deutsch
Use e ‘up’ and ‘down’ arrows to select e desired
language.
Push ‘enter’ to save e changes.

13
ACT-7 QUICK START GUIDE
Turning off
If you wish to turn e device off and disconnect e power
supply, switch e device to standby for a minimum of
30 minutes to allow for e condensate pump to drain
e system. The hoses and e mains power can en be
disconnected.
Failure to follow e above procedure may result in
excess water being retained in e system which may
spill when e ACT-7 is moved.
Routine maintenance
The air filter must be kept clean. Never allow e filter to
become obstructed wi dust or dirt. If allowed to do so, poor
performance and component damage may occur. The filter
is fitted to e rear of e panel shown below and is held
on wi magnets. Remove e panel by pushing e panel
up using recesses at e bottom. Remove e filter, vacuum
excess dirt, and wash it wi soapy water. Leave e filter to
dry before refitting it and operating e ACT-7.
Push cover up
Recesses

14 ACT-7 QUICK START GUIDE
QUICK START GUIDE
Troubleshooting
Only a competent electrician should attempt to rectify electrical supply problems.
Only a competent refrigeration engineer should work on e refrigeration system.
Symptoms Possible causes Action required
No air flow from room unit, display
off.
Problem wi e power
supply.
Turn on electricity and/or check mains supply fuse.
No air flow from room unit, display
on and showing temperature.
Mode switch in standby
position.
Change e position of e mode switch to fan only
or A/C.
No air flow from room unit, display
on, defrost and A/C symbols
showing.
ACT-7 is defrosting. Machine in defrost mode, do not adjust anying,
machine will revert to normal operation aer ten
minutes.
Insucient air flow from room unit. Blocked air filter. Clean filter.
Insucient air flow from room unit.
A/C indicator on, defrost symbol
showing.
Temperature set too high. Lower e temperature and wait six minutes for time
delay on start-up to elapse.
Insucient air flow from room unit. Fan speed dial set to minimum. Change e position of e fan speed dial.
No cooling. HP alarm showing. High
pressure trip.
No water or kinked hoses.
Insucient water.
External heat exchanger unit
mounted in very high ambient
temperature?
Water frozen?
Reset alarm as described in resetting alarms section
on page 8.
Top up e ACT-7 room unit header tank wi water/
glycol mixture.
Add glycol (33%) as shown on page 5.
No cooling. Flashing bucket full symbol.
Condensate pump not
reducing water level.
Check e lines for kinks and remove em. Check e
room unit for leaks. Check to see if e condensate
tube is frozen.
No cooling. LP alarm showing. Low
pressure trip.
Loss of refrigerant.
Blocked filter.
Reset alarm as described in resetting alarms section
on page 8.
Check e filter and clean if necessary as shown on
page 13.
HP/LP faults. Recurring high pressure and low pressure faults may
indicate at ere is an underlying problem at needs
investigating. Contact e supplier of e ACT-7 to
arrange for servicing.

15
ACT-7 QUICK START GUIDE

Calorex Heat Pumps Limited, The Causeway, Maldon, Essex CM9 4XD, United Kingdom
Table of contents
Other Calorex Air Conditioner manuals