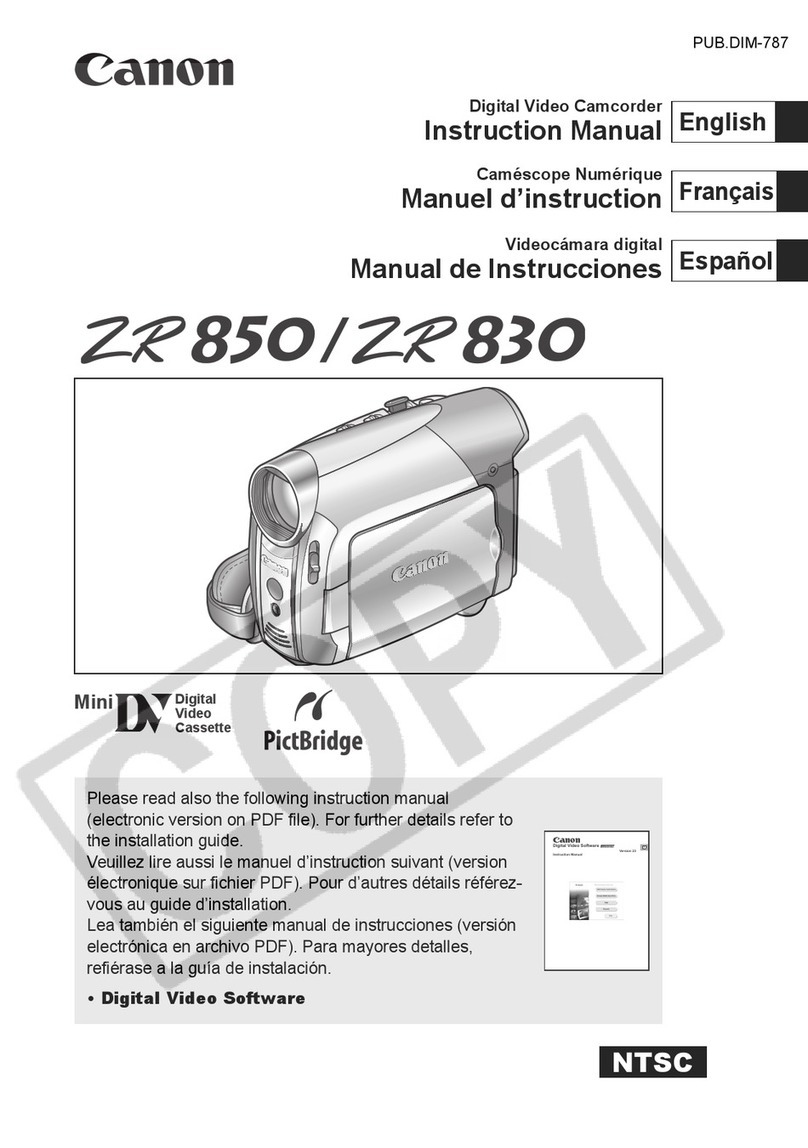
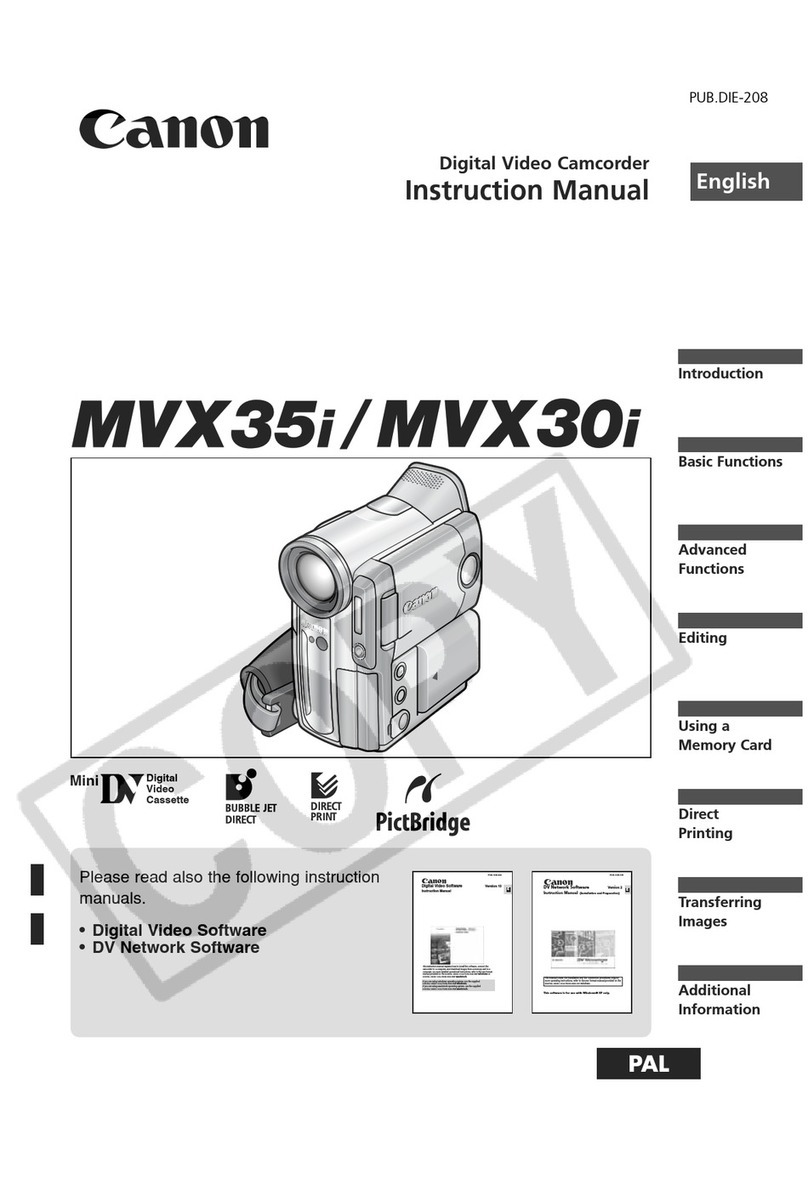
Canon DVD CAMCORDER DC410 User manual

CaHOH
DVDCamcorder
InstructionManual
Cam_scopeDVD
Manueld'instruction
Videoc_maraDVD
ManualdeInstrucciones
PUB. DIM-890
Pid:Bridge

important Usage instructions
WARNING! TO REDUCE THE RiSK OF FiRE OR ELECTRIC SHOCK, DO NOT EXPOSE THiS
PRODUCT TO RAiN OR MOISTURE.
WARNING! TO REDUCE THE RiSK OF ELECTRIC SHOCK AND TO REDUCE ANNOYING
iNTERFERENCE, USE THE RECOMMENDED ACCESSORIES ONLY.
COPYRIGHT WARNING:
Unauthorized recording of copyrighted materials may infringe on the rights of copyright
owners and be contrary to copyright laws.
DVDCamcorder,DC420A/DC410A systems
Thisdevice complies with Part15 ofthe FCCRules.Operationis subject to the following two conditions: (1)Thisdevice may notcause
harmful interference, and(2) this device mustaccept anyinterference received, including interference that may cause undesired
operation.
Note:Thisequipment has beentested and found tocomply with thelimits for class Bdigital device, pursuantto Part15 of the FCC
Rules.These limits are designed to provide reasonableprotection against harmful interference in a residential installation. This
equipment generates, usesand can radiateradio frequencyenergy and, if not installed anduse in accordance with the instructions,
maycause harmful interference to radiocommunications. However,there is no guarantee that interference will notoccur in a
)arficular installation. If this equipment doescause harmful interference toradio or television reception, which can be determined by
turning the equipment off and on,the user is encouraged totry tocorrect the interference byone or more ofthe following measures:
Reorientor relocate the receiving antenna.
Increasethe separation between the equipmentand receiver.
Connect theequipment into an outlet on a circuit different from that to which the receiver is connected.
Consult the dealer or an experiencedradio/TV technician for help.
Thecable with theferrite core providedwith the digital video camcorder must beused with this equipment in order to comply with
ClassB limits in Subpart Bof Part15 ofthe FCCrules.
Donot makeany changes or modifications tothe equipment unless otherwise specified in themanual.
if such changes or modifications should be made, you could be required to stopoperation ofthe equipment.
CanonU.S.A.Inc.
OneCanon Plaza,Lake Success, NY11042, U.S.A.
TelNo.(516)328-5600
CAUTION:
TO PREVENT ELECTRIC SHOCK, MATCH WiDE BLADE OF PLUG TO WiDE SLOT, FULLY INSERT.
TheMains plug is used as thedisconnect device. The Mains plug shallremain readily operabletodisconnect the
plug in case ofan accident,
Important Warning
CAUTION:
TO REDUCE THE RiSK OF ELECTRIC
SHOCK, DO NOT REMOVE COVER (OR
BACK}. NO USER=SERVICEABLE PARTS
INSIDE. REFER SERVICING TO QUALiFiED
SERVICE PERSONNEL.
The lightning flash with arrowhead symbol,
within an equilateral triangle, is intended to
alert the user to the presence of uninsulated
"dangerous voltage" within the product's
enclosure, that may be of sufficient
magnitude to constitute a risk of electric
shock to persons.
The exclamation point, within an equilateral
triangle, is intended to alert the user to the
presence of important operating and
maintenance (servicing) instructions in the
literature accompanying the product.

in thesesafety instructionstheword "product" refersto
the CanonDVDCamcorderDC420A/DC410Aandallits
accessories.
"1 Readthese instructions.
2 Keepthese instructions.
3 Heedallwarnings.
4 Followall instructions.
5 Do not usethis apparatus near water.
6 Cleanonlywith dry cloth.
7 Do not install nearany heatsources such as
radiators,heat registers, stoves,or other
apparatus(including amplifiers)that produce heat.
8 Do not defeatthe safetypurpose of the polarized
or grounding-typeplug.A polarizedplug hastwo
bladeswith onewider than the other.Agrounding
type plug hastwo bladesanda third grounding
prong.Thewide bladeor the third prong are
providedfor yoursafety.If the providedplug does
not fit into your outlet, consultan electrician for
replacementofthe obsolete outlet.
9 Protectthe power cord from beingwalked on or
pinchedparticularly atplugs, convenience
receptacles,andthe point wherethey exit from
the apparatus.
"10 Onlyuse attachments/accessoriesspecified by
the manufacturer.
"1"1 Unplug this apparatusduring lightning storms or
when unusedfor long periodsof time.
"12 Referall servicing to qualifiedservice personnel.
Servicing is requiredwhenthe apparatus has
beendamaged in any way, such as power-supply
cord or plugis damaged,liquid hasbeenspilled or
objectshavefallen into the apparatus,the
apparatus has beenexposedto rain or moisture,
doesnot operatenormally,or has beendropped.
"13 HeadInstructions--All the safetyandoperating
instructions should be readbefore the product is
operated.
"14 RetainInstructions -- The safetyandoperating
instructions should beretained for future
reference.
"15 HeedWarnings-- All warnings on the product
andin the operating instructionsshould be
adheredto.
"16 FollowInstructions -- All operatingand
maintenanceinstructions should befollowed.
"17 Cleaning-- Unplugthis productfromthe wall
outlet beforecleaning.Donot use liquid oraerosol
cleaners.The product should be cleanedonly as
recommendedin this manual.
1 8 Accessories-- Do not use accessoriesnot
recommendedin this manualas they maybe
hazardous.
"19 Avoidmagneticor electricfields-- Donot usethe
cameracloseto TVtransmitters,portable
communication devicesor other sourcesof
electric or magneticradiation. Theymay cause
picture interference,or permanentlydamagethe
camera.
20 WaterandMoisture-- Hazardofelectric shock
-- Do notuse this product near water or in rainy/
moist situations.
21 Placingor Moving -- Do not placeon an unstable
cart, stand, tripod, bracket or table. Theproduct
may fall, causingserious injury toa child or adult,
andseriousdamage to the product.
Aproductandcartcombination
should be movedwith care.
Quickstops, excessiveforce,
anduneven surfaces may
causethe productandcart
combinationto overturn.
22 PowerSources-- TheCA-570 CompactPower
Adaptershould be operatedonlyfrom the typeof
power sourceindicatedon the marking label. If
you are not sure ofthe type ofpower supplyto
your home, consultyour productdealer or local
power company.Regardingotherpower sources
such as battery power,referto instructions inthis
manual.
23 Polarization-- TheCA-570 CompactPower
Adapterisequipped with a polarized2-prong plug
(a plughaving one blade wider than the other).
The2-prong polarizedplug will fit into the power
outlet onlyoneway. Thisis asafetyfeature. If you
are unableto insert the plugfully into the outlet,
try reversingthe plug. Ifthe plug still fails tofit,
contact your electricianto replaceyour obsolete
outlet. Do notdefeat the safety purpose ofthe
polarizedplug.
24 PowerCordProtection-- Powercords should be
routedso thatthey are not likely to be walked on
or pinchedby items placed uponor againstthem.
Payparticular attentionto plugs andthe point
from which the cords exitthe product.
25OutdoorAntennaGrounding--Ifanoutside
antennaisconnectedtotheproduct,besurethe
antennaisgroundedsoastoprovidesome
protectionagainstvoltagesurgesandbuilt-up
staticcharges.Section810oftheNational
ElectricalCode,ANSI/NFPANo.70--1984,
provides informationwith respect to proper
grounding ofthe mastand supportingstructure,
grounding ofthe lead-in wireto an antenna
dischargeunit, size ofgrounding conductors,
location ofantenna dischargeunit, connectionto
grounding electrodes,and requirementsfor the
grounding electrode.Seefigure 1.
Fig. _t EXAMPLEOFANTENNAGROUNDINGASPERNATIONAL
ELECTRICALCODE
_ ANTENNA LEAD
IN WIRE
GROUND CLAMP
ANTENNA DISCHARGE UNIT (NEC
_Q piIC_:NT _._ GROUN DMG CONDUCTORS
(NEC SECTION 810-21 )
GROUND CLAMPS
__'-pO_OUENR SERVICE GROUNDING
NED - NATIONAL ELECTRICAL ELECTRODE SYSTEM
CODE (NEC ANT 250. PART H)
26 Lightning-- For added protectionof this product
during a lightning storm, or when it is left
unattendedand unused forlong periods of time,
disconnect itfrom the wall outlet and disconnect
the antenna.Thiswill preventdamageto the
productdueto lightning and power-line surges.
27 Overloading-- Do notoverload wall outlets and
extensioncordsas this can resultin a risk of fire
or electricshock.
28 ObjectsandLiquidEntry-- Neverpushobjectsof
any kind into this productthrough openingsas
they maytouch dangerousvoltage pointsor short
out partsthat could resultin a fire or electric
shock. Becarefulnot to spill liquidof any kind
onto the product.
29 Servicing-- Do not attempt to service this
productyourselfas openingor removing covers
may exposeyou to dangerousvoltageor other
hazards.Referall servicing to qualified service
personnel.
30 DamageRequiring Service-- Disconnectthis
productfromthe wall outlet andall powersources
including battery,andrefer servicing to qualified
servicepersonnelunder the followingconditions:
a. When the power-supplycord or plugis
damaged.
b. If any liquid has beenspilled onto,or objects
havefallen into, the product.
c. if the product has beenexposedto rain or
water.
d. If the productdoesnot operatenormallyevenif
you follow the operating instructions.Adjust
only those controlsthat arecovered bythe
operationinstructions. Improperadjustmentof
other controls mayresult in damage andwill
often require extensivework bya qualified
technician torestore the productto its normal
operation.
e. if the producthas beendroppedor the cabinet
has beendamaged.
f. When the productexhibits adistinct changein
performance.This indicates a needfor service.
31 ReplacementParts-- Whenreplacementparts
are required, be sure theservice technicianhas
usedreplacementpartsthat are specified by
Canonor that havethe samecharacteristics as
the original part.Unauthorizedsubstitutionsmay
result in fire, electric shock or other hazards.
32 SafetyCheck-- Uponcompletion of any service
or repairsto this product,ask theservice
technicianto perform safetychecks to determine
that the productis in safe operatingorder.
33 Heat-- Theproduct should besituated away
from heat sourcessuchas radiators,heat
registers, stoves,or other products(including
amplifiers) that produceheat.
I Whenreplacementof thepower supplyis required, pleasereturn it tothe responsible nearestCanonServiceCenter |
3
andplease replaceit with the sametype number CA-578. /
I TheAdapter can be usedwith apower supply between 100and240 VAC. Forareaswhere 120VACpower is not ]used,you will needa special plugadapter.Contactyour nearestCanonService Centerfor further information. /
I ThisClassBdigital apparatuscomplies with CanadianICES-OO3. I

Howto Selecta DVDDisc
There are many types of DVD discs but this camcorder uses only the following three
types of 8 cm mini DVD discs: DVD-R, DVD-R DL and DVD-RW. Read the differences
between them and select the disc that best fits your needs.
DVD=RBestforcempaub,i
DVD-Rs can be recorded only once - you cannot edit or delete the recordings. On the
other hand, these discs are comparatively cheaper and can be played back on most
DVD players.
DVD-RDL Bestfor RecordingTime
Dual-layered discs allow writing up to 80% more data (approx. 2.6 GB) on a single
recording side. However, you cannot edit or delete the recordings.
Dual-layered discs have two recording layers. The
camcorder will record on layer 1 and then continue to ! scene2 _=_JI
layer 2. During the playbackof a recording spanning I Rcen_ gsurfa=_ce|
both layers, you may notice a brief stop (about 1 in
second) at the point where the camcorder switches to
the second layer. The switch to layer 2 will break the
recording into 2 separate scenes.
DVD=RW BestforBe.s b,i
Recordings made on a DVD-RW disc can be edited or deleted. Also, the disc can be
initialized. Initializing a DVD-RW disc clears all the recordings and restores the free
space on the disc to its initial value so you can use the same disc again.
Disc specification on DVD=RWs
DVD-RW discs can 3e recorded using either one of two disc specifications: VIDEO mode
or VR mode. When you first insert a brand new DVD-RW disc. the camcorder will
automatically display the initialization screen where you can select the disc specification
for the disc.
VIDEO mode: Once finalized, discs recorded in VIDEO mode can be played back on most
common DVD players offering the best compatibility. However. recordings cannot be
edited _ae_etea, rearranged, etc.).
VR mode: You can easily edit the recordings. However, discs recorded in VR mode can be
played back only with DVD players compatible with DVD-RWs in VR moae.
Note: DVD-R and DVD-R DL discs can be recorded only in VIDEO mode.

EnjoyingyourDVDs
After selecting the type of disc that is best for your needs, complete the rest of
the preparations (E_ 18) to get your camcorder ready to start recording.
ing Video {_ 28} --_
I Take iteasy recordingmovies !n_ rnodeO[ haye funtryingoutrnore
Ladvanced functions(EZ336).
Finalize the Disc (1_ 48}
Do not forget to finalize your disc with this
camcorder to play it back on a DVD player or
other external device.
4
Play back your finalized disc on your
DVD player (_ 491
You can also connect the camcorder to the
TV and play back the disc with your
camcorder (EZ365).
Playback on external devices
Make sure to finalize discs (_ 48) before you play them back on external DVD
devices. The disc's type will affect its compatibility with external devices. Refer to the
instruction manual of the external device and make sure it is compatible before
inserting the disc.
For the highest compatibility with external DVD devices we recommend using
VIDEO mode.

Available features depend on the DVDdisc used
Deleting a scene while reviewing itafter recording it
(C_33) 0 •
Initializing the disc in order to use it again for
recording (C[347) - - • •
Giving a title to the disc (C[347) 0 0 • 0
Finalizing the disc in order to play it with an external
DVD device (_48) 2 : • • • •
Add,ngrecordingstoad,sca,readyfina,zed_ _ •3 •
(CC}49)
Recording more video on a single recording side
l 3gt •
1Only scenes in the playlist can be divided.
2 To finalize a DVD-R DL disc, the camcorder has to process both layers. Therefore, and
depending on the amount of free space on the disc, this process may be lengthy.
3 You will need to unfinalize the disc first.
Approved discs
The camcorder's performance was tested and its correct operation was verified
using the following types of discs (as of November 2008"). Single-layered: Hitachi-
Maxell HG-series discs; dual-layered: Canon DVD-R DL54 and Verbatim DVD-R
DL discs. For further details, contact directly the customer support center of the
disc's manufacturer. Note that attempting to record or play back with this
camcorder DVD discs that were recorded, initialized or finalized with a device other
than this camcorder can result in damage to the camcorder or in the permanent
loss of the recordings.
* For the latest information, visit your local Canon Web site or contact your nearest
Canon office. The use of DVD-R DL discs that have not been tested by Canon may
result in incorrect recording/playback or in not being able to remove the disc.

Tableofcontents
introduction
5 How to Select a DVD Disc
6 Enjoying your DVDs
11 About this Manual
12 Getting to Know the Camcorder
12 Supplied Accessories
13 Components Guide
15 Screen Displays
Preparations
18 Getting Started
18 Charging the Battery Pack
20 Preparing the Accessories
20 Basic Operation of the Camcorder
20 Power Switch
21 Joystick and Joystick Guide
21 Using the Menus
23 First Time Settings
23 Setting the Date and Time
23 Changing the Language
24 Changing the Time Zone
24 Getting Ready to Start Recording
24 Opening the Lens Cover and Adjusting the LCD screen
25 Inserting and Removing a Disc
27 Inserting and Removing a Memory Card
Video
28 Basic Recording
28 Shooting Video
30 Selecting the Video Quality (Recording Mode)
30 Changing the Aspect Ratio of the Recordings (Widescreen /4:3)
30 Zooming: Optical, Advanced and Digital Zoom
32 Quick Start Function
32 Reviewing and Deleting the Last Scene Recorded
8 • Table ofcontents

33 Basic Playback
33 Playing Back the Video
35 Deleting Scenes
36 Additional Functions
36 []: Special Scene Recording Programs
38 [] Flexible Recording: Changing the Shutter Speed
39 LCD Video Light
39 Self Timer
40 Manual Exposure Adjustment
40 Manual Focus Adjustment
41 White Balance
42 Image Effects
42 Digital Effects
43 On-Screen Displays and Data Code
44 _ Using an External Microphone
45 Editing the Playlist and Disc Operations
45 Creating a Playlist
45 Deleting Scenes from the Playlist
46 Dividing Scenes in the Playlist
46 Moving Scenes in the Playlist
47 Initializing the Disc
47 Disc Playback on an External Device
47 Changing the Disc Title
48 Finalizing the Disc
49 Disc Playback on External Devices
49 Unfinalizing the Disc - Additional Recordings on a Finalized Disc
Photos
51 Basic Recording
51 Taking Photos
52 Selecting Photo Size and Quality
53 Erasing a Photo Right After Recording It
53 Basic Playback
53 Viewing Photos
54 Magnifying Photos during Playback
55 Slideshow
55 Erasing Photos
56 Additional Functions
56 _ Drive Mode: Continuous Shooting and Exposure
Bracketing
56 Histogram Display
Tabledcontents • 9

57 ProtectingPhotos
57 InitializingtheMemoryCard
58 Printing Photos
58 Printing Photos from the Memory Card
58 _ Direct Print
59 _ Selecting the Print Settings
61 Print Orders
External Connections
63 Terminals on the Camcorder
64 Connection Diagrams
65 Playback on a TV Screen
65 Copying your Recordings to an External Video Recorder
Additional information
66 Appendix: Menu Options Lists
66 FUNC. Menu
68 Setup menus
68 Camera Setup (Advanced Zoom, Image Stabilizer, etc.)
69 Disc Operations (Initialization, Finalization etc.)
70 Still Image Operations (Card Initialization, etc.)
70 Display Setup (LCD Brightness, Language, etc.)
71 System Setup (Volume, Beep, etc.)
72 Date/Time Setup
73 Trouble?
73 Troubleshooting
76 List of Messages
80 Do's and Don'ts
80 Handling Precautions
84 Using the Camcorder Abroad
86 General information
86 System Diagram
87 Optional Accessories
90 Product Codes
91 Specifications
94 Index
10 • Tableof contents

About thisManual
_i__ii_!__/i_/__ii_ii_ii__ii_ i_ i_ i__:_!_i _i_ii_ _ __i_i_ii__i_i___i!!_iI_ _iiii ii(_ i__iiii iiiiii_i
Thank you for purchasing the Canon DC420/DC410. Please read this manual
carefully before you use the camcorder and retain it for future reference. Should your
camcorder fail to operate correctly, refer to Troubleshooting ([Z3 73).
Conventions Used in this Manual
•q[_ IMPORTANT: Precautions related to the camcorder's operation.
• (_ NOTES: Additional topics that complement the basic operating procedures.
• _ POINTS TO CHECK: Restrictions that apply if the function described is not
available in all operating modes (the operating mode to which the camcorder
should be set, the type of disc required, etc.).
• C]_3:Reference page number.
• _ : Text that applies only to the model(s) shown in the icon.
• The following terms are used inthis manual:
"Screen" refers to the LCD and the viewfinder screen.
"Scene" refers to one movie unit from the point you press [Sta_s{op/to start
recording until you press again to pause the recording.
The terms "photo" and "still image" are used interchangeably with the same
meaning.
• The photos included in this manual are simulated pictures taken with a still camera.
• Note that unless indicated otherwise, screenshots and illustrations in this manual
refer to the _ model.
The camcorder's operating mode is determined by the
switch and the position of the _,_,/_ switch, in this
manual, [_] indicates that a function is available and
indicates that the function is net available. When no
operating mode icons are given, the function is available in
all operating modes.
Brackets [] and capital letters are used to refer to menu
options as they are displayed on screen. In menu option lists
and option tables the default value is shown in boldface.
For example [ON], [OFF].
Names of buttons and switches other than the joystick are
indicated within a "button" frame.
For example _-tq_:_.
In this manual, the 0 arrow is used to abbreviate menu selections.
For a detailed explanation refer to Using the Menus (EZ] 21).
Additiona!Functions
@:Special Scene Recording Programs
R_ording_naveryb,_g_t8k_re_o_o_
capturingt_efuE_co_or_of a _u_setor a
_,ewo,ksdEsp_ayb_o_e_ _seasy_
_e_ect_ng_Spec_a_Scener_o,d_g
program¸Fo_det_s aboutt_eavailable
opt_on_,refertot_e8_debarbeEow
PO_1StOC_EC_.
dispFay the Spec_a_ SceT_e (SON)
r_;ording programs
__/esire rotor i_ re ram
Introduction• 11

SuppliedAccessories
CA-570C0mBactPower
Adaoterlincl.Dowercore NB-2LHBatteryPack
FC-300PCUUSBCable
only
STV-250N Stereo Video
Cable
Yellow • Red • White plugs
Online product registration for U.S.A. Customers only.
Register your product online at www.registercanon.com
,/Protect your product
We will keep the model number and date of purchase of your new Canon product on
file to help you refer to this information in the event of an insurance claim such as loss
or theft.
,/Receive information on new products and promotions
Upon your request, we will send you information on Canon new products and
promotions,
The serial number of this product can be found at the battery attachment unit of the
camcorder. Write down the number and other information here and retain this book as a
permanent record of your purchase to aid identification in case of theft.
Date of Purchase: Model Name: DC420 A/DC410 A
Purchased From: Serial No.:
Dealer Address:
Dealer Phone No.:
12 • Introduction

Leftsideview _ ®
Right side view
®® @
@ @
_I_RESET button (C[_I75)
_2_Speaker
CARD access indicator ([Z3 51)
(4_Lens cover switch ([Z3 28, 51)
(_ open, @ dosed)
_5)MIC terminal* ([_ 44)
® AV terminal (C[_J63)
(_0USB terminal** (C_ 63)
_8)DISC access indicator ([Z3 28)
® Mode switch (C[3 29)
Easy recording
[_] Recording programs
_0_Disc compartment cover ([_ 25)
_ _ switch (C[3 20)
_2_Lock button
Strap mount ([Z3 89)
_ Grip belt (_ 20)
_ Stereo microphone
* _ only.
**_ only.
Frontview
Introduction*13

Back view
@
Topview
@
@@
@
(0 Joystick (C[_ 21)
FUNC. button (_ 22, 66)
_3_DISR button (Q;3 43)
(4_Dioptric adjustment lever ([Z3 29)
Viewfinder (CC] 29)
_6)VEWFINDER button (_ 29)
(7_DISC OOVER switch (EZ] 25)
_8_PLAY indicator (green) (Ci_ 21)
_) CAMERA indicator (green) (_ 21)/
OHARGE indicator (red) (C[3 18)
@ Start/Stop button (_ 28)
_# LCD screen (C[3 24)
Battery attachment unit (C[_] 18)/
Serial number
_ DC IN terminal (C[3 18)
_ Zoom lever (C[3 30)
@ _/_ (movies/still images) switch
(CC] 21)
_ Memory card slot
(open the cover to access) (C[_ 27)
@ Memory card slot cover
_ BATT. (battery release) switch ([Z3 18)
Tripod socket (C[3 80)
Bottom view
@
14 • Introduction

Recordingmovies
® ®@
Playing movies
(during playback)
@
®@
® Operating mode ([_ 21) /
Disc specification (C[_J5)
@ Recording program ([Z] 36, 38)
('3_White balance (C[3 41)
@ Image effects (_ 42)
@ LOD video light (CCJ39)
® Digital effects (CC] 42)
@ Recording mode (C[3 30)
® Disc type @ DVD-R, @ DVD-R DL,
DVD-RW (_ 5)
@ Manual focus ([Z3 40)
@ image stabilizer ([Z] 68)
1@Disc operation
@ Time code/Playback time
(hours : minutes : seconds)
@ Remaining recording time on the disc
_ Remaining battery charge (EZ317)
@ Wind screen off (C[_J69)
_6) Recording reminder
_) Level marker (C[3 70)
@ Finalized disc mark ([Z3 48)
_9_Scene number
@0_Joystick guide (C[_ 21)
@ Data code (EZ343)
_2_Speaker volume (C[_J34)
Introduction+' 15

®
Viewing still images
® ®
o@
@
_@
_@
@
@
®
_2_Zoom (CCI 30), Exposure o_|mo (C[3 40)
@ Recording program ([Z) 36, 38)
@ White balance (C[_341)
@ Image effects (_ 42)
@ LCD video light (CCJ39)
@ Digital effects (ECJ42)
_ _ Drive mode ([Z] 56)
_ Still image quality/size (CC] 52)
@ Manual focus (_ 40)
@ Number of still images available on the
memory card
@ Serf timer (_ 39)
@ AF frame (CC} 69)
@ Joystick guide (_ 21)
@ Focus/exposure automatically set and
locked (C[3 51)
@ Camcorder shake warning (Q[3 68)
@ Image number (_ 17, 71)
@ Current image /Total number of images
(.49Histogram (EZ3 56}
_1_Date and time of recording
@ Image protection mark (C[3 57)
_3_Manua_ exposure (_ 40)
@ Image size (C[_ 52)
_ File size
@ Aperture value
@ Shutter speed (CZ_I38)
16 • Introduction

Disc operation
• Record. 0 || Record pause,
I_ Playback, || Playback pause.
ll_.l_, _ Fast playback,
4Nil, _ Fast reverse playback,
|_- Slow playbacK.
41 Slow reverse playback
@ Remaining recarding time
When there is no more disc space available.
"_) END" will be displayed and the recording
will stop.
t_ Remaining battery charge estimate
o When _/j is displayed in "ed,the battery pacK
is exhausted. Replacethe battery pack with a
fully charged one.
Depending on the conditions under which the
camcorder andthe battery pack are used. the
actual battery charge may not be indicated
accurately.
Number of still imagesavailable an the card
displayed in red: No card
in green: 6 or more images
F--El in yellow: 1 to 5 images
in red: No more images can be recorded
When viewing the still images, the display will
always be in greet
Depending on the recording conditions, the
number of available still images displayed may
not decrease evenafter a recording has been
made, or may decrease by 2 still images at
once.
Cardaccessdisplay
r--Qisdisplayednexttothenumberofimages
availablewhilethecamcorderiswritingonthe
memorycard
@Image number
The image number indicates the name and
location of the file on the memory card. For
example, the file name of image 101-0107 is
"IMGOIOT.JPG". stored under the folder
"DCIM\101 CANON".
Recording reminder
The camcorder counts from I to 10 seconds
when you start recording. This is helpful to avoid
scenes that are too short.
introduction• 17

Preparations
This chapter describes basic operations, such as navigating the
menus, and first time settings to help you learn more about your
camcorder.
GettingStarted
i/ ii_ _i_!!!!!!!!!!!!!!!!!!!! _
3 Connect the compact power
adapter to the camcorder'e DC iN
terminal.
Chargingthe BatteryPack
The camcorder can be powered with a
battery pack or directly using the
compact power adapter. Charge the
battery pack before use.
For approximate charging times and
recording/playback times with a full
battery pack, refer to the tables on
pages 87-88.
DC IN terminal
CHARGE
indicator
(red)
4Attach the battery pack to the
camcorder.
Press the battery pack lightly and
slide it up until it clicks.
5Charging will start when the
switch Jeturned to _ (CHARGE).
The red CHARGE indicator starts
flashing. The indicator goes out when
charging is completed.
1Connect the power cord to the
compact power adapter.
2Plug the power cord into a power
outlet.
18 • Preparations

!iiiI+0==0VE+===+=+'AOK
BAq-r. switch
1Slide BA_T._ in the direction of the
arrow and hold it pressed down,
2Slide the battery pack down and
then pull it out
O +_IPORTANT
+ Turn off the camcorder before
connecting or disconnecting the
compact power adapter. After you turn
the _ switch to _, important file
allocation data is updated on the disc.
Be sure to wait until the CAMERA green
indicator goes out.
+ We recommend charging the battery
pack in temperatures between 10 °C and
30 °C (50 OFand 86 OF).Outside the
temperature range of 0 °C to 40 °C
(32 OFto 104 °F), the charging will not
start.
+ Do not connect to the camcorder's DC
IN terminal or to the compact power
adapter any electrical equipment that is
not expressly recommended for use with
this camcorder.
+ To prevent equipment breakdowns and
excessive heating, do not connect the
supplied compact power adapter to
voltage converters for overseas travels or
special power sources such as those on
aircraft and ships, DC-AC inverters, etc.
I ! I
+ ¸i
+ The battery pack will be charged only
when the camcorder is off.
+ If remaining battery time is an issue, you
can power the camcorder using the
compact power adapter so the battery
pack will not be consumed.
+ The CHARGE indicator also serves as a
rough estimate of the charge status.
Two quick flashes at 1-second intervals:
Battery pack at least 50% charged. If the
indicator flashes quickly but not exactly
in this pattern, refer to Troubleshooting
(_ 73).
One flash at 1-second intervals: Battery
pack less than 50% charged.
• Charged battery packs continue to
discharge naturally. Therefore, charge
them on the day of use, or the day
before, to ensure a full charge.
+ We recommend that you prepare battery
packs to last 2 to 3 times longer than you
think you might need.
+USA and Canada 0nly: The
Lithium ion/polymer @
battery that powers this
product is recyclable.
Please call
1-800-8-BATTERY for
information on how to recycle this
battery.
Preparations+ 19

PreparingtheAccessories Basic Operation of the
Camcorder
PowerSwitch
Fasten the grip belt.
Adjust the grip belt so that you can
reach the zoom lever with your index
finger, and the [_sto_ button with
your thumb.
ToATI'ACHA SHOULDERSTRAP
Lock button _MODE
(CHARGE)
In addition to turning the camcorder on
and off, the _ switch also toggles the
camcorder's operating mode.
To turn on the camc0rder: Hold the lock
button pressed down and turn the
switch to ON.
To change the operating mode: From the ON
position, turn the _ switch
momentarily toward MODE and release it.
This action will toggle the operating mode
between recording (CAMERA indicator on)
and playback (PLAY indicator on).
Pass the ends of the shoulder strap
through the strap mount on the grip
belt and adjust the length of the
strap.
20 ,, Preparations
Other manuals for DVD CAMCORDER DC410
5
This manual suits for next models
1
Table of contents
Other Canon Camcorder manuals

Canon
Canon MV450i User manual

Canon
Canon XF300 User manual

Canon
Canon ELURA 50 User manual

Canon
Canon VM-E708 User manual

Canon
Canon VIXIA HF S10 User manual

Canon
Canon HG-10 User manual

Canon
Canon MV 30 User manual

Canon
Canon XapShot RC-250 User manual

Canon
Canon Vixia HV30 User manual

Canon
Canon LEGRIA HF R16 User manual

Canon
Canon E 500 User manual

Canon
Canon MVX-45i User manual

Canon
Canon XLH1S User manual

Canon
Canon Auto Zoom 518 User manual

Canon
Canon LEGRIA HF R36 User manual

Canon
Canon VIXIA HF M30 User manual

Canon
Canon MVX35i User manual

Canon
Canon MV400 i User manual

Canon
Canon XF300 Manual

Canon
Canon MV 450 i User manual