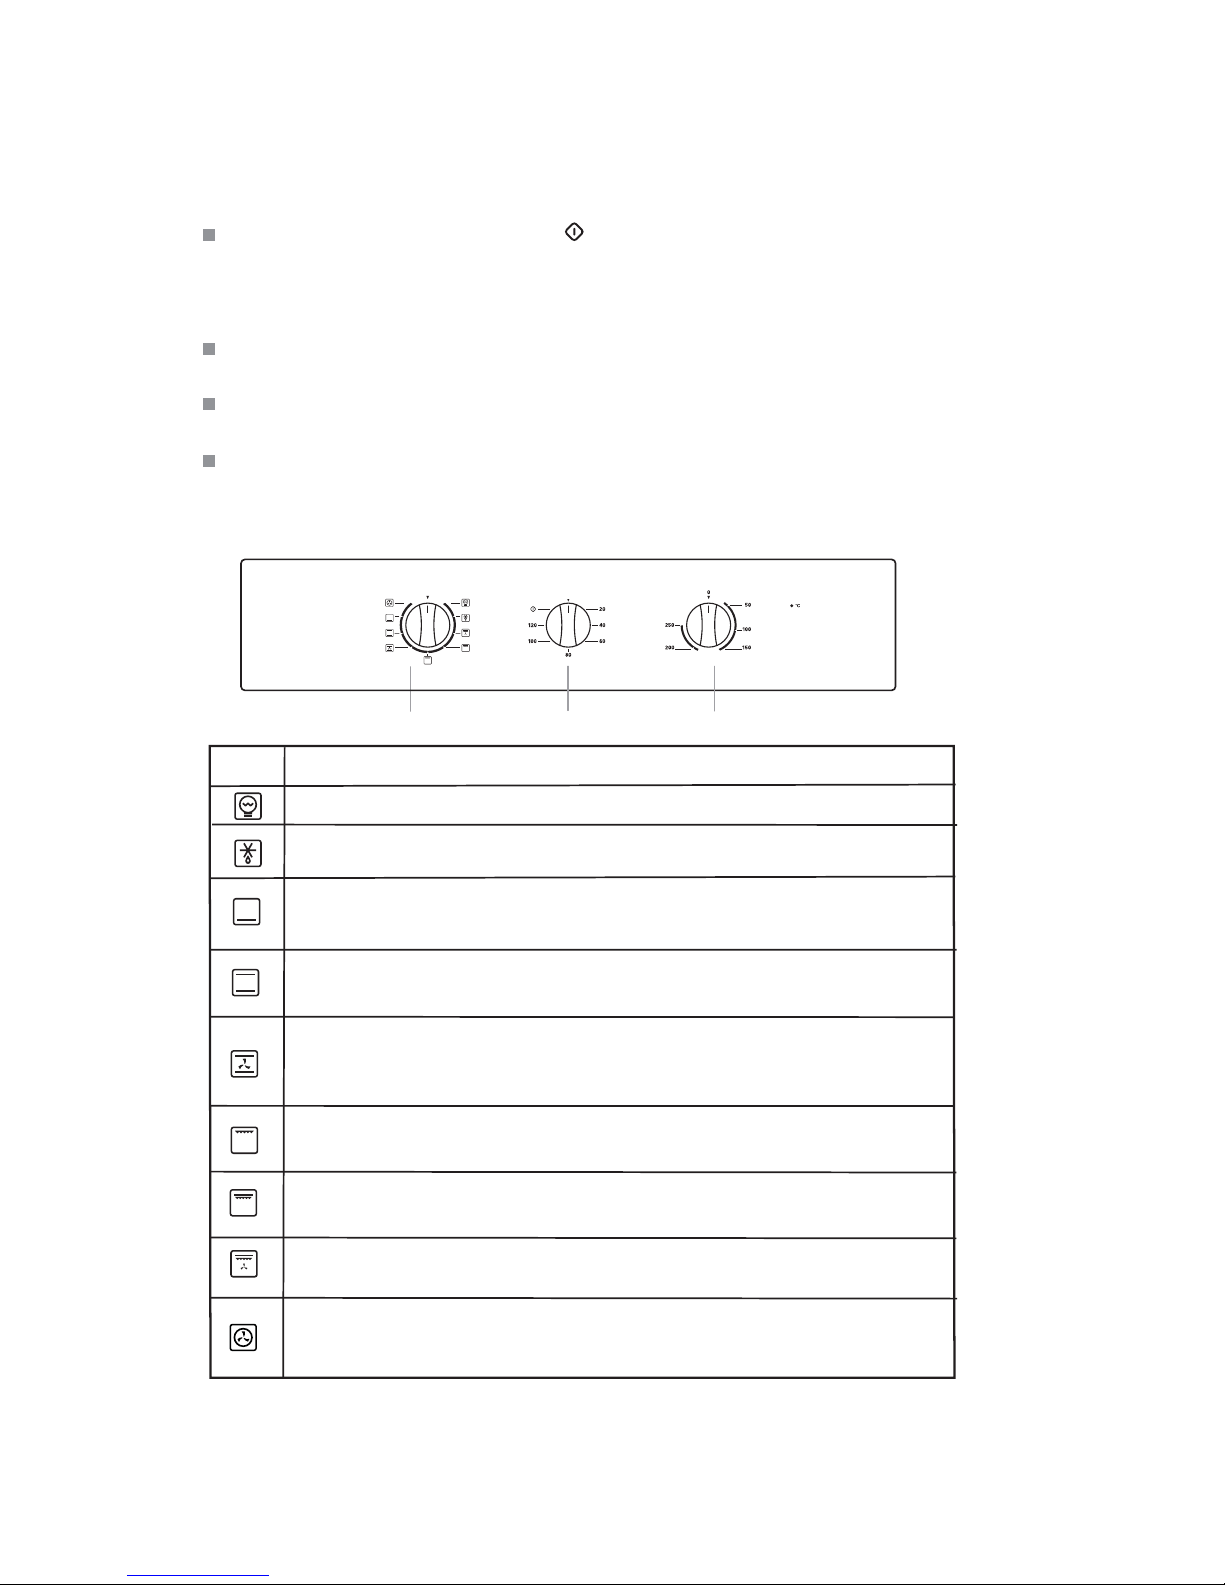
PRODUCT DESCRIPTION
Function Knob Timer knob Temperature Knob
HOW TO USE
Stay on: For the oven to be used in the " ". the food may catch fire if the cooking time is set
too long. Close supervision is necessary during toasting and the time should not be set too long.
NOTE: For cooking times which are under sixty minutes, first set to a longer time and then turn
the switch back to the time you require.
To set functions by turning the function knob to desired level.
The oven will automatically start cooking after function, time and temperature are set.
To set the time of cooking by turning the timer knob to desired time per your food cooking guide.
After the cooking time is up, the unit will " Dong" to stop.
To set the temperature by turning the temperature knob.
If the unit is not in use, always set the knobs to "0".
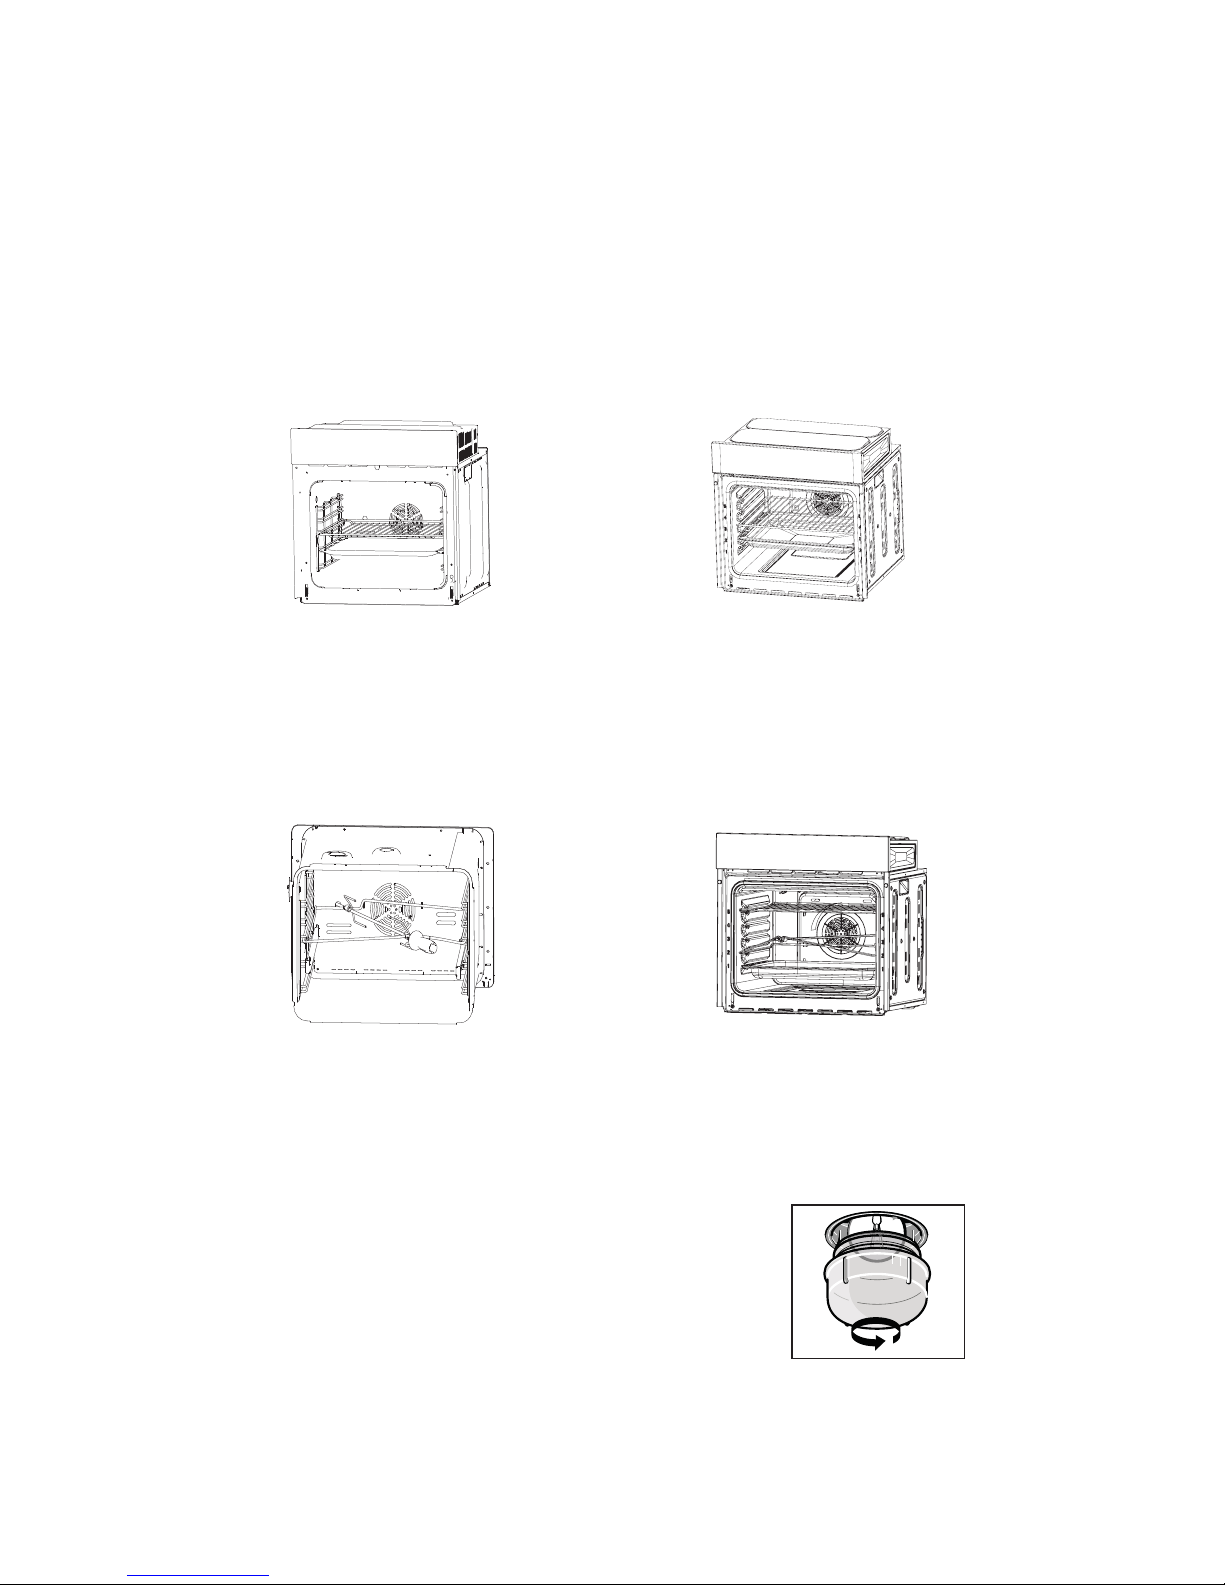
Convention with fan: Combination of the fan and both heating element provides more even
heat penetration,saving up to30-40% of energy. Dishes are lightly browned on the outside
and still moist on the inside. Note:This function is suitable for grilling or roasting big pieces
of meat at a higher temperature. The temperature can be set within the range of 50-250OC.
Symbol Function description
Oven Lamp: which enables the user to observe the progress of cooking without opening
the door.
Radiant grilling: The inner grill element switches on and off to maintain temperature.
The temperature can be set within the range of 180-240 C.
O
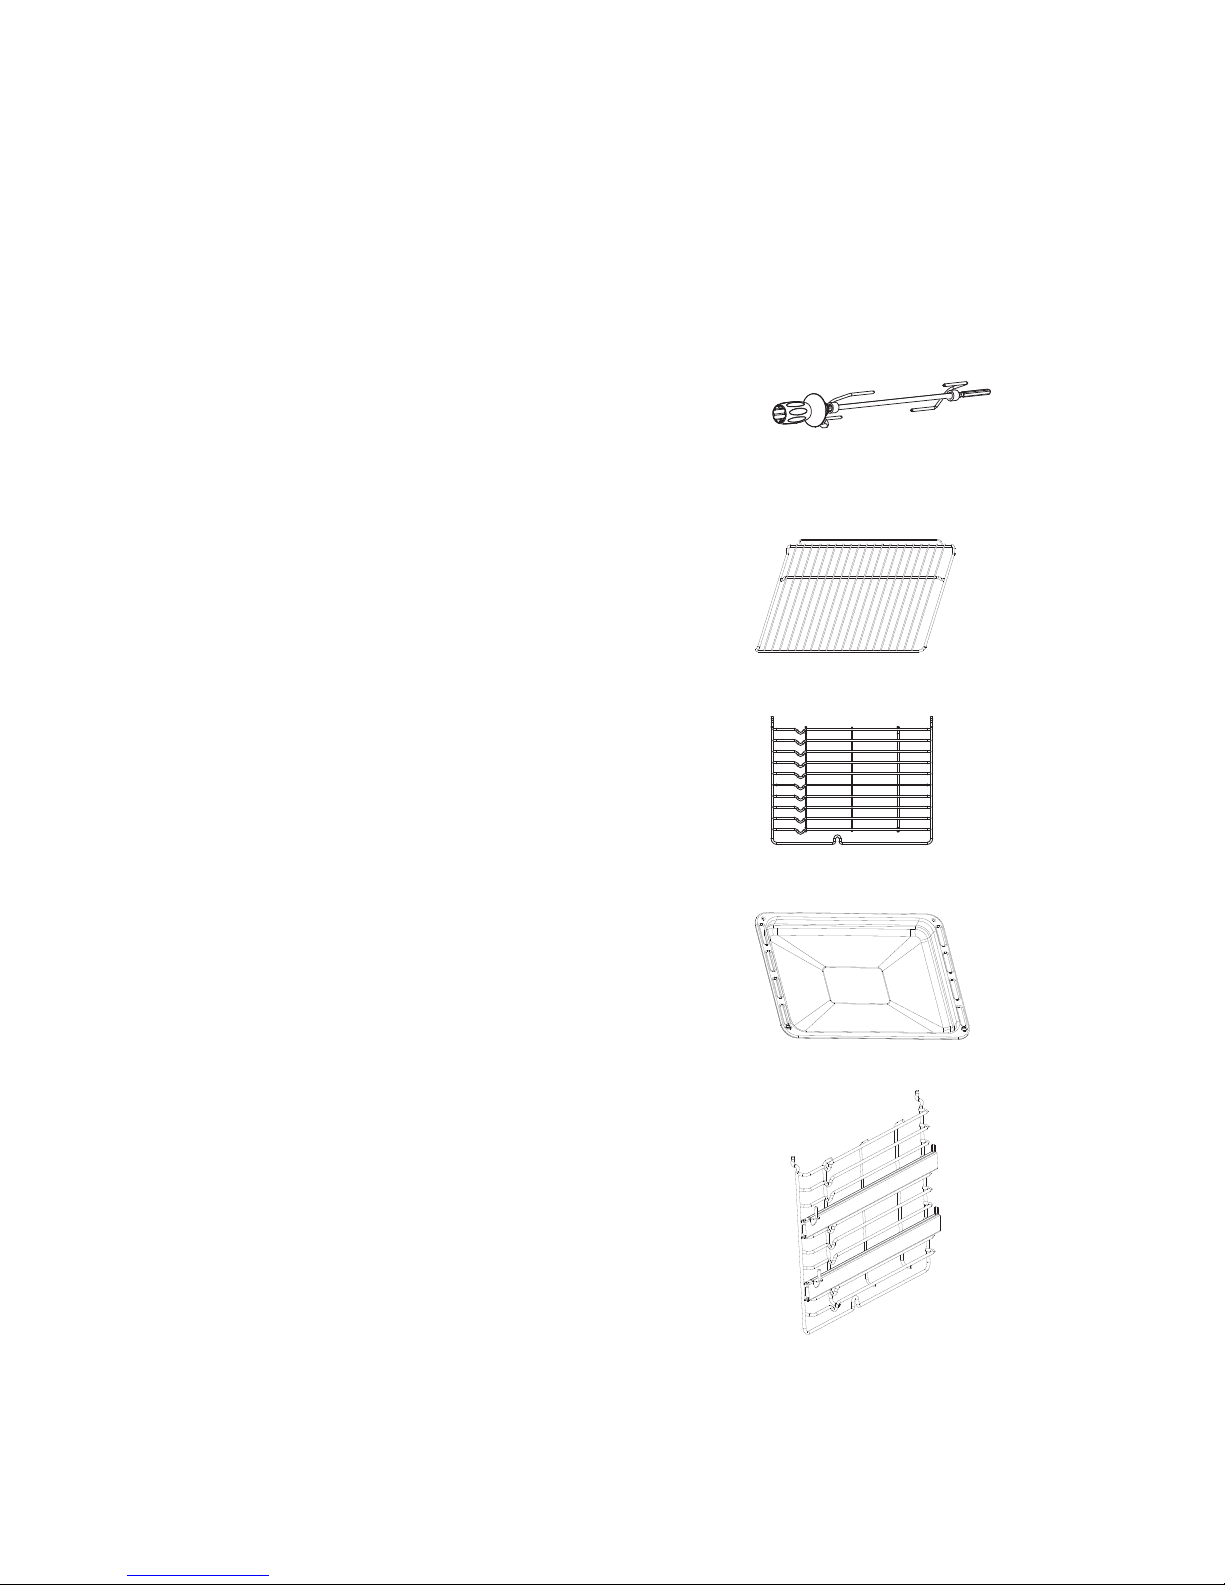
This is optional function that can be work with rotisserie motor.
Conventional cooking: The top and bottom work together to provide convectional cooking.
The temperature can be set within the range of 50-250 C.
O
This is optional function that can be work with rotisserie motor.
Bottom heat: A concealed element in the bottom of the oven provides a more
concentrative heat to the base of food without browing. This is ideal for slow cooking
dishes such as casseroles, stews, pastries and pizzas where a crispy base is desired.
The temperature can be set within the range of 60-120 C.
O
Defr st: The circulation of air at room temperature enables quicker thawing of frozen food,
(without the use of any heat). It's a gentle but quick way to speed up the defrosting time
and thawing of ready-made dishes and cream filled produce etc.
Convection: An element around the convection fan provides an additional source of heat
for convection style cooking. In convenction mode the fan automatically comes on to
improve air circulation within the oven and creates an even heat for cooking.
The temperature can be set within the range of 50-240 C.
O
Double grill: The radiant heating element and the top heating element are working.
The temperature can be set within the range of 180-240 .
Double grill with fan: The radiant heating element and top heating element are working with
fan. The temperature can be set within the range of 180-240 .
OC.
OC.
o
This is optional function that can be work with rotisserie motor.