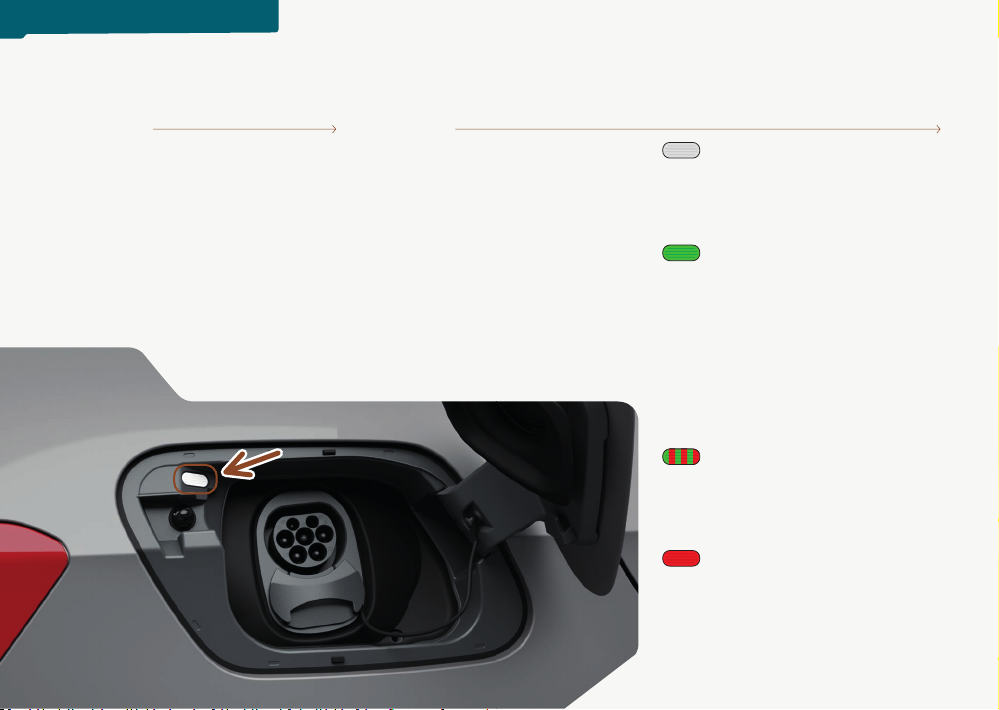
CHARGING THE HIGH-VOLTAGE BATTERY
Make sure that the
cable is connected
correctly (the cable
must be locked by
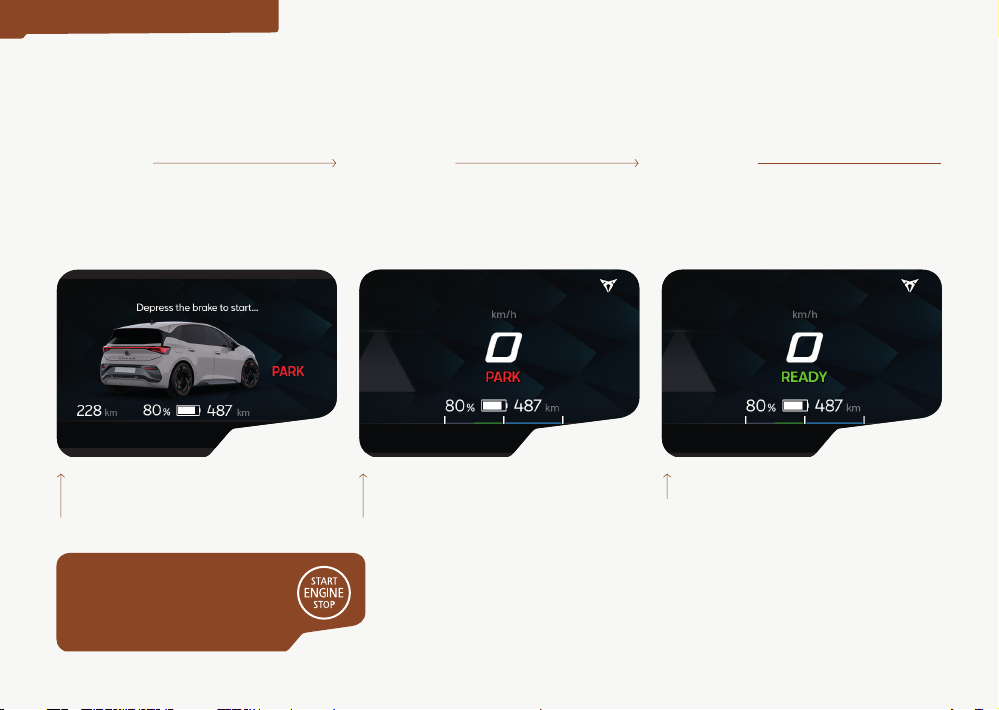
the vehicle).Start the process by
following the instructions of the
charging point.
Check the charging
status using the
indicator light on the
charging cover. For
more information, see the sticker
next to the charging socket itself or
the “Charging the high-voltage
battery” chapter of the user
manual.
01 02 White LED
• Flashing: Preparing the charging
process.
• Permanently on: Not charging
Green LED
• Flashing: The battery is charging.
• Permanently on: Process
completed without problems,
full charge.
• Sparkling: If programmed
charging has been activated,
the charging process has not yet
started.
LED alternately ashing
green and red
• Reduced charging current or
fault in the charging connector.
Red LED
•Permanently on: Fault in the
charging system. If it remains on
after several attempts, seek spe-
cialist assistance.
ELECTRICAL CHARGE