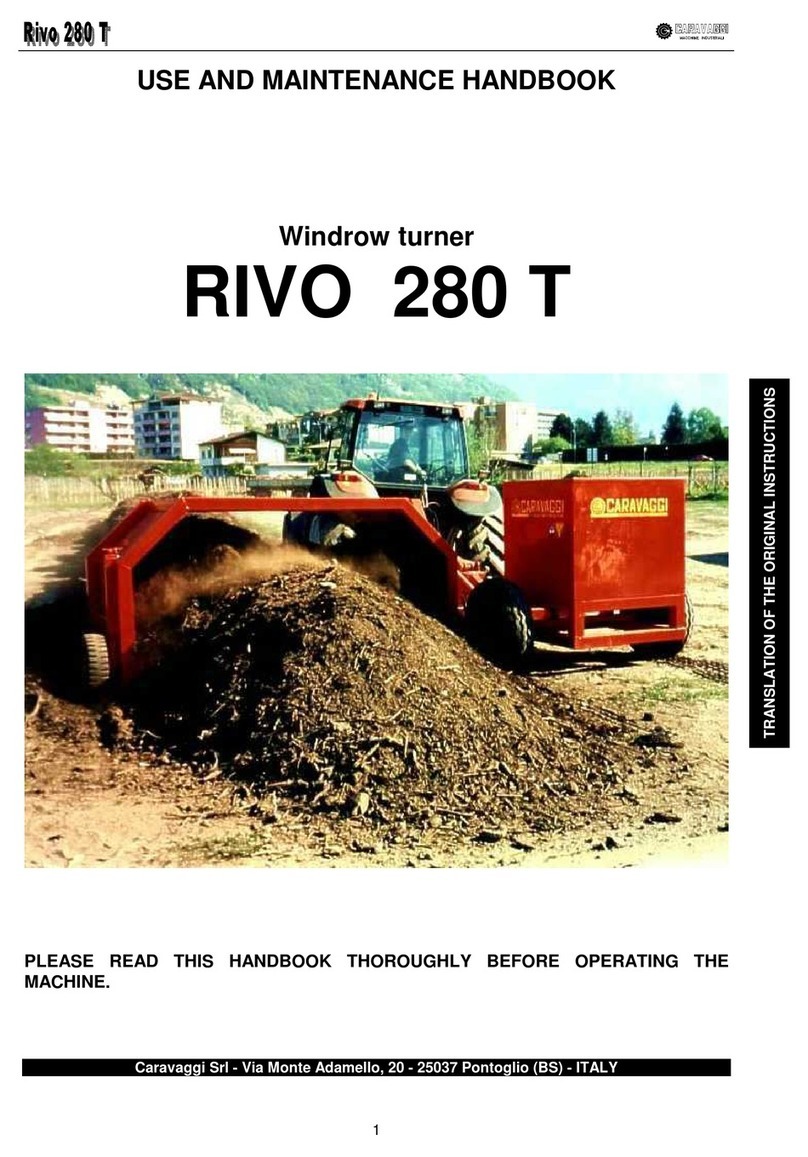
Caravaggi Ario 100 Series User guide

USE AND MAINTENANCE INSTRUCTION MANUAL
Ario 100-120
PLEASE READ THROUGH THIS HANDBOOK BEFORE
OPERATING THE MACHINE
Caravaggi Srl - ia Monte Adamello, 20 - 25037 Pontoglio (BS) – ITALY
TRANSLATION OF THE ORIGINAL INSTRUCTIONS

NOTES
__________________________________________
__________________________________________
__________________________________________
__________________________________________
__________________________________________
__________________________________________
__________________________________________
__________________________________________
__________________________________________
__________________________________________
__________________________________________
__________________________________________
__________________________________________
__________________________________________
__________________________________________

1. HAZARD PICTORIALS
Warning!
Wear a hard hat, hearing protectors and protective
glasses or goggles.
Warning!
Wear protective gloves.
Warning!
Wear safety shoes.
Warning!
Wear clothes that are suitable for work on machines
with moving parts.

Warning!
Remove the engine spark plug before carrying out
any maintenance.
Warning!
Switch off the engine before carrying out any
maintenance.
Hazard!
Projection of splinters. Keep to a safety distance
from loading and unloading equipment.
Hazard!
Keep arms well away from moving parts.

Hazard!
Keep fingers well away from cutting elements.
STOP
Hazard!
Make sure the blades have stopped completely
before approaching.
Caution!
Only one person must operate the machine.
Caution!
Do not use petrol engines in closed environments.
Risk of intoxication.

Caution!
Machine lifting point.

2. HOW TO USE AND PRESER E THE INSTRUCTION
HANDBOOK
Th s handbook s ntended for use by the operator, the owner
and the serv ce eng neer and t must be kept w th n easy reach for
consultat on.
It prov des a descr pt on of the appl cat ons for wh ch the mach ne
was des gned, ts techn cal features and full nstruct ons on how to
move, clean, adjust and operate the mach ne, nformat on for the
operator and serv ce eng neers, an easy gu de for order ng spare
parts, an nd cat on of res dual r sks, and any not ces or warn ngs
regard ng operat ons that requ re spec al care.
Th s mach ne s des gned for profess onal use and the nstruct on
handbook shall n no way replace the user’s qual f cat on and
exper ence.
The handbook s an ntegral part of the mach ne and must kept
ava lable for future reference up unt l the mach ne s d smantled.
It must always be kept ava lable for consultat on n a safe, dry place.
If th s handbook gets lost or damaged, a replacement copy can be
obta ned from the manufacturer, spec fy ng the ser al number, the
type and year of construct on, wh ch are marked on the rat ng plate
aff xed to the lawn aerator (Chapter 5).
The manufacturer reserves the r ght to update the mach ne and th s
handbook w thout any obl gat on to update prev ously suppl ed
mach nes and handbooks.
The manufacturer shall be held harmless aga nst all l ab l ty ar s ng
out of or n connect on w th:
• mproper use of the lawn aerator
• non-compl ance w th the nstruct ons set out n th s handbook
• fa lure to carry out scheduled ma ntenance, as recommended
• any unauthor sed changes or ntervent ons
• the use of spares that are not or g nal or spec f c for the model
• part al or total fa lure to comply w th the nstruct ons prov ded
• except onal events;

3. IDENTIFICATION OF THE MAIN PARTS
1. Drawbar
2. D scharge
3. Depth adjustment
4. Rear f xed wheels
5. Petrol eng ne
6. Front revolv ng wheel
F g. 1
F g. 2
2
1
6
4
3
5

4. INTENDED USE OF THE MACHINE
The mach ne must be used by a s ngle operator only, who must stand on
the tractor. The operator must only approach the mach ne to start the
eng ne, adjust the aerat on depth before sett ng to work, and stopp ng the
motor on complet on of the job or n case of need.
For th s mach ne to run smoothly, the operator must read all the
nstruct ons conta ned n th s handbook and understand them properly.
The operator must make sure that no persons or an mals are w th n the
operat ng range of the mach ne when t s runn ng.
The Ar o 100-120 by Caravagg s des gned to aerate lawns and gardens.
The mach ne s not su table for use n the presence of large stones and
rocks.
Contact the manufacturer or an author sed dealer f you need for d fferent
appl cat ons.
The operator must be well acqua nted w th all the nstruct ons conta ned n
the handbook.
SAFETY ZONE
Ra=2,00 mt
F g. 3

5. UNPACKING AND PREPARING THE MACHINE TO
WORK
The Ar o 100-120 s del vered mounted. It can be suppl ed unpacked or packed
n cardboard boxes to fac l tate handl ng and transport to ts f nal locat on.
It can be handled us ng a transpallet or forkl ft truck of a capac ty of about 200
kg. Do not:
• ra se the lawn aerator w th unsu table cables or l ft ng dev ces;
• drag t w th the rotor blades n contact w th the so l;
• subject t to mpact;
• expose t to ra n, snow or other atmospher c agents.
On rece v ng the mach ne, check that the parts suppl ed co nc de w th those
l sted n the del very note.
In the event of damage or d screpancy occurr ng dur ng transport, the carr er
must be nformed mmed ately of any cla ms and the author sed dealer or the
manufactured must be nformed accord ngly. In part cular, t s necessary to
ver fy that::
• there are no dents or s gns of mpact or deformat on
• there are no damp areas or s gns nd cat ng that the packag ng has been
exposed to atmospher c agents
• there are no s gns of tamper ng.
Electr c motor or eng ne-operated mach nes are equ pped w th two wheels for
transport ng over short d stances.
All the mach nes can be l fted and transported by means of cranes or w nches,
us ng hooks and cables, wh ch must be approved and of an adequate capac ty.
Hook up to the lugs, as shown n the p ctogram aff xed to the mach ne.
Only safe hooks, such as snap hooks, must be used for l ft ng. Take great care
and exerc se extreme caut on when load ng and unload ng the mach ne. These
operat ons must only be carr ed out by qual f ed personnel (sl ngers, truck
operators, etc.). Never pass or stand underneath the mach ne when t has been
ra sed off the ground.
For transportat on purposes, couple the veh cle rudder to the tractor.
F g. 4

F g. 5
F g. 6

6. TECHNICAL FEATURES
A CE rat ng plate s aff xed to the Ar o 100-120 n a v s ble pos t on
(F g. 7).
In all commun cat ons to the manufacturer, state the ser al number
marked on the rat ng plate.
25037 PONTOGLIO (BS) - IA M. ADAMELLO, 20
TEL. 030 7470464 - FAX 030 7470004 - ITALY
F g. 7
ersion
HP / kW
Power supply
ARIO 100 F / M 6,5 (4.8) Petrol
ARIO 120 F / M 6,5 (4.8) Petrol

6.1 Operating range and overall dimensions
Model W L H
Ar o 100
1270
1020÷1970
590
Ar o 120
1470
1020÷1970
590
Weight (kg.): ~ 120
L
WA MAX
(dB): 104
F g. 8

7. SAFETY RULES
Th s handbook conta ns rules on how to use the mach ne properly and
deta ls of the hazards that may be encountered. Bes des follow ng the
rules, the operator should use the mach ne sens bly, based on h s
exper ence, and adopt all the necessary precaut ons to prevent acc dent or
njury.
The manufacturer cannot be held l able for any alterat ons to the mach ne
that are not author sed n advance n wr t ng.
The aerator must only be used n gardens and on lawns. It must not be
used for any other purpose or on ground w th large stones and rocks.
The mach ne must only be operated by a fully qual f ed person who s
author sed to do so and s thoroughly acqua nted w th the operat ng
pr nc ples and the nherent hazards.
Read through the manual before sett ng to work. The mach ne must not be
operated by ch ldren.
7.1 GENERAL SAFETY AND ACCIDENT PRE ENTION
RULES
• Basic rules: check the mach ne carefully each t me before start ng up.
• Bes des follow ng the recommendat ons conta ned n th s handbook, t s
mportant to follow the general safety and acc dent-prevent on rules.
Before us ng the mach ne, the operator must be fully acqua nted w th ts
features, dev ces, controls and funct ons.
• Before sett ng to work, make sure the shredd ng blades are properly
secured. If they look damaged, they need to be sharpened or replaced.
Mount the blades as nstructed and only use or g nal spares suppl ed by
the manufacturer (or an author sed dealer).
• Before and after each work sess on, check that the guards, covers and
safety dev ces are correctly nstalled and ntegral, and are properly
secured w th nuts and bolts.
• The not ces on the mach ne prov de a ser es of mportant nstruct ons.
They are there to enable you to work n complete safety. Read all the
safety st ckers on the mach ne and follow the nstruct ons on them. If they
become damaged or unreadable, they need to be cleaned or replaced n
the exact pos t on as descr bed n the relevant sect on.
• The mach ne must always be used when there s plenty of manoeuvr ng
space, on flat f rm ground free from obstacles.
• The mach ne must not be used when t s ra n ng.

• Anyone approach ng the mach ne enters the danger area and hence
becomes an EXPOSED PERSON. It s up to the operator to prevent
other people from enter ng the danger area and he h mself must act w th
extreme caut on. Stop the mach ne mmed ately f anyone enters the
danger area.
• Caut on: the blades cont nue to turn for several seconds after the eng ne
has been sw tched off.
• Keep the handbook read ly ava lable so that you can consult t for deta ls
of the operat ng cycle and ma ntenance nstruct ons. If t gets lost or
damaged, a replacement copy can be obta ned from Caravagg .
• The mach ne s des gned for use by a s ngle operator, who must stand on
the tractor. The operator must only approach the mach ne to start the
eng ne, adjust the aerat on depth before sett ng to work, and stopp ng the
motor on complet on of the job or n case of need.
• Do not wear tems of cloth ng that are l kely to get caught up n the
mechan sm, such as long w de sleeves, belts, and necklaces.
• Hear ng protectors and protect ve goggles must always be worn when
operat ng the mach ne.
• The aerator must not be left unattended wh le the eng ne s runn ng.
• Do not place any tools or other objects on the mach ne as they could
damage t or njure the operator.
• Use only or g nal spares prov ded by Caravagg .
Safety rules during operation
• Before sett ng to work, make sure the rotor s free from debr s and other
mater als, wh ch would prevent t rotat ng.
• Keep the face and arms well away from the rotor.
• It s mportant to keep your balance wh le operat ng the mach ne.
• Before start ng to use the mach ne, clear the area of any large stones,
p eces of metal, t n cans, bottles and s m lar tems.
• Sw tch off the eng ne mmed ately f you not ce a malfunct on, excess ve
v brat on or a strange no se. D sconnect the power supply (spark plug
cable) and seek the cause of the problem.

7.2 SPECIFIC SAFETY AND ACCIDENT PRE ENTION
RULES
7.2.1 Petrol version
• If the mach ne malfunct ons, and pr or to each regulat on, ma ntenance or
clean ng operat on (e.g. remov ng fore gn bod es from the rotor
assembly), sw tch off the eng ne and d sconnect the spark plug cable.
• Before us ng the aerator, please read th s handbook and the attached
eng ne handbook carefully and follow the nstruct ons dur ng operat on.
• Never use the mach ne n an enclosed or poorly vent lated env ronment
such as a greenhouse (even f the w ndows and doors are open) because
the exhaust gas s h ghly tox c.
• Avo d smok ng and l ght ng flames when f ll ng w th petrol.
• Always f ll the fuel tank n an open area w th the eng ne sw tched off.
Remember that petrol s h ghly flammable and explos ve under certa n
cond t ons. Fuel must be stored n su table can sters.
• Never place anyth ng on the eng ne as t could catch f re.
• Never remove the fuel tank cap or top up w th petrol w th the eng ne
runn ng or when t s st ll hot.
• If any petrol gets sp lt, do not attempt to start the eng ne mmed ately.
• The exhaust p pe gets very hot when the eng ne s runn ng and rema ns
hot for some t me after t s sw tched off. Never touch the exhaust p pe.
Keep to a safety d stance.

8. STARTING UP
Important! Before sw tch ng on the motor or eng ne, make sure the s
stand ng on a flat surface and there are no an mals or unauthor sed
persons w th n the range of act on of the mach ne.
• Read the eng ne/motor manufacturer’s nstruct on book carefully.
• Check that there s o l and fuel n the tank. F ll f necessary.
• Put the selector at pos t on “I” (Start) (f g.9). Grasp the start ng knob
(f g.10-11) and pull the cord w thout force unt l you feel the res stance
caused by compress on, release the knob and then g ve a sharp tug to
start the eng ne.
• Before beg nn ng work let the eng ne dle for about 1 m nute then take t
to max mum revs (us ng accelerator lever) and proceed w th normal use.
0
1
F g. 9 F g. 10
F g. 11
Starter

8.1 Using the machine
Operate the relevant lever to adjust the aerat ng depth.
F g. 12
Grasp the handle and push the mach ne along the d rect on of work at a
regular pace, keep ng the control lever pressed, so as to obta n opt mal
results.
Release the control lever whenever you w sh to stop the motor or on an
emergency.
F g. 13
Drawbar eye
Depth adjust ng lever

9. MAINTENANCE
Caution! Before proceed ng w th any ma ntenance operat on sw tch off the
eng ne / motor and n any case ensure that there s no poss b l ty of the
mach ne funct on ng. Su table gloves are obl gatory for all ma ntenance
operat ons.
9.1 Replacing the fixed blades
• Remove the belt guard, the belt, the bear ng guard and the bear ng
supports from the mach ne cas ng: pull out the rotor from the cas ng.
• Unscrew the lock ng r ng nut and pull out the blades and spacers,
tak ng care to take note of the pos t on of the spacers n-between the
blades.
• Replace the blades and remount the spacers on the hexagonal shaft,
tak ng care to place them back n the same pos t on.
• Ret ghten the lock ng r ng nut and the bear ngs, remount the rotor, the
transm ss on belt and guards.
F g. 14
R ng nut
F xed blade
Hexagonal shaft
Spacer

9.2 Replacing the mobile blades
• Remove the belt guard, the belt, the bear ng guard and the bear ng
supports from the mach ne cas ng.
• Pull out the blade shaft from the cas ng.
• Remove the spr ng p ns and pull out the blades and spacers, tak ng
care to take not of the pos t on of the spacers n-between the blades.
• Replace the blades and remount the spacers on the blade hold ng rod,
tak ng care to place them back n the same pos t on: remount the spr ng
p ns.
• Remount the guards, the transm ss on belt and the bear ngs.
Important! When replac ng the mob le blades, always change the
oppos ng ones as well.
F g. 15
Mob le blade
Spacer
Blade shaft
Spr ng p n
Blade rod
This manual suits for next models
5
Table of contents
Other Caravaggi Tiller manuals