Cardinal Health CHV07CPSA Owner's manual

General Purpose
Laboratory Refrigerators
and Freezers
Installation and Operation
CHV07CPSA
CHV05RPSA
CHV05CPSA

IMPORTANT Read this instruction manual. Failure to follow the instructions in this manual can result in
damage to the unit, injury to operating personnel and poor equipment performance.
CAUTION All internal adjustments and maintenance must be performed by qualied service personnel.
Material in this manual is for informational purposes only. The contents and the product it describes are
subject to change without notice. Cardinal Health makes no representations or warranties with respect to
this manual. In no event shall Cardinal Health be held liable for any damages, direct or incidental, arising
from or related to the use of this manual.

Table Of Contents
1. Models.................................................................................................................................1
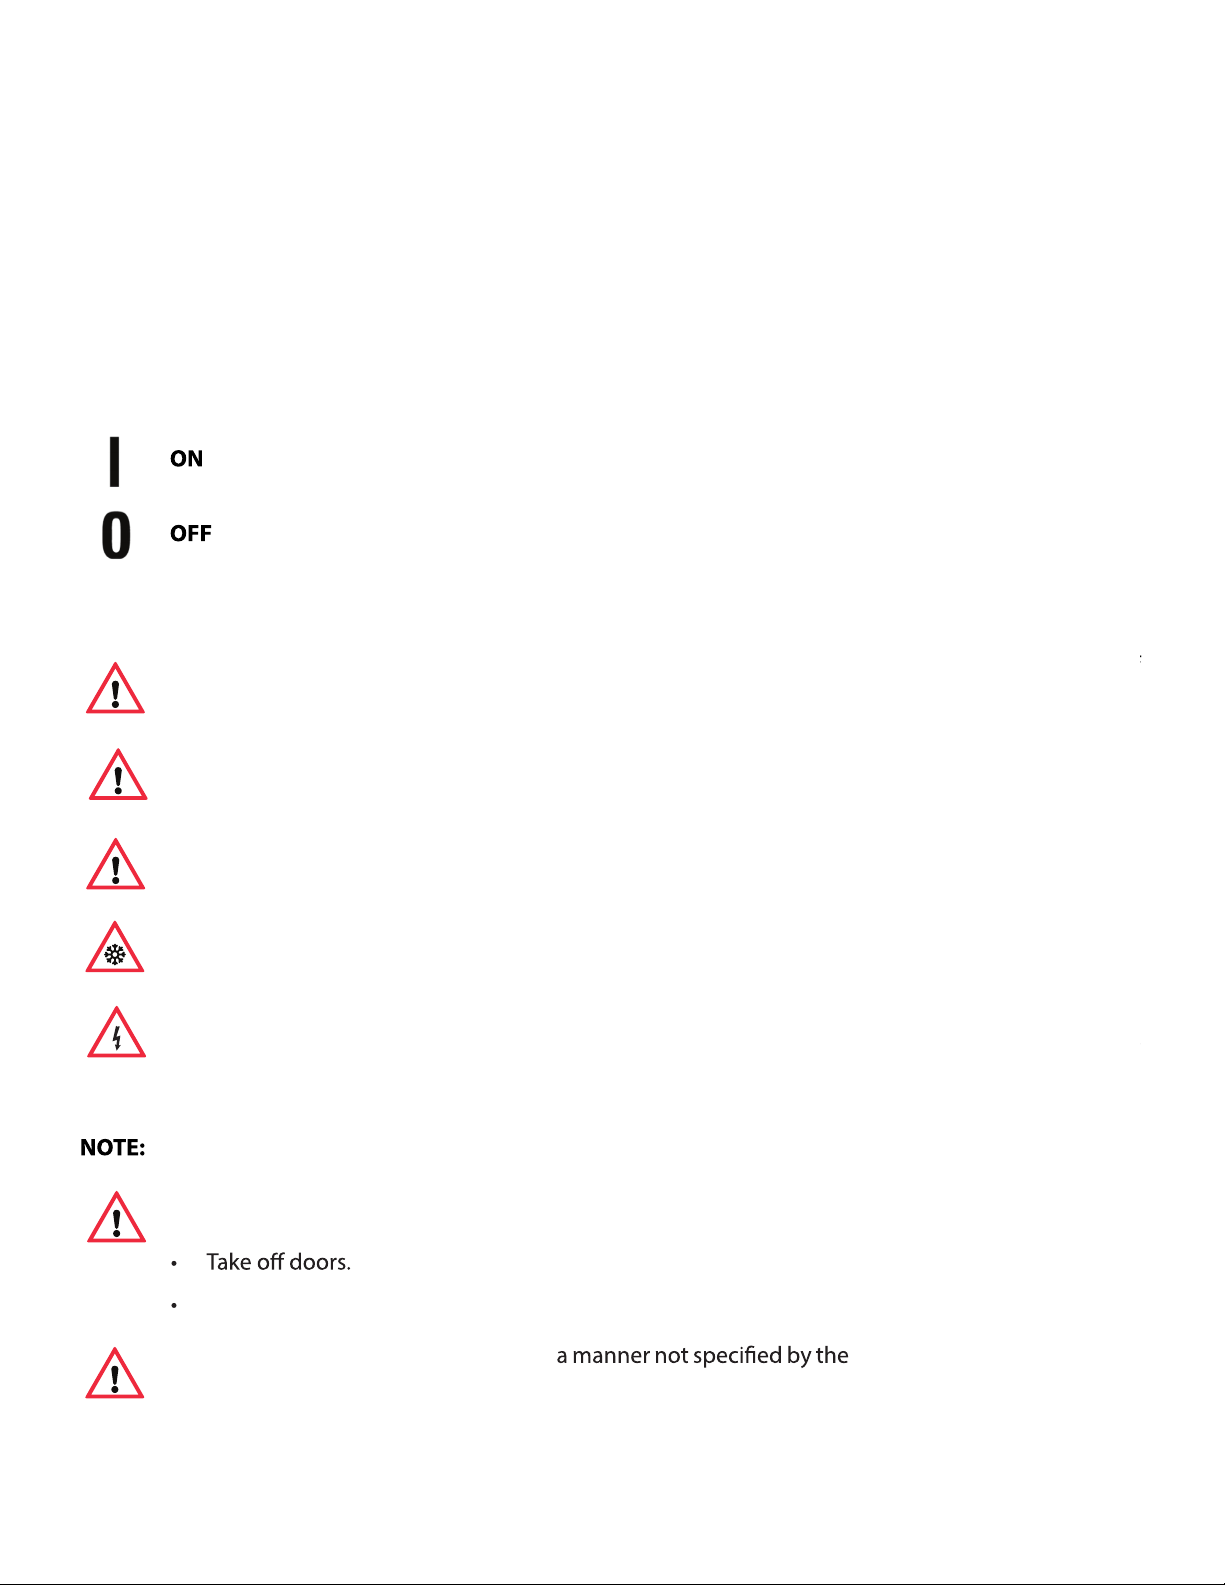
2. Safety Information ............................................................................................................2
Alert Signals..........................................................................................................................................2
3. Intended Use ......................................................................................................................4
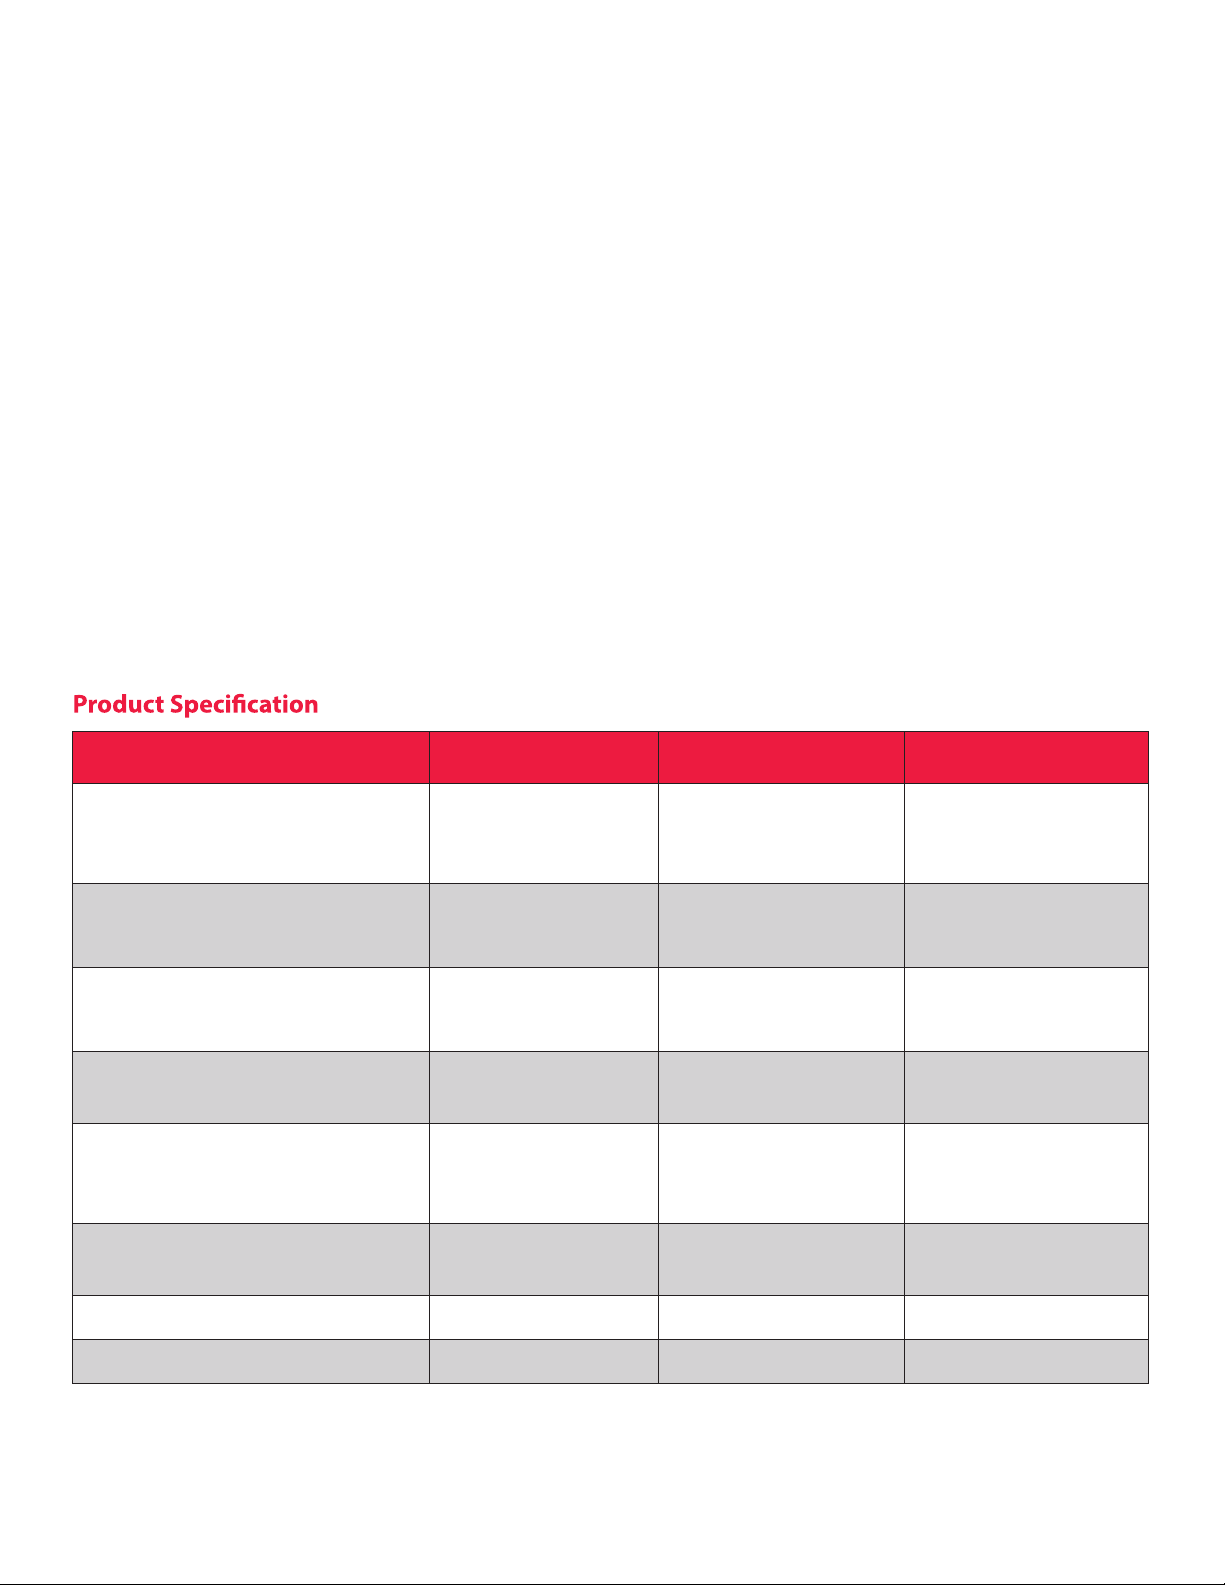
4. General Purpose Refrigerator & Freezer .......................................................................5
Product Specication........................................................................................................................5
5. Unpacking and Inspection...............................................................................................6
Unpacking.............................................................................................................................................6
Visible Loss or Damage.....................................................................................................................6
Concealed Loss or Damage.............................................................................................................6
6. Operating Conditions .......................................................................................................7
7. Installation..........................................................................................................................8
Selecting a Location ..........................................................................................................................8
Leveling the Unit.................................................................................................................................8
Electrical Connection ........................................................................................................................8
Reversing the Front Door (CHV05RPSA) .....................................................................................9
Be Advised ............................................................................................................................................9
8. Operation...........................................................................................................................10
Start-Up Procedure ...........................................................................................................................10
Restart Procedure..............................................................................................................................10
How to Save Energy..........................................................................................................................10
Safety Tips............................................................................................................................................11
9. Maintenance......................................................................................................................12
Cleaning the Unit...............................................................................................................................12
Cleaning Interior / Exterior / Door Gaskets...............................................................................12
Cleaning the Condenser..................................................................................................................12
Manual Defrost Procedure .............................................................................................................13
Transportation and Storage...........................................................................................................13
10. Troubleshooting ...............................................................................................................14
11. Wiring Diagram.................................................................................................................15
12. End of Life Care.................................................................................................................17
Replacement Parts ............................................................................................................................17
13. Warranty ............................................................................................................................18
14. Regulatory Compliance...................................................................................................19
Product Safety ....................................................................................................................................19
Additional Regulations and Markings ........................................................................................19
15. Contact Information ........................................................................................................20

1. Models
The table below shows the units covered in this operation and installation manual by model number.
REFRIGERATOR - FREEZER REFRIGERATOR
CHV07CPSA CHV05RPSA
CHV05CPSA
1

2. Safety Information
It is your responsibility to understand the proper function and operational characteristics of the unit. This
instruction manual should be thoroughly read and all operators must be trained before attempting to place
these units in service. Awareness of the stated cautions and warnings, and compliance with recommended
operating parameters together with maintenance requirements are important for safe and satisfactory
operation. The units should be used for its intended application, alterations or modications will void the Warranty.
These products are not intended, nor can they be used, as a sterile or patient connected device. In addition,
these units are not designed for use in Class I, II or III locations as dened by the US National Electrical Code,
unless otherwise noted.
Alert Signals
Safety Alert: .Important operating instructions. To reduce the risk of injury or poor performance of
the unit, read the user manual before operation.
WARNING: Indicates an immediately hazardous situation, which if not avoided, will result in death
or serious injury.
CAUTION: Indicates an immediately hazardous situation, which if not avoided, may result in
minor to moderate injury.
WARNING: Avoid contact with cold freezer surfaces potential for cold burns or skin sticking to
cold surfaces.
WARNING: Use of this symbol involves risk of electric shock.
Do not modify or use power supplies other than OEM equipment. Connection of the power supply
may require a properly grounded receptacle. Potential for electrical shock or equipment damage
exists if precautions are not followed.
NOTE: Notes alert you to pertinent facts and conditions.
DANGER RISK OF CHILD ENTRAPMENT
Before you throw away your old refrigerator or freezer:
eave the shelves in the place so that children may not easily climb inside.
WARNING: If the equipment is used in manufacturer, the protection
provided by the equipment may be impaired.
L
2

WARNING: Units are charged with hydrocarbon refrigerant (R600a). On
personnel should service this unit.
WARNING: Flammable refrigerant used. To be repaired only by trained
service personnel. Do not puncture refrigerant tubing.
WARNING: No equipment that uses an op inside the refrigerator. This
will harm the unit, hamper functionality and compromise your safety.
WARNING: erant used. Do not use mechanical devices to
defrost the unit.
WARNING: This product can expose you to chemicals including Nickel (Metallic) which is known
to the State of California to cause cancer. For more information go to www.P65Warnings.ca.gov
NOTE: Nickel is a component in all stainless steel and some other metal components.
3

3. Intended Use
The General Purpose refrigerator / freezer described in this manual is for professional use only.
These products are intended for use in research for the storage of samples or inventory in the following
temperature ranges:
Refrigerators 33.8°F to 53.6°F (+1°C to +12°C)
Freezers - 4°F to 10.4°F (-20°C to -12°C)
These units are not considered as medical devices and have therefore not been registered with a medical
device regulatory body (e.g. FDA): that is, these have not been evaluated for the storage of samples for
diagnostic use or for samples to be re-introduced to the body.
NOTE: Do not store corrosive materials in these units. Any damage which occurs due to storage of corrosives
will not be covered under warranty claims.
3. Intended Use
4
4ºF to 10.4ºF (-20ºC to -12ºC)

4. General Purpose Refrigerator & Freezer
These are general purpose units available in all refrigerators and freezers.
NOTE: Amps listed are at normal run mode, starting amps may be higher.
MODEL CHV07CPSA - 7.1 Cu. ft.
22in. Wide, Refrigerator and
Freezer
Features:
•R efrigerator: 3 Adjustable
Shelves
•F reezer: 1 Adjustable Shelf
•M anual defrost
MODEL CHV05RPSA - 5.5 Cu. ft.
23.63in. Wide, Under-counter
Refrigerator
Features:
•T hree adjustable shelves
•A djustable thermostat
•M agnetic door gasket
•W hite color
•K ey lock
•O ne glass shelf
•A djustable leveling legs
in the front
MODEL CHV05CPSA- 5 Cu. ft.
23.63in. Wide, Under-counter
Refrigerator / Freezer
Features:
•T wo adjustable shelves
•A djustable thermostat
•M agnetic door gasket
•W hite color
• Key lock
•A djustable leveling legs
in the front
CHV07CPSA CHV05RPSA CHV05CPSA
Refrigerator Chamber
Dimensions
H x W x D in. (cm)
36.5 x 17.5 x 17
(92.7 x 44.5 x 43.2)
27.75 x 20 x 17.5
(70.5 x 50.8 x 44.5)
19.5 x 20.5 x 17
(49.5 x 52.1 x 43.2)
Freezer Chamber Dimensions
H x W x D in. (cm)
10.38 x 15.5 x 16
(26.4 x 39.4 x 40.6) N/A 5 x 19 x 11.5
(12.7 x 48.3 x 29.2)
Exterior Dimensions
H x W x D in. (cm)
56.63 x 21.5 x 21.75
(144 x 54.6 x 55.2)
33.5 x 23.63 x 23.5
(85.1 x 60.02 x 59.69)
33.5 x 23.63 x 23.5
(85.1 x 60.02 x 59.69)
Electrical Characteristics
Volts/Hz, Amps 115 / 60, 1 120 / 60, 0.8 120 / 60, 1.2
Refrigerator Temperature
Range
°F (°C)
33.8° to 53.6°
(1° to 12°)
33.8° to 53.6°
(1° to 12°)
33.8° to 53.6°
(1° to 12°)
Freezer Temperature Range
°F (°C)
-4° to 10.4°
(-20° to -12°) N/A -4° to 10.4°
(-20° to -12°)
Net Weight lbs. (kg) 89 (40.5) 86 (39) 93 (42)
Shipping Weight lbs. (kg) 100 (45) 95 (43) 101 (46)
• Refrigerator:
3 Adjustable Shelves
• Freezer:
1 Adjustable Shelf
• Manual defrost
• White Color
• Three adjustable shelves
• Adjustable thermostat
• Magnetic door gasket
• White Color
• Key lock
• One glass shelf
• Adjustable leveling legs
in the front
• Two adjustable shelves
• Adjustable thermostat
• Magnetic door gasket
• White Color
• Key lock
• Adjustable leveling legs
in the front
5
and Freezer

5. Unpacking and Inspection
Unpacking
This should be inspected upon delivery. When received, carefully examine for any shipping damage before
unpacking. If damage is discovered, the delivering carrier should both specify and sign for the damage on
your copy of the delivery receipt.
Visible Loss or Damage
Note any external evidence of loss or damage on the freight bill, or express receipt, and have it signed by the
carrier’s agent. Failure to adequately describe such external evidence of loss or damage may result in the
carrier’s refusing to honor your dama le such a claim will be supplied by the
carrier.
NOTE: Failure to request an inspection of damage within a few days after receipt of shipment absolves the
carrier from any liability for damage. You must call for a damage inspection promptly.
Concealed Loss or Damage
Concealed loss or damage refers to loss or damage, which does not become apparent until the merchandise
has been unpacked and inspected. If either occur, make a written request for the carrier’s agent within 15
days of the delivery date; the damage is the carrier’s responsibility.
If you follow the above instructions carefully, we will guarantee our support of your claim to be compensated
for loss from concealed damage.
DO NOT, FOR ANY REASON RETURN THIS UNIT WITHOUT FIRST OBTAINING AUTHORIZATION.
CAUTION: DO NOT REMOVE, under any circumstance, the grounding prongs from the
3-prong power cord supplied with all units.
CAUTION: DO NOT USE electrical extension cords that may result in voltage loss and possible
hazardous operation.
Note any external evidence of loss or damage on the freight bill, or express receipt, and have it signed by
the carrier’s agent. Failure to adequately describe such external evidence of loss or damage may result in
the carrier’s refusing to honor your damage claim. The form required to le such a claim will be supplied by
the carrier.
6
15 days of the delivery date; then le a claim with the carrier since the damage is the carrier’s responsibility.

stationary equipment in a Pollution Degree 2 and
6. Operating Conditions
The units described in this manual
Over Voltage Category II environment.
These units are designed to operate under the following environmental conditions:
•Indoor use
• Altitude up to 2,000 m (6512 feet)
• Maximum relative humidity 65%, non-condensing
• Temperatures: 59°F to 90°F (15°C to 32°C)
• Main supply voltage uctuations should not exceed by ±10% of the nominal voltage.
7
ft.)

7. Installation
Selecting a Location
Choose a location for the CHV07CPSA (Refrigerator and Freezer) that provides a clearance of 12 in. at the top,
4 in. at the rear and 4 in. on each side.
Choose a location for the CHV05RPSA (Under-counter Refrigerator) / CHV05CPSA (Under-counter
Refrigerator / Freezer) that provides a clearance of 4 in. on each side.
Appropriate electrical power must be available. Locate the refrigerator / freezer within eight feet of the power
outlet so that no extension cord is required. Attach the refrigerator / freezer to the facility’s electrical supply
as directed by the National Electrical Code.
Leveling the Unit
This refrigerator / freezer must be level in order to provide adequate condensate drainage as well as proper
door alignment and operation. The refrigerator/freezer should ng location and set so
Electrical Connection
Determine the total amount of current presently being used by other apparatus connected to the circuit that
will be used by this refrigerator. It is critical that this added current demand and other equipment on this
circuit not exceed the rating of the fuse or circuit breaker in use.
The frequency and nominal voltage requirements for the unit the data plate. Supply this unit
with an electrical source that meets these requirements only. Low line voltage is often the cause of service
complaints. With the unit running, check that the line voltage is within ±10% of that
data plate.
General Purpose units must be connected to a grounded outlet matching the nameplate and / or the
information furnished in this manual. If you are not sure about the outlet, you should co
electrician for assistance.
The Unit should always be connected to a dedicated power source.
CAUTION: Be sure the voltage supplied to the refrigerator / freezer is equal to
data plate.
WARNING: For personal safety, this unit must be properly grounded before use.
WARNING: DO NOT REMOVE, under any circumstance, the grounding prongs from the
3-prong power cord supplied with all units.
WARNING: DO NOT USE electrical extension cords, it may result in voltage loss and possible
hazardous operation.
8

9
Reversing the Front Door (CHV05RPSA)
Be Advised
WARNING: Storage by user of any materials in the product that may cause a deterioration of the
product shall be deemed to constitute abnormal and improper usage of the product for purposes
of this warranty.
WARNING: wer supply, check the electri
unit nameplate to see that it is in agreement with the power supplied. In addition,
be wired to the unit according to the electrical schematic and all
electricians should work on the electrical portion of any unit installation.
CAUTION: Solutions used to clean coils or neutralize bacteria growth must not be corrosive to
metals (enamel-coated steel) and materials used in the maintenance of this
cause damage. Use a soft cloth and warm water to clean.
1. Remove bolts and plugs using a screwdriver.
2. Unscrew the bolts connecting the upper hinges to the upper platform. Remove the upper platform by
rst pulling it forward and then lifting it upwards.
3. Remove the door by unscrewing the bolts in the upper hinges.
4. Remove the buer by unscrewing the bolts on both of its sides.
5. Break o the part behind the buer through which the lower hinges pass using a knife or your hands
6. Remove the lower hinge and mount it on the other side tightening its bolts.
7. Remove the hole plugs of the door handle with a knife.
8. Fit the hole plugs of the door handle to the other side.
9. Fit the buer to its place.
10. Mount the door to its place.
11. Fit the upper hinges into their places - do not tighten the bolts, but leave them loose.
12. Adjust the vertical and parallel position of the door to the line of sight, then tighten the bolts of the
upper hinges.
13. Fit the upper platform into its place.
14. Fit the bolts connecting the upper hinges and the upper platform but, do not tighten them.
15. Adjust the upper platform until it is level, then tighten the bolts in operations.
16. Fit the plugs of the upper platform.
Before connecting the nal power supply, check the electrical characteristics of the
unit nameplate to see that it is in agreement with the power supplied. In addition, power should
be wired to the unit according to the electrical schematic and all applicable codes. Only qualied
electricians should work on the electrical portion of any unit installation.

8. Operation
10
Start-Up Procedure
For CHV07CPSA: Rotate the control knob clockwise to lower the temperature and counterclockwise raise it.
Because the markings on the dial do se them as reference points only for
any future setting of the temperature.
For CHV05RPSA and CHV05CPSA: Turn the knob clockwise from the STOP (0) position toward the higher
numbers for colder temperatures. Higher settings on the knob (higher numbers) mean lower temperatures
(colder) in the refrigerator.
On the coldest settings, temperatures in some spots inside the refrigerator cabinet may drop below 32°F. Use
higher thermostat settings only when required or recommended.
To check chamber temperature, place a dial thermometer on a shelf in the center of the chamber. Initially,
rotate the temperature control knob to an arbitrary setting. Allow approximately 2 hours for the temperature
to initially stabilize. Check the temperature and compare with the dial setting.
Adjust dial further to reach the desired operating temperature. After chamber initially stabilizes, allow 1/2 to
1 hour for the chamber temperature to stabilize after subsequent temperature adjustments.
If the room thermostat is turned below 60ºF at night, consider setting the temperature control one step
colder. It should be left at this setting for the nighttime period; return temperature control to original setting
when the room thermostat is returned to its normal setting.
Restart Procedure
If unit is unplugged or turned ing or plugging it back in.
How to Save Energy
CAUTION: Do not use in the presence of terials or explosive gases.
Fire or explosion could result, causing death or severe injury.
• Be sure to follow location suggestions as mentioned in Installation.
• Wipe moisture from glassware or other materials before placing them in a unit.
• Don’t overcrowd the unit. Too many items can increase electrical energy demand in order to keep
everything cool.
• Close the door as soon as possible in hot, humid weather.
• Make certain that the door is closed tightly.
• As soon as frost has accumulated to 1/4 in., defrost.
• Keep containers covered, when possible, to reduce moisture buildup.
• Set operating temperature no colder than necessary for the items being refrigerated.
Do not use in the presence of ammable or combustible materials or explosive gases.
Fire or explosion could result, causing death or severe injury.
not indicate specic temperatures, use
turned o, allow 3 minutes before restarting
32ºF
60ºF

Safety Tips
After a unit is in operation, do not touch the cold surfaces, particularly when hands are damp.
Skin may adhere to the cold surfaces.
We recommend handling samples by wearing gloves to avoid frost bite.
Never disconnect your unit by pulling the power cord. Always grip the plug securely and pull
straight out from the outlet.
Do not use a power cord that shows cracks or abrasions. Ha
replace damaged cords immediately.
Do not use a power cord that shows cracks or abrasions. Have a qualied electrician repair or
replace damaged cords immediately.
11

12
9. Maintenance
Cleaning the Unit
Before beginning cleaning unit follow these instruction listed below:
Cleaning Interior / Exterior / Door Gaskets
A solution of mild soap / detergent and lukewarm water can be used for cleaning the interior, exterior and
door gaskets with a soft, clean cloth. Rinse with clean water and dry thoroughly before reconnecting and
turning on the unit.
The cabinet interior should be cleaned frequently. Any spilled liquid should be wiped
stains resulting from some spills could be permanent if not quickly removed. The most convenient time to
clean the interior is after defrosting.
Cleaning the Condenser
With forced-fan vented units, remove the screws that mount the grill to the unit. Pull temperature control
knobs straight out this will expose condenser for cleaning.
These surfaces may be warm to the touch. The condenser should be cleaned before becoming clogged with
dirt / dust. Construction or other dirt causing environments may sign
frequency. The condenser should be cleaned at least once a year.
CAUTION: When servicing the unit, disconnect from the electrical power source.
CAUTION: Refer servicing to
CAUTION: Never clean around the cond Some surfaces are sharp.
qualied personnel.
with your ngers.
signicantly increase the required
wiped o immediately since
• Disconnect power cord from its outlet.
• Set the temperature control to the OFF position.
• The unit designs permit easy and rapid cleaning and should not take more than a few minutes. Remember
to wear protective gloves to prevent frost bite, especially when removing items from freezer units.
• Do not use abrasive scouring powders, waxes, solvents, furniture polish, undiluted detergents or
cleansers containing petroleum products on the surfaces of units.

13
Manual Defrost Procedure
Use the following procedure to defrost manually:
When frost accumulates to 1/4 in. of the unit wi
All laboratory refrigerators feature automatic defrosting and in normal conditions no manual defrosting is
required. However, in certain conditions (e.g. when the refrigerator is very full or when any new items are
stored in the refrigerator) frost may form on the rear wall of the equipment as the compressor must run for
long periods of time. As automatic defrosting takes place while the compressor is not running, the
refrigerator may not defrost completely before the compressor restarts. In these instances, some manual
defrosting may be required.
Before manually defrosting the cabinet, make sure the power lead is disconnected from the mains.With cold
wall refrigerator, condensation may form on the interior of the cabinet and may require periodic wipe down
with an absorbent cloth.
In high usage and / or high ambient scenarios, excessive ice may form on the inner back wall of the
refrigerator and in the worst case or sudden
recommended to defrost frequently and collect any build up ice from inside in a container and safely dispose
in the sink. If the pty the pan and dry up the wet regions around before next
restart.
Transportation and Storage
Use all required local facility procedures and PPE while transporting and storing the product.
CAUTION: Do not use any sharp instruments, blade or scraper to remove ice and frost on
refrigerator or freezer surfaces because of the very real danger of puncturing the cooling coil.
CAUTION: Do not use any electrical devices to defrost the unit.
• Rotate the temperature control knob to the OFF setting or zero position according to the model.
• Disconnect the power cord from its outlet.
• Remove contents of the unit. It is suggested to wrap contents in paper and then in a heavy blanket
to maintain temperature of items, especially those removed from a freezer. Wear protective gloves to
prevent from frost bite when handling cold items.
• Open door and allow free circulation of ambient air.
• To speed the process, place pan of warm water inside the chamber.
• Wipe out the interior.
• Replace the contents.
• Reconnect the power cord to outlet and set temperature control to desired operating temperature.
or more, the operating eciency of the unit will be aected.
power cut-o event, drain pan might overow. Hence it is
drain pan has over owed, empty
before next restart.
dispose in the sink. If the drain pan has over owed, empty the pan and dry up the wet regions around
mains. With cold
and/or high ambient scenarios, excessive ice may form on the inner back wall of the

14
10. Troubleshooting
This section is a guide to troubleshoot general operational problems.
SYMPTOM PROBABLE CAUSE ACTION
Unit does Not
Run
Unit Unplugged Plug in Unit
Blown fuse or tripped circuit breaker. Check fuse or circuit breaker at breaker
box.
Temperature control knob is turned to
OFF.
Turn temperature control knob to ON.
Runs
Continuously
Frost build up on refrigeration coils. Defrost unit
Dust or lint build-up on condenser. Clean the condenser with a dry brush or
vacuum.
Door gasket worn out. A leak around the door gasket will allow
cold air to escape. This causes unit to
work harder than necessary to maintain
cold temperatures.
Re-seat or replace the gasket if worn.
Temperature too low. This may cause unit to run continuously.
Check optimum running temperature.
Ambient temperature over 109ºF (43ºC). Is the ambient air over 109ºF (43ºC), or
the units located close to heat sources? If
Door opening frequency is high. An unusually high frequency of door
openings and closings can increase
operating load. Unit will stabilize as these
are decreased.
Noise problems
Contents of unit set too close and rattling
against each other.
Rearrange contents as needed.
Hissing or gurgling noise is caused by This is normal
Check the level of unit.
Fan noise
This is normal.
Fan noise.
Unit unplugged.
Defrost unit.
If possible, move to a dierent location.
Check fuse or circuit breaker at
breaker box.
Clean the condenser with a dry brush
or vacuum.
Temperature control knob is turned
to OFF.
Plug in unit.
Unit Does
Not Run
Runs
Continuously
Noise Problems
109°F (43°C). 109°F (43°C),

11. Wiring Diagram
Figure 1. Wiring diagram for CHV07CPSA
15

16
Figure 2. Wiring diagram for CHV05RPSA and CHV05CPSA
16

17
12. End of Life Care
Be sure to follow local regulations when disposing of an old unit. Some suggestions are listed below:
1. Remove items and defrost unit. Be sure to clean up any biological safety hazards.
2. Remove the cabinet door to help prevent entrapment inside of a unit.
rant and compressor, then drain the compressor and oil
from the system. Disposal of the unit should be done by following local regulations.
Replacement Parts
To obtain replacement parts information and pricing, please call the Customer Service Department at
800-438-4851 and have the unit’s model, serial and code numbers available.
This information is located on data plates on the rear of the unit or on the upper left side of the interiors.
Ordering Procedures
ion Plate for the complete model number, serial number and series number when
requesting service, replacement parts or in any correspondence concerning this unit.
All parts may be ordered from the dealer from whom you purchased this unit or can be obtained promptly
from the factory. When service or replacement parts are needed we as
If the dealer cannot handle your request, then contact our Customer Service Department at 800-438-4851.
Prior to returning any materials, please contact our Customer Service Department for a “Return Materials
Authorization” number (RMA). Material returned without an RMA number will be refused.
3. Have a certied technician remove the refrigerant
Refer to the Specication Plate
ask that you check rst with out dealer.
This manual suits for next models
2
Table of contents
Other Cardinal Health Refrigerator manuals