c) Sirens is turned on by main trigger zone:car door,engine hood,car trunk,ignition.
Siren is activated and at the same time the car parking light flashes for 30 seconds.
LCD screen displays the responsed sensor
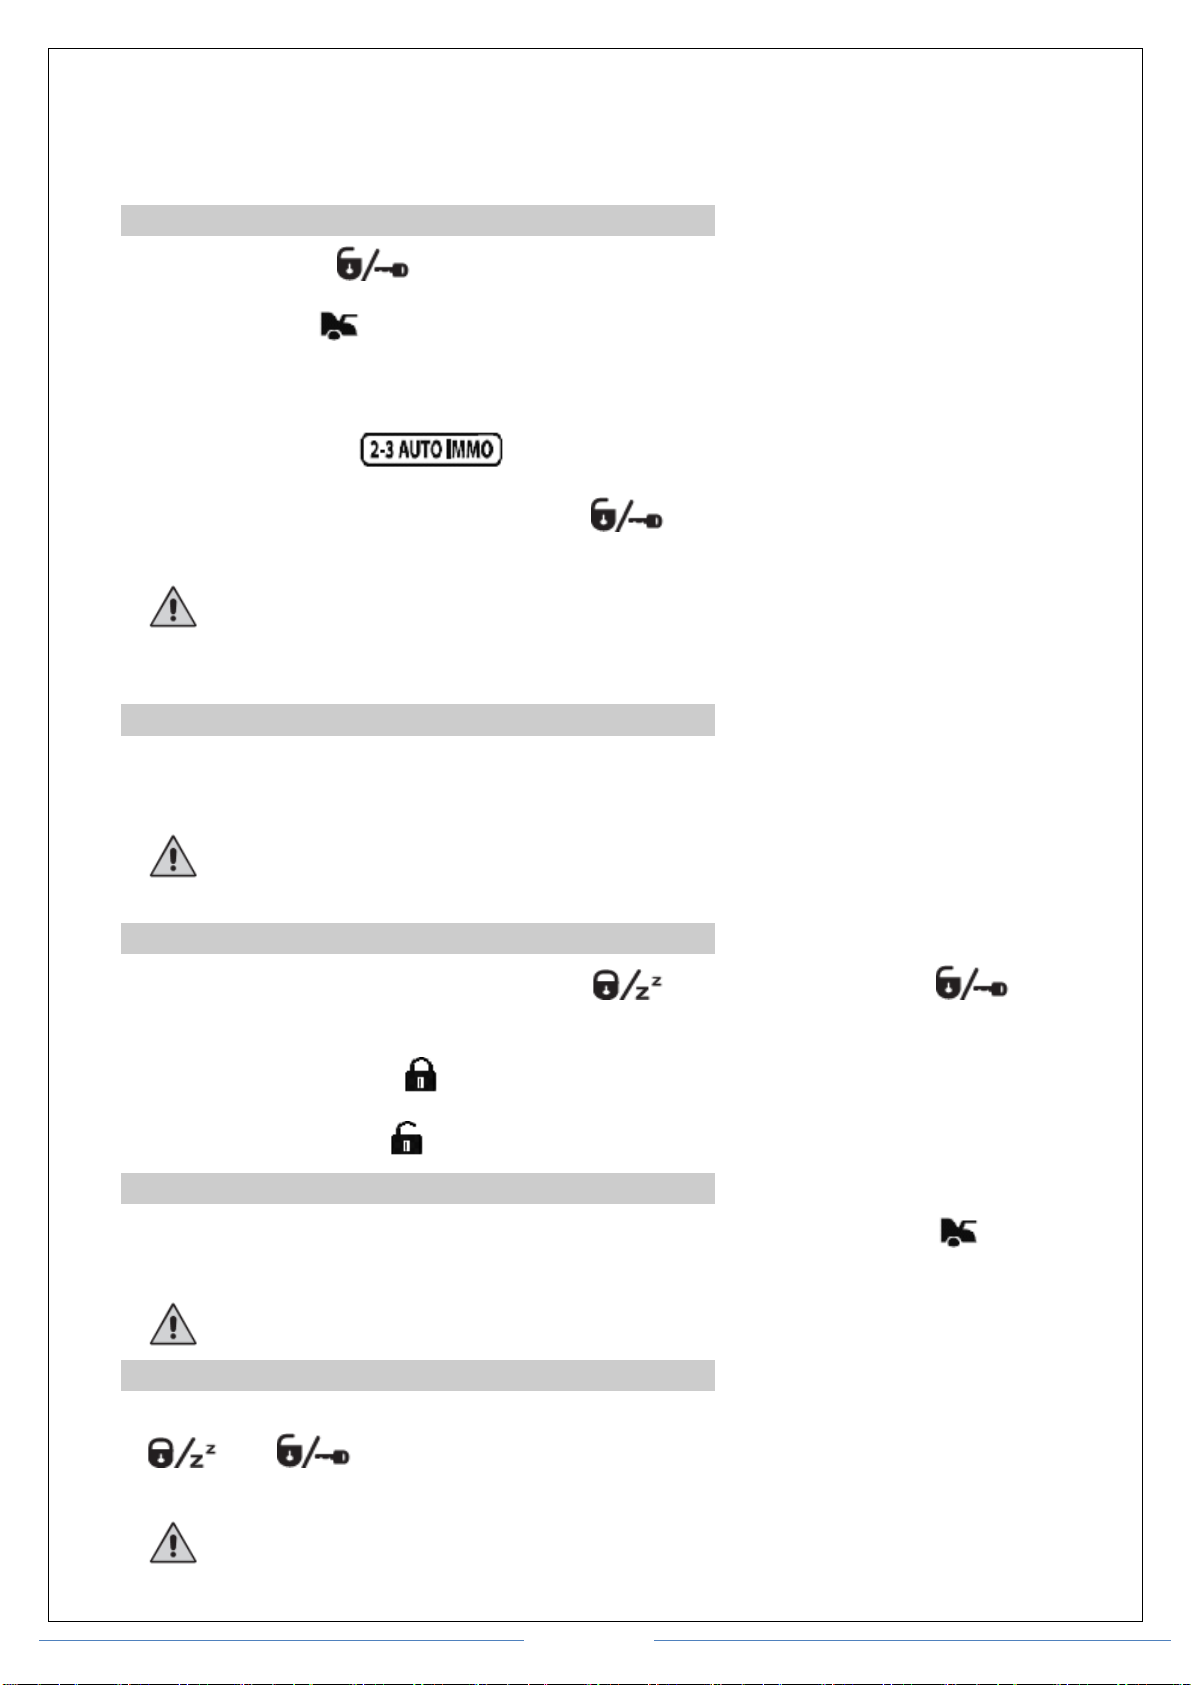
10. Auto immobilizer mode:
Press and hold until remote beeps(or the LED indicator color of 1 way LED remote turns
green)then press to turn on or turn off this feature.If this feature is enabled,engine lockout will be
automatically enabled 30 seconds after the ignition is turned off. When ignition is turned on , the activation
message of auto immobilizer mode will be transmitted to the LED indicator of antenna .
LCD screen displays:
To turn of auto immobilizer mode,press ,engine lockout disabled,The LED indicator of
antenna turns dark.
Attention!Turn off ”Auto immobilizer mode” under emergency:
1. Turn off ignition
2. Press ”Override” button 1 time.
11. Ignition controlled door lock
This feature needs to be programmed.If it's activated,the car door will automatically closed after
ignition is turned on.(There are four programming methods to set up this feature in the system,please
refer to 2nd column in page 19)
Attention!If the car door opens automatically within 10 seconds after the ignition is turned on,this
feature will be deactivated.
12. Controlling power door locks while driving
When ignition is turned on,you may press to close car door or press to open car
door in order to control power door locks.
LCD screen displays:- Close
- Open
13. Locating your cars
During nighttime you may use “Locating your car”feature.You need to press twice within 1
second,parking light flashes and siren chirps 6 times at the same time.
Attention!LCD screen will display updated messages regarding car status.
14. Warn away mode
You may use this feature to attract attention.When ignition is turned off, you need to press and hold
and together then release when the siren chirps 3 times,parking light flashes 3
times,car door closes,arm mode is activated.
Attention!LCD screen will update messages regarding car status.