Carrin KW9025CC User manual

KW9025CC (no RCC)
Features:
z433MHz RF receiving frequency.
zMaximum three selectable RF channels with wireless Thermo Sensor.
zTransmission range: 30 meters ( open area ).
zMeasuring range:
Indoor temperature: 0°C ~ +50°C
Outdoor temperature: -20°C ~ +50°C
zOutdoor temperature alert function.
zMax/Min Memory for Indoor and Outdoor Temperature.
zLow-battery indicator for Outdoor Remote Sensor.
zPerpetual Calendar Up to Year 2069.
z12/24 Hour time display selectable.
zDay of week in 7 Languages Selectable.
zTable Stand or Wall Mount Selectable.
zBattery:
Main Unit : DC 1.5 VAA size x 2 pcs
Thermo Sensor Unit : DC 1.5 VAAA size x 2 pcs

Main UnitAppearance
Part A- LCD
A1: Thermo Sensor Channel A2: Outdoor Temperature and Trend
A3: Real Time Display A4: Indoor Temperature
Part B- Buttons
B1:”ALERT”button B2:“MAX/MIN”button
B3: “CHANNEL” button B4: “AL ON/OFF” button.
B5: “ (12/24)“ button B6: “ (C/F)“ button
B7:“MODE/SET”button B8:”RESET”button
Part C- Structure
C1: Wall Mounting Hole. C2: Battery Compartment.
C3: Stand

Thermo Sensor Unit Appearance.
D1: Transmission Indication LED D2: Outdoor Temperature
D3: Wall Mount Hole D4: Channel Selecting Switch
D5:BatteryCompartment D6:“°C/°F” button
D7:“TX”button D8:Stand
Set Up:
yInsert batteries.
yUse a pin to press the RESET (B8) button
Outdoor Thermo Sensor Unit Registration Procedure:
yThe clock automatically starts receiving the RF 433MHz signal to register new
Thermo Sensor Unit after new batteries inserted, “- - . -“ flashes on the outdoor
temperature.After registered all channels or press “CHANNEL” button (B3),
scanning stops. All buttons will not function when scanning for Thermo sensor’s
signal unless they are well received or stopped manually.
zFor having more than one external transmitter (Maximum3), select the Channel,
CH1, CH2 or CH3 to ensure each thermo sensor is transmitting in difference
channel before inserting batteries of the Thermo Sensor Unit. The channel select
switch (D4) is at the back of the thermo sensor.
zInsert Batteries on the Thermo Sensor Unit. It will automatically transmit
temperature to the main unit. Batteries compartment (D5) of thermo sensor is
locating behind the back cover, unscrews to open.
zPress “ TX “ button (D7) on the thermo sensor unit to transmit temperature to the

main unit to ensure the main unit can receive the channel. The main unit gives a
“beep” sound if it received the temperature.
Display outdoor temperature:
zPress “CHANNEL” button (B3) to view the 3 Channels’temperature. The
sequence is shown as follow:
Press Press Press
“CHANNEL” button “CHANNEL” button “CHANNEL” button
Display the three
channels alternatively
zHold “CHANNEL” button (B3) for 3 seconds to cancel unused channel manually.
It will automatically register a new channel again if a new channel is received.
If there is no temperature displayed in existing channel ( “ - - . –“is displayed on
the LCD), hold “CHANNEL” button (B3) for 3 seconds to cancel that channel and
receive the channel again ( “Beep” sound can be heard.) Then, press “TX “button
(D7) on the thermo sensor unit to transmit signal to the main unit manually
zThe trend pointer displayed on the LCD indicates the trend of the outdoor
temperature.
“ ” indicates the outdoor temperature is increasing.
“ ” indicates the outdoor temperature is steady.
“ ” indicates the outdoor temperature is decreasing.
zPress “°C /°F” button (D6), on the Thermo Sensor unit, to select Thermo Sensor
displayed in Celsius mode or Fahrenheit mode.
Time Setting:
zHold “MODE/SET” button (B7) for 3 seconds to enter Clock/Calendar setting
Mode.
zPress “ ” (B5) or “ ” (B6) buttons to adjust the setting and press
“MODE/SET” button (B7) to confirm each setting.
zThe setting sequence is shown as follow: Hour, Minutes, Second, Year,
Month/Day sequence, Month, Day, Time Zone, Day-of-week language.

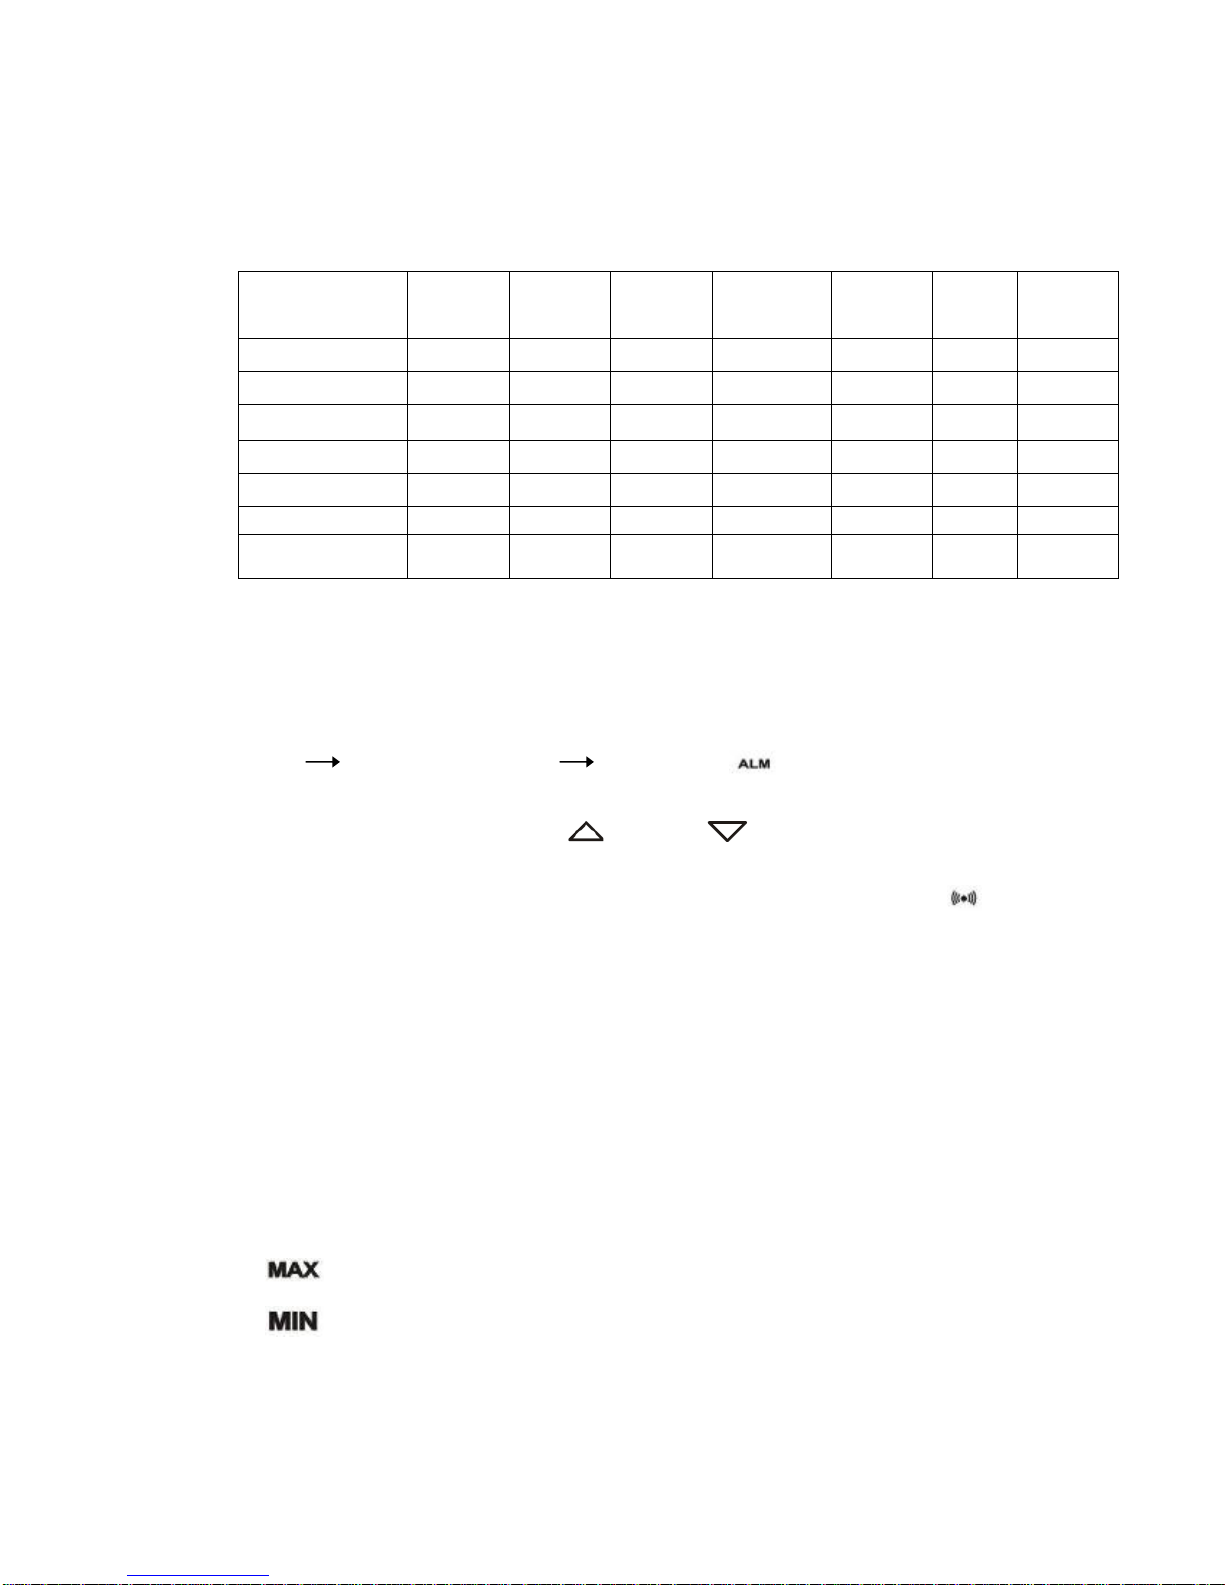
z7 languages can be selected in Day-of-week, they are: German, English, Denmark,
Dutch, French, Italian and Spanish. The languages and their selected abbreviations
for each day of the week are shown in the following table.
Language
Sunday
Monday Tuesday Wednesday Thursday Friday Saturday
German, GE SO MO DI MI DO FR SA
English, EN SU MO TU WE TH FR SA
Denmark, DA SO MA TI ON TO FR LO
Dutch, NE ZO MA DI WO DO VR ZA
French, FR DI LU MA ME JE VE SA
Italian, IT DO LU MA ME GI VE SA
Spanish, ES DO LU MA MI JU VI SA
xThe Time Setting Mode will automatically exit in 5 seconds without any
adjustment.
Alarm Clock Function:
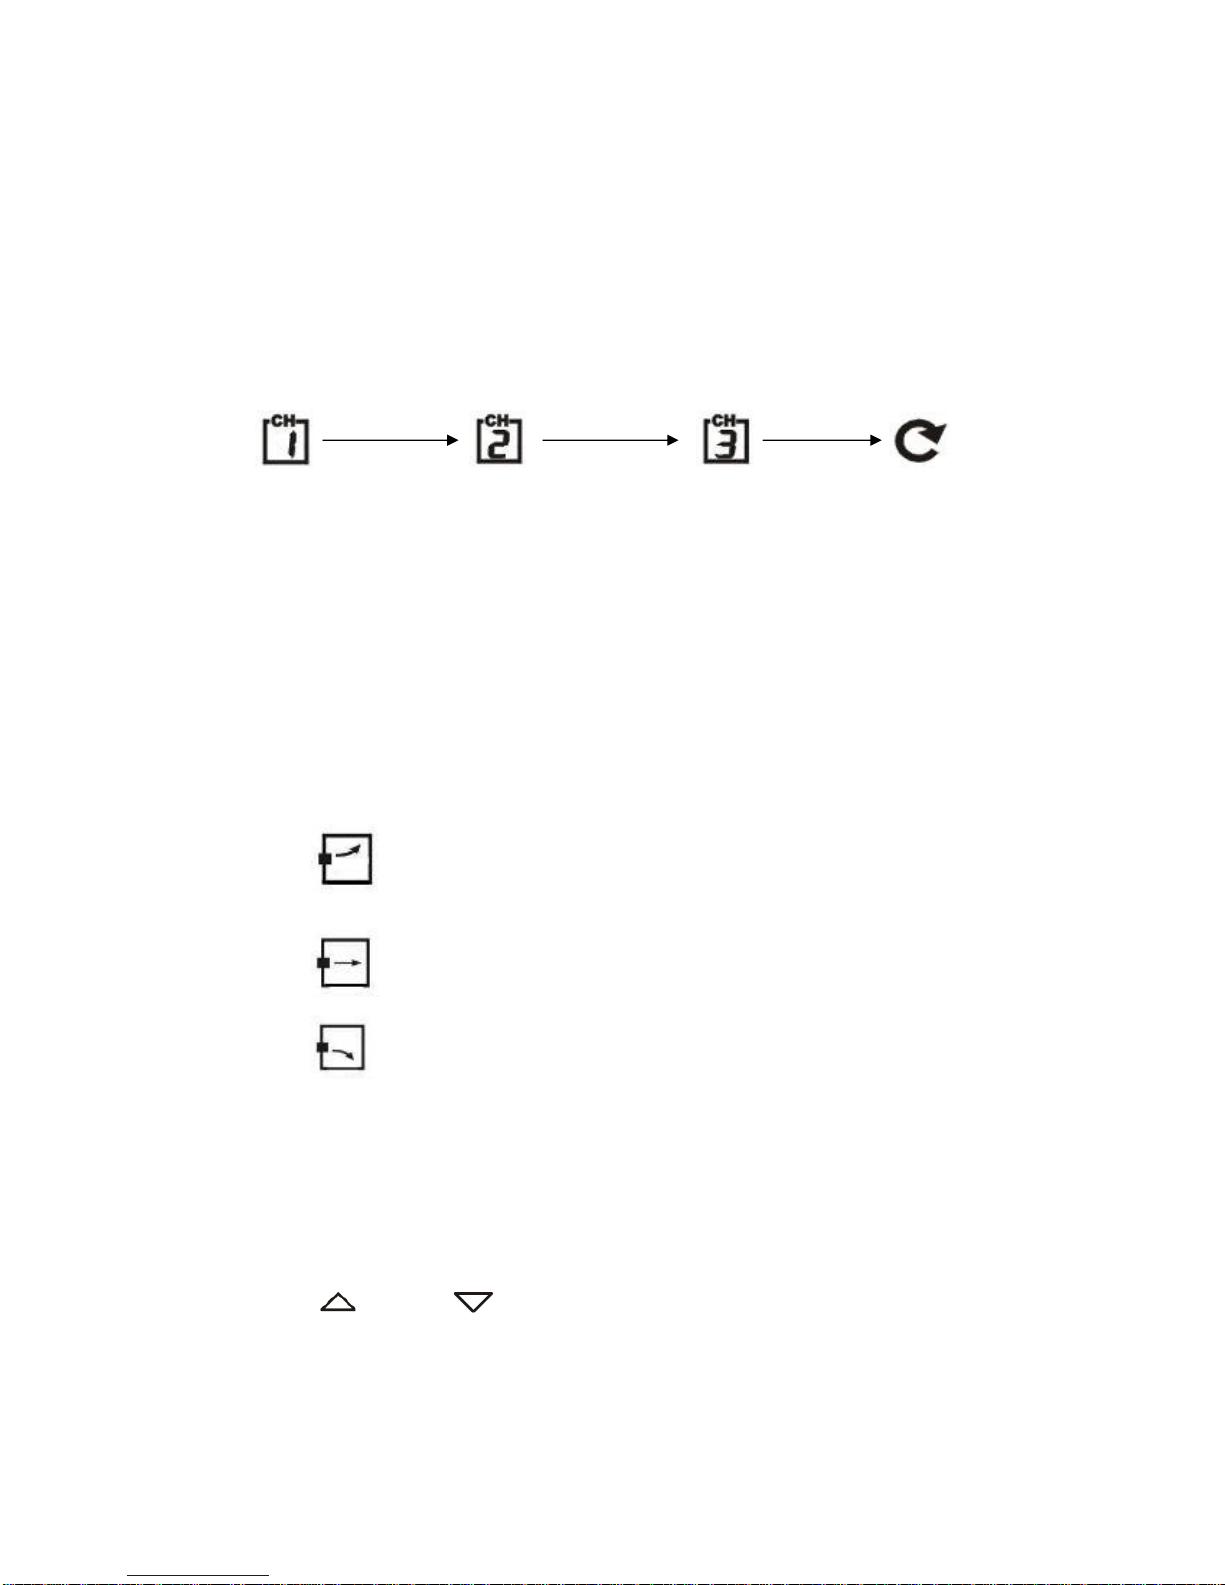
zPress “ MODE/SET” button (B7) to select to view :
Time Date/Month /Weekday Alarm Time (“ “Shown on the LCD)
zWhen viewing the Alarm Time, hold “MODE/SET” button (B7) for 3 seconds to
enter Alarm Time setting. Press “ ” (B5) or “ ” (B6) buttons to adjust the
alarm time.
zPress “AL ON/OFF” button (B4) to switch alarm on or off. If it is on, “ ”
shown on the LCD.
zPress any button to stop the alarm.
Thermometer:
zPress “°C / °F” button (B6) to select Temperature in Celsius mode/ Fahrenheit
mode.
Maximum/Minimum temperature recording function:
zPress “MAX/MIN” button (B2) to show the maximum or minimum of indoor and
outdoor temperature.
“” is shown on the LCD if maximum temperature is shown.
“ ” is shown on the LCD if minimum temperature is shown.
yHold “MAX/MIN” button (B2) for 3 seconds to clear the recorded maximum and
minimum reading.

Temperature Alert function:
zHold “ALERT” button (B1) for 3 seconds to enter Temperature Alert setting,
Temperature’s digits flash.
zPress “ ” (B5) or “ ” (B6) button to select Indoor or Outdoor CH1, CH2
and CH3 temperature alert. Press “ALERT “button (B1) to confirm the setting.
zPress “ ” (B5) or “ ” (B6) button to set the upper “ ” and lower “ ”
limit of the temperature. Press “ALERT “button (B1) to confirm the setting.
zPress “ALERT” button (B1) to set the Temperature Alert function on or off (“ ”
appears on the LCD if this function is on).
Low batteries indicator:
zLow battery icon “ “appear at particular channel indicating that Thermal
Sensor Unit of the channel is in low battery status. The batteries should be
replaced.
Note:
zAlways read the users manual carefully before operating the Unit.
zUse a pin to press the reset button (B8) if the Unit does not work properly.
zAvoid placing the clock near interference sources/metal frames such as computer
or TV sets.
zThe clock loses its time information when the battery is removed.
zButtons will not function while scanning for outdoor temperature signal unless
they are well received or stopped manually.

FCC STATEMENT
1. This device complies with Part 15 of the FCC Rules. Operation is subject to the following two
conditions:
(1) This device may not cause harmful interference.
(2) This device must accept any interference received, including interference that may cause
undesired operation.
2. Changes or modifications not expressly approved by the party responsible for compliance could
void the user's authority to operate the equipment.
NOTE: This equipment has been tested and found to comply with the limits for a Class B digital
device, pursuant to Part 15 of the FCC Rules. These limits are designed to provide reasonable
protection against harmful interference in a residential installation.
This equipment generates uses and can radiate radio frequency energy and, if not installed and
used in accordance with the instructions, may cause harmful interference to radio communications.
However, there is no guarantee that interference will not occur in a particular installation. If this
equipment does cause harmful interference to radio or television reception, which can be
determined by turning the equipment off and on, the user is encouraged to try to correct the
interference by one or more of the following measures:
Reorient or relocate the receiving antenna.
Increase the separation between the equipment and receiver.
Connect the equipment into an outlet on a circuit different from that to which the receiver is
connected.
Consult the dealer or an experienced radio/TV technician for help.
Table of contents
Other Carrin Weather Station manuals
Popular Weather Station manuals by other brands

WEATHER DIRECT
WEATHER DIRECT WD-2512U owner's manual

Auriol
Auriol 283582 Operation and safety notes

La Crosse Technology
La Crosse Technology LTV-D1 manual

Jaycar Electronics
Jaycar Electronics XC0349 instruction manual

Ascot
Ascot AUK-WS-33 operating instructions

Bresser
Bresser Translucidus 7007600000000 instruction manual