2
Table of Contents
Chapter 1 Read before Use
1.
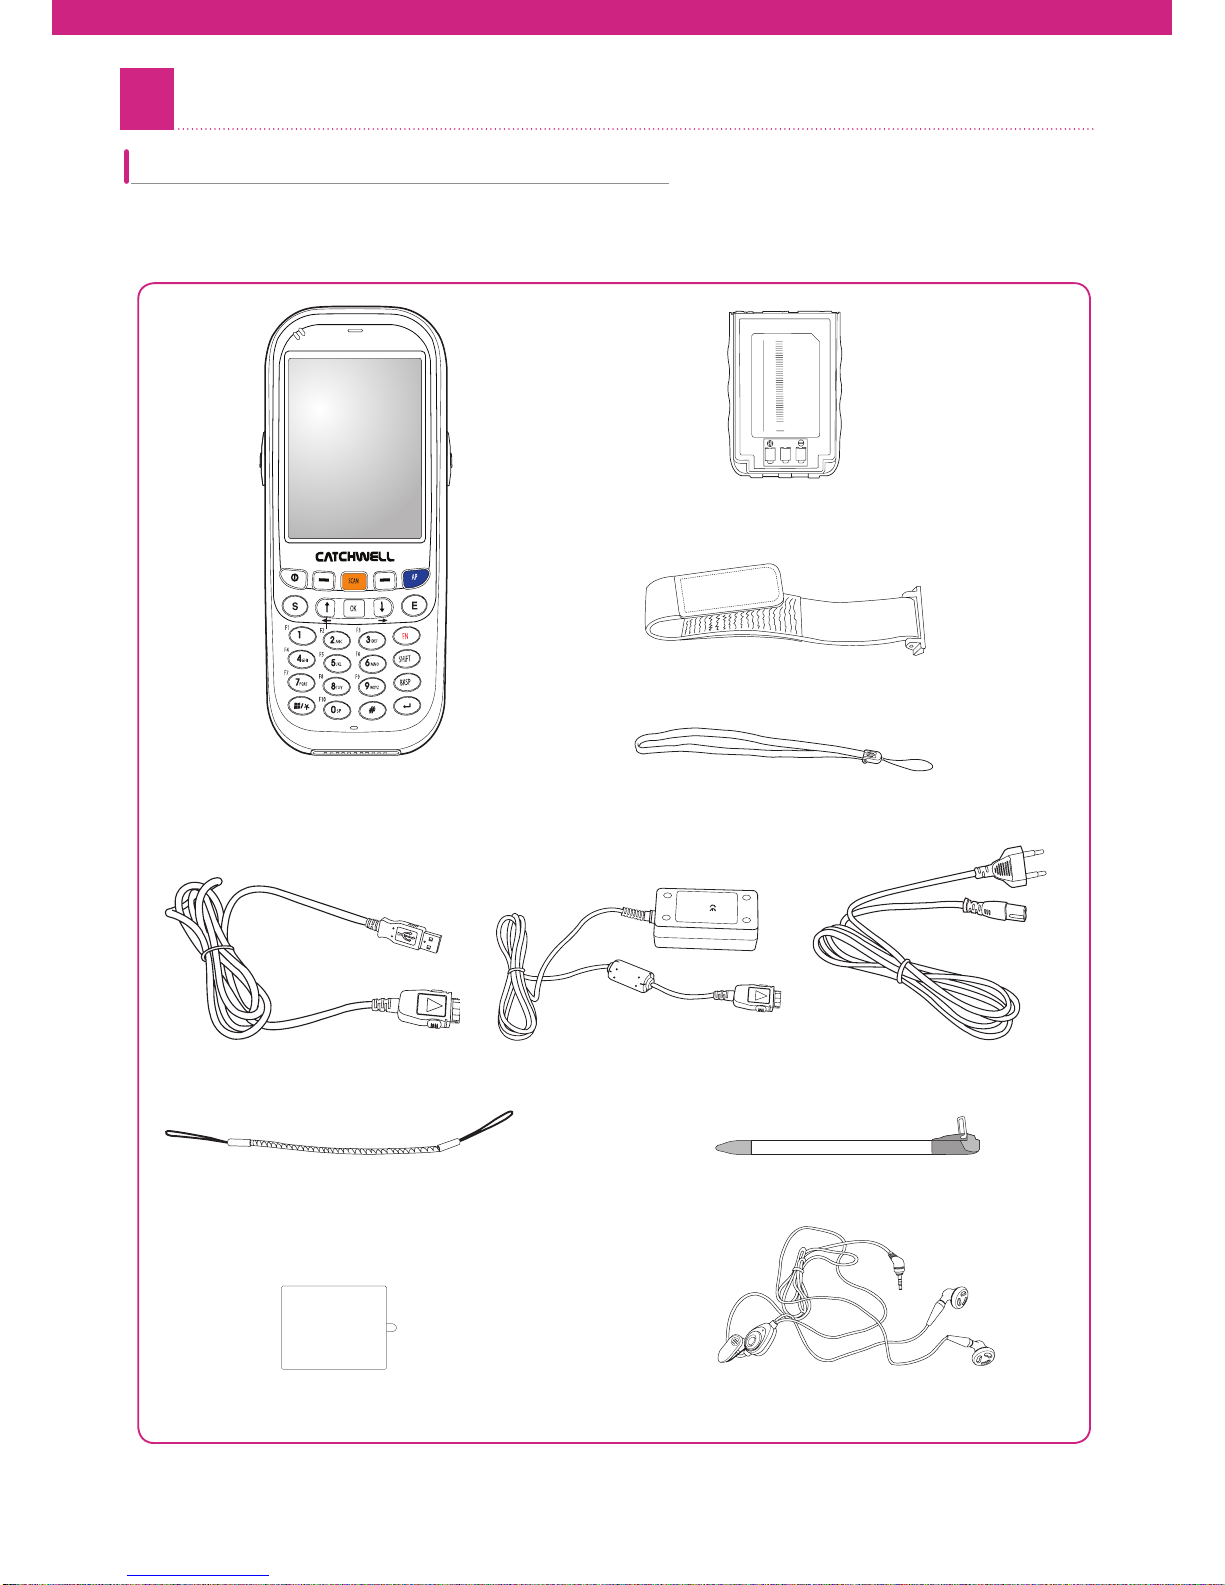
Product Components…………………………… 8
Product Components …………………………………… 8
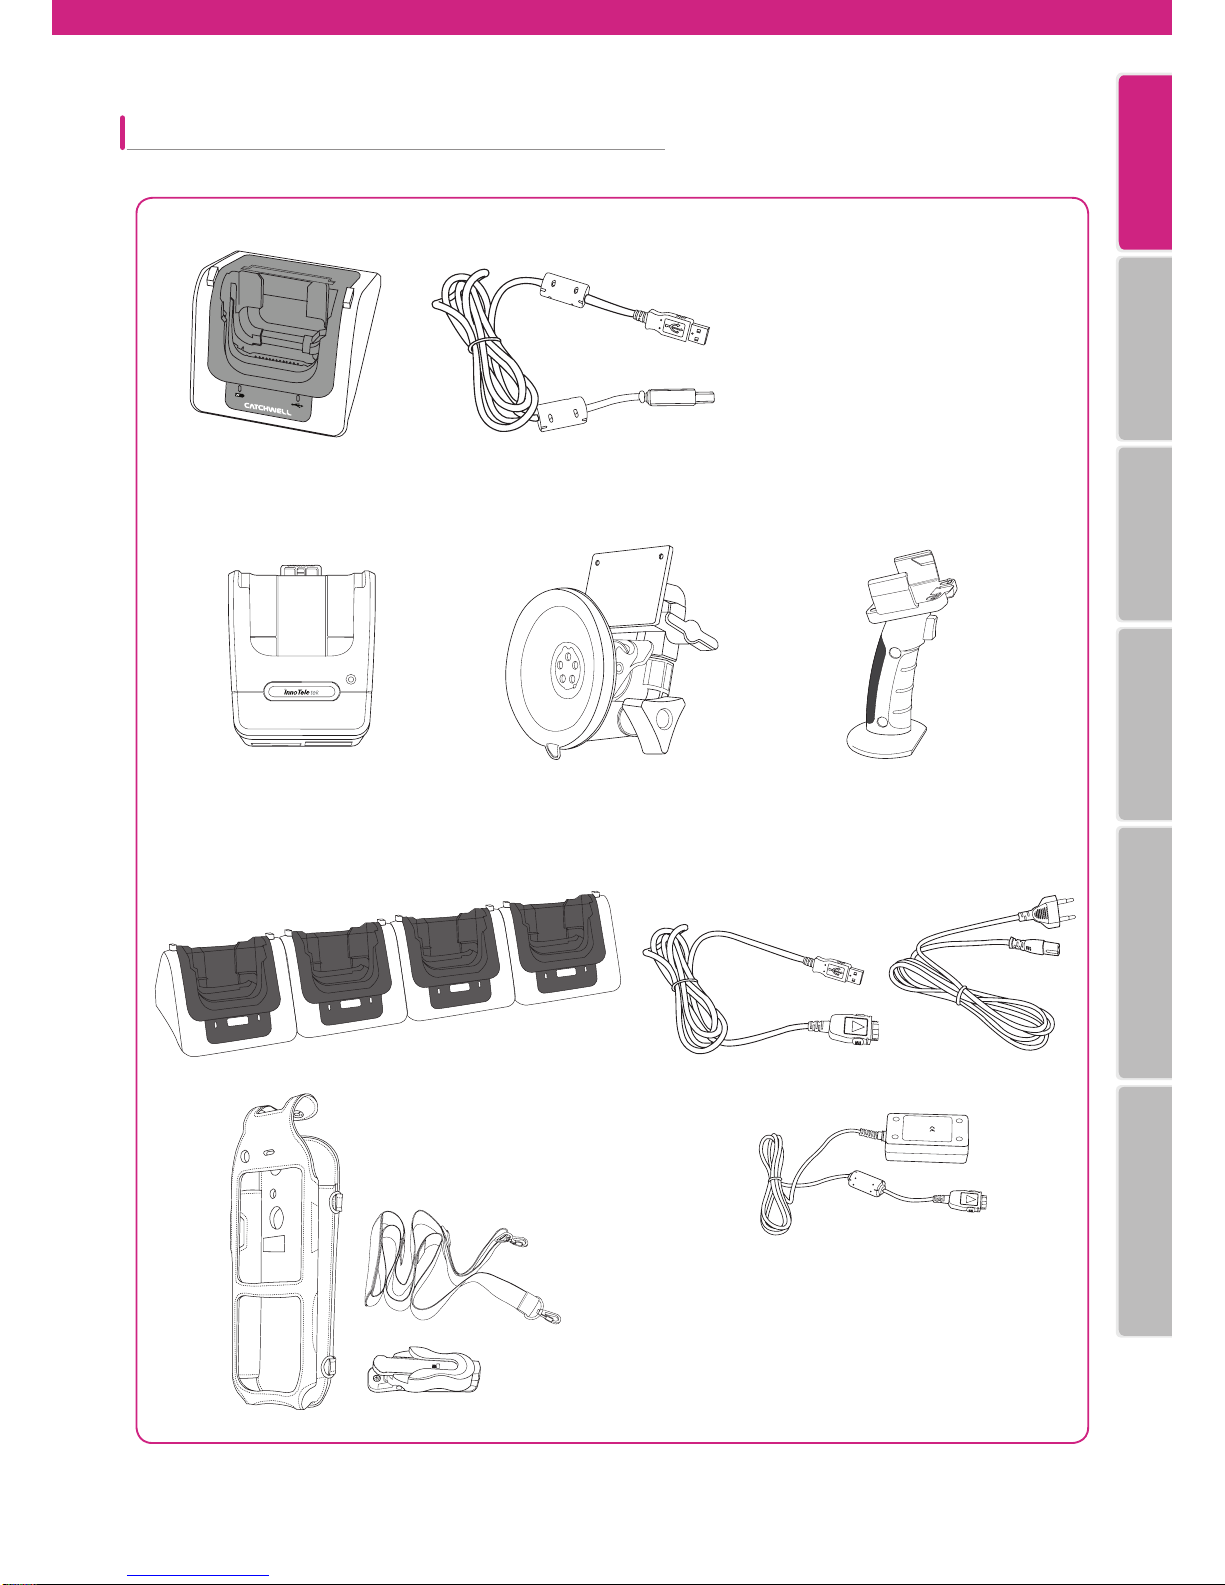
Options …………………………………………………………… 9
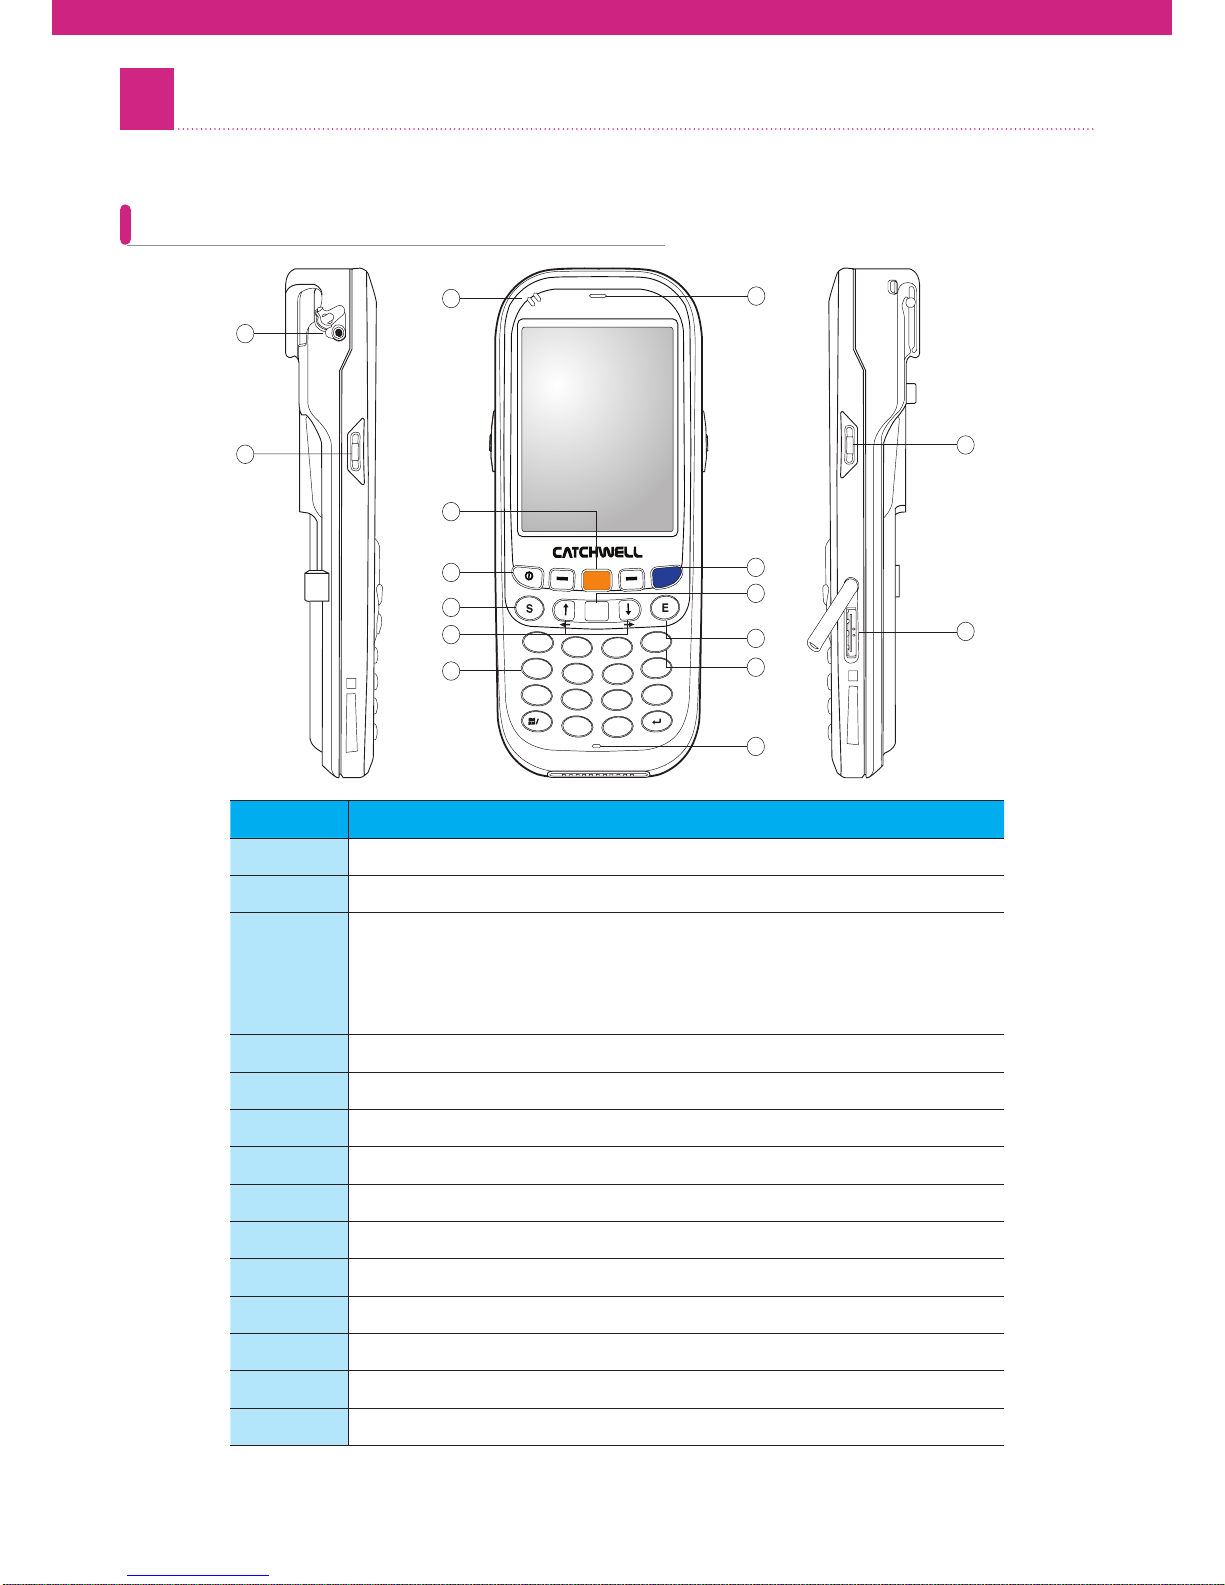
2.Part Names and Functions ………………… 10
device - Front View ……………………………………… 10
device - Rear View ……………………………………… 11
3.Insertion/Removal of USIM Card………… 1
2
USIM Card Insertion …………………………………… 12
USIM Card Removal …………………………………… 12
4.MicroSD Card Insertion …………………… 13
5.Insertion/Removal of Battery …………… 14
Battery Insertion ………………………………………… 14
Battery Removal ………………………………………… 14
6.Charging the Battery ………………………… 15
7.device Power On/Off ………………………… 16
device Power On ………………………………………… 16
device Power Off ………………………………………… 16
8.Battery Maintenance ………………………… 17
Checking Battery Status……………………………… 17
Power Cut Setup ………………………………………… 18
Sleep Mode ………………………………………………… 19
Backlight Setup …………………………………………… 20
9.System Specifications ……………………… 21
Chapter 2 device Basic Usage
1.Start Screen …………………………………… 24
2.Status Icon ……………………………………… 24
3.Setting up ………………………………………… 25
Opening [Control Panel] ……………………………… 25
Region and Language Settings …………………… 26
Date/Time …………………………………………………… 26
Network and Dial-Up Connections……………… 27
Display ………………………………………………………… 29
Volume and Sound ……………………………………… 30
Mouse ………………………………………………………… 31
Owner Properties………………………………………… 31
Stylus…………………………………………………………… 32
System Properties ……………………………………… 32
Password …………………………………………………… 33
Certificates ………………………………………………… 33
Internet Options…………………………………………… 34
Input Panel ………………………………………………… 35
Storage Manager ………………………………………… 35
Power Control Properties …………………………… 36
Dialing ………………………………………………………… 36
Backlight……………………………………………………… 37
Keyboard……………………………………………………… 37
Remove Programs ……………………………………… 37
Barcode ……………………………………………………… 38
Bluetooth Manager……………………………………… 38
device Profile ……………………………………………… 38
KeyPad ………………………………………………………… 39
PC Connection …………………………………………… 40
Record Settings…………………………………………… 40
Utility Manager …………………………………………… 41
Wireless Setting ………………………………………… 41
4.Screen Calibration …………………………… 41
5.Reconfiguration (Reset) …………………… 42
Software Reset …………………………………………… 42
Hardware Reset ………………………………………… 43
6.Using the Stylus ……………………………… 43